Intake Swap - Day 1 - 06/15/2007
I was fed up with the carb on the '67. It was junk. The airhorn has been tightened so badly that it develops all kinds of weird vacuum leaks and I have to constantly adjust and tinker with it to get it to run right, which it will only do for a few days\weeks before starting up again. Not fun. Steve had a multitude of 2bbl carbs laying around. He had a '72 with AC solenoid (perfect for the Lemans), a '71 (perfect to replace the airhorn of the '72), and 2 '65 era carbs with hot air chokes and even one with an intake to go along with it! Since I need the '72 intake back to put on the 350 that is going in the Lemans, it only made sense to swap. It's definitely time to fix this problem.
The lovely hot air choke. Tubes are good too.
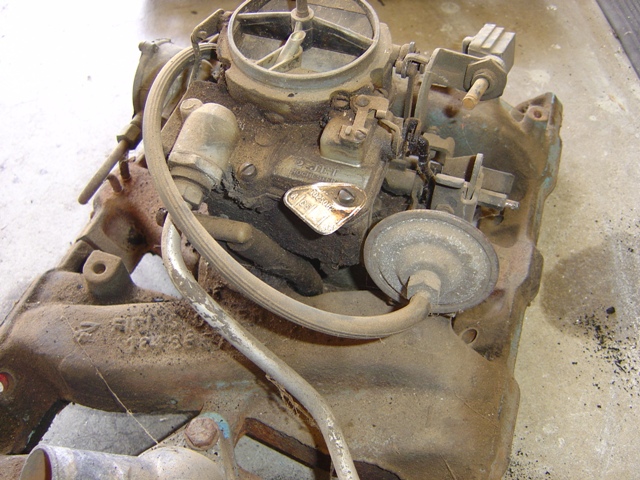
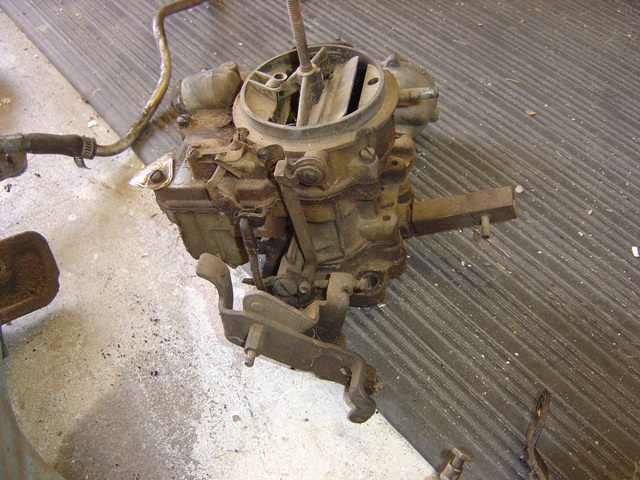
The carb itself. Pretty gooey. At least the carb tag is still there (not stamped on the bodies of carbs this old). It's a 7025062 carb, from a '65 Tempest 326.
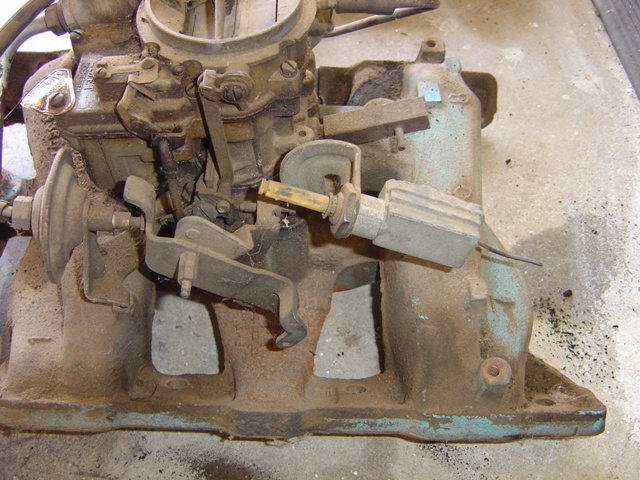
Interesting setup. Note the diaphragm on the left. That is tied to vacuum and the best I can tell is that it adjusts your idle down upon initial startup, similar to the function of the choke pull-off in later models. The switch is for the 2 speed kickdown that this car originally came with (two speeds, what were they thinking?).
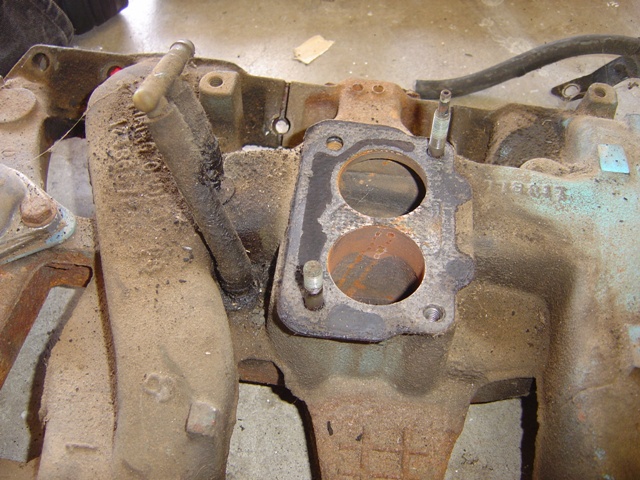
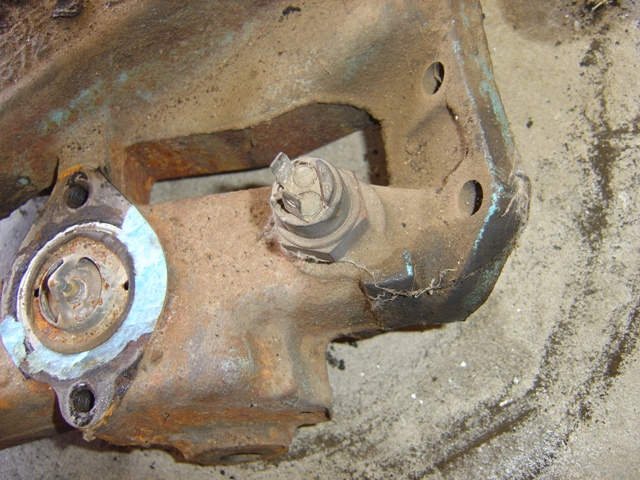
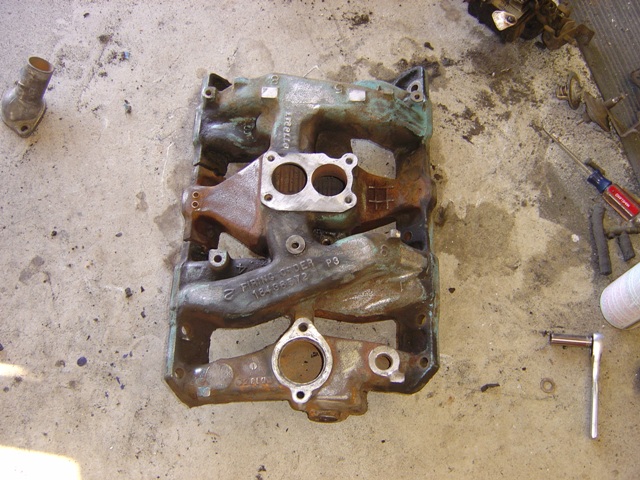
Carb removed. Note the two separate PCV channels, one per runner in the manifold. I think they still used a breather mounted PCV originally in '65, hence the elbow off. The hoses were rock solid and the fitting promptly snapped in two when I gave it a little tug. Oh well. Now I need a 3/8" tee to fix it (preferably metal). The upper right stud has a hole in it for vacuum that works the diaphragm (which is dead). Kind of strange.
Carb is removed. AC, transmission modulator, and powerbrakes are likely powered all off of the one fitting coming out the back (yeah, one vacuum fitting for manifold vacuum).

Rare parts.
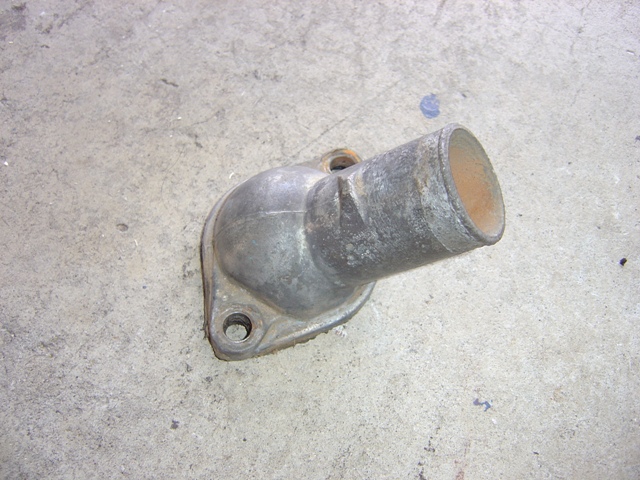
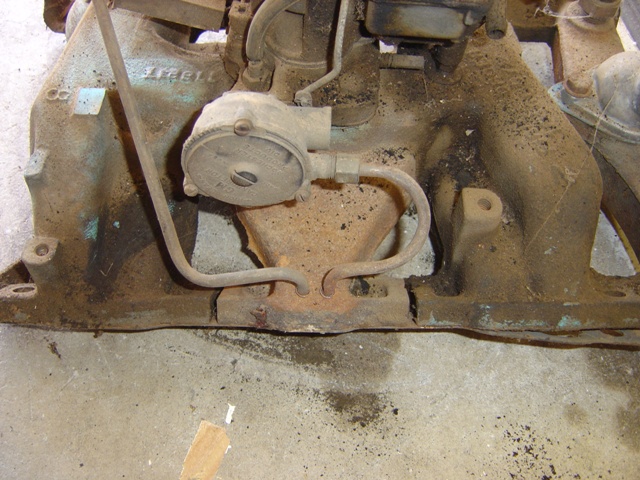
Water outlet is removed. Thankfully it isn't completely trashed and can be re-used.

Old thermostat. Rusted shut. At least someone drilled 2 holes in it, good ideas! But they did use liberal amounts of silicon to put it all together (which is annoying to take it all apart and clean).
Aftermarket sending unit, same as on the '67 right now.
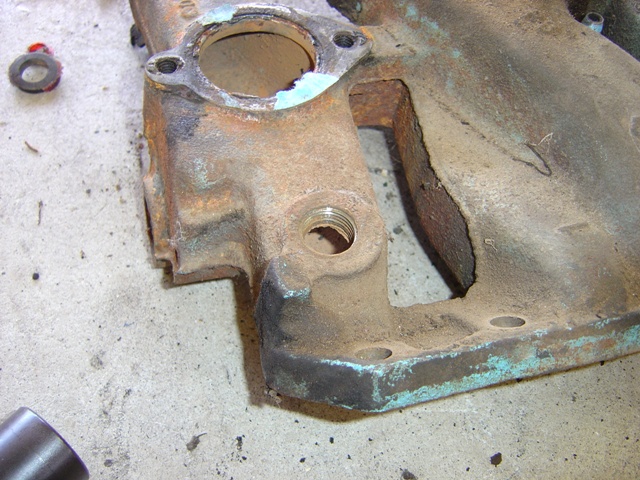
Sender and thermostat removed.
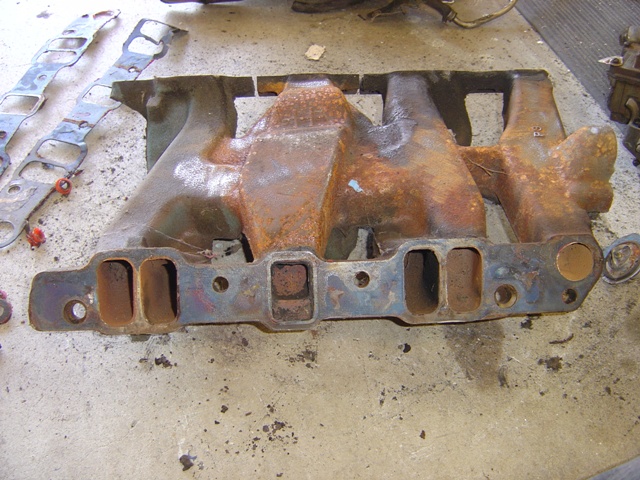
The surface is quite nasty. Never seal that in this condition.
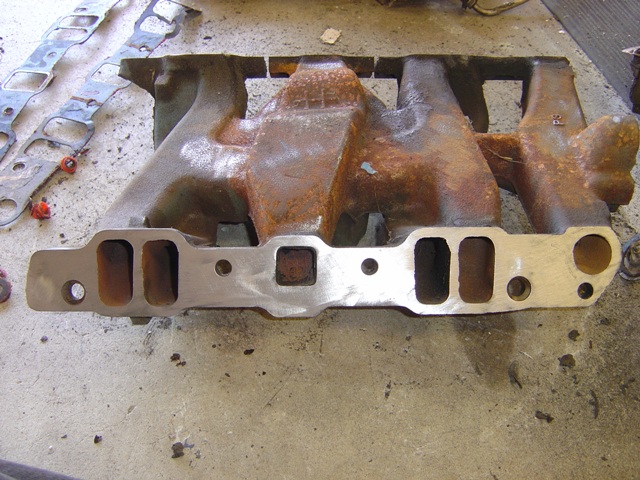
A little elbow grease and it comes nice and clean! Used a straight edge to ensure the surface was nice and straight.
Surface is clean on this side too. Note the hot air tubes and a reminder of our problem with using a pre-71 intake on a post '72 motor...
It's clean! Mostly...
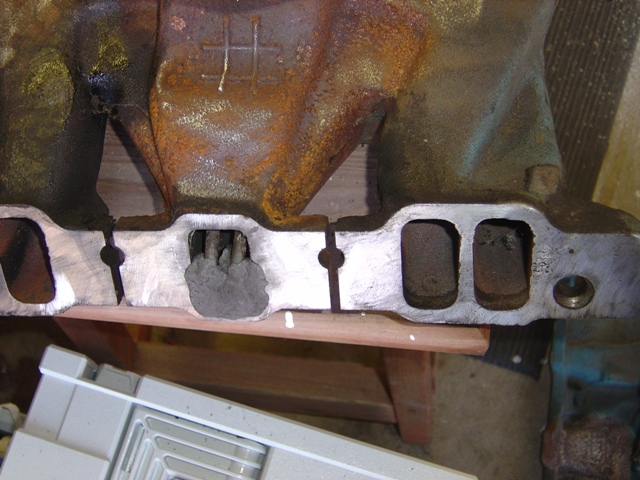
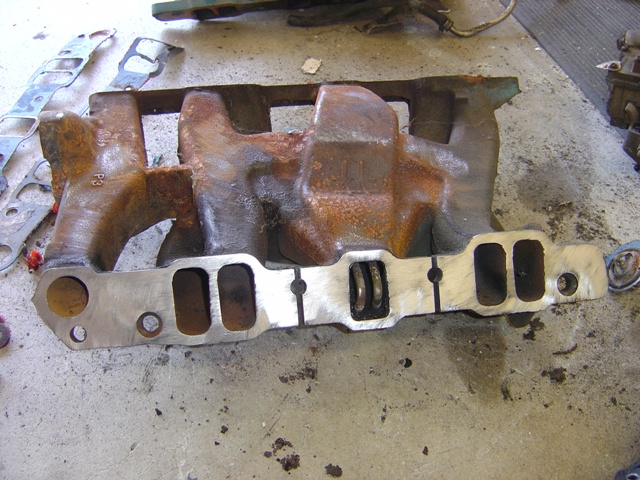
Metal putty is used here to form the block that needs to reduce the hole size on the newer engines. Let it set 24-48 hours and then sand it down.
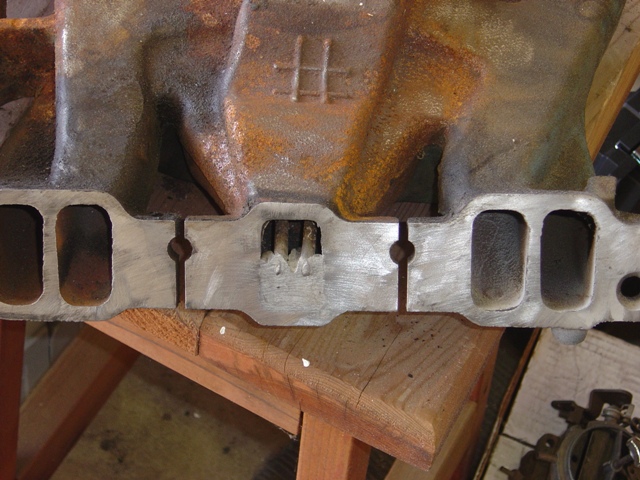
And it is sanded. I checked the surface with a straight edge and it is nice and level all around the area where it needs to seal against the gasket, so HOPEFULLY there won't be any problems...
Prep work is key here. A little elbow grease and paying attention will make things go together nice and smoothly when I am ready to put it together.
Back to '67 Catalina
Last updated June 15th, 2007