Intake Swap - Day 2 - 06/22/2007
Well, the cleaning was done. It was time to disassemble the carb, clean it up, and change the intake. Waiting is the name of the game here, can't rush anything if we want it to look nice and work properly.

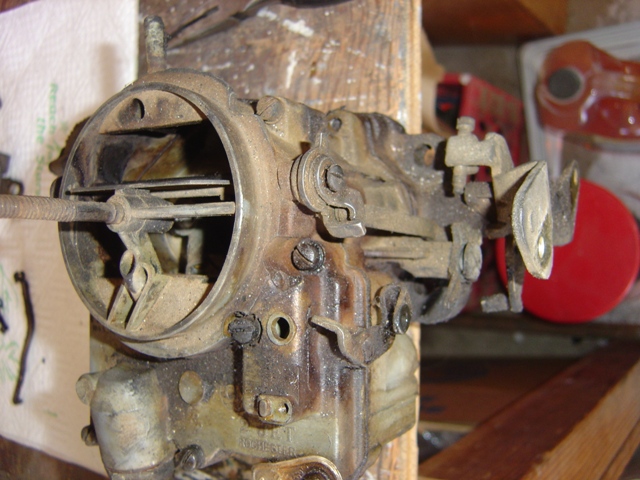
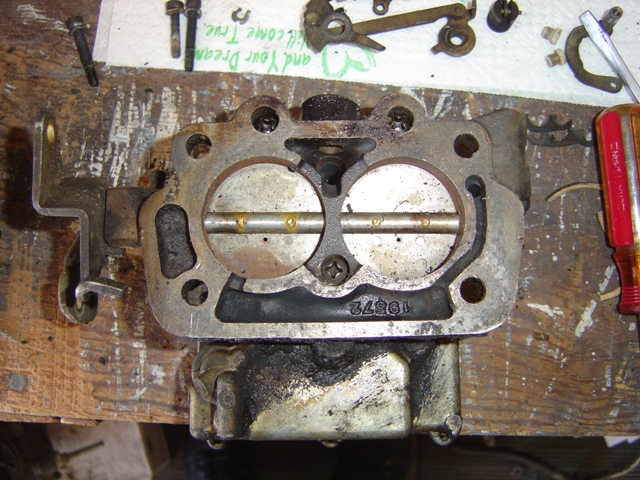
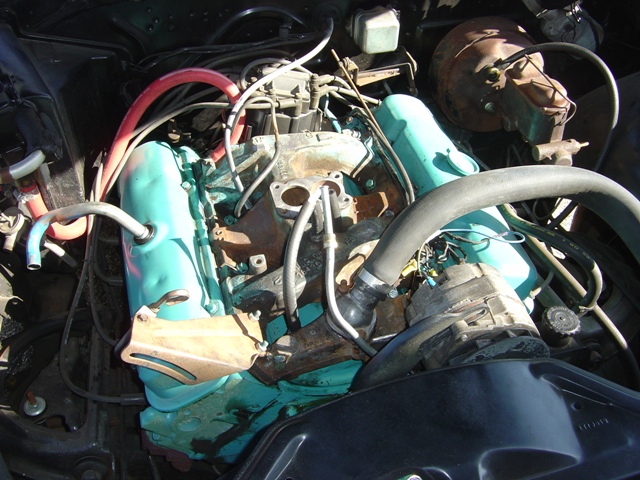
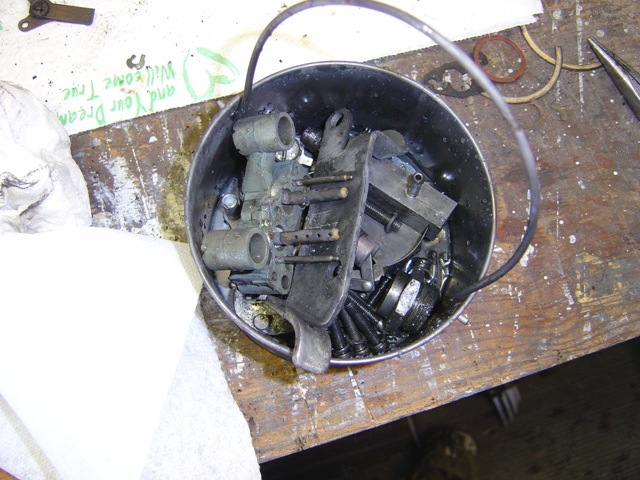
Pre-disassembly, one last photo for reference.
Parts are removed, it has begun.
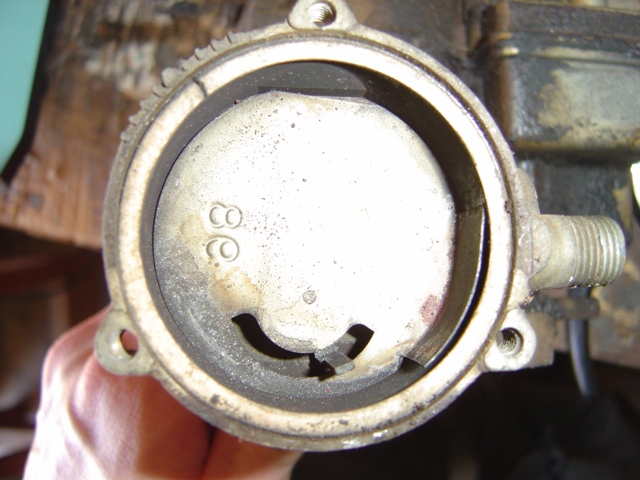
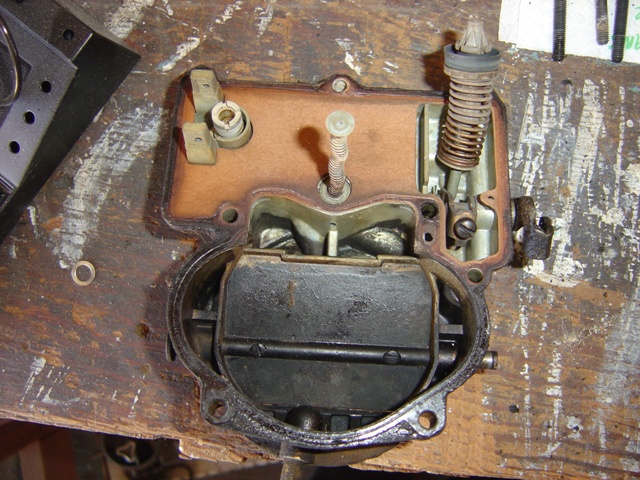
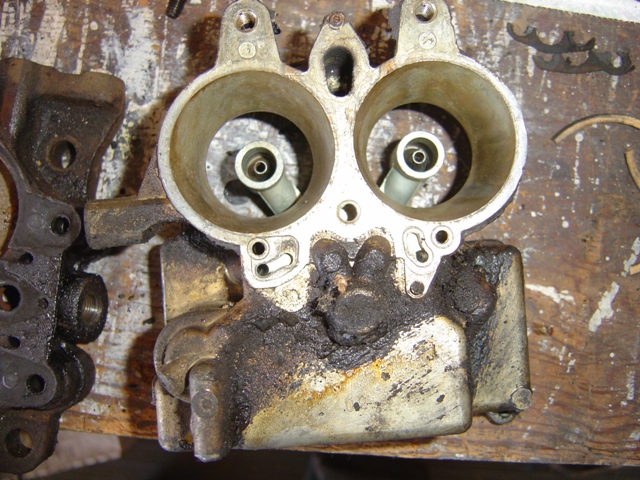
The choke coil is removed, plate is seen.
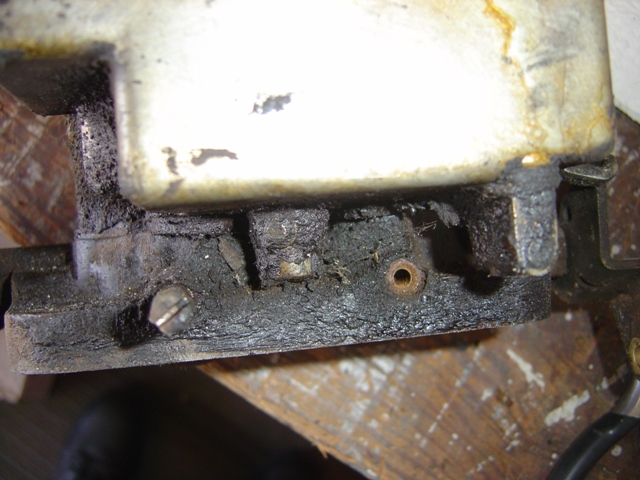
Idle screws are removed. Quite nasty and gooey.
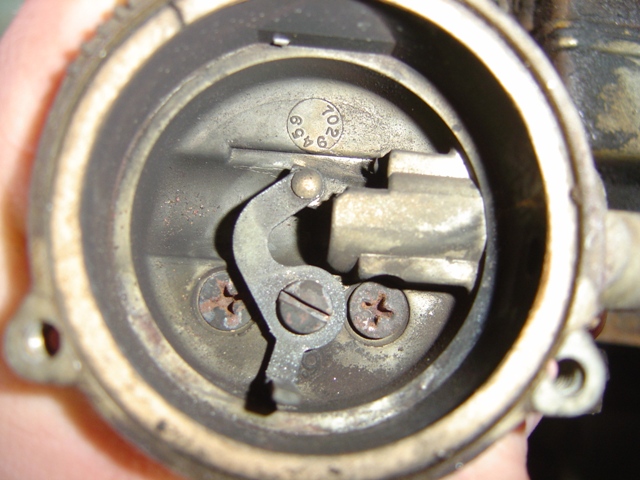
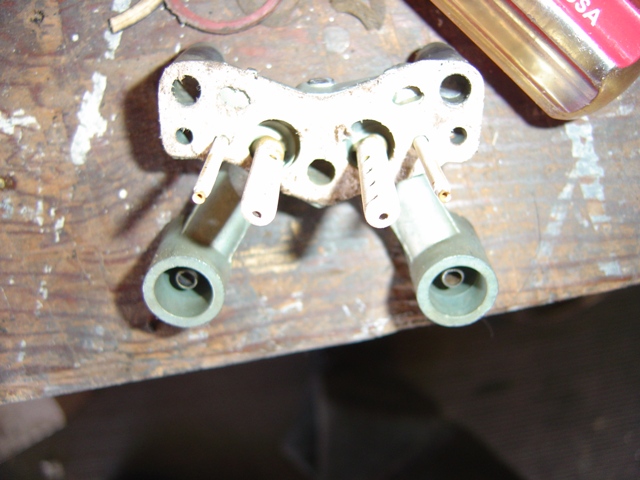
Interesting choke piston setup. The arm has a piston on the end of it, not sure exactly how it works honestly. It can't have been cheap to make.
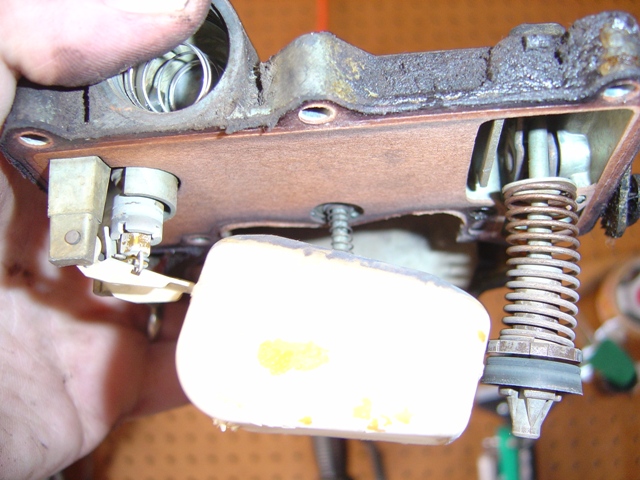
Float is inspected. Brass soldered float covered in white stuff (probably lead and now I'm going to be more retarded than I already am).
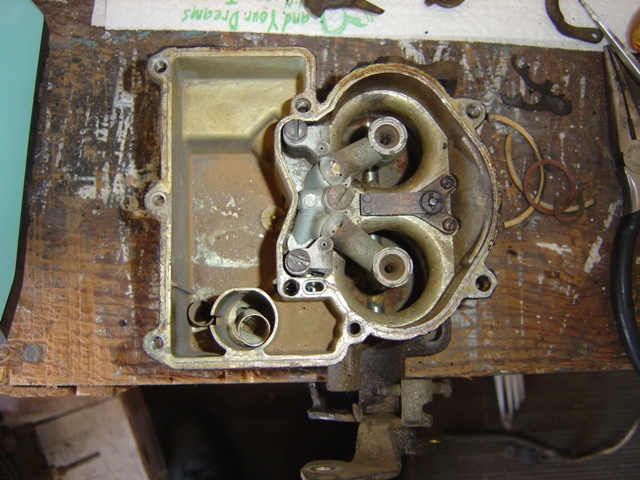
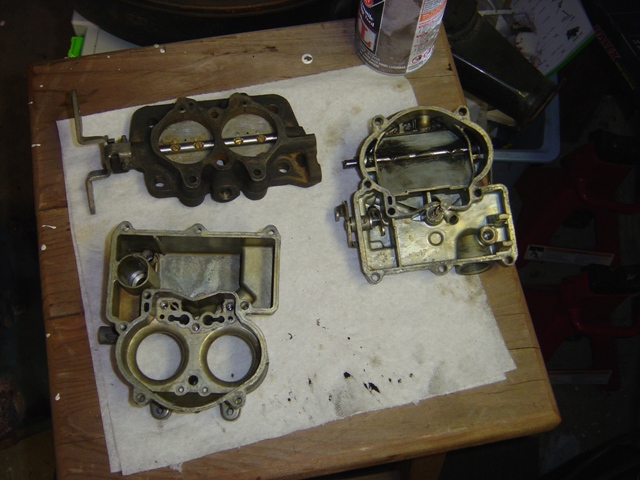
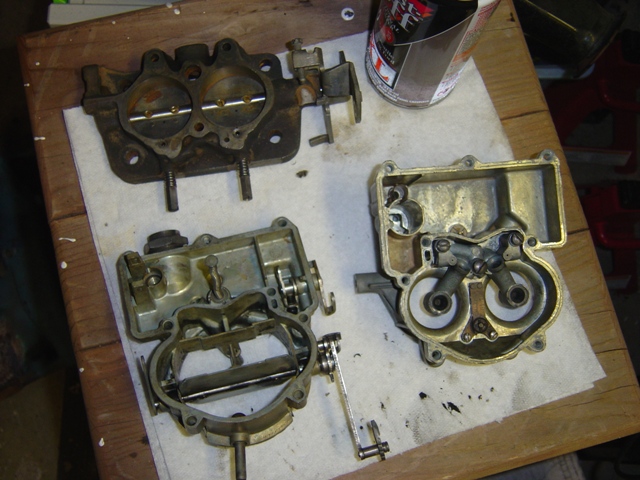
Body disassembly is begun.
Airhorn referenced with original gasket. Just in case the kit comes with multiples...
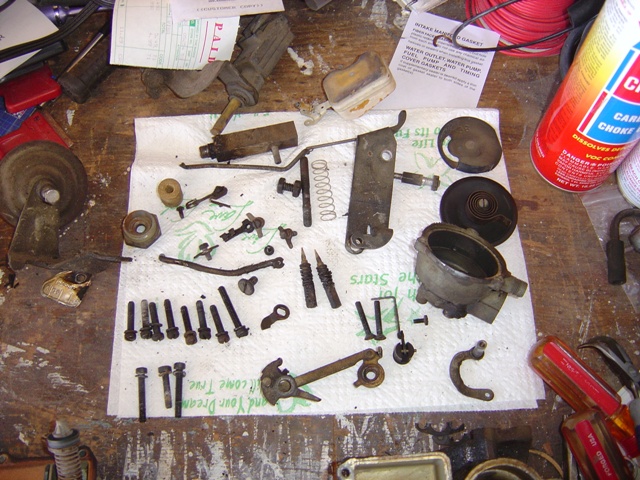
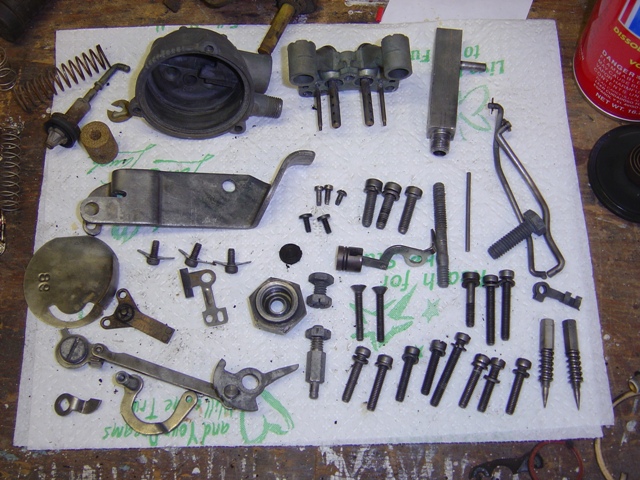
All of the parts that can be removed are removed and ready for dipping.
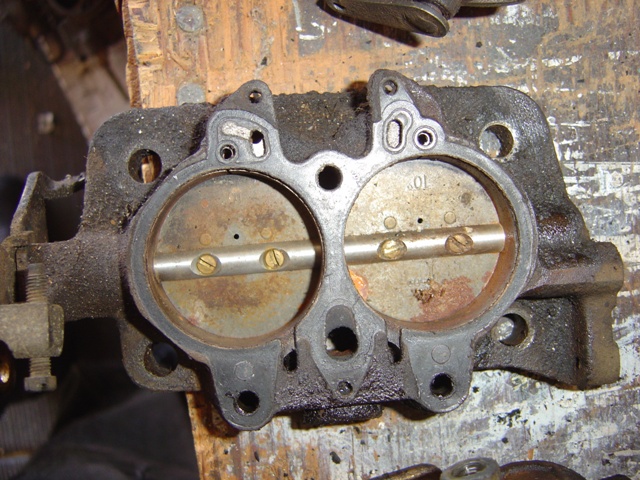
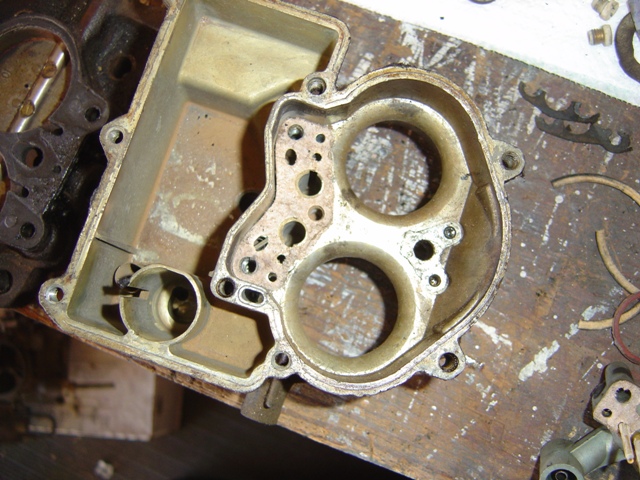
Baseplate.
Baseplate with body gasket shown. I managed to remove all of the gaskets without ripping, so I have references for the rebuild. The Chevy kit that the parts store said was correct is a completely different size (yeah, it's not "all just GM").
Body is pretty nasty. Got to make sure all of these little passages are clear and functioning before reassembly.
Metering rods. Not broken, all holes look in good shape, just has a very crusty gasket still stuck to it.
Body is ready for dipping too. Gasket shown for future reference.

While the parts are getting a bath, it's time to change the intake! Intake is dressed up and ready to go back on. New o-ring with some silicon smeared on to ensure a good seal (yeah, the damn thing leaked a bit beforehand so I had to carry water with me all the time).
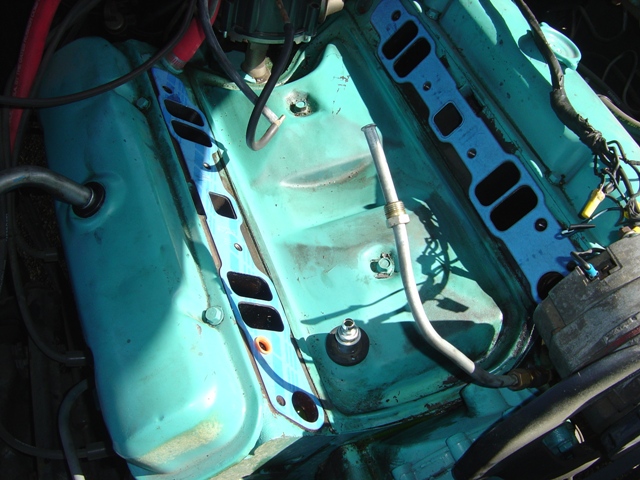
New gaskets held in place by the tiniest bit of silicon around the water ports.
Intake installed. Normally I screw up things as much as possible, but it dropped right in, sealed right up, and I had zero problems. It's almost eerie how it worked. Going to give the o-ring at least 24 hours to seal before attempting to refill with water. All washers and bolts were accounted for, so nothing metal went down the intake passages.
The castings came out really nice. I didn't let the airhorn stay in the soup as long as I could have, but it wasn't too bad and should be just fine. The baseplate and main body came out really nice. Compressed air blew through every passage to ensure everything was working. At least this carb never filled with water like a certain Trans Am carb I worked on did...
All of these parts were in carb cleaner for almost 5 days to get them nice and clean. Side-rant: everyone says carb cleaner has gotten wussied down here in California and it doesn't work. I say "damn lies." This stuff is NASTY. I've still got a headache after being around it, and I wore rubber gloves, my air mask, and had a very well ventilated area to work in. This stuff is NASTY. I've got my own little toxic superfund cleanup site in my own garage now and of course no place to get rid of it (this being California).
All parts are cleaned up, dried off, and ready for install.
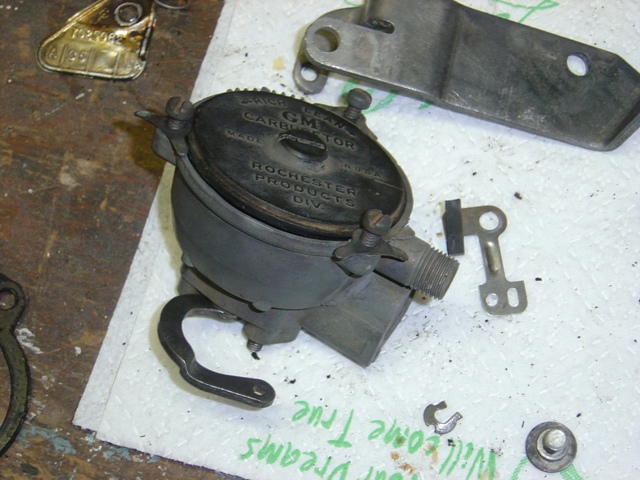
Choke housing is staged and ready to go when the kit gets here tomorrow.
Main body parts are staged for ease of remembering where things go tomorrow.
Well, it's a work in progress. So far everything is moving along. Parts are cleaned, just need to get the diaphragm and carb kit in tomorrow and then re-assemble and test. Hopefully everything will work out!
Back to '67 Catalina
Last updated June 22nd, 2007