Radio Installation - Part 1 - 06/01/2006
My new radio finally arrived. It's time to get down to business and install it. 6 months of waiting... it better be damn well worth it.
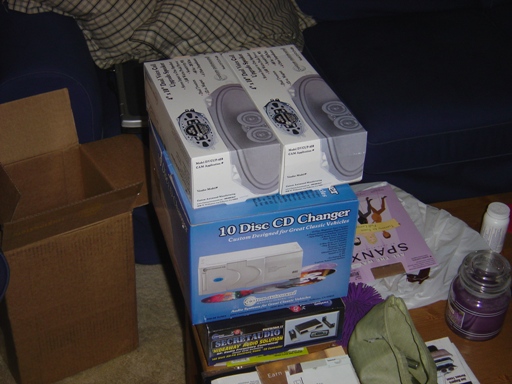
The stuff. One dual coil speaker for the wagon and one for the Grand Am (4x10). One hidden audio system and one CD changer (the salesmen lied about the in-line feature, but with 10 discs of CDs possible, I'll live).
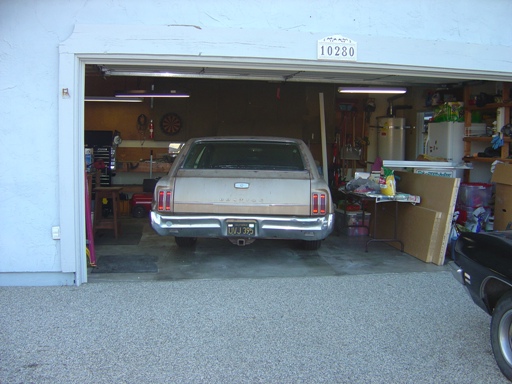
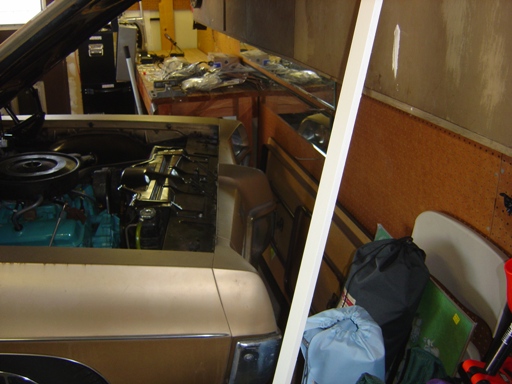
The car needs to be garaged. This is going to take a while.
Barely enough room for the door to close...
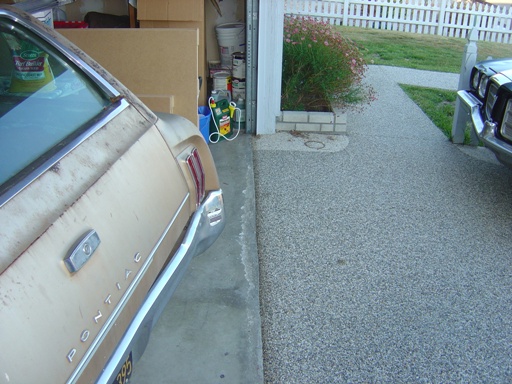
...and no room to walk around. Renders the garage mostly useless except for working on this car (motivates me to finish it).
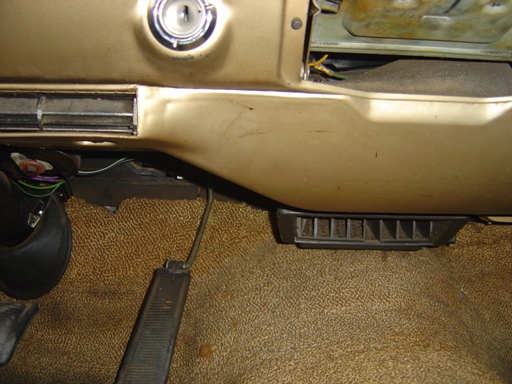
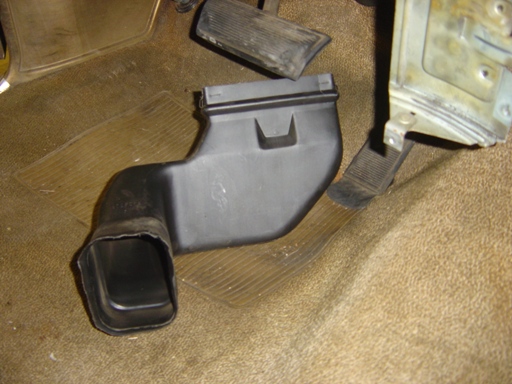
Here we go! This lowest duct has to come out first and foremost. We're not drilling holes in any door panels for speakers as this AIN'T no white trash ride (despite the way it looks, I have standards). Getting the old speaker out requires pretty much EVERYTHING to come out that is in the way. Lower duct, radio, center duct. It's all of 6 steps in the service manual. Yeah right...
Lower duct drops down (appears to have never been out of the car).
Cute. The sticker from the back of the radio is sitting here. It says "Do Not Operate Without 10 Ohm Speaker [Left to right] GND SPKR 12V"
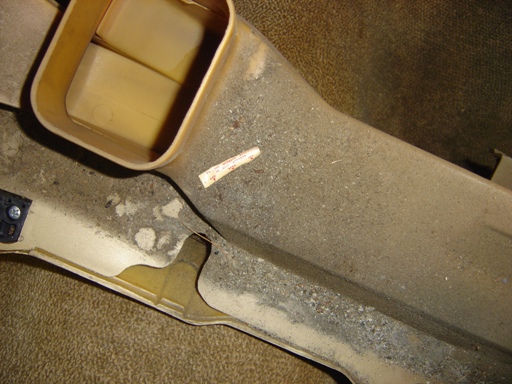
Lookee here. The ash tray is lit with fiber optic cables. Pretty advanced for 1967. Apparently this was a new feature according to the service manual (I looked it up).
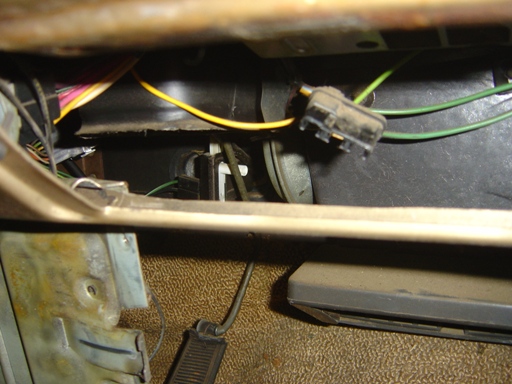
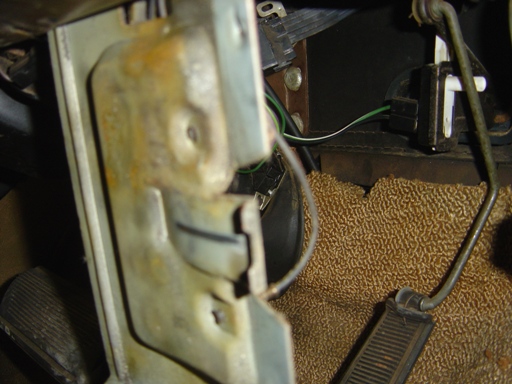
The original radio harness is still intact. It's a 3 prong plug with 1 wire in it to the speaker. The 12V plugs into the back of this harness. Ground is apparently made through the mounting bracket to the side. Seems slightly over the top, but I assume the radio supplier probably just modified an existing product when they supplied it to GM, hence the unused ground plug. GM probably used an existing 3 plug with a single wire in it to prevent idiot technicians from accidentally connecting the 12V to the speaker output. Note how the speaker wire is in the middle so it goes in the right slot any way you put the plug in (yeah, only an engineer would notice something like that).

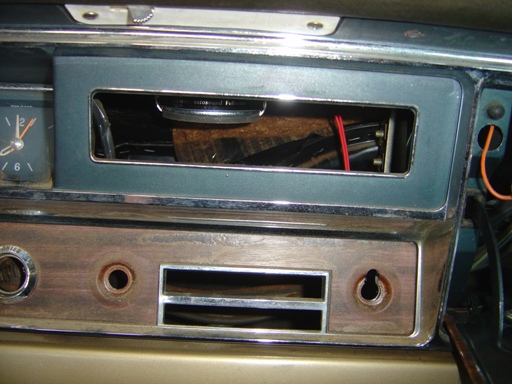
Old radio ready to come out. Needle nose pliars substitute for some random J14701 tool that GM probably specified to remove the nuts.
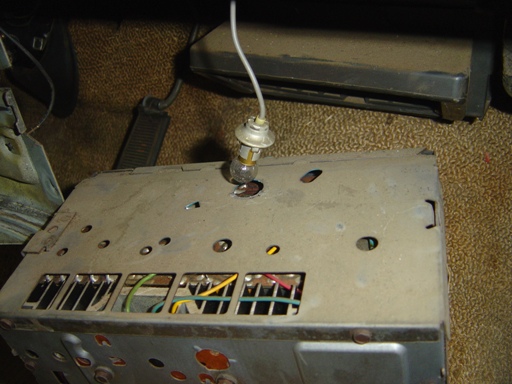
The light bulb from back when a burned out bulb didn't mean throwing the whole thing away (bulb still works too).
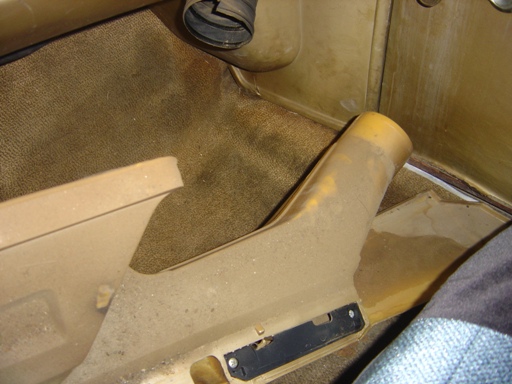
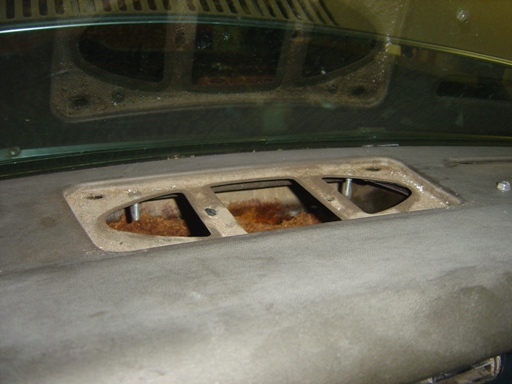
This center piece took quite a bit of doing to get out. The AC harness runs directly under it. So the 2 different plugs have to be separated from their mates to get this piece out. The center vent piece is also broken, so I need to remove it and JB Weld the tab back on and replace the missing spacer that causes the vent to rotate on it's own rather than be a good vent and stay where I put it.
Old speaker is out. You would not believe how hard this thing was to get out once all the bolts were out!
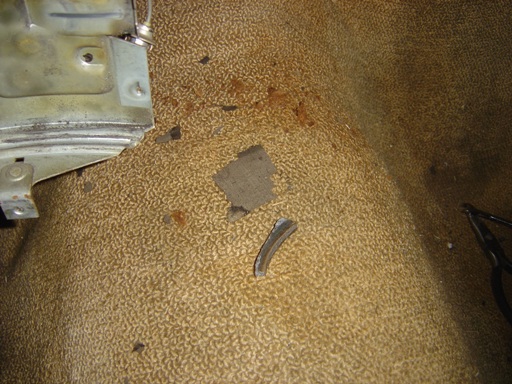
Old nasty speaker padding. The fabric cover disintegrated while the silencing material between the dash and body was so dried and hard it was like it was glued to the dash. I had to scrape for 45 minutes to get it all off of the top of the dash (I love having to work without being able to see anyway).
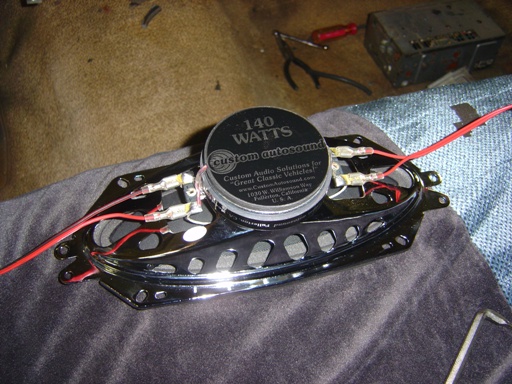
New speaker is wired up since wiring it when it's IN the car might be more of a hazard than I care to deal with.
The screws that GM used here are just slightly too short for the barrel nuts (which they used on EVERYTHING in this dash). So I have to remove them and use another set of screws. These are custom screws here in the dash. They have two different thread patterns and two different sizes. The top 1/4" section is slightly larger than the middle and is reverse threaded, so left tightens and right loosens it. The lower 1/2" is standard threading and smaller. It allows you to keep the screws tightened down to the dash when you are removing the speaker nuts. Neat concept. GM abandoned this by the 1970's and went to snap-in mounts from what I have seen.
It's in! I'm slightly concerned about clearance and that center duct. There was ~1/2" of clearance with the old speaker in and this new speaker is a little over 1/2" taller. So it may be close. GM apparently expected this as the ductwork has a cut-out sized just to the old speaker center section. Both sides have it, so I don't think it's absolutely necessary, but I'm going to be careful with it anyway when reinstalling.
This entire process took almost 4 hours. Since the dash had never been apart and EVERY single fastener from the factory was still installed (and torqued down properly) I was extra careful not to damage anything. 40 year old plastic is not something I want to be tracking down.
Back to '67 Catalina
Last updated June 1st, 2006