PCV & Wiring Repair - 11/01/2015
While working on the choke, I noticed the PCV setup was a little off. In addition to being a little off, the hoses were old and brittle and the routing was not correct, likely causing idle issues that I've been experiencing. In the next step on old car reliability upgrading, this was to be corrected. At the same time electrical issues have plagued the car like a pretty serious hot start and complete lack of functioning... everything.
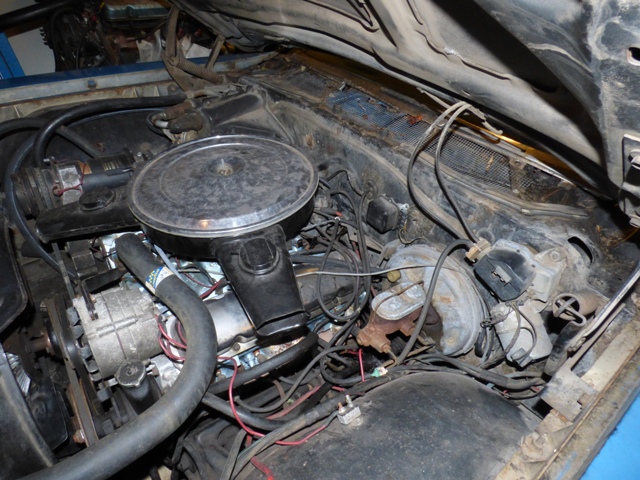
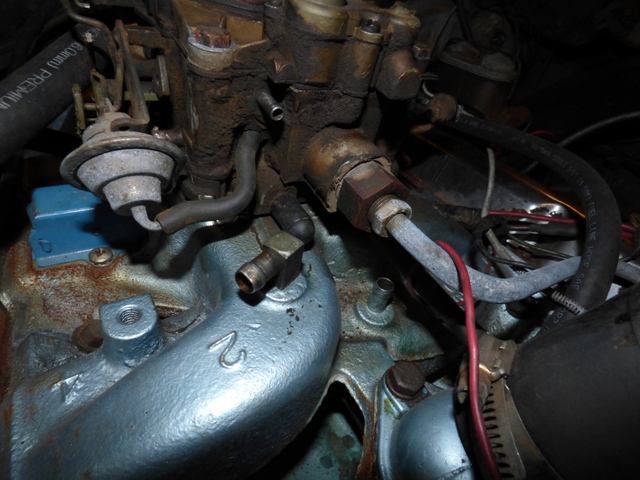
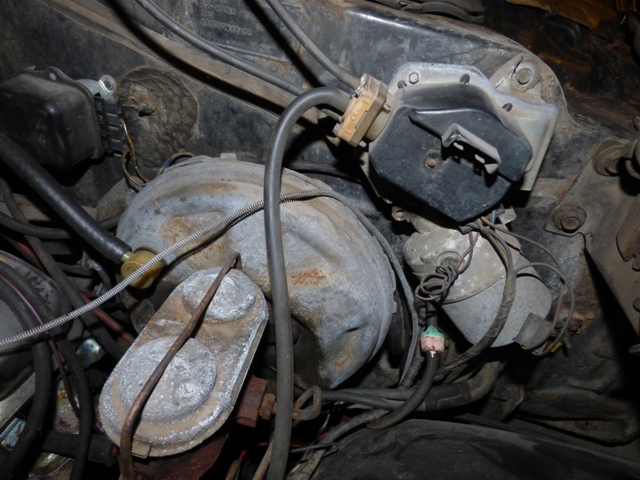
Looks can be deceiving...
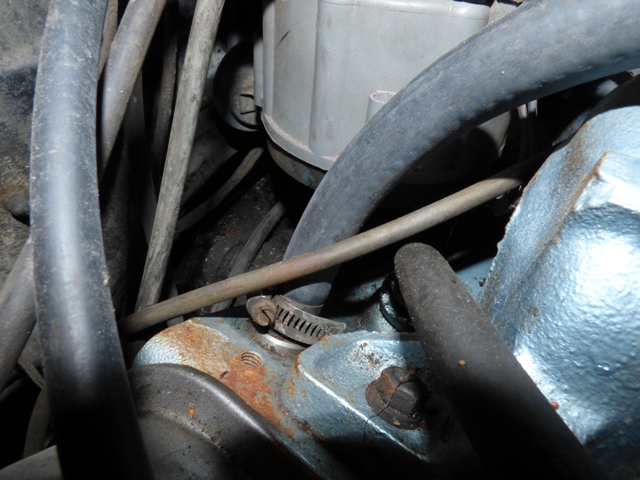
This PCV grommet has seen better days. It has been painted over and is hard as a rock.
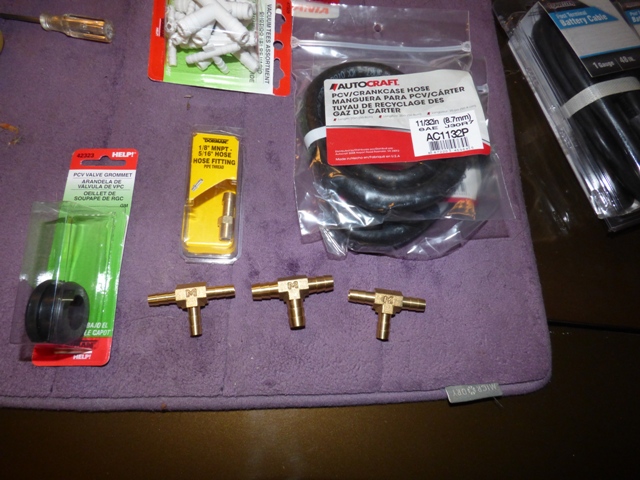
An assortment of vacuum parts from the stash to get this fixed.
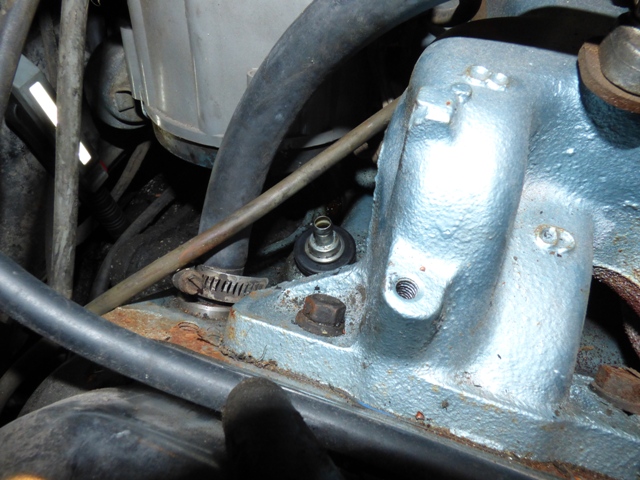
New grommet is installed, existing PCV is cleaned up and still functioning. You can guess where the old grommet went... it dropped right in the valley pan and will never come out. Oh well. Inside the valley pan was kind of grimy, but fortunately the grommet can't work its way out and will just hang out from now on.
Old hoses and odd vacuum routings are removed and cleaned up. New plugs are sourced to cap off the unused ports for now ('72 carb has a vent, PCV, and automatic transmission modulator vacuum ports that won't be used).

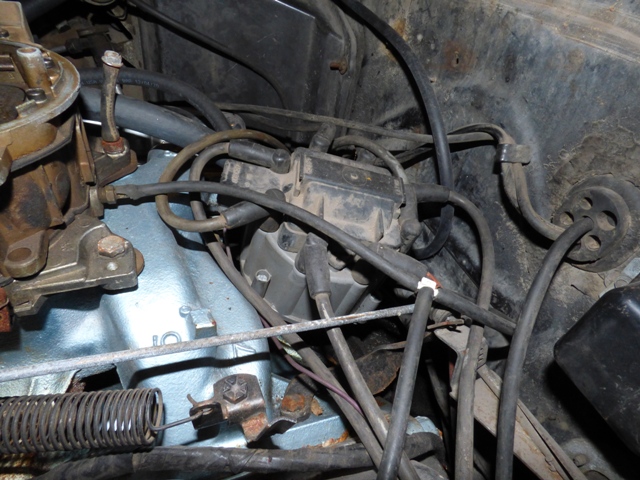
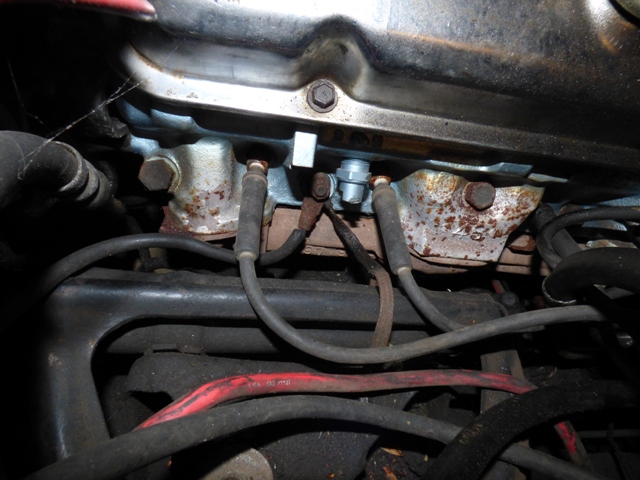
PCV is now hooked up and routed better. "As designed" from the factory.
Noticed the main body ground to block is just dangling. Fixed that.
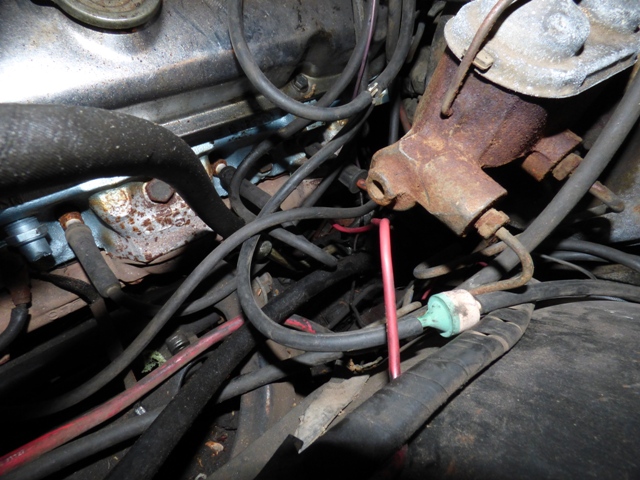
This is the rear vacuum setup. 1/8 NPT fitting. It feeds the AC vacuum line twice, hideaway headlight switch, and the heater valve (don't ask why it does that).
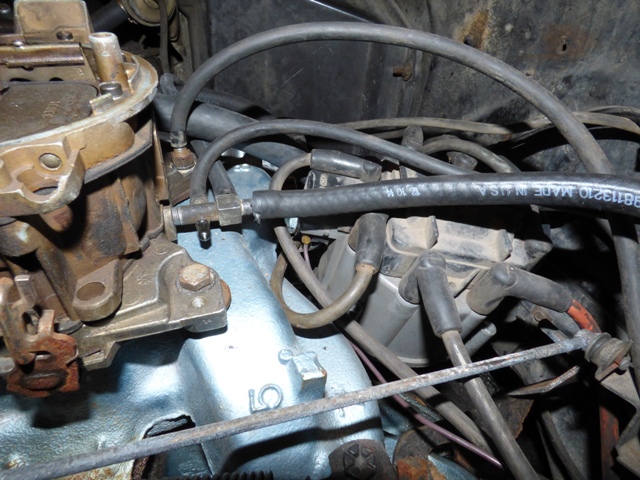
I bought a single back fitting that would be perfect, but while I was looking for vacuum caps I came across this leftover vacuum tree I had sitting around and installed it. I hooked up the distributor vacuum advance, power brake booster, and AC ventilation to the tree and hooked up the hideaway doors to the single port on the back of the carburetor bolt. Not sure how well it will work, but it did allow me to remove over 2 feet of vacuum line that wasn't needed. The heater valve is no hooked up to the heater valve control and should function too.
Also routed the vacuum control for the headlights behind the brake booster so they're out of the way.
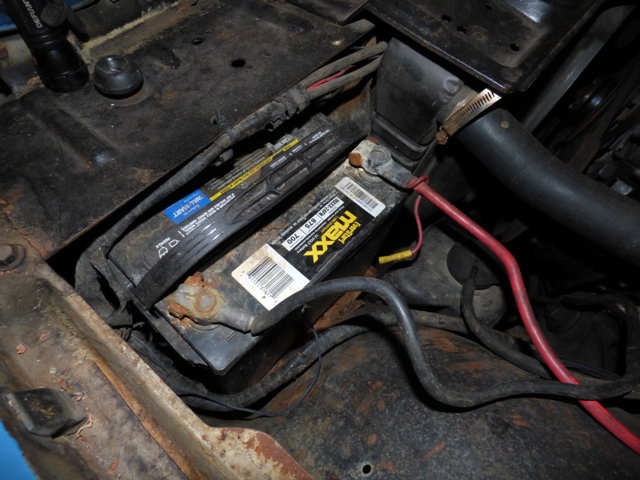
Time to investigate the battery. Pretty crusty terminals.
Really crusty negative cable.
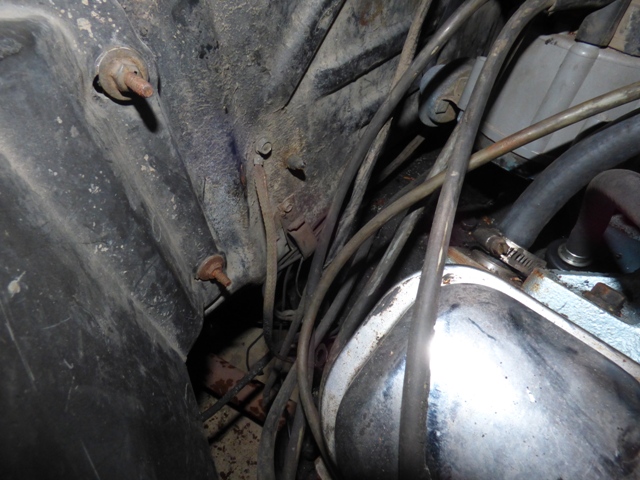
All sorts of wires just zip tied to each other running whichever way... It's hard to see but there's a hole cut in the firewall with 4 different wires and the temperature sender running out. The wires are butt spliced to things under the dash, and the dash itself has a ton of splices joining various wires of various colors together. It's quite scary.
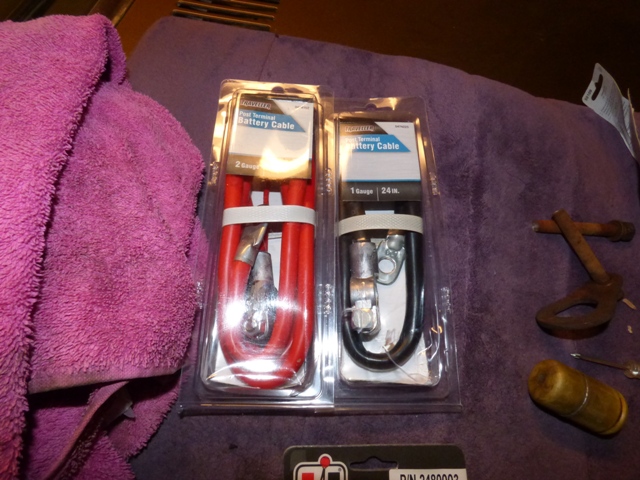
New battery cables in gauge 2 & 1.
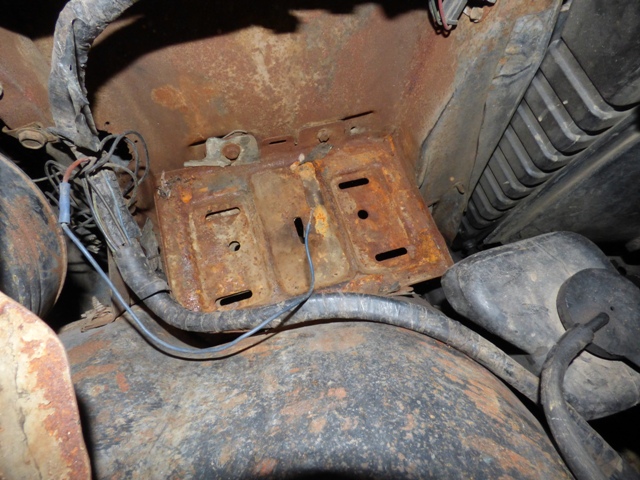
Pull the battery and inspect the tray. Random broken splice is part of the headlight harness and I have NO idea what it was for. Definitely not factory...

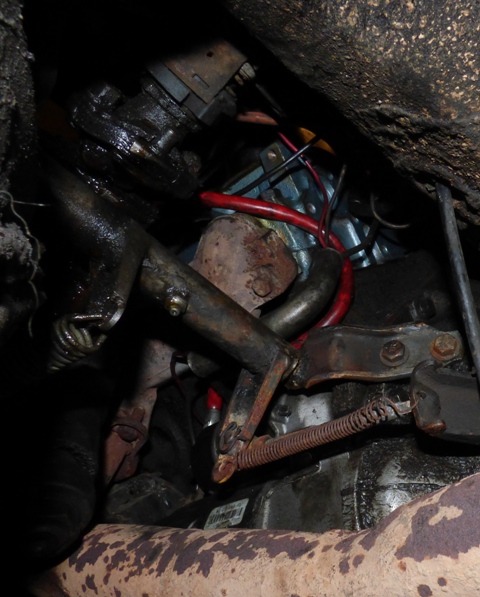
Can't install the new battery cable without dropping the starter. Being a 40lb device, this job sucks just as much as it did the first time I did it back in 2002...
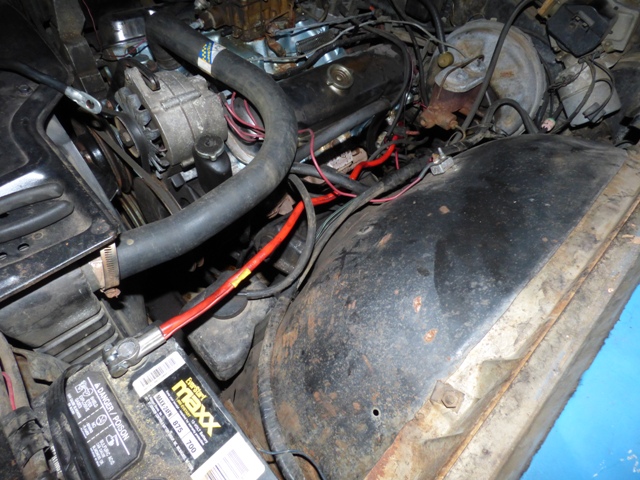
New positive cable is run. It's a little short but it reaches. I'll probably go back and get a 60" cable rather than a 48" to make it reach better.
Starter wiring is routed and protective shield is installed to guide cables down and in. I don't like how the positive cable is run, but I don't see any other way to do it. Nothing is touching the exhaust and the positive battery cable isn't touching anything either. Steering box is leaking, coating everything with a nice grime.
Kind of a pain, but it is done. Negative cable is 6" too short so I have to go back and get a longer one. I did test the wiring and it doesn't short which is a good thing!
Return to 1967 Executive Wagon
Last updated November 1st, 2015