Tuning - Part 1 - 11/05/2015
Since the battery cables were too short I was a little out of luck for that night, so I had to get some more cables later on. That solved, it was time to get the battery cables routed and the starter finished.
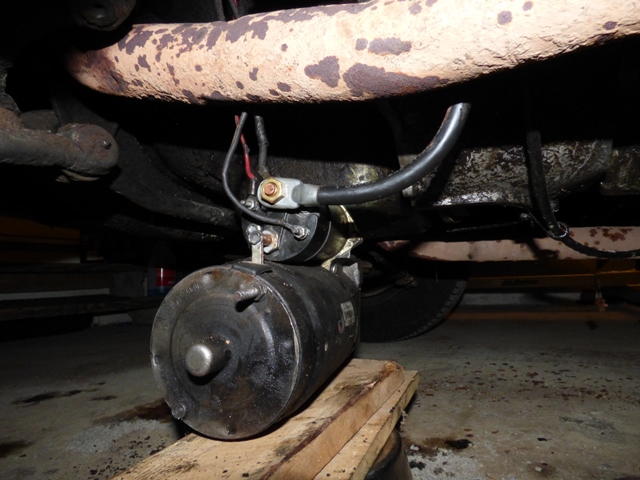
The '67 factory manual leaves a LOT to be desired in the electrical section. Since the '68 full size cars were practically the same, I looked at that manual and was surprised to see the factory battery cable routing was under the steering box & along the frame, jutting out to meet the starter. It also diagrammed how the wires were supposed to be run and protected from the factory. Here I've done what the factory recommended. The left little wire on the "R" terminal is to provide +12V to something while the engine is cranking. The factory didn't use this wire and there's no provision for it in the harness, but since it runs that way I left it on and will eventually remove it. Gauge 1 battery cable is used.
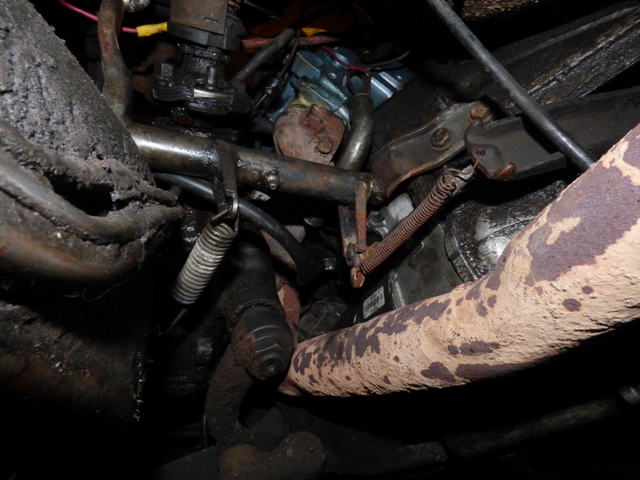
And this is how it's supposed to go. Jut right out and fly under steering box to a frame bracket that doubles for the brake distribution block mount. Power steering box is leaking like it's going out of style. Hopefully it's just the hoses and not the box itself...
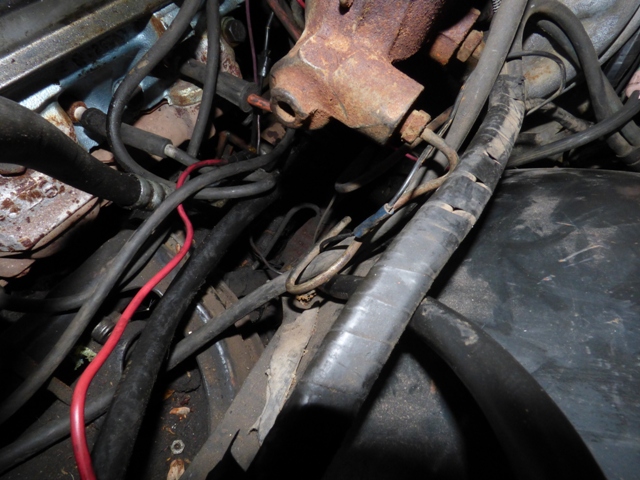
And it routes up here and along the inner fender to where there are no clips remaining. More various splices for some reason are visible. Flailing red wire comes from the battery through a circuit breaker to a crusty wire that disappears behind the brake booster. No clue what it is for, not factory. The purple wire at the back is for the coil. Wire closest to the inner fender is a cut and splice extension of the brake warning lamp light in the distribution block. Someone snipped every single one of the wires under this hood and then spliced them all back together with my favorite butt splice crimps...
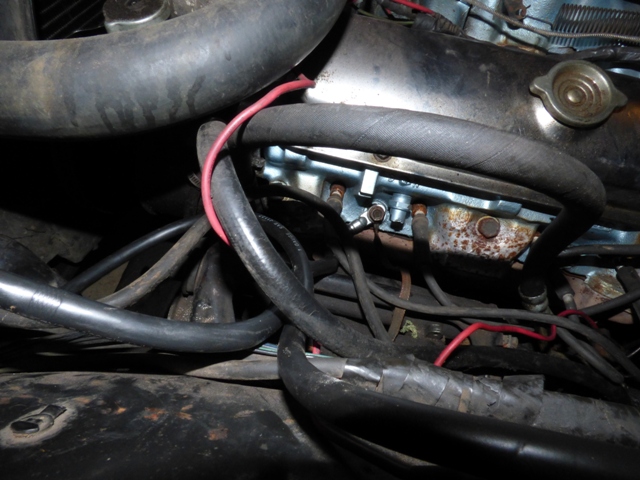
New 31" gauge 1 negative battery cable is installed. Routes underneath power steering hoses and should snake through same plastic clips that hold headlight harness and positive battery cable.
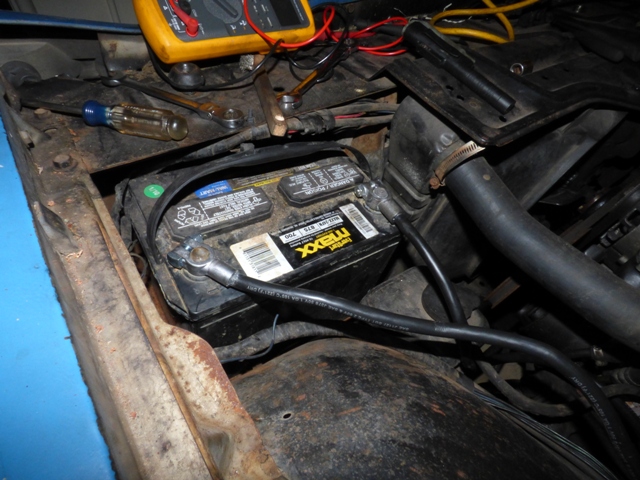
Battery and cables installed. No positive leads from the battery are installed yet because I don't know what all is missing (horn relay and power tailgate\seats\windows\etc are on the 2 positives that the factory used). With gauge 1 battery cables, the starter cranks over SO fast. Even after letting it heat soak at 205 it still fires up instantly without hesitation. Worthwhile upgrade.
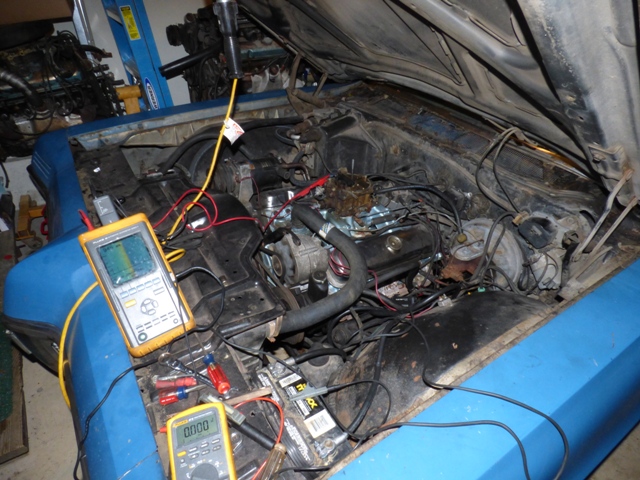
Now that the electrical is sorted and the vacuum is handled, it's time to get out the scope and see what's going on.
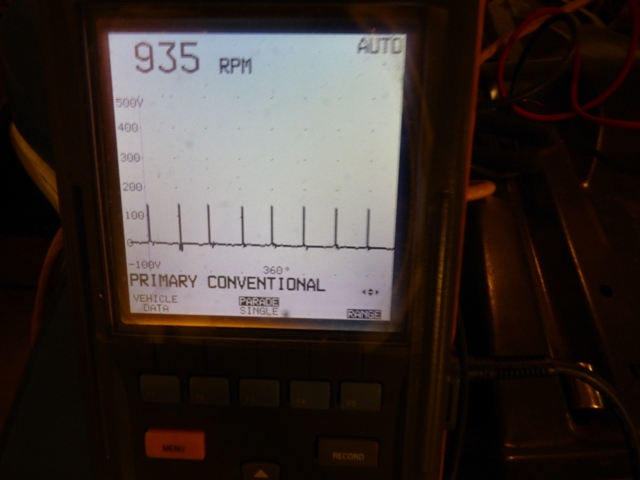
935RPM is the lowest it will go? Likes to run 1000RPM with the idle screw all the way out? Looking down the bores of the carburetor I see nozzle drip on the driver's side at a very good pace with none on the passenger side. This will make it very difficult to tune. Need to get a baseline of the ignition before going any further. Putting the timing gun on the distributor reveals that at idle I have 30 degrees of advance... Not exactly what it should be. Add the vacuum advance and it gains another 25 degrees at the crank. Dude. So, it appears that we have stuck or wasted springs and weights in the distributor. I did ask the previous owner what the curve was and he said it "was a junkyard HEI that I put in and never bothered to check it." Well then...
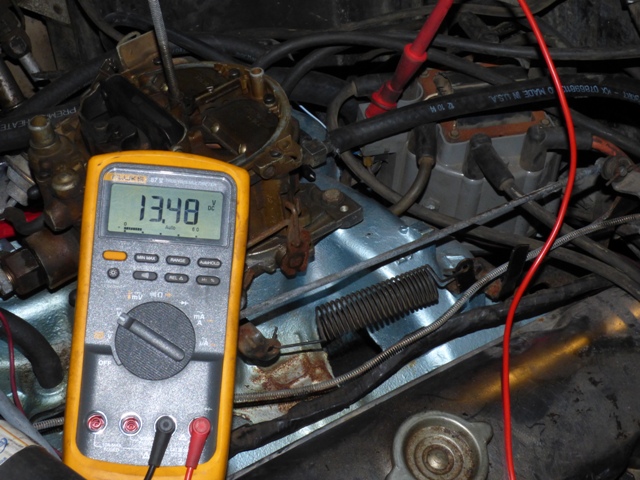
My main concern with HEI conversion in points cars was if they did the ignition coil right and bypass the resistor. Definitely done here, but the wire is a splice off of another wire that goes under the firewall somewhere. Going to have to trace that... Another positive benefit is the battery was only charging to 12.1-12.4V before all of this work and oscillating with flickering dash lights, etc. Now it's a solid 13.8V at the battery, just like it should be and no more flickering or misbehaving lights.
Well, more progress. Plus side is it starts better than it used to but with the ignition so screwy it's going to be impossible to tune until I get the distributor apart and find out what is inside. Definitely a "part 2" to follow...
Return to 1967 Executive Wagon
Last updated November 5th, 2015