Dash & Firewall Restoration - Part 4 - 02/21/2015
The progress continues. Today we paint. And prime. And clean the firewall first. But first things first, get the heat on. The heater in the garage is a beautiful thing. Basic, but it's great to have heat when it's 25 and snowing outside. Get the temperature up to about 65F and you can paint and not be miserable.
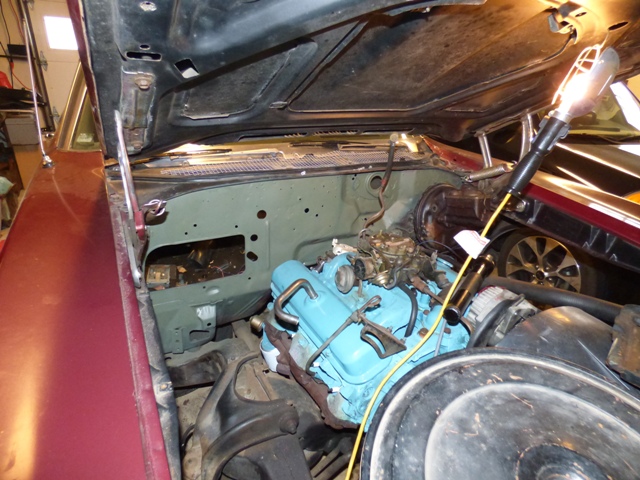
Wire wheel the old paint and grease off the firewall. Unfortunately the compressor is small, so it can't keep up with air tools. But it's my great compressor that for over 17 years has gotten me through a ton of hard times and good times and runs on 110V and has never failed or given up the ghost. That alone means it is worthy of praise in this era of cheap Chinese junk that fails in 18 months.
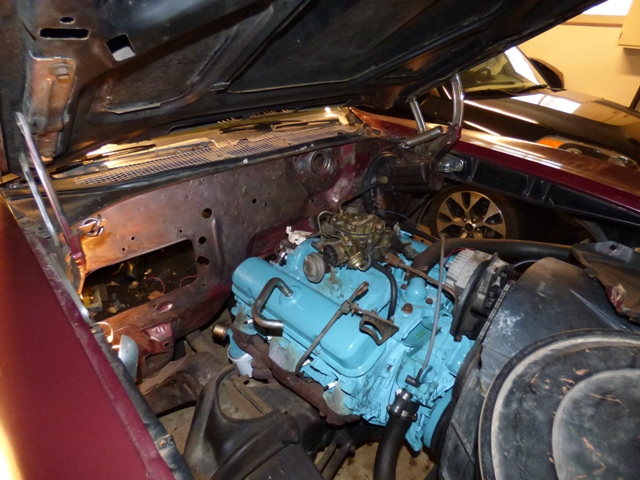
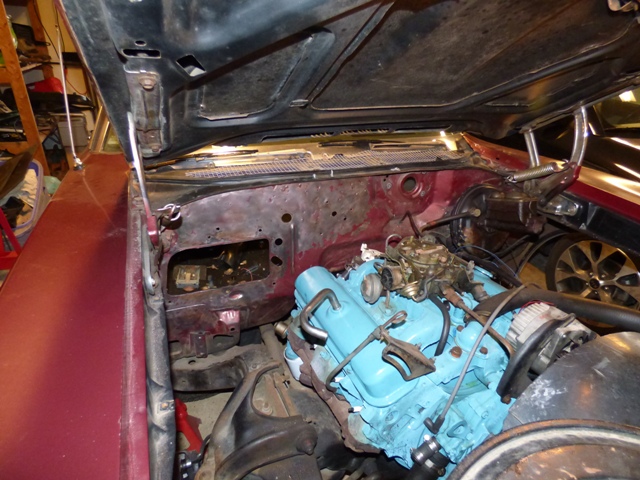
More wire wheel magic. This is almost the limit of where I can reach without pulling the entire engine or master cylinder. No biggie, it will suffice for a driver.
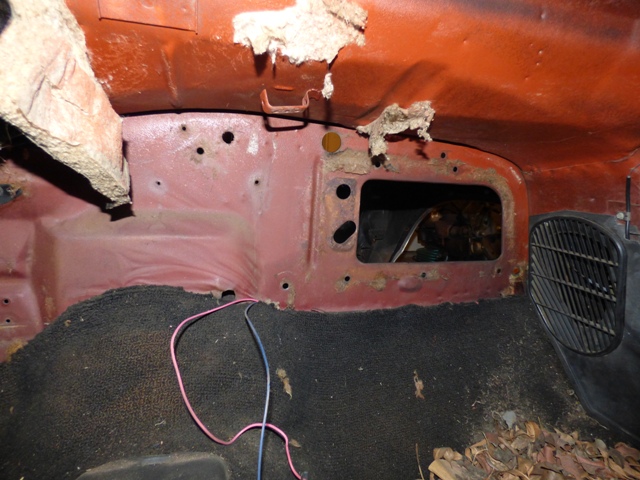
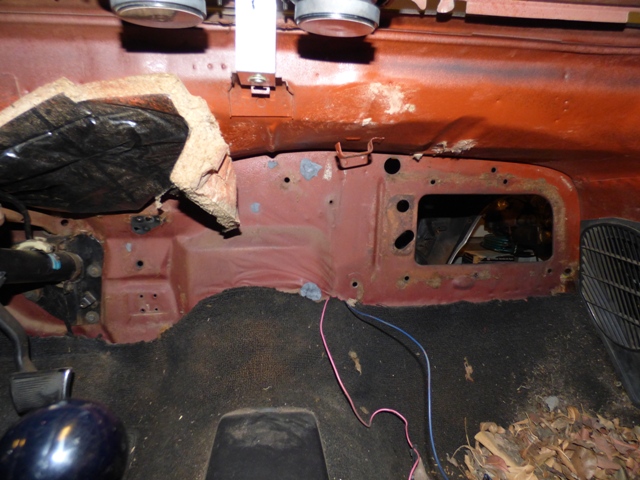
Wire wheeling the firewall continues. The monkeys who did this paint job didn't use any primer, they just painted over the black factory undercoating and grease. Kind of lame but not surprising.
All goop is removed and heater blower and ventilation ducts are stripped clean. As much as my compressor didn't keep up, it only took an hour and a half to strip what I could. Not bad at all.
Wipe down with Goo Gone and then spray epoxy primer from the rattle can. Goes on pretty easily without too much trouble.
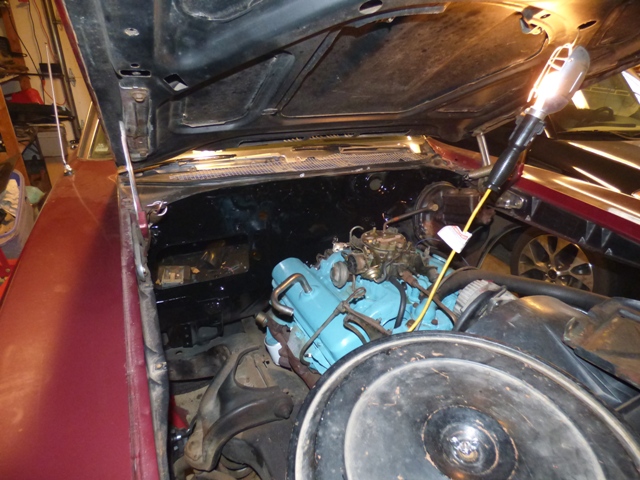
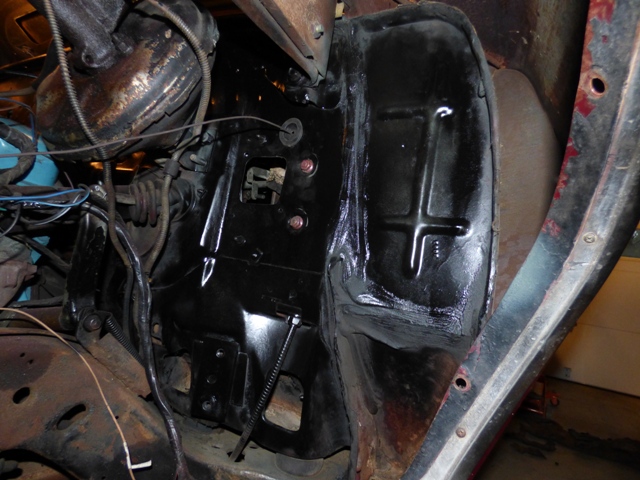
Firewall is painted black! Gotta let the primer tack for 30 minutes but I gave it 45 for good measure.
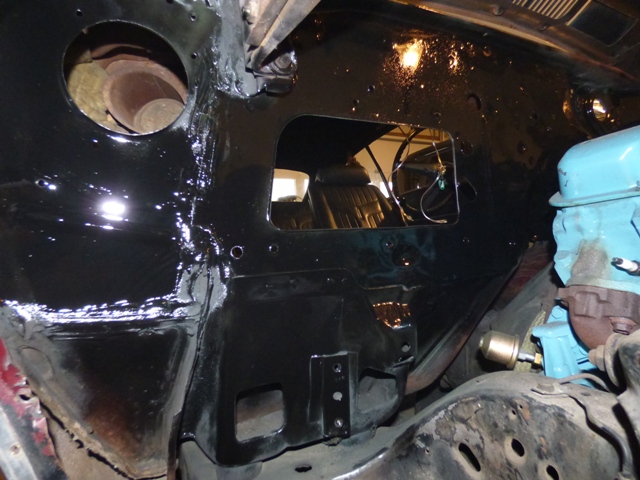
Doesn't look bad really. Sadly when removing the wire cover for the oil pressure sender the tab popped off. Quite annoying, but not a show stopper. The good news is no one can see the spots that I missed...
More paint. Of course after I finished the painting I noticed the can said "not for use with self etching primers" which made me roll my eyes since I used self etching primer. Will it matter? No idea. Considering the can also said "only for use with Eastwood primers" which I didn't use as well, so bleh. It should hold up just fine without too much trouble.
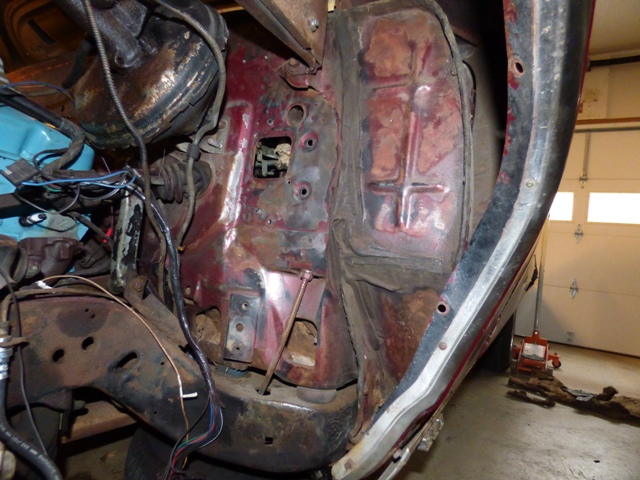
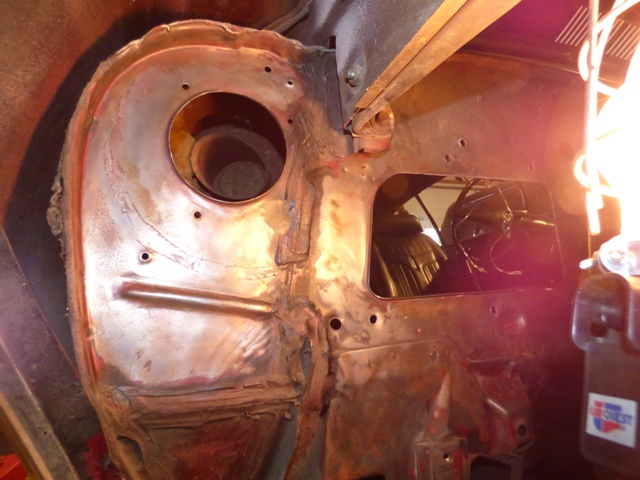
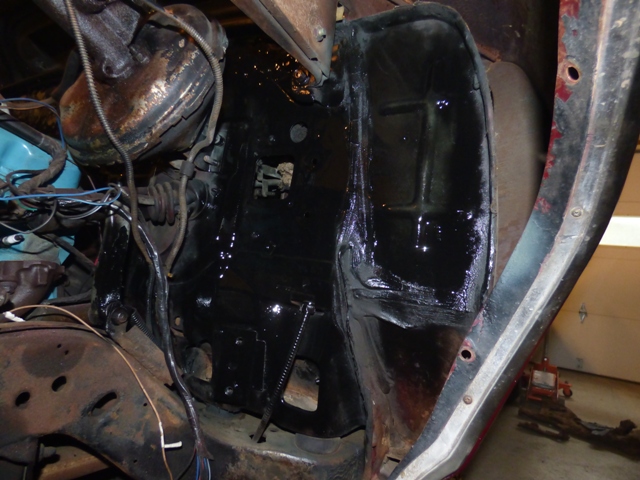
Firewall insulation is completely removed. Preparing the surface for the new insulation.

All insulation removed from the firewall continues. There are holes for 7 plugs to hold the insulation in place, yet only 2 were in place!
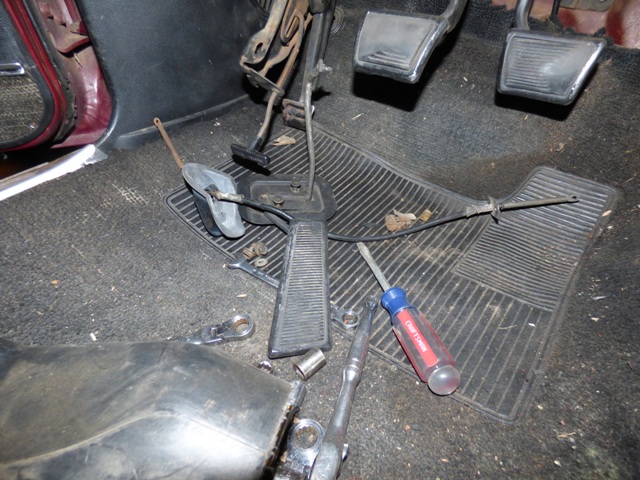
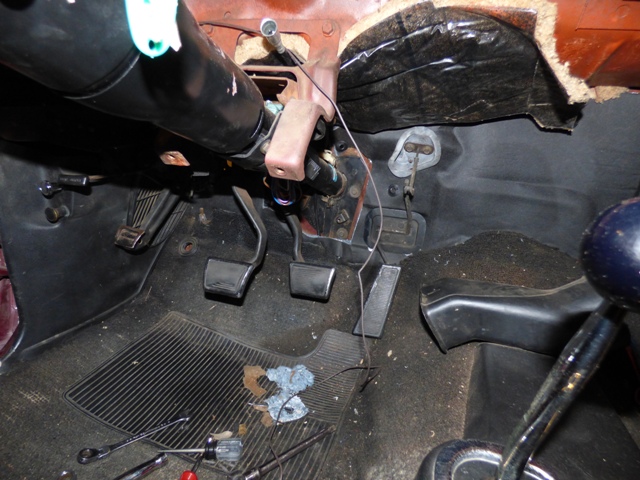
Linkages had to be removed to access the firewall. The instructions say "remove EVERYTHING from the firewall" and they weren't kidding...
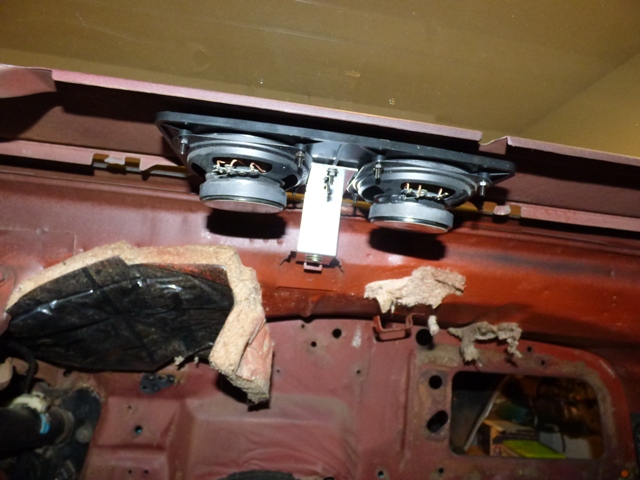
Oh yeah, put the front speakers in while I'm here. It's Custom Autosound who I'm not thrilled with, but it's cheap and easy. Bracket mounts 2X 3.5" speakers in place of the original 4x10 single speaker. 140W each, should sound decent.
Since the firewall has numerous holes in it, I decided to plug them. I also plugged part of the trunk that leaked pretty good too (why anyone would drill a hole in the trunk is besides me...). This is metal epoxy that mixes together like putty and heats up and hardens up like steel. I've used it to plug exhaust crossovers without issue and all was good, so no reason to worry about it here.
Non-factory holes are plugged. There are plenty of holes ALREADY in the firewall, so WHY a previous owner felt the need to drill extras is beside me (yet again, common theme on this car).
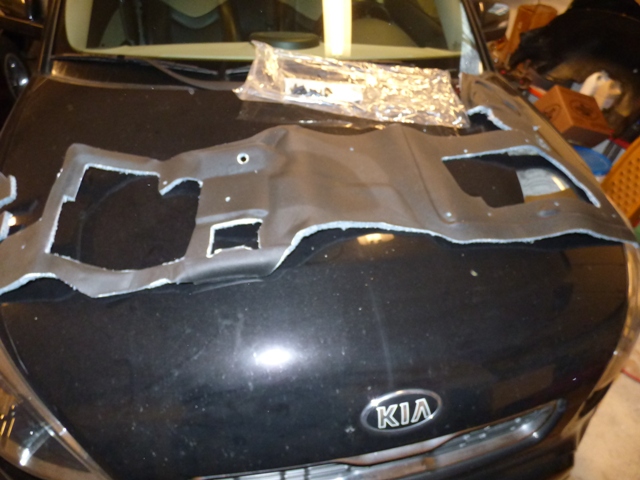
The new insulation is really nice.
Firewall is insulated! I had to cut a piece of it out here to go over the brake booster and steering column mount, no idea how you would get it on as the steering column mount appears to be welded onto the firewall. And while they advertise it as an "exact fit" piece, see the plastic piece where the throttle cable mounts? On the 1969 A-body there was a chunk cut out for this plastic piece to mount to the firewall. It wasn't cut out in this piece (probably for a cheaper Chevy) so I had to use my knife and trim out a piece. Not exactly what I wanted to do, but it worked out pretty nicely!
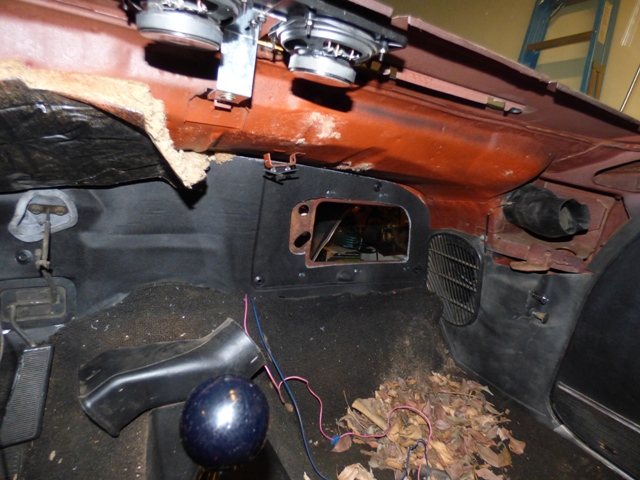
Heater box insulation mounted. While there were 6 holes cut out for the mounting tabs, the 7th in the upper right in the picture was NOT cut out. I used an awl to locate it and punched a hole. Then used a knife to spread the insulation out to allow the mount to slide in and locate it. Also of note is the 5 mounting holes for the heater box were off by almost 3/8" and I needed to use my awl to punch holes in it and the knife to cut everything to spec. So when the heater box goes in, it should fit fine now. Here it's tempting to blame "reproduction parts" as being "crappy" and "generic" that don't fit without work... but I'm suspecting that even on the line workers were given parts that weren't perfect and they made them fit as best as they could. It's just that after 20-50 years people forget that...
Hook up the parking brake assembly and snake the tachometer wire through the grommet and we're ready to roll! Of course I scratched up the paint slightly... annoying. I'll spray it up and make it look fine. No one will care or see it.
Not a bad days work. Took almost 5 hours to get here, lots of work to get here. It was miserably cold outside but through the magic of natural gas heating I managed to get a lot of work done. I'm letting the paint dry for 24 hours before I do anything else, no sense rushing things. Just need to rebuild the heater box and install the radio and I'm ready to get everything back together.
Return to 1969 Lemans
Last updated February 21st, 2015