Dash & Firewall Restoration - Part 11 - 03/02/2015
Last day! Time to finish everything up and be done.
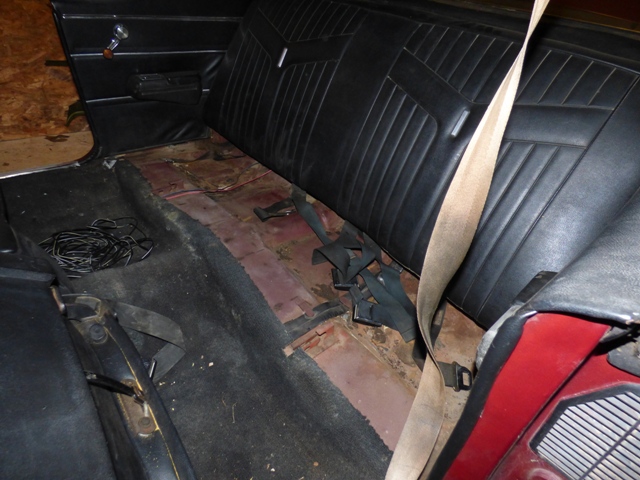
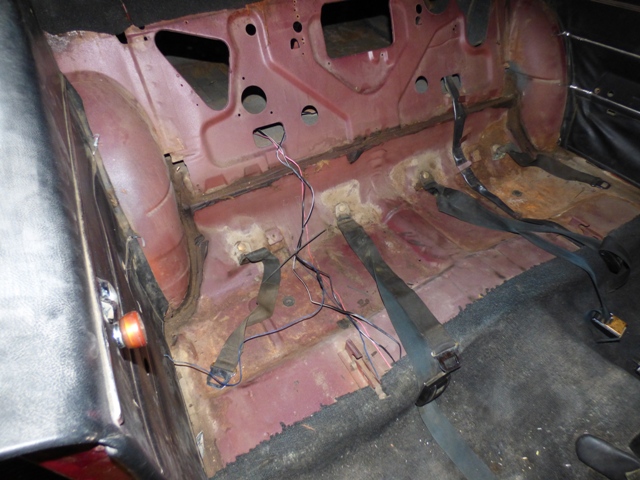
To get speaker wires run, back seat has to come out. Lean on the front part with the knee and lift up and the catch releases quite easily. Nice to see solid metal and no rust or rot, but plenty of dirt.
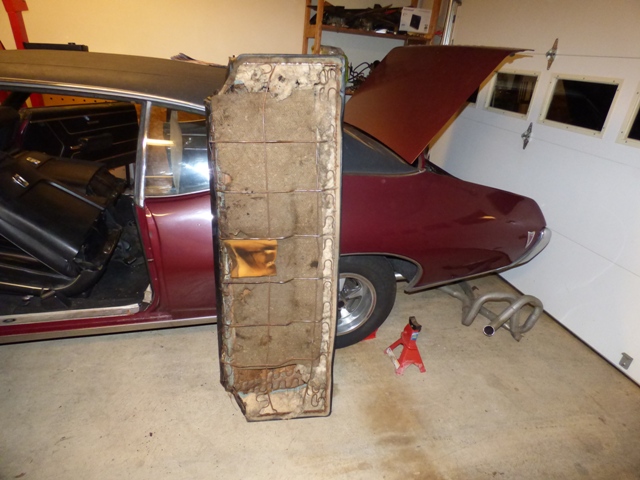
The seat bottom cushion looks pretty nice for being 45 years old. No evidence of build sheet here sadly.
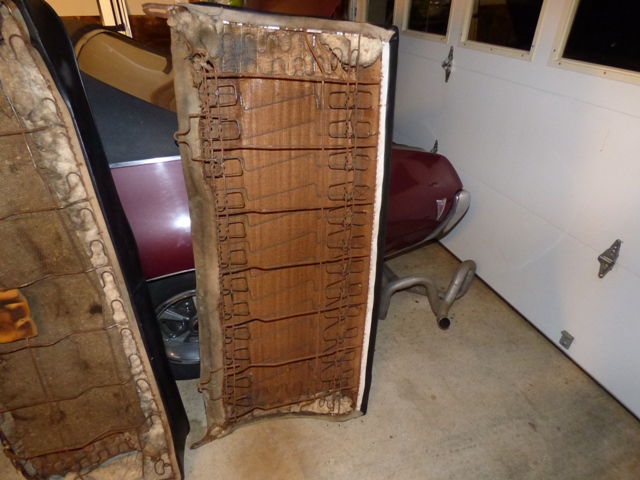
Top seat back cushion looks really good too. And once again no build sheet. Of the multiple Fremont cars I've had, only one had a build sheet here and this car has been apart before so there's no reason to expect to see one. The previous owner who did the work last on this car saved me a ton of time on seat removal by not putting any of the retaining hardware in.
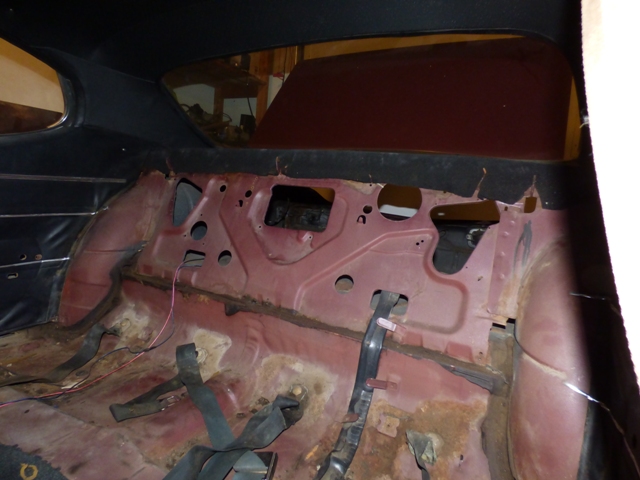
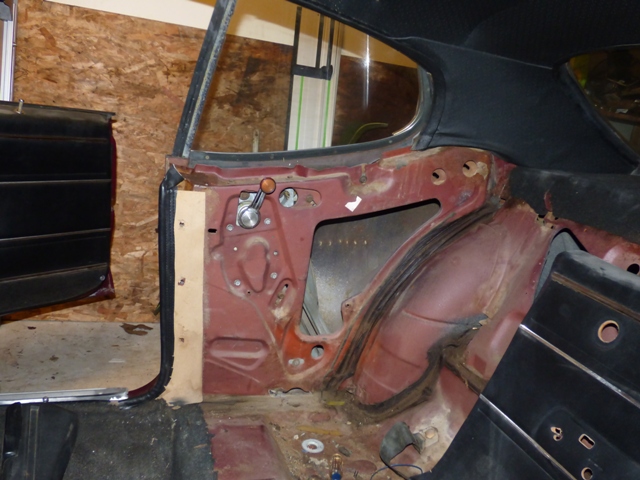
Not a bad looking back seat area.
Since the quarter window doesn't close fully, I decided to take off the panel and find out why. Letting water in the car is not acceptable.
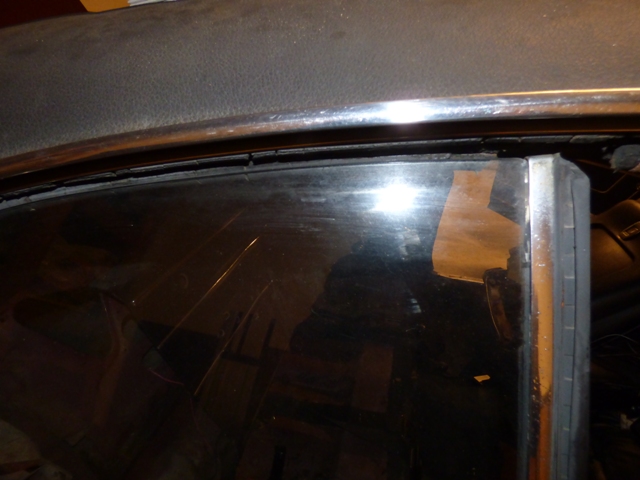
Almost a half inch gap at fully rolled up.
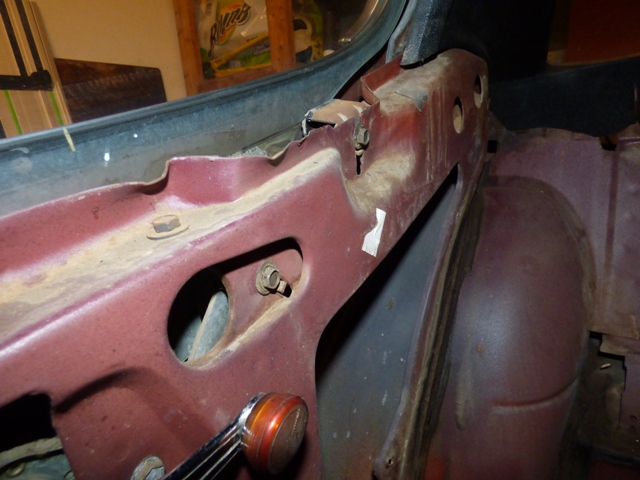
The 2 right side nuts are the window stops. The lower is the front stop and the upper right is the rear stop. I adjusted the rear stop up slightly (it was low) and adjusted the front stop as well and now the window goes up to the top and seats fully against the weatherstripping and front door.
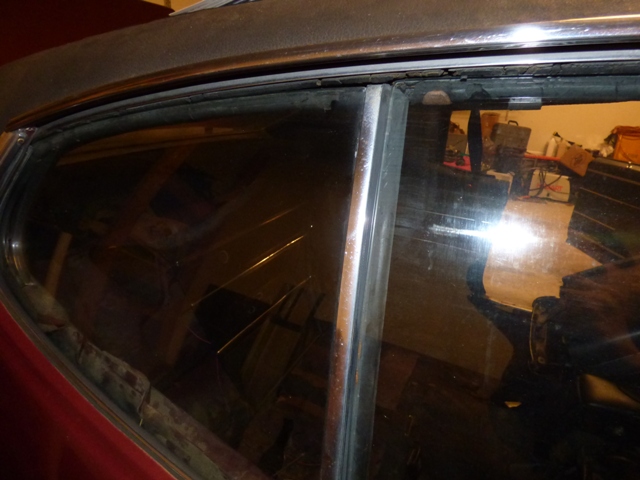
Sealed! The weatherstripping is missing some chunks so it isn't perfect, but that's a job for another day...
After using the shop-vac to clean up the trash, it's time to finish what we are here for: install the rear speaker wires. The pink wire is for a power trunk release. No solenoid on the deck lid so no real reason to get excited. Button is in the glove box at least, so in the future I can add it if I feel so inclined.
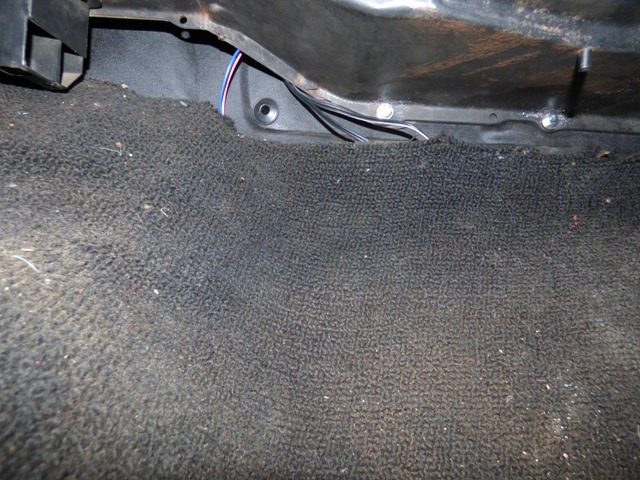
Speaker wires are routed behind the heater box where the rear speaker and power trunk release wires go.
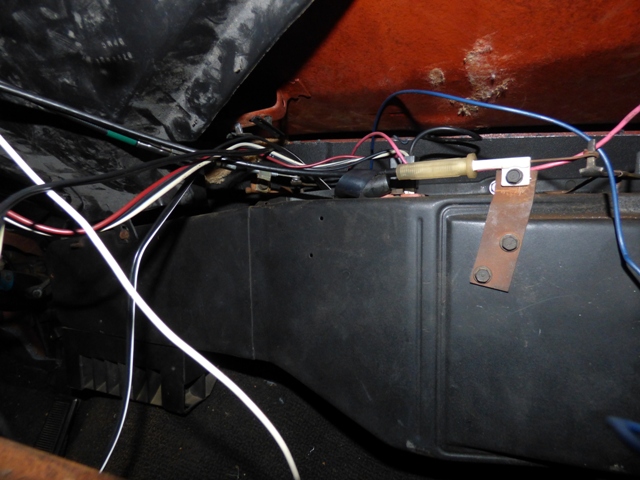
A little messy for now...

Solder in the new speaker wires to the radio and cover with heat shrink tubing.
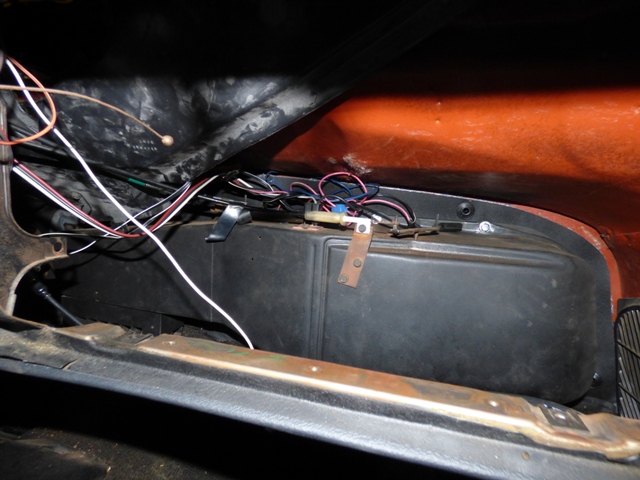
Wires are routed out of the way through the factory brace above the heater box and stuffed in the back to keep them from moving around.
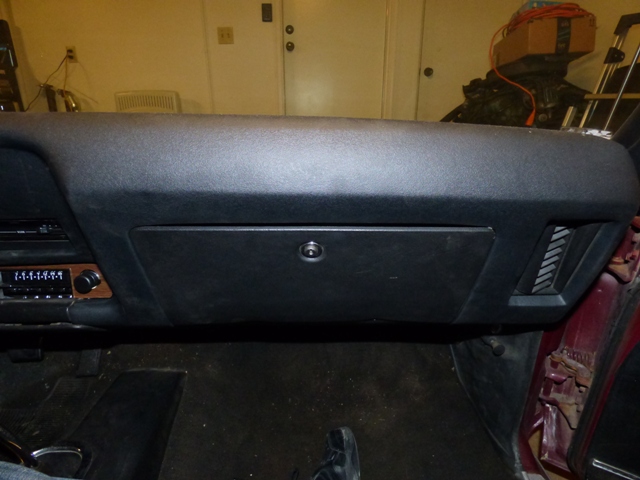
Reinstall the glove box. Had to re-adjust the glove box latch to ensure that when closed the glove box light didn't stay on - it would at first. Now you can bang on it and open and close the doors without the glove box light coming on or the glove box door dropping down open by itself.
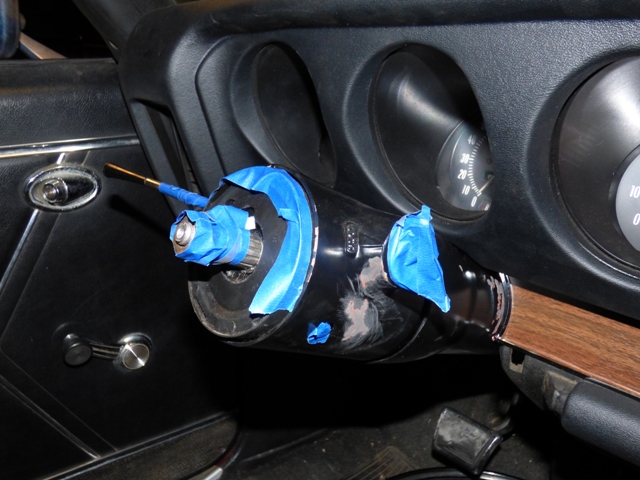
Column is taped up and sanded down to allow for painting.
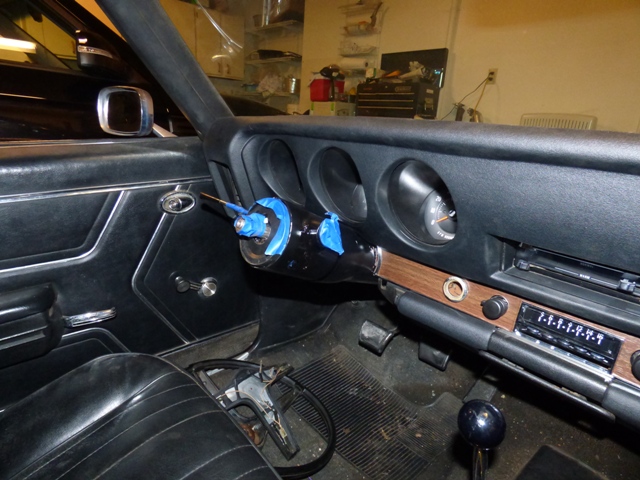
Steering column is painted. Not perfect, but it isn't too terrible. Beats looking at a scratched column!
Well that was a long process, but I think it's worth it. Once the paint dries the steering wheel goes back on. Everything else is tested and working, so I'm done here. Replacing weatherstripping will be the next project!
Return to 1969 Lemans
Last updated March 2nd, 2015