Dash & Firewall Restoration - Part 2 - 02/17/2015
What do you do during an ice storm with nothing else better to do? Make progress on the car, that's what!
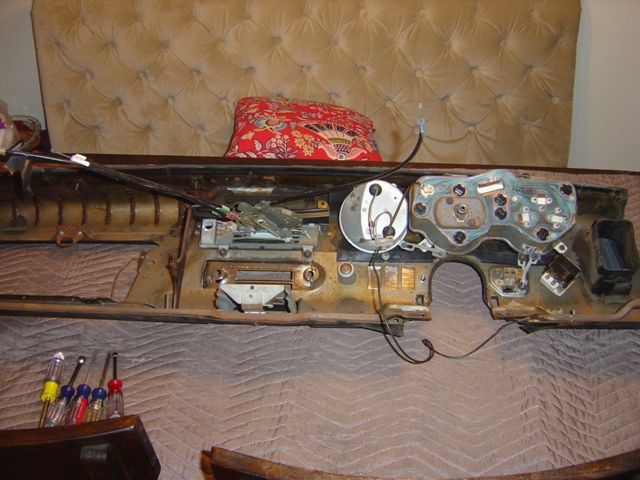
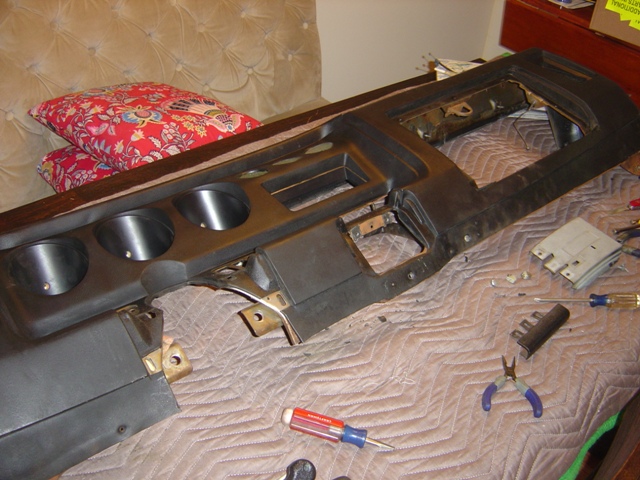
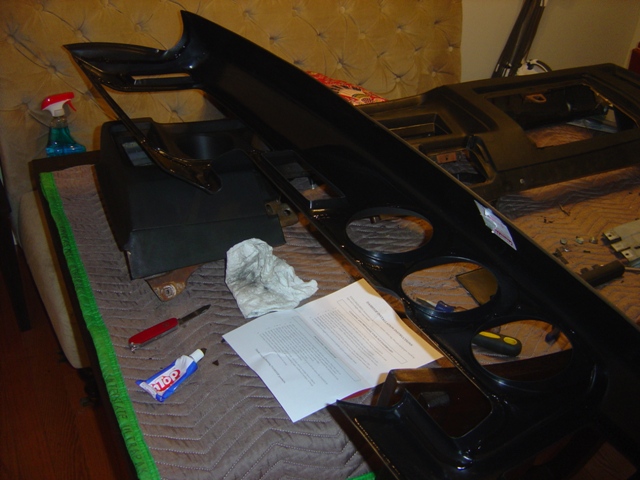
Dash is prepared for stripping and rebuilding.
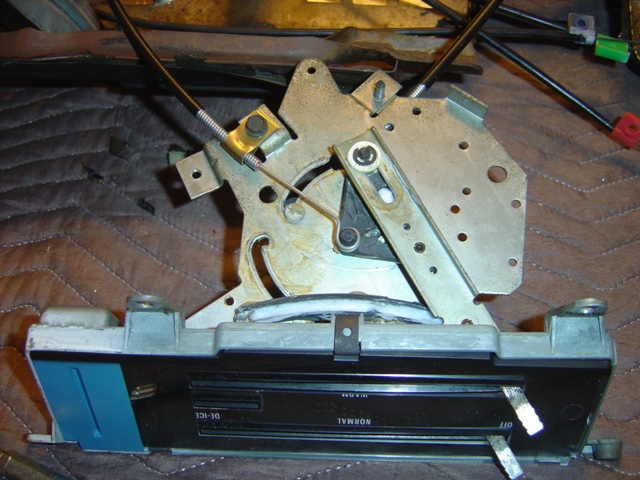
Everything is removed. The heater controls don't work so they need to be rebuilt and cleaned.
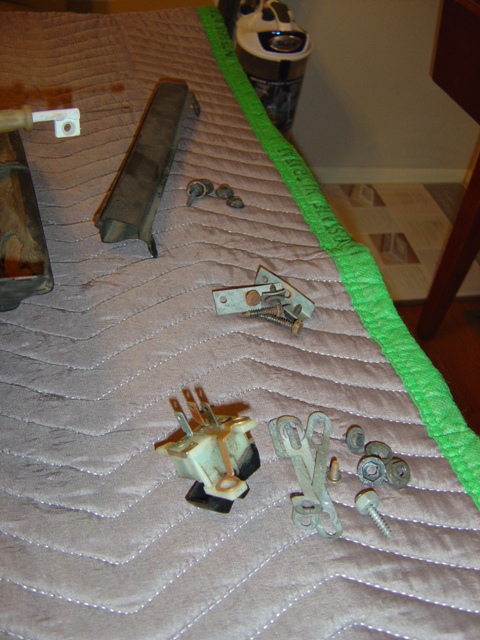
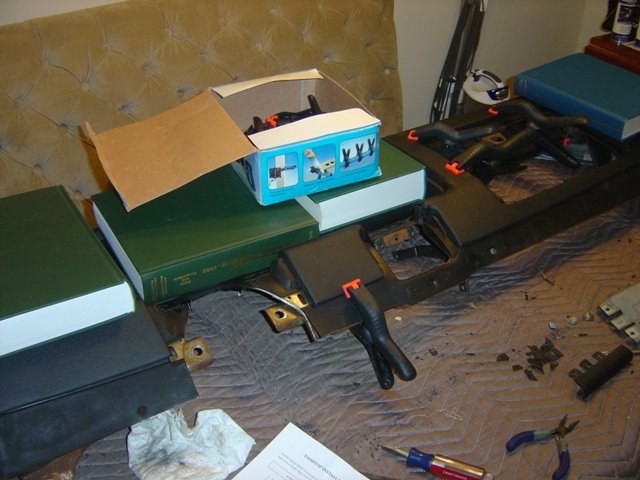
Keep all of the dash hardware safe and sound. The straps are for grounding the clusters and are quite important.
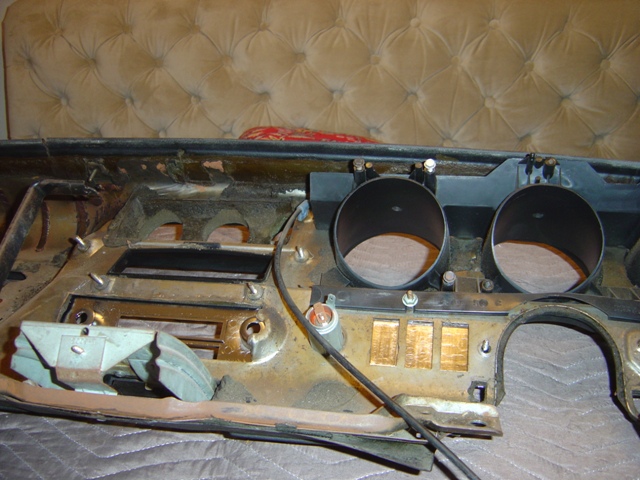
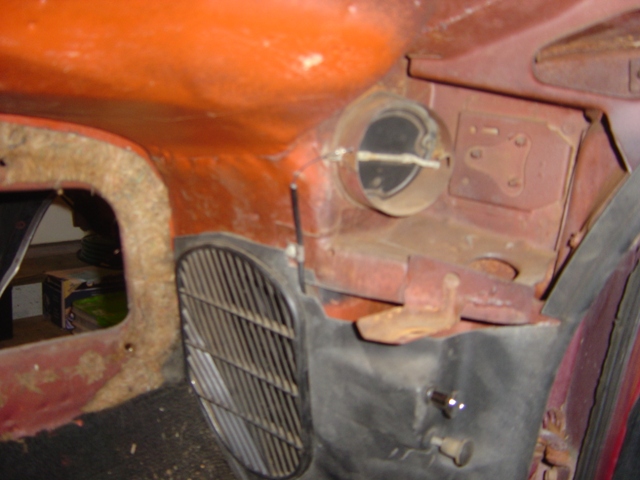
45 years of dirt and grime take their toll...
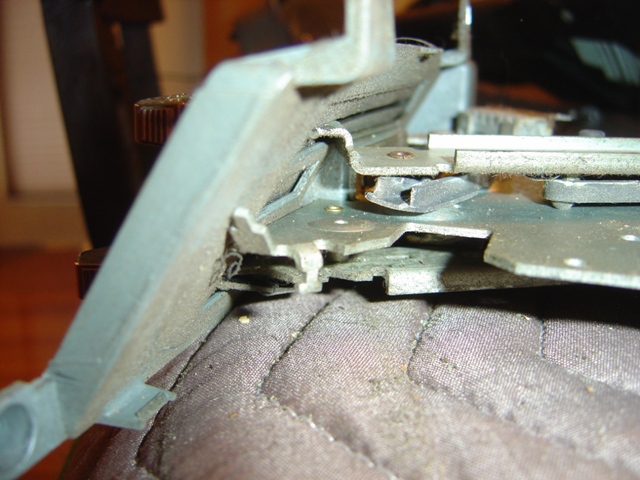
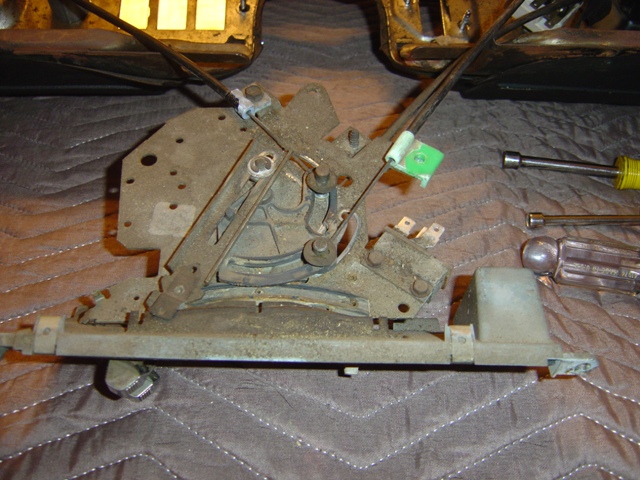
Not easy to see, but the tab that slides in has come dislodged from both sliders so they are stuck. Lack of grease or pushing them too hard can cause this.
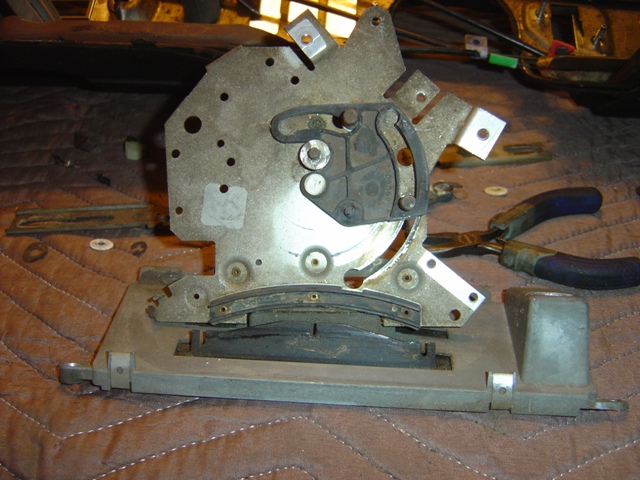
Heater control sliders and cables removed and all old dry grease is removed.
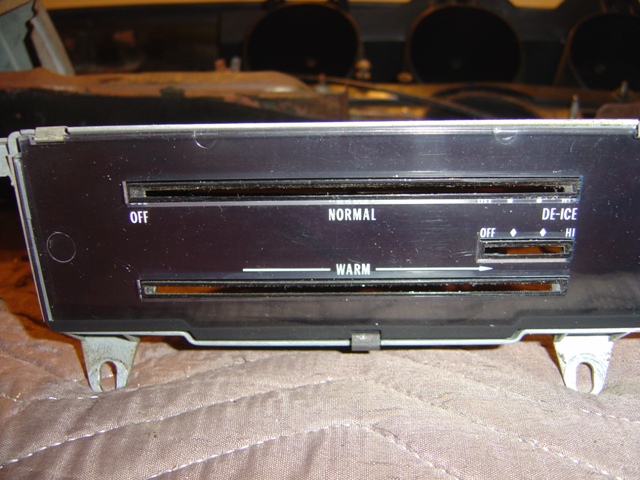
New lense is installed since the other one was so cloudy you couldn't read it.

Temperature slider control is greased and reinstalled.
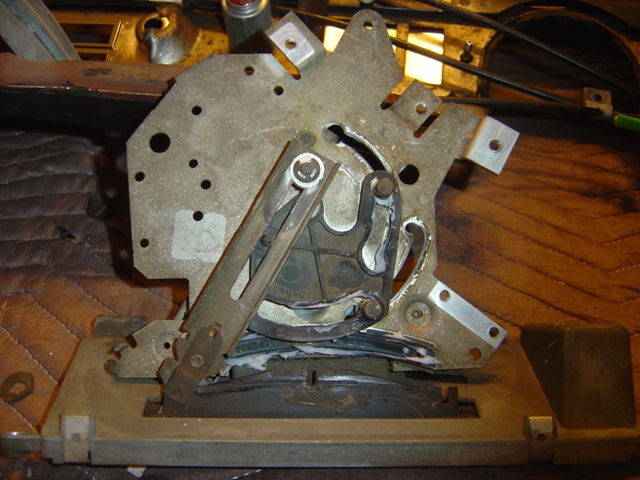
De-ice and Heater position sliders are greased and reinstalled as well. After adjusting and plenty of back and forth action they operate like new.
Temperature cable is installed.
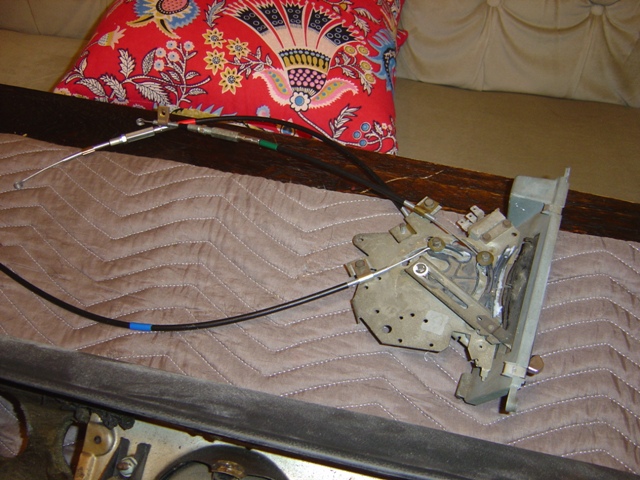
All cables and adjustment knobs installed and tested, everything is ready to go and be put back in dash.
Dash is stripped of everything, all high spots are cut out or broken down, sanding is done, and final cleaning to remove grease is accomplished.
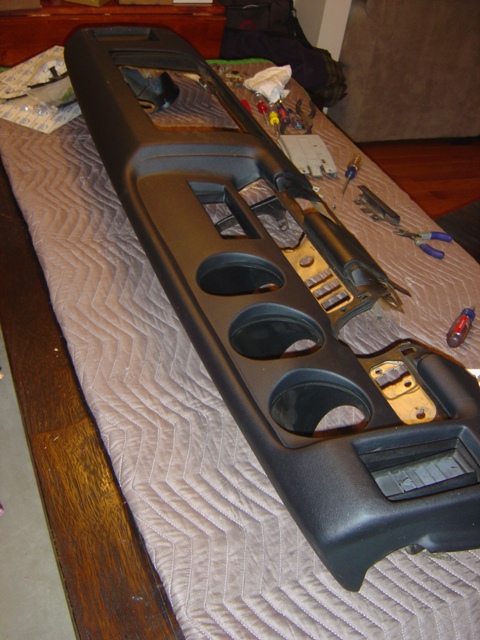
Dash cover is test fit after all prep work, fit is decent.
Glue for the dash cover is applied and allowed to tack up.
Cover installed and weighted down. Clamps are used to ensure everything gets a nice firm bit of pressure to keep the cover from not adhering. The company who provides this dash says you can do it in the car and it will be dry after 2-4 hours. Personally I can't see getting a great fit and pressure points down with it in the car and I like to let my silicon adhesive cure for 24+ hours before I start messing with it...
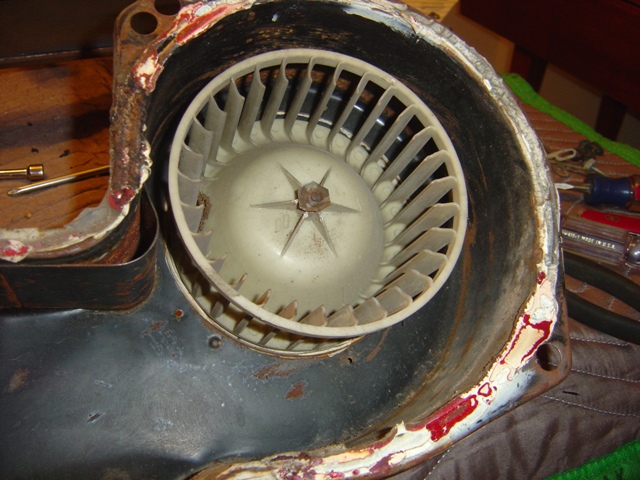
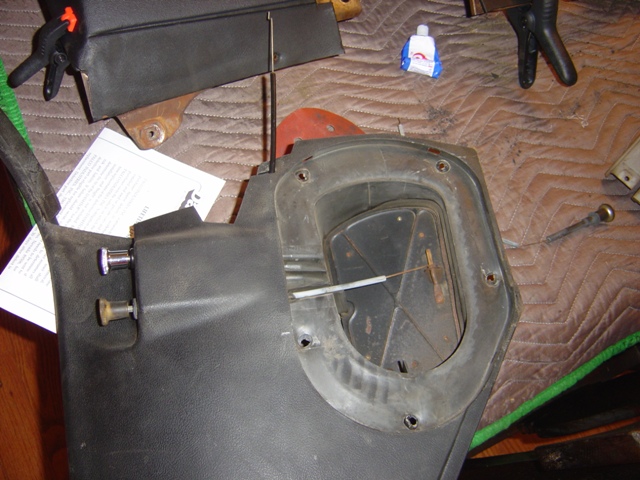
Old blower motor needs the squirrel cage removed.
And it's removed. You can see the glue job the previous hack did to the motor on the housing, ensuring it will never come off again...
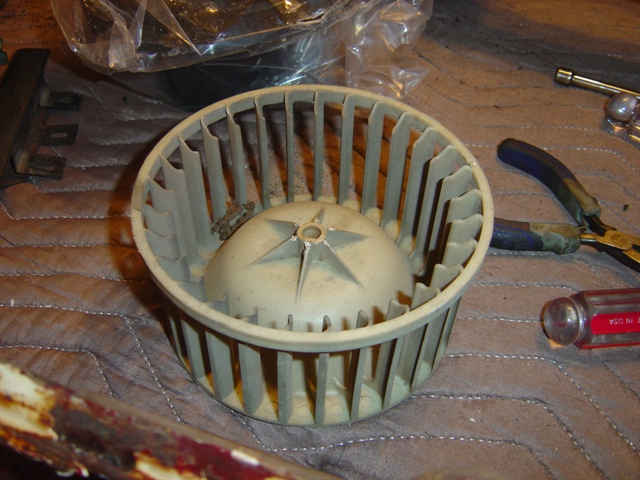
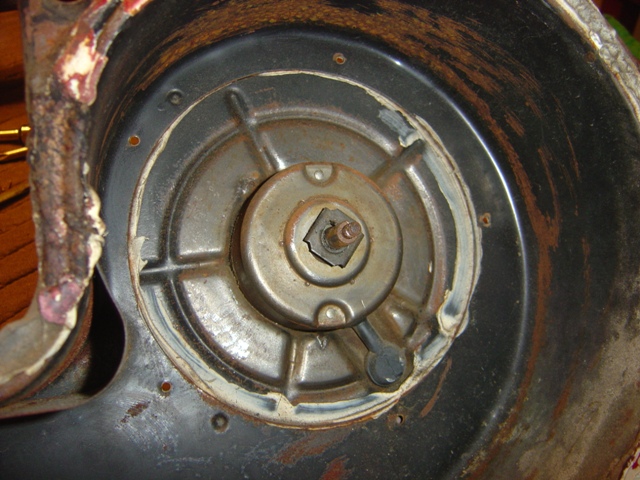
Squirrel cage looks pretty good for 45 years old.
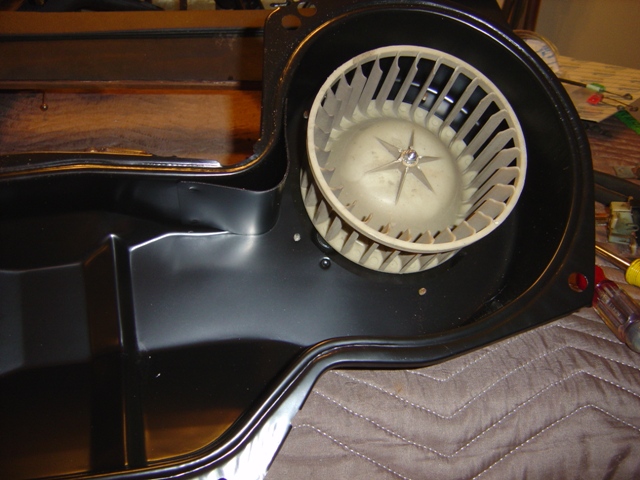
Squirrel cage installed on new blower motor and mounted to heater box.
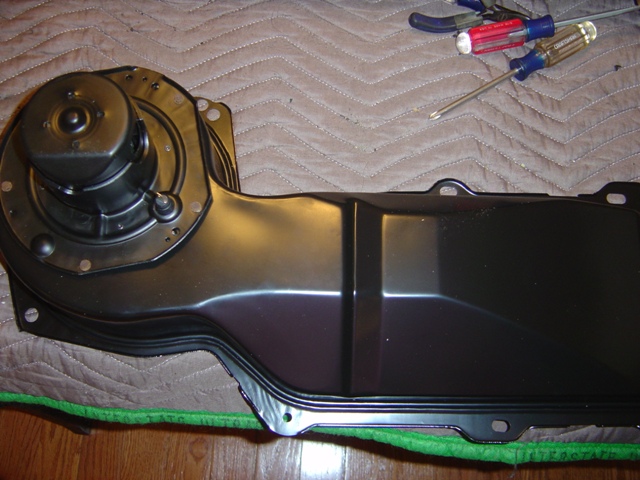
View from outside. The motor is not a perfect fit for the original but it's "close enough" for government work. There's an ever so slight gap on the lower right side, but hopefully it won't be an issue.
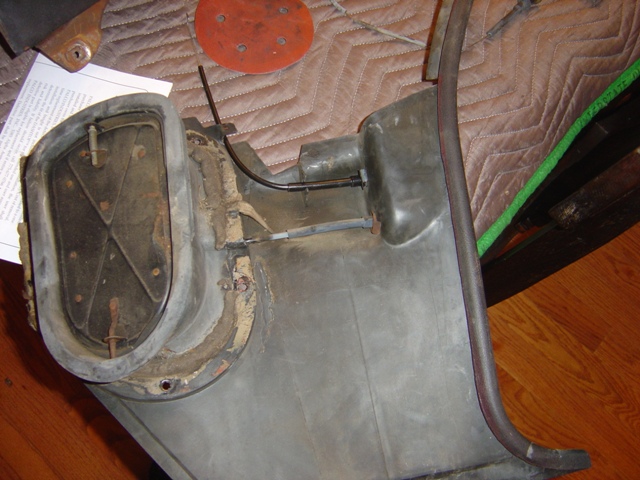
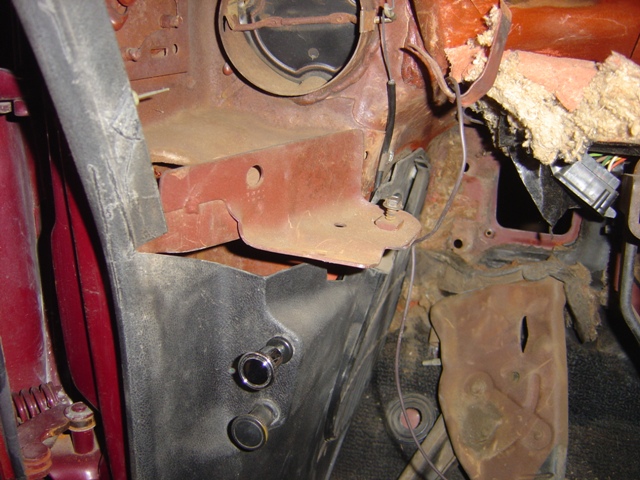
Now that the dash is curing and the blower motor housing is done, time to move on to the kick panels. Old crusty cable is removed and new is installed.
At first I thought the chrome was classier than original, but it appears the originals were chrome painted originally and it's worn down to black over the years. Go figure.
Kick panel is reinstalled and functionality verified.
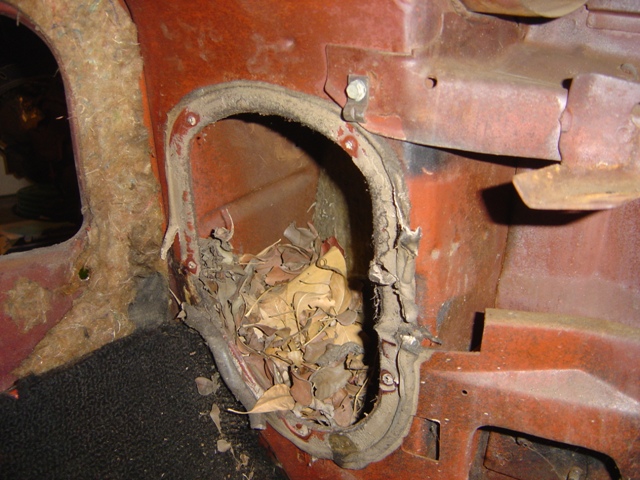
Passenger side kick panel time. Yet another finding of tons of dirt and leaves...
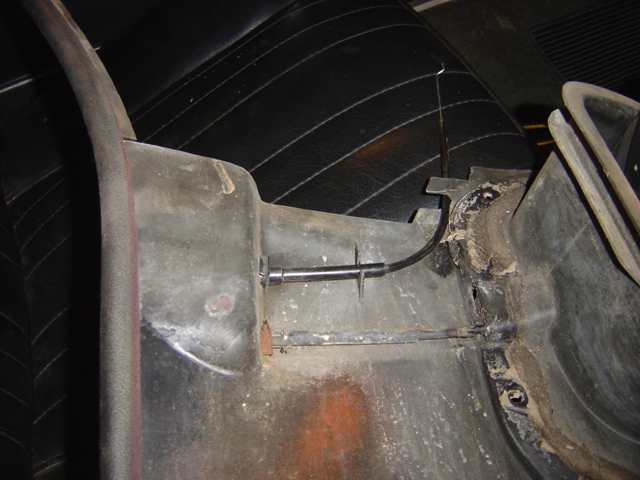
New cable installed on passenger side too. Functionality is once again verified.
And it's done too! Pretty simple job once you get to everything and see how it goes together.
Not a bad day's work. Once the dash is fully dried all of the gauges and controls will go back in and be mounted down, the dash harness will also be patched at this time as well as a few items were cut and spliced on.
Return to 1969 Lemans
Last updated February 17th, 2015