Dash & Firewall Restoration - Part 7 - 02/25/2015
Continuing on, time to finish the dash. This involves getting the last few electrical issues and installing the radio.
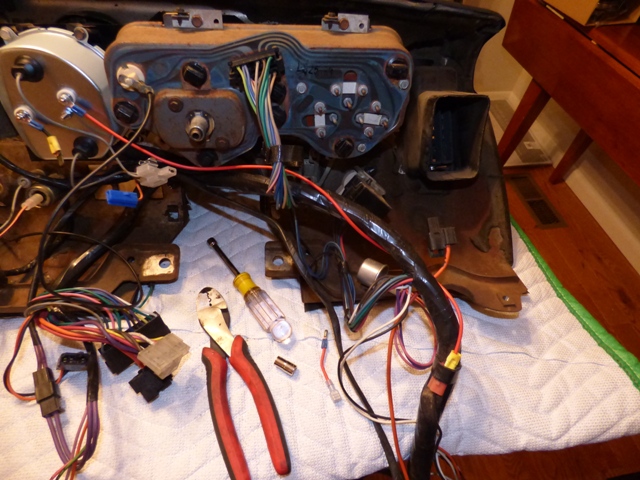
I decided to not leave the tach on +12V constantly, so I moved it to the switched +12V. In '69 the switched accessory plug was the brown wire taped up by the fuse box. Easy enough to run a longer wire.
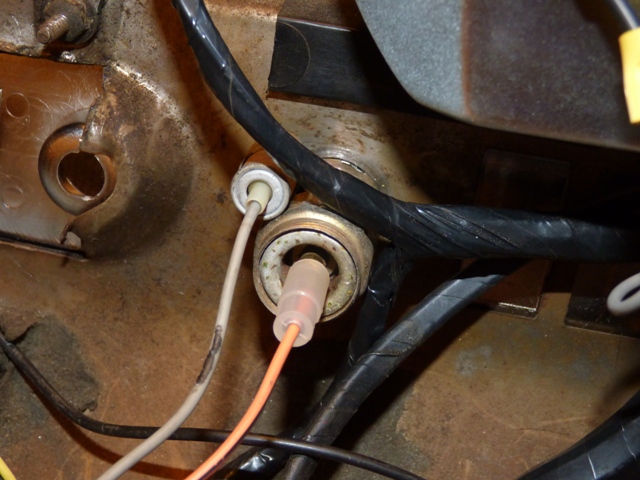
I was hunting a light bulb socket for my lighter and found this from my '72. It's correct and has the right bezel and electrical connection, so it was installed instead! You can see in the picture where the previous monkey owner cut out the metal for the radio...
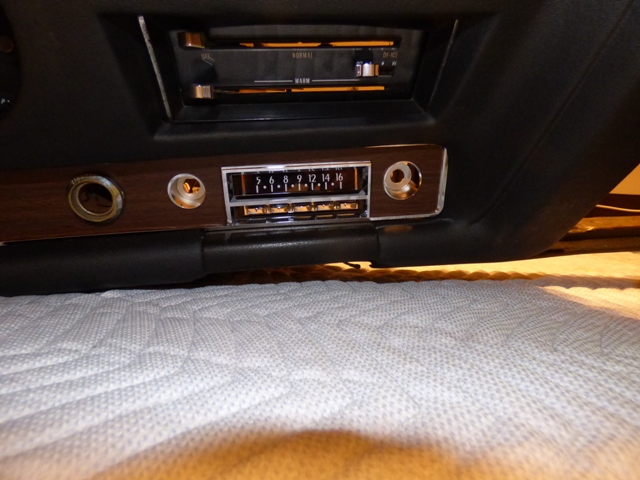
Test fitting the Retrosound Classic model. It has push buttons that are long enough to reach through, so no need to cut the bezel to make it fit. The screen protector has the AM band on it, which is kind of cute.
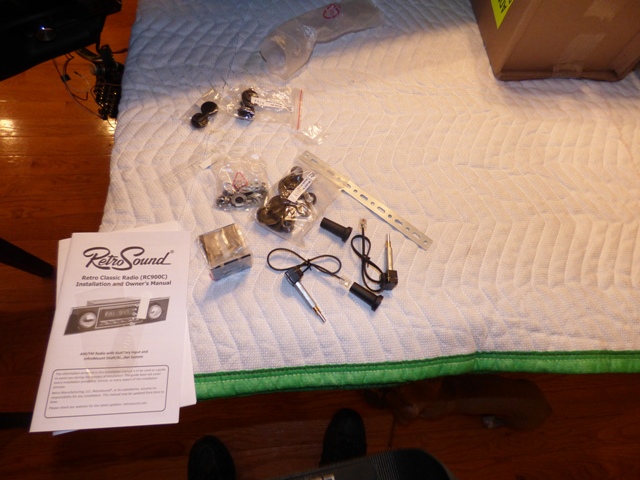
Hardware for the shaft mounts on the radio is quite diverse. Allows to be mounted any way you want it!

Test fitting the shafts for width and depth. It was supposed to be black push buttons and chrome control knobs, but I got sent the reverse. Not 100% out of place but it is easy enough to change it later if it bothers me enough.
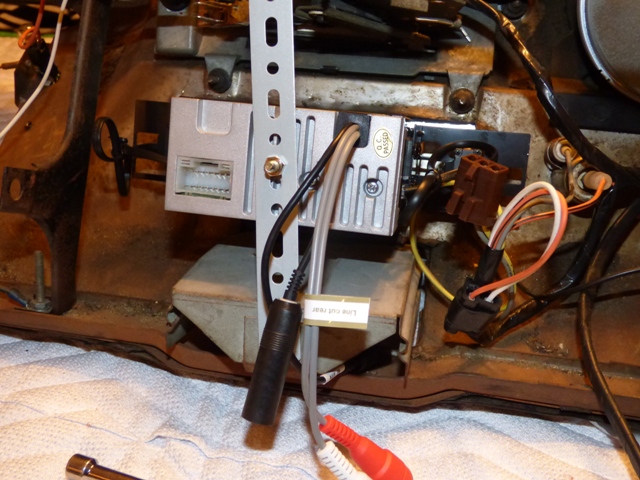
Radio is secured to the back of the ash tray. Not the best location, I wanted to use the heater bracket like the factory did it but there was no way to secure it there and not interfere with the electrical connections. Here is good enough, it isn't going anywhere. Brown plug is the factory radio connection - it only has switched +12 and the dimmer for the light bulb on it.
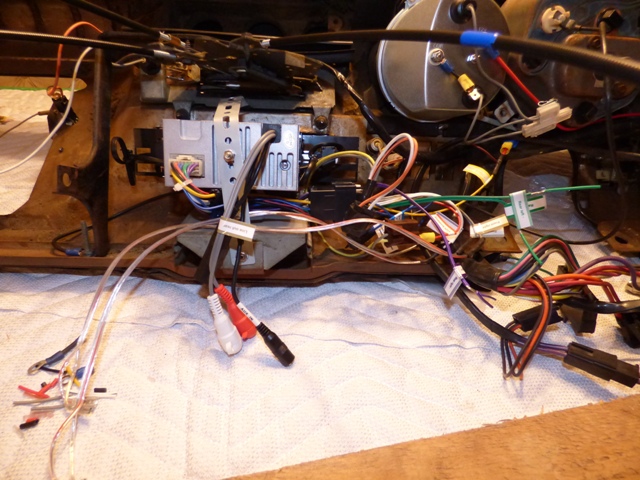
Radio harness is all wired up and routed. Ground runs to the heater control bracket, front speaker wires are soldered in and shrink tubed up, switched +12V goes to the brown connector via a spade and the constant +12V goes to the factory clock power over by the tach. No reason to run extra wires or cut up the factory harness! Rear speaker wires will be soldered in once they are run under the seats (fun job that will be).
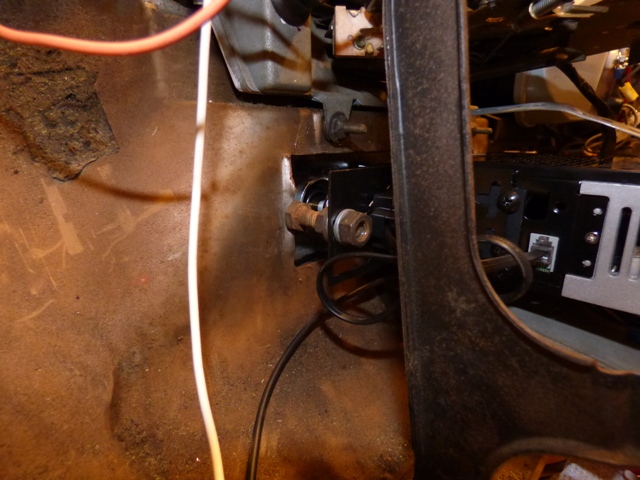
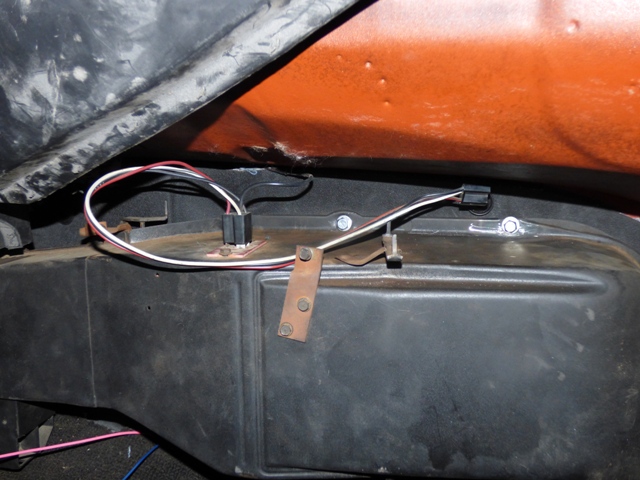
To keep the radio from wobbling back and forth too much and stressing the plastic bezel (since it has no factory metal bracing anymore) I added this extra nut, bolt and washer combo! It secures the radio from wobbling around. Crude but effective.
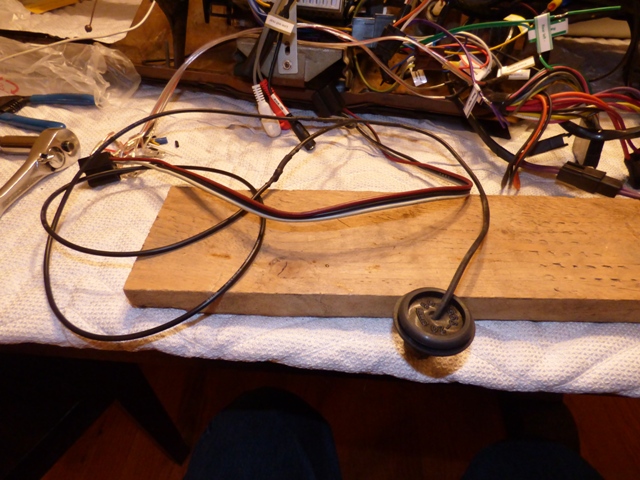
While the soldering iron is fired up I repaired the blower motor power lead. Two soldered splices and an extra 18" of wire all shrink tube hidden. Looks pretty good.
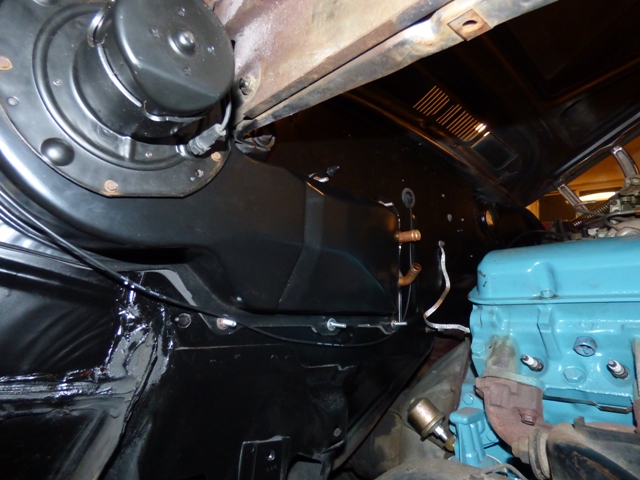
Blower power is snaked through firewall and grommet applied. I might track down the factory clip to keep the wire secure but I doubt it will move too much.
Heater power cable is plugged into resistor and is ready to hook back up to fan switch when dash goes back in.
Speaking of, the dash is now 100% ready to go back in and be hooked up. Great feeling to get it this far. Audrey was commenting how nice it looks now that it isn't full of holes or warped and cracked.
Return to 1969 Lemans
Last updated February 25th, 2015