Hookup - Part 3 - 06/06/2020
More hooking up. I feel like a dating site with all the hooking up that's going on.
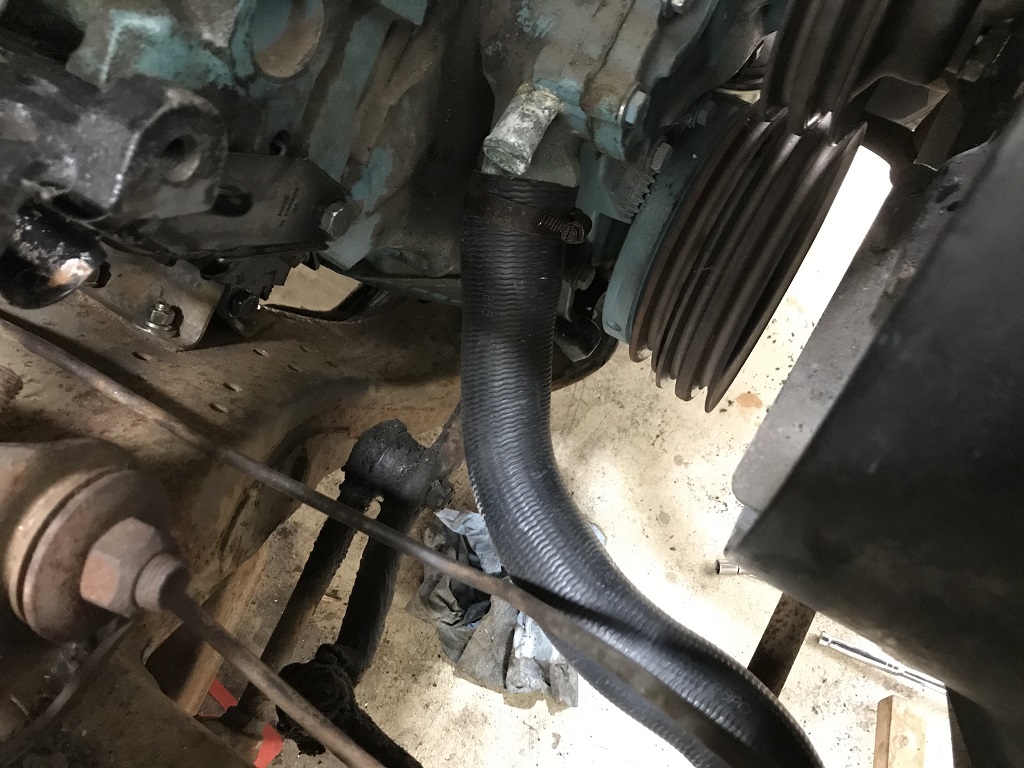
We begin with an example of "one carline" of parts not fitting correctly. This hose is about 2" too short to fit properly. It fits and it works, but it's for a Catalina\station wagon, not the Bonneville or Grandville. This is the sort of thing you find when you put together a car... It's a VERY nicely molded hose with anti-collapse spring from Gates.
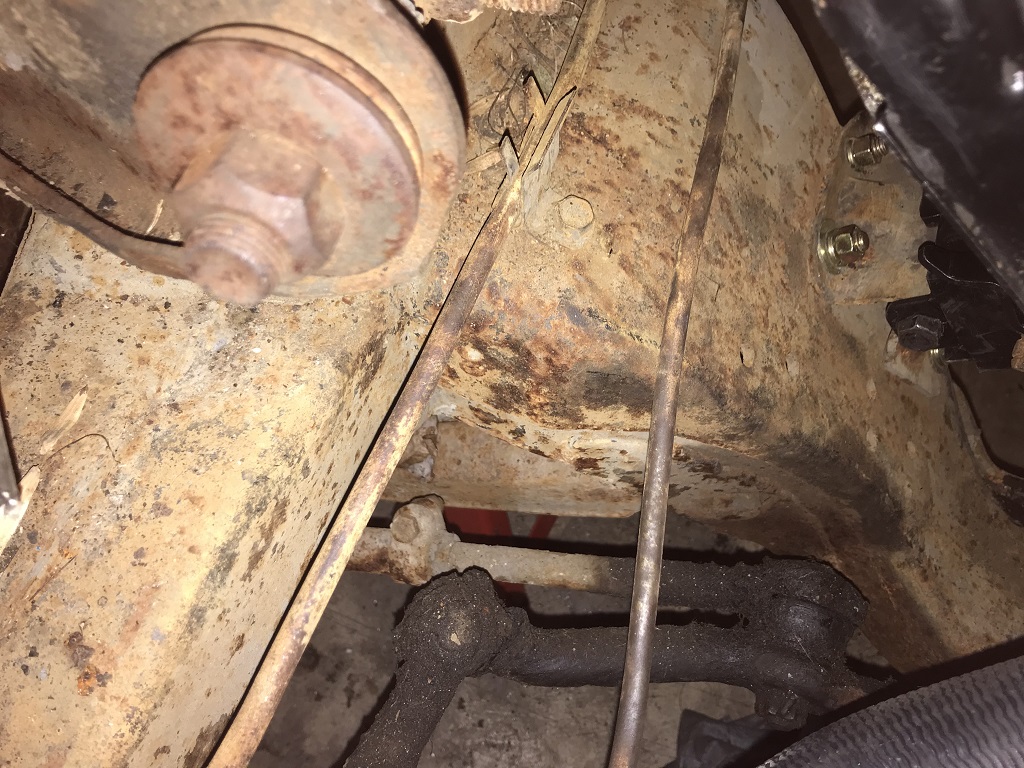
And more things not fitting correctly. The transmission cooler lines are supposed to both line up on this bracket to be held out of the way. I'm not certain if I have them backwards on the transmission end of things, but one definitely does NOT want to fit with the other. It may interfere too closely to the exhaust so I'll have to check it once the manifolds are on. The motor mount would also not fully thread the bolt in. Turns out the rubber sat up too high on the motor and it was cocked to the side. I loosened the 3 mount bolts and gave it some gentle love taps and it slid down. Then I used a block of wood to hammer the motor mount bolt into the slot to finally screw in. Then tightened it all back up again!
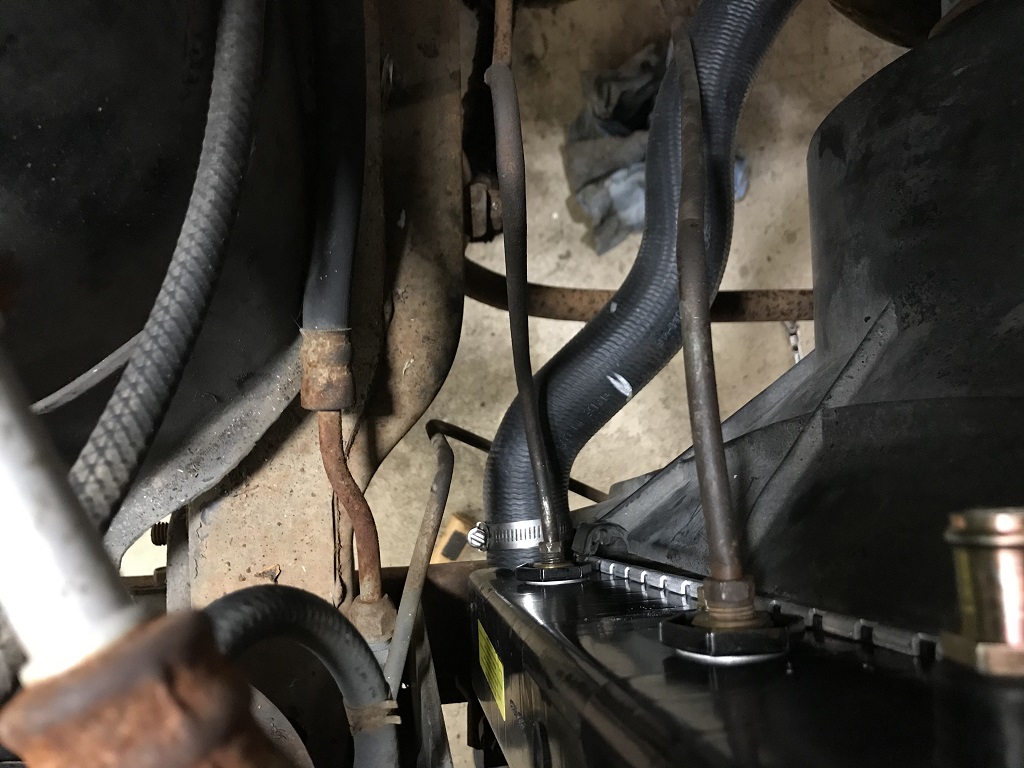
Transmission cooler lines do go in. The top one needed some "love bumps" because the cooler for a TH400 car and a TH350 car are not the same, but the "one size fits all" radiators on the market chose the TH350 cooler ports.
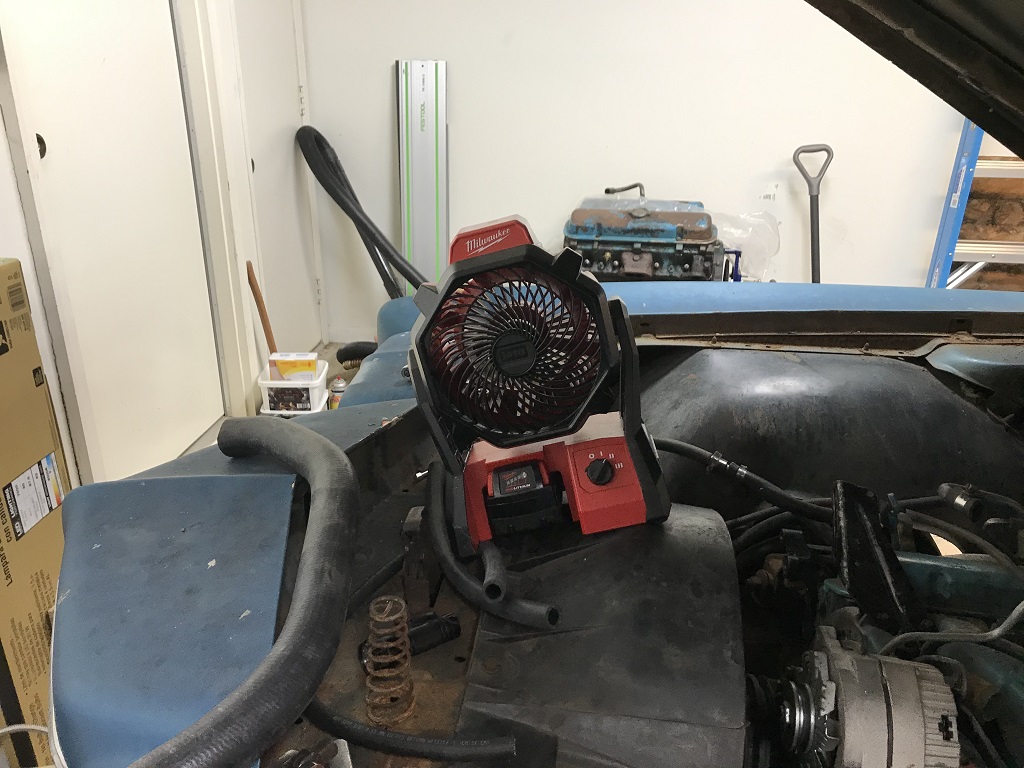
It is SO stinking hot today I had to break out the portable fan.
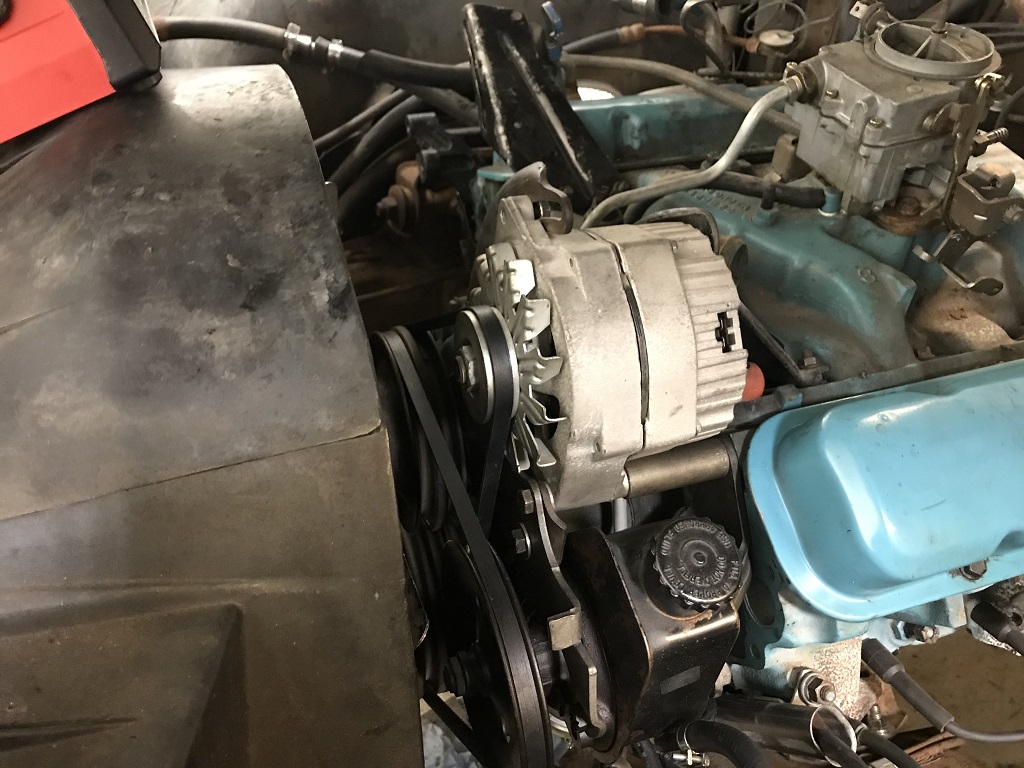
Belts go on, easily I might add.
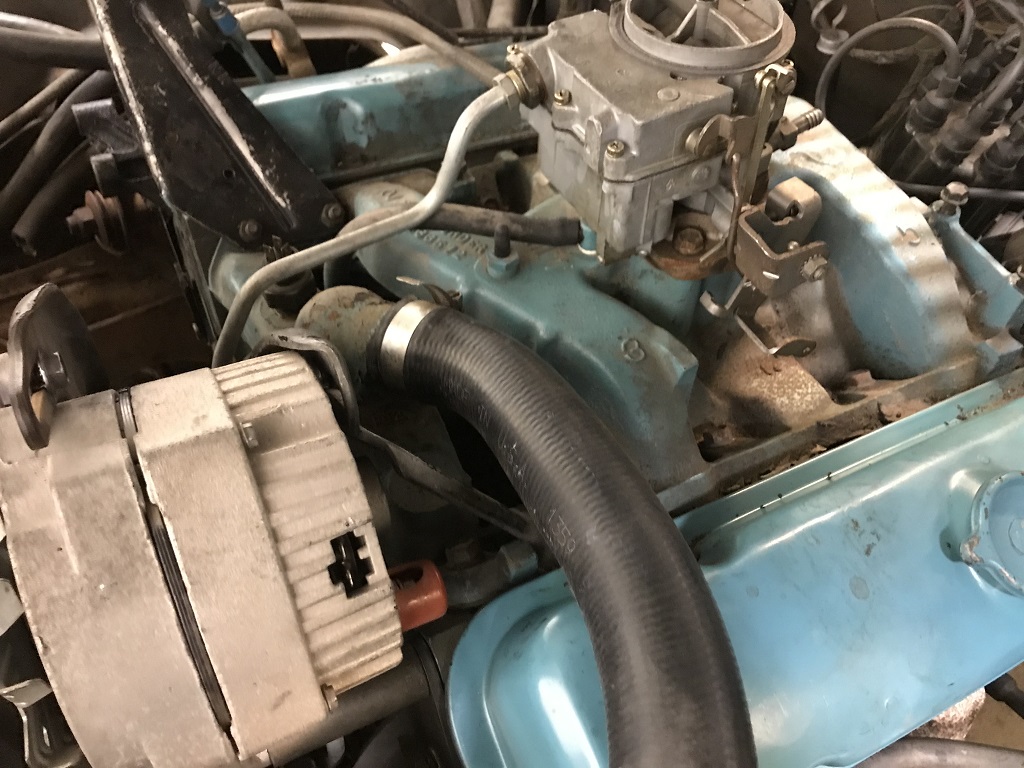
Upper radiator hose is fit to the engine.
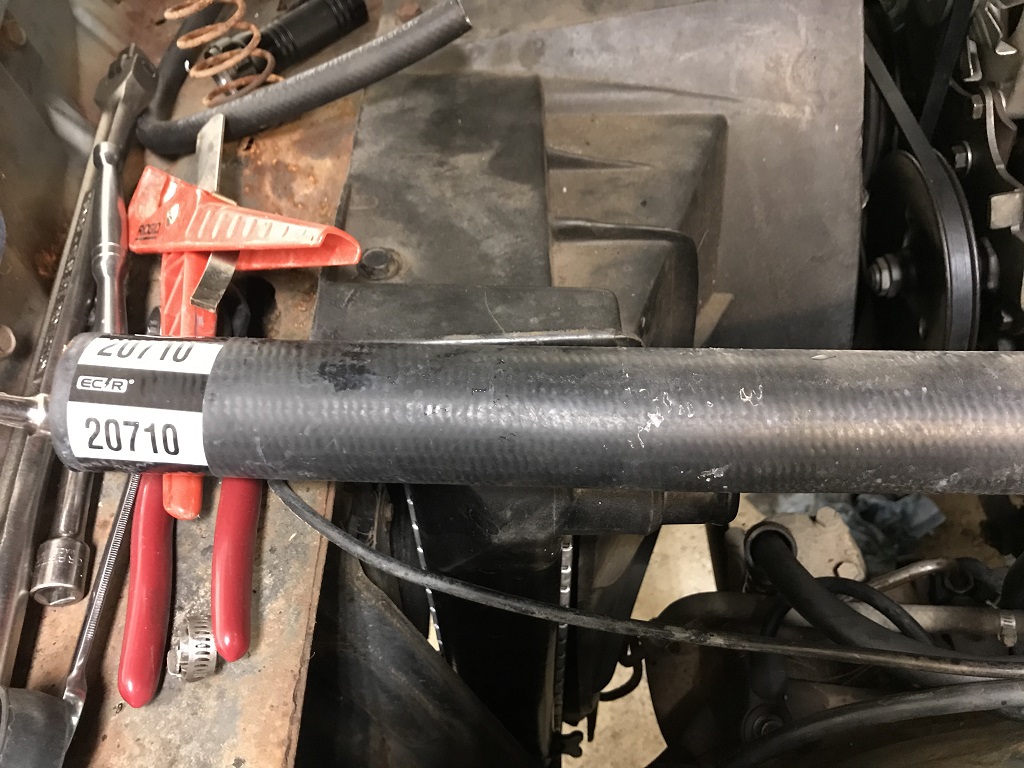
"Cut to fit" upper Gates hose is still a very nice piece and fits perfectly. I had to chop off 6"
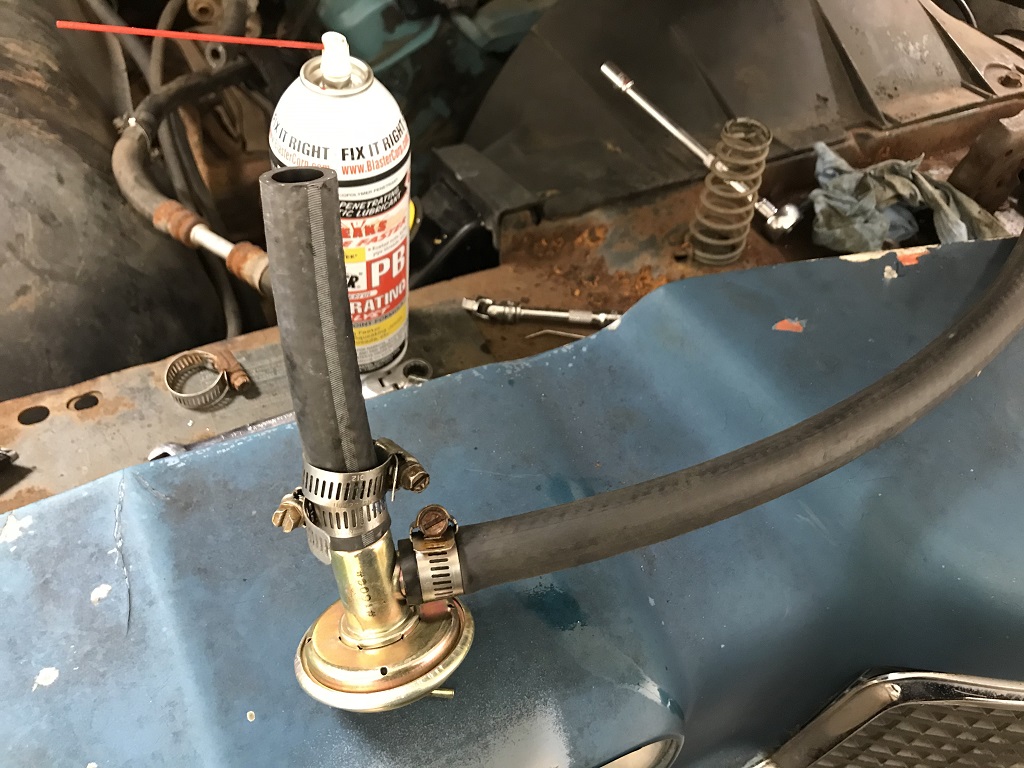
Water valve plumbing is made up after removing old rusty junk.
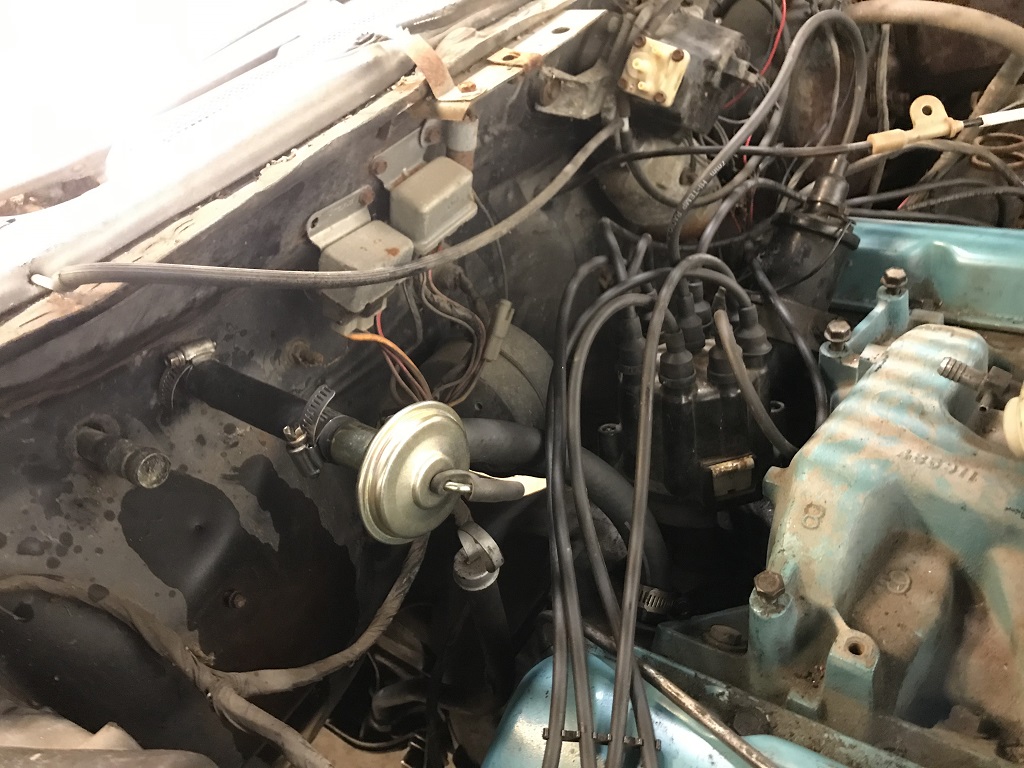
Water valve plumbing to the engine and heater core is done. I even hooked up the water valve vacuum line.
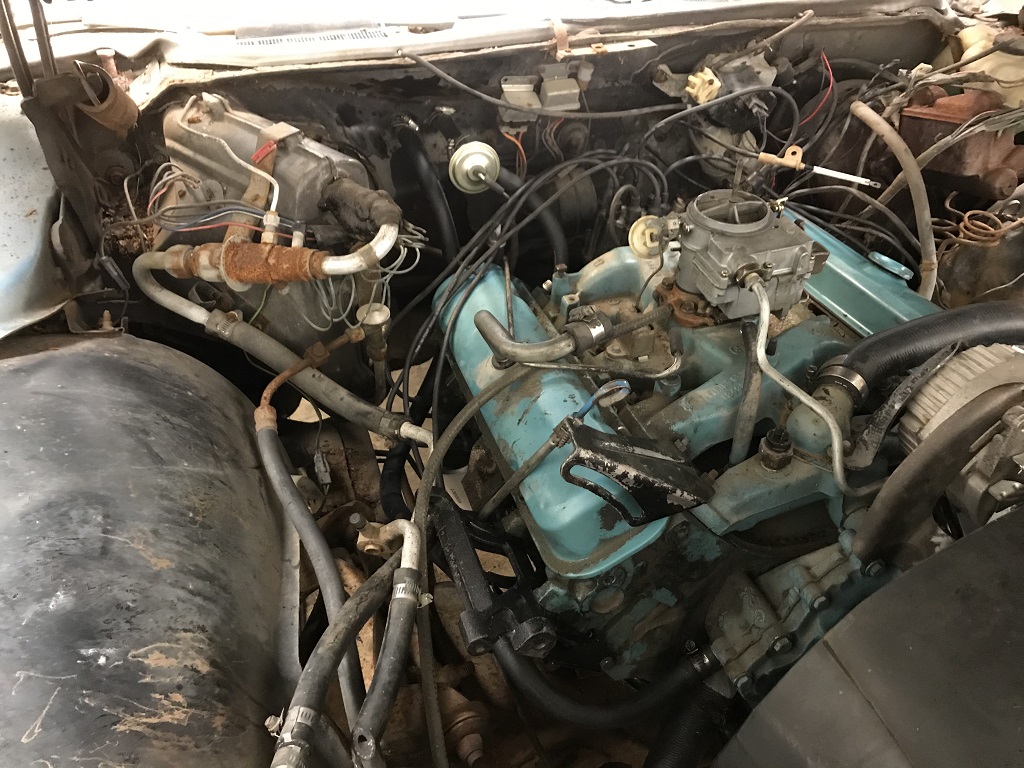
Heater core return line is cut to length and held out the way by the black Y bracket underneath the compressor. Looks very nice!
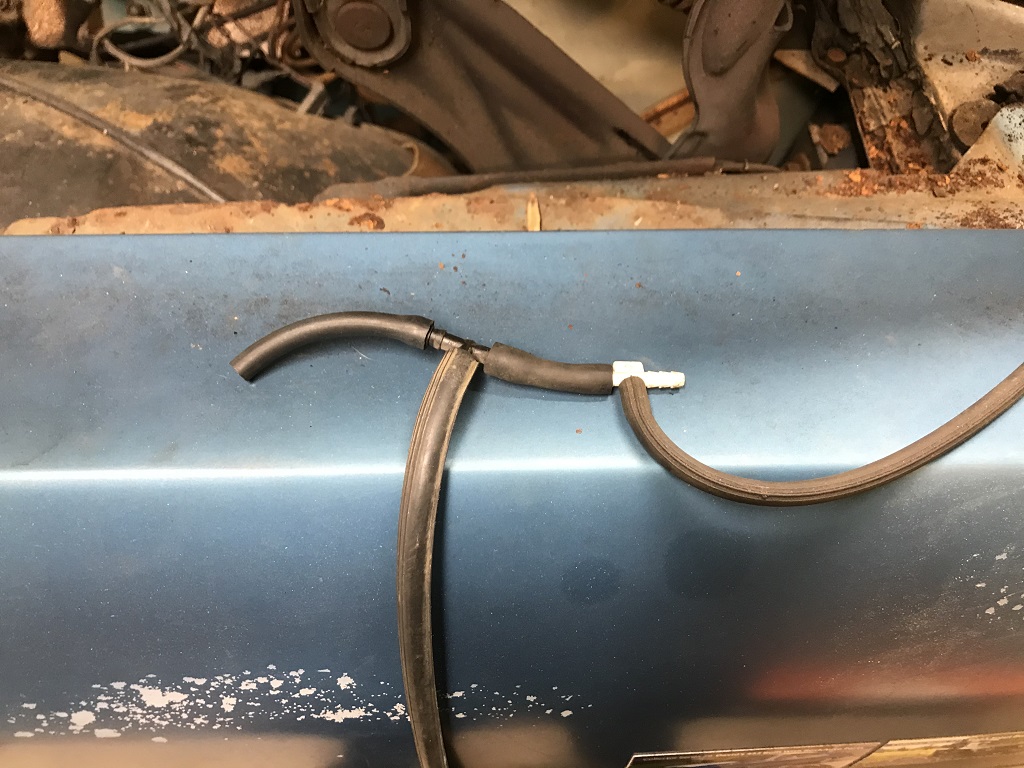
Vaccum harness is made. This is a 455 4bbl TH400 setup in a 350 2bbl setup, so I had to make a special harness. Middle one goes to transmission modulator, right hose to the distributor for vacuum advance, and the far right goes to the ventilation diaphragms.
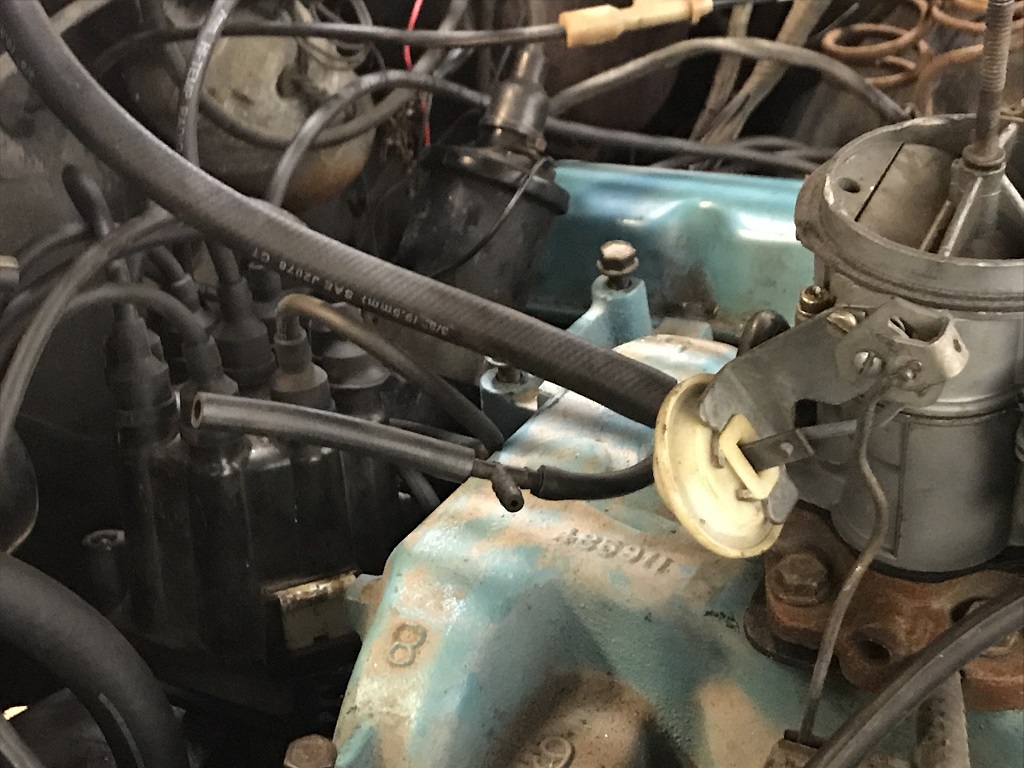
Vacuum harness of course is slightly too short and pops out. The car is too far off the ground for me to comfortably reach after having had stomach surgery so I'll fix this when I lower it back to the ground.
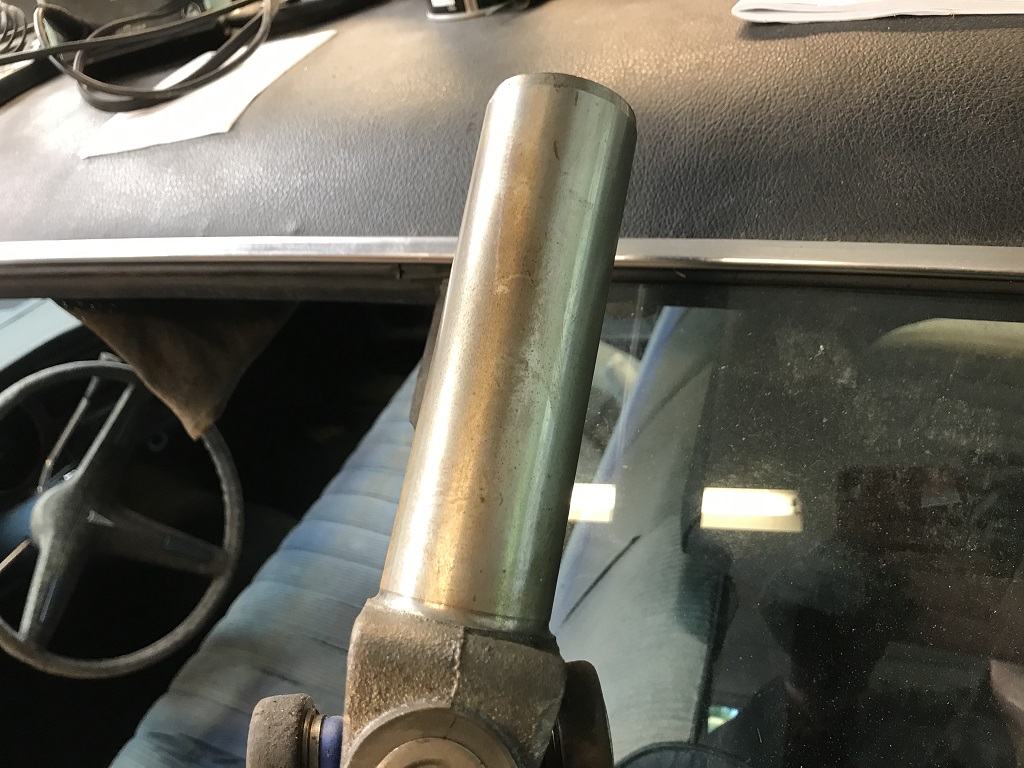
Cleaning off the yoke, getting ready to put the driveshaft in!
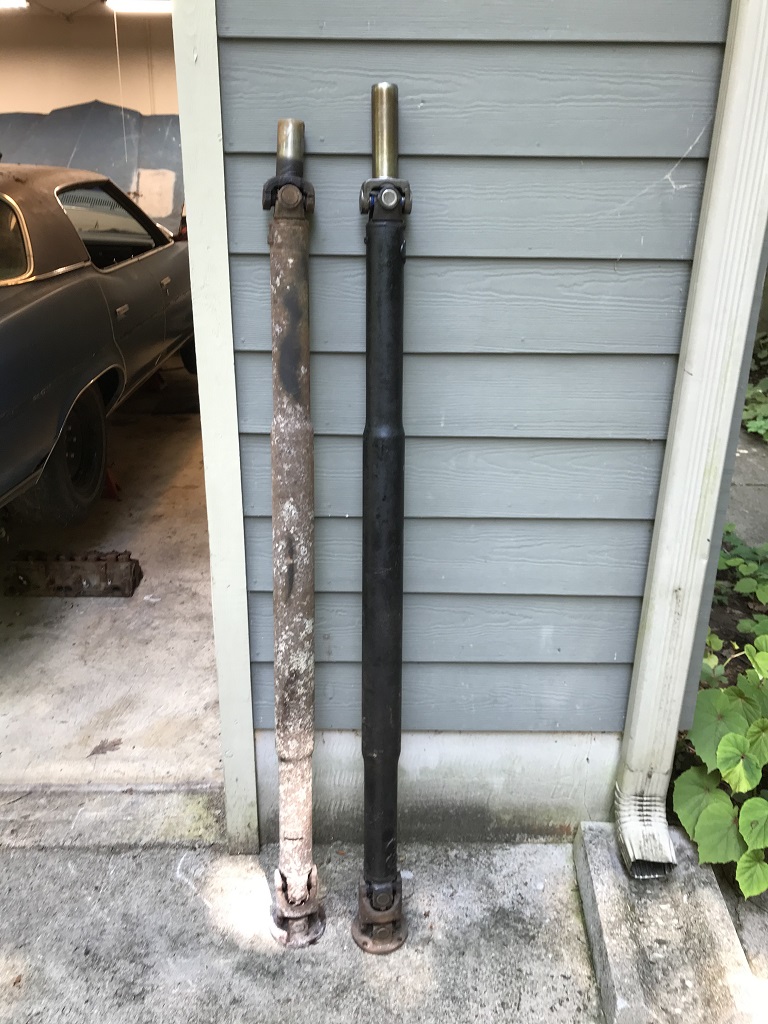
With my buddy Dorn helping, I put the driveshaft in. But it wouldn't fully seat! We tried multiple fittings for half an hour until I decided to grab the old '72 green car's driveshaft that I saved and... lo and behold the super expensive and nicely redone driveshaft has the wrong yoke on it. It is way too long. Maybe it's a Catalina driveshaft yoke as the difference in lengths is exactly the difference between a Bonneville and Catalina motor mount point, maybe it's a truck. Either way, it won't work here!
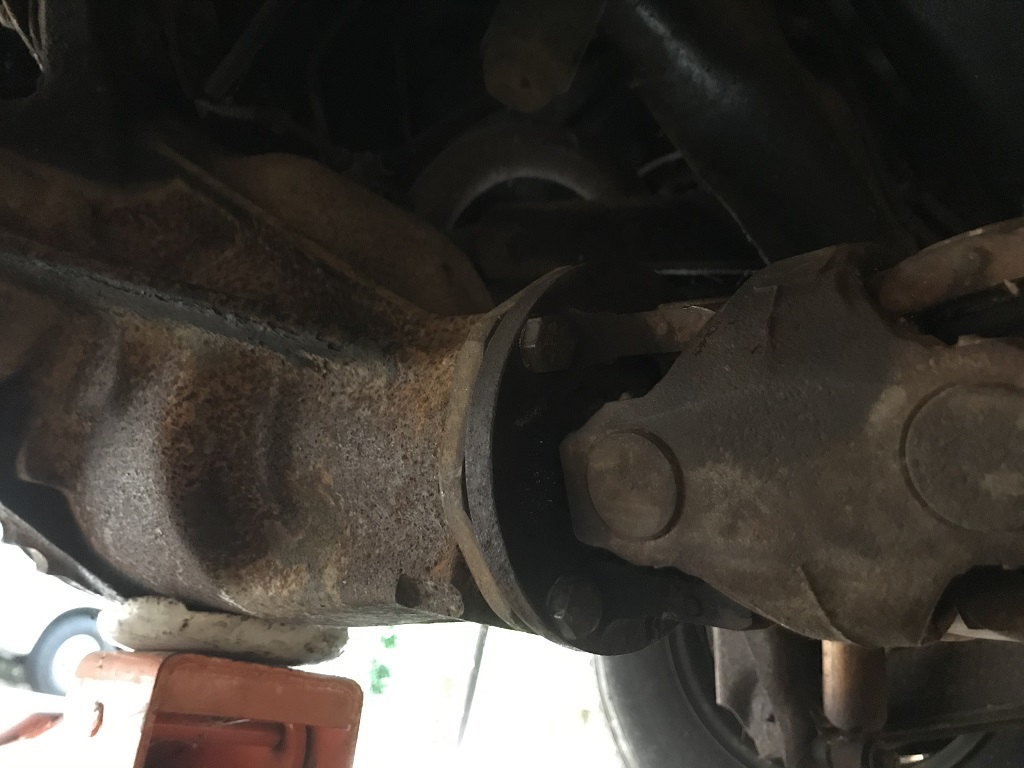
Shaft! (damn straight...) is in and bolted down. Finding the right bolts proved to be a challenge as the holes were so full of crud and dirt that a 3/8" bolt fit right in... but wouldn't fully seat or tighten up. These are 1/2" bolts (Grade 8, from 1972!) and they work perfectly fine. I seem to remember that a Firebird\Lemans used the 3/8" bolt, but apparently big cars used a bigger bolt. This driveshaft and rear end are super beefy and heavy, almost modern truck drivetrain big. Yes, I did use anti-seize to finally get the bolts in and nicely seated. The rear end won't drop fully down with the driveshaft in, floor jack required to put the rear end in the proper dimension relative to the transmission rear. And now it drops down and raises up perfectly fine. The driveshaft probably weighs 50 lbs... imagine putting on in on your back!
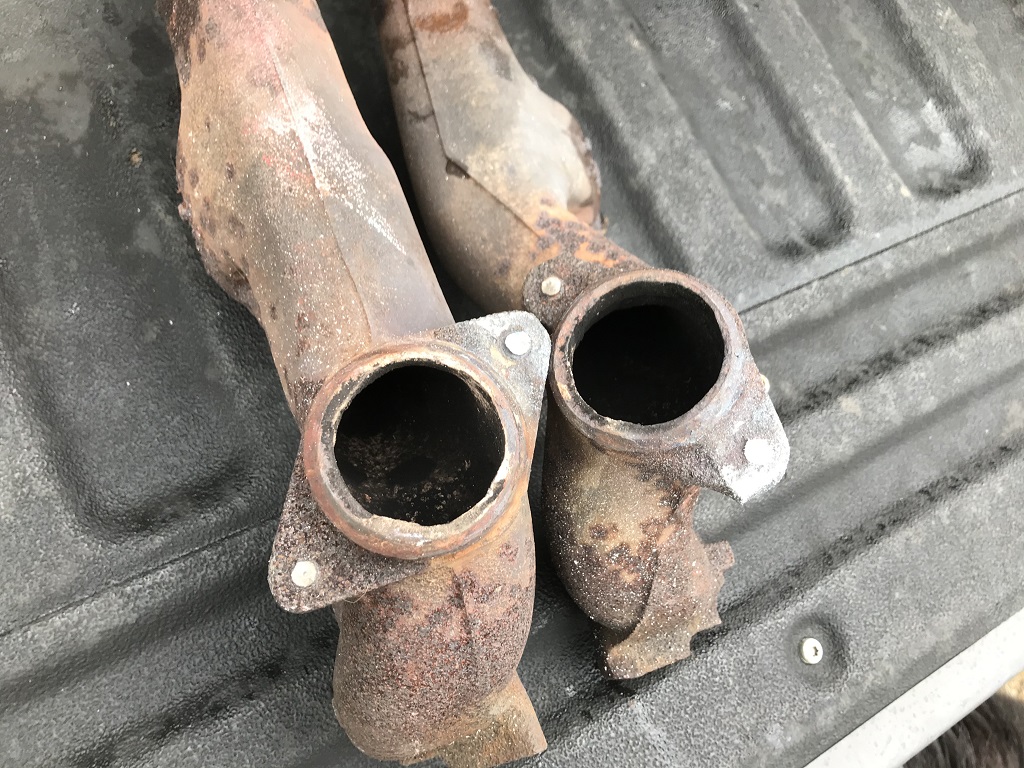
The exhaust manifolds still need these 4 broken studs removed. Not looking forward to that.
Probably sweat 5lbs out of me today. Other than the fuel tank lines, the exhaust situation, and the engine harness, it's ready to go. I put 5qts of oil in it today and put 2 gallons of water in the radiator to check for leaks. So far so good!
Return to 1971 Pontiac Bonneville
Last updated June 6th, 2020