Hookup - Part 4 - 06/07/2020
Two days of back to back progress! It's getting super close to being done.
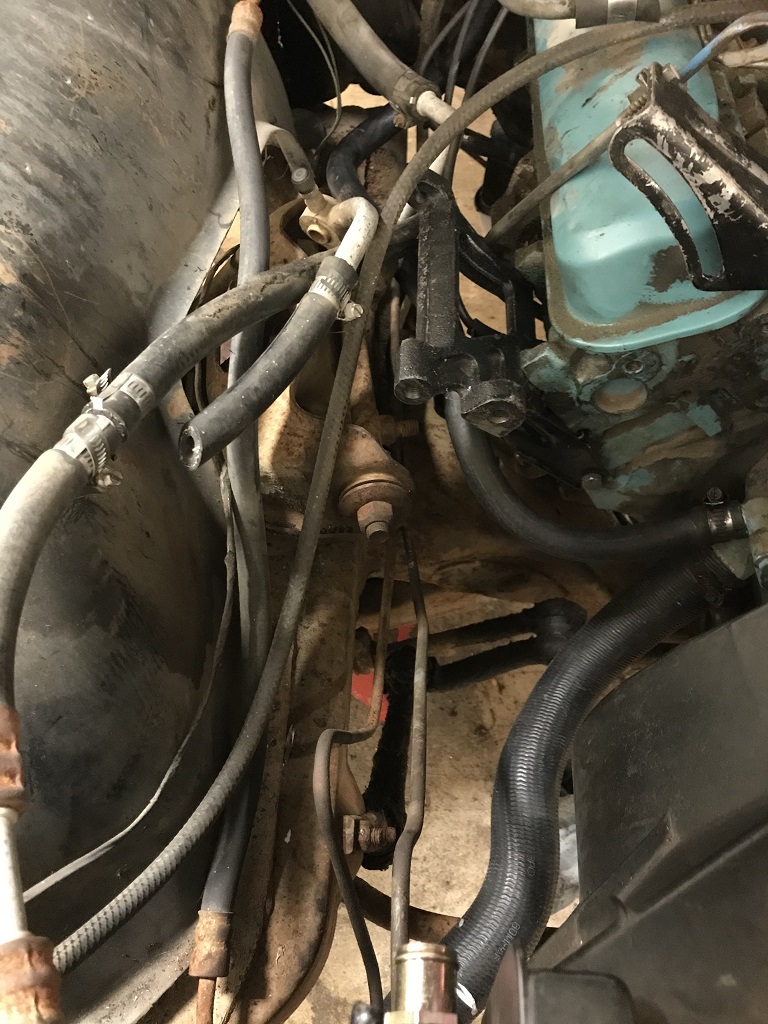
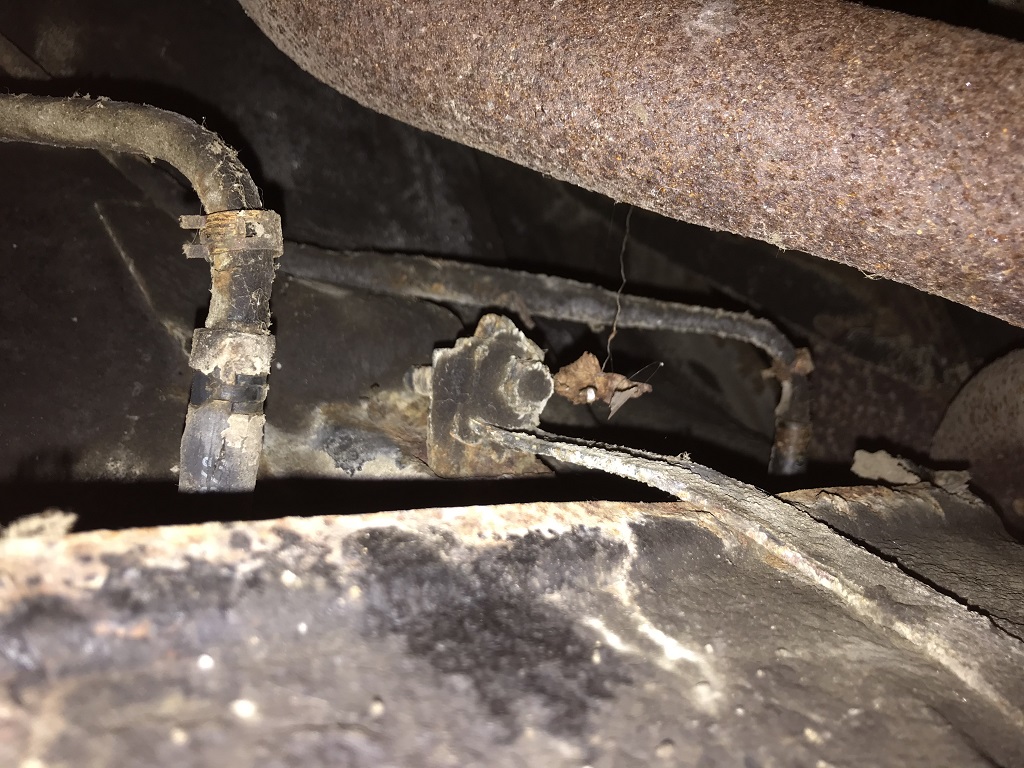
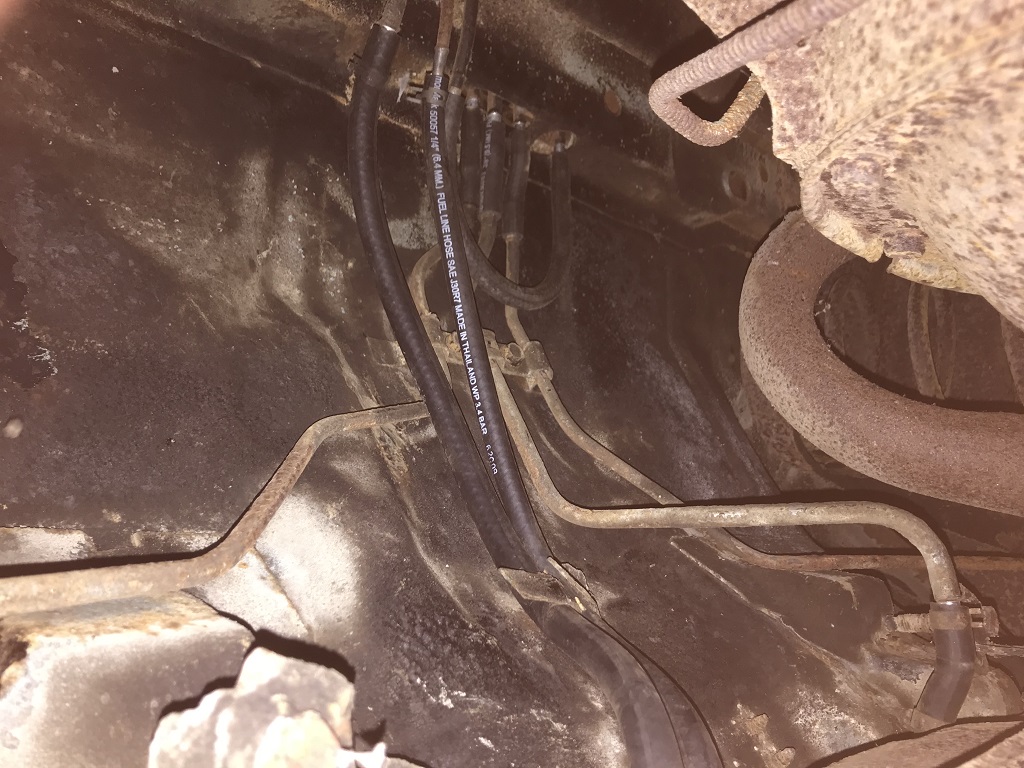
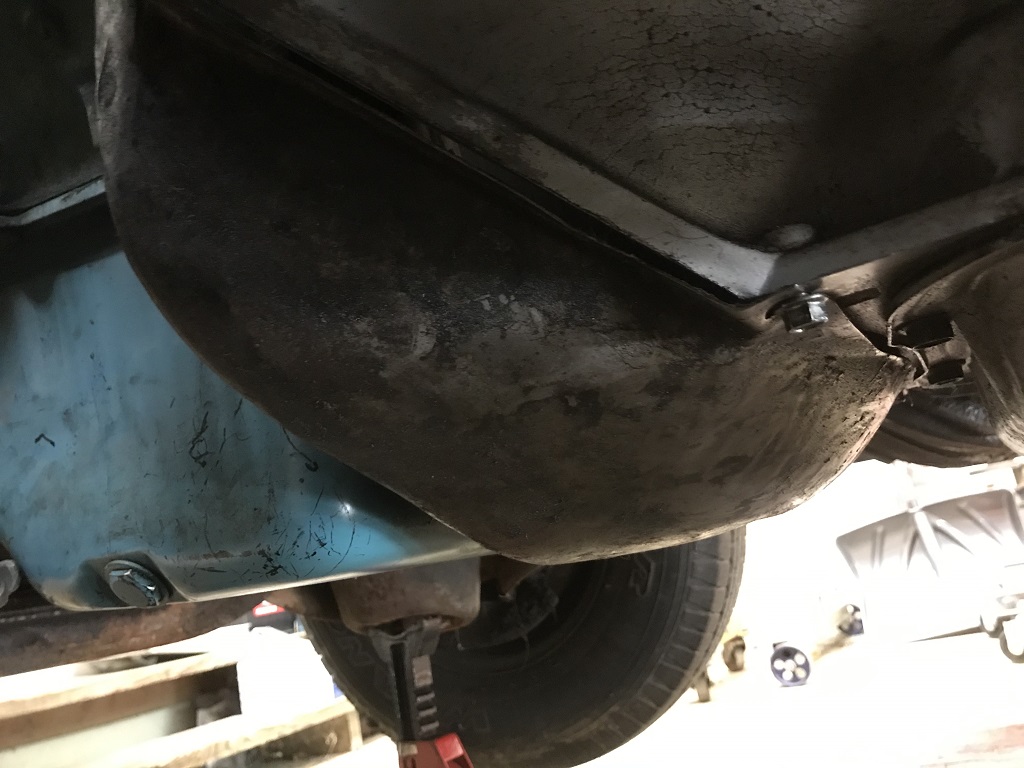
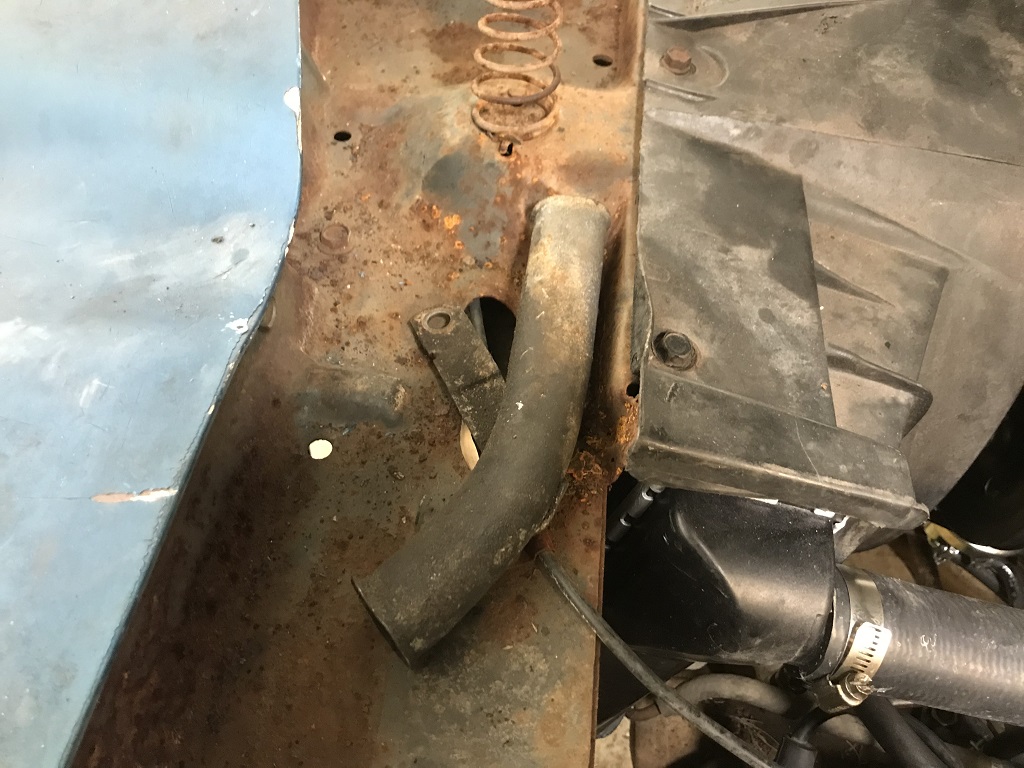
I checked several sources and found I did in fact correctly install the transmission cooling lines. I gave the top line a few more love taps and it went right into the clip to hold it away from the exhaust. Simple!
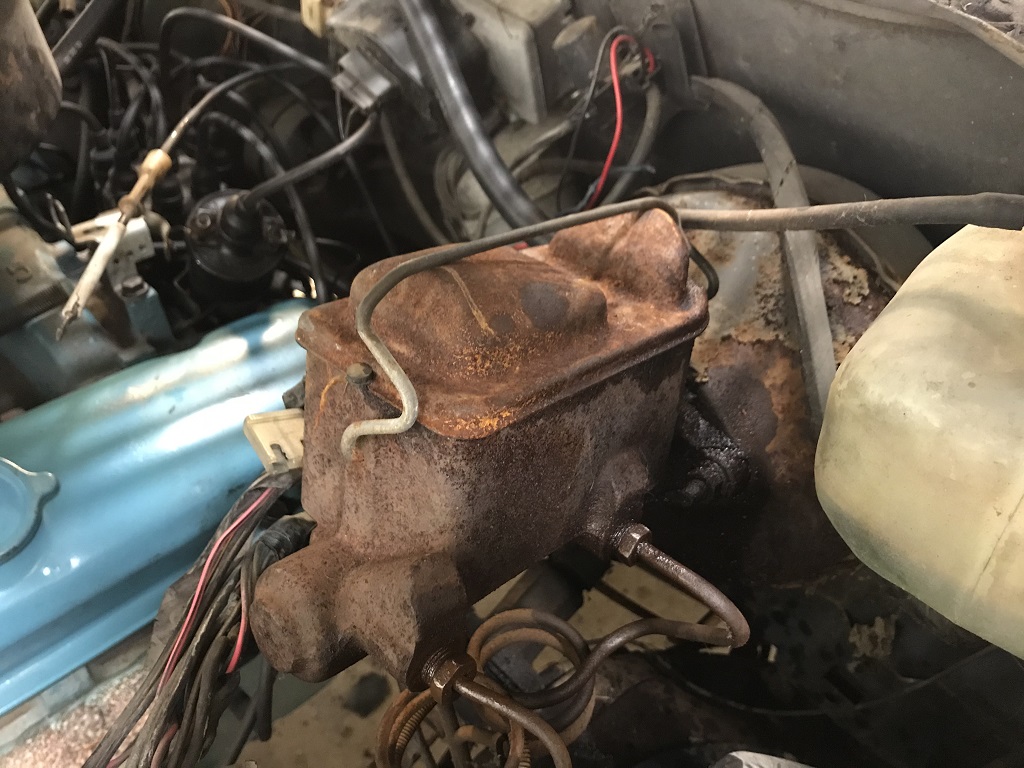
I'm lubing all of the fittings on the master cylinder to get it ready to replace. It's definitely crusty. The front fitting broke free and didn't give any problems as I went slow with lots of back and forward motions. The rear line didn't want to and I didn't want to force it. I have spare lines from another car but I'd rather not replace them at this moment.
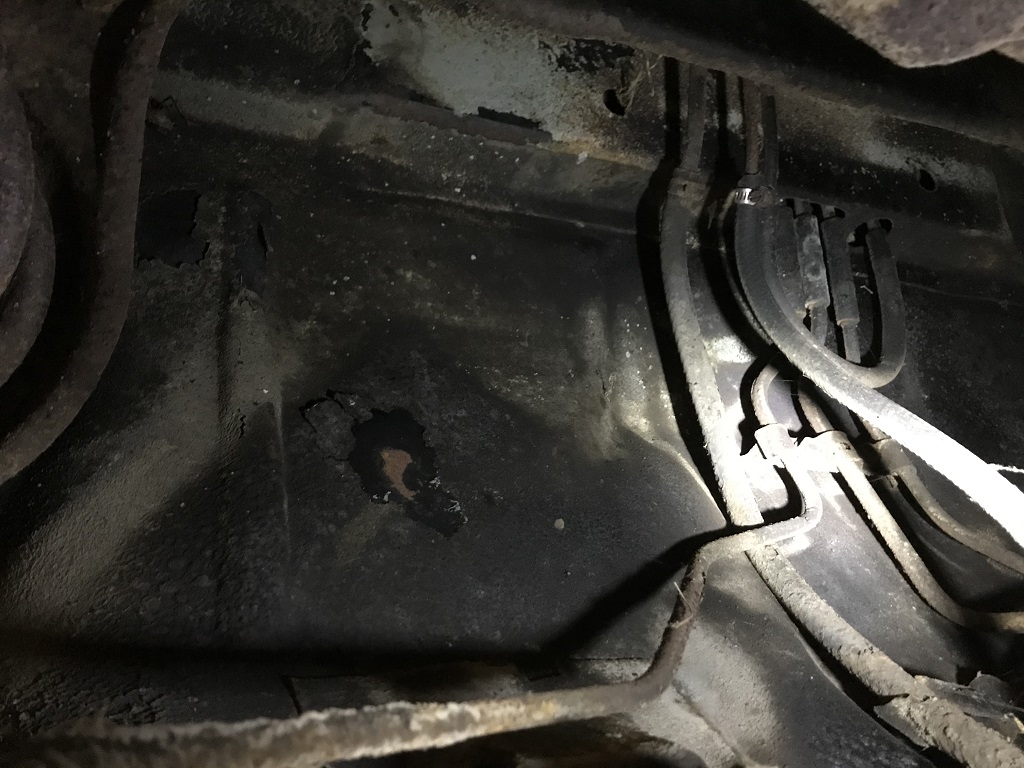
This is the area where all of the gas tank lines meet the body. '71 and '72 used this goofy manifold setup with multiple vents. Succeeding years went to a single vent on the sending unit. The return line has been replaced but the rest are original it appears.
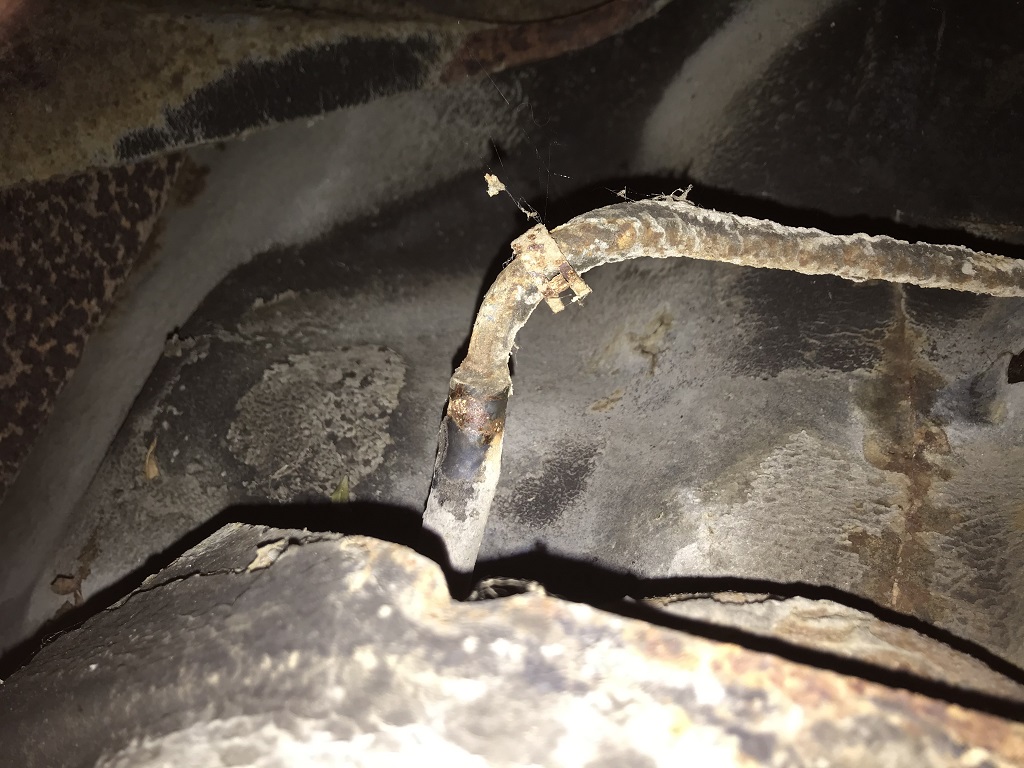
Each side of the gas tank has its own vent, this is on the passenger side.
This is the driver's side with a large one in the middle and one off to the side of the tank. This is why you can't buy these gas tanks on the aftermarket, these 3 extra fittings. You can retrofit a '73-74 tank in place and just use one vent line.
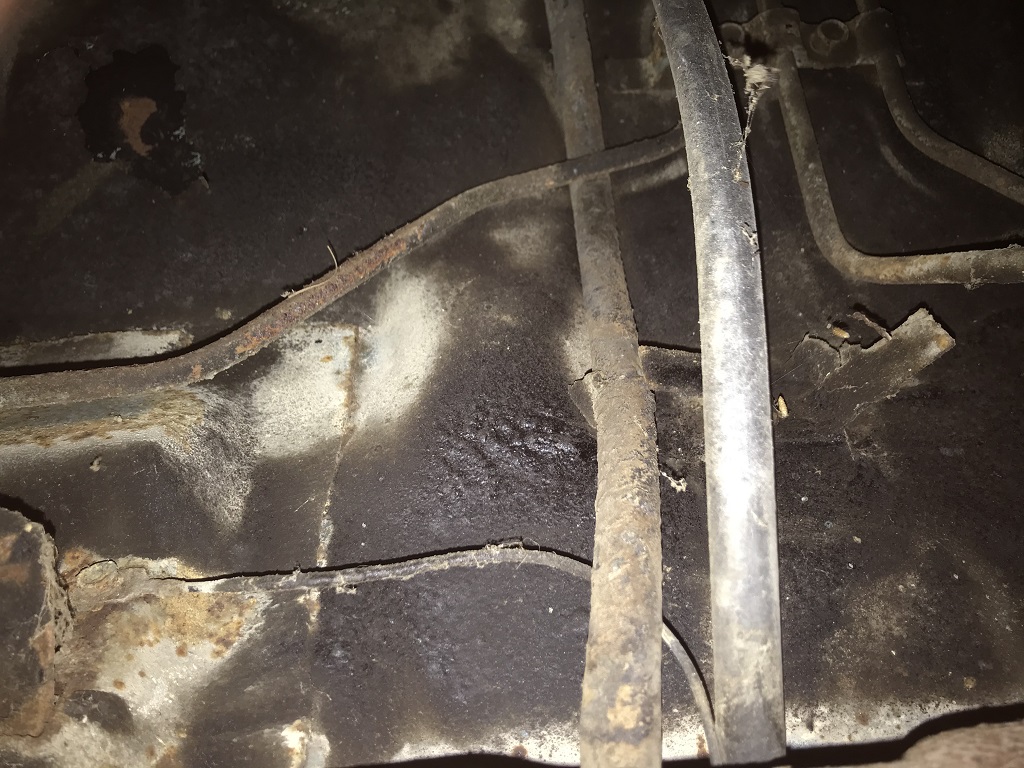
The feed line to the fuel pump is on the left, the return line is on the right.
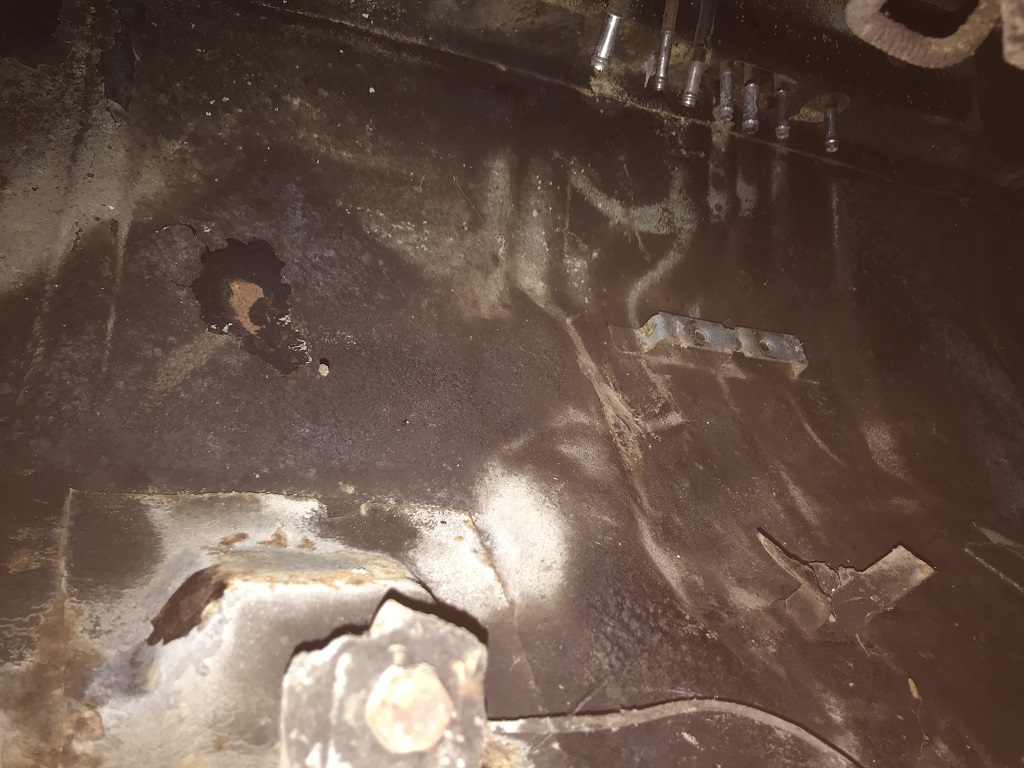
All lines are removed. Factory fasteners were in great shape, probably because they got sprayed with undercoating.

The lines to be replaced. Fortunately they all come out!
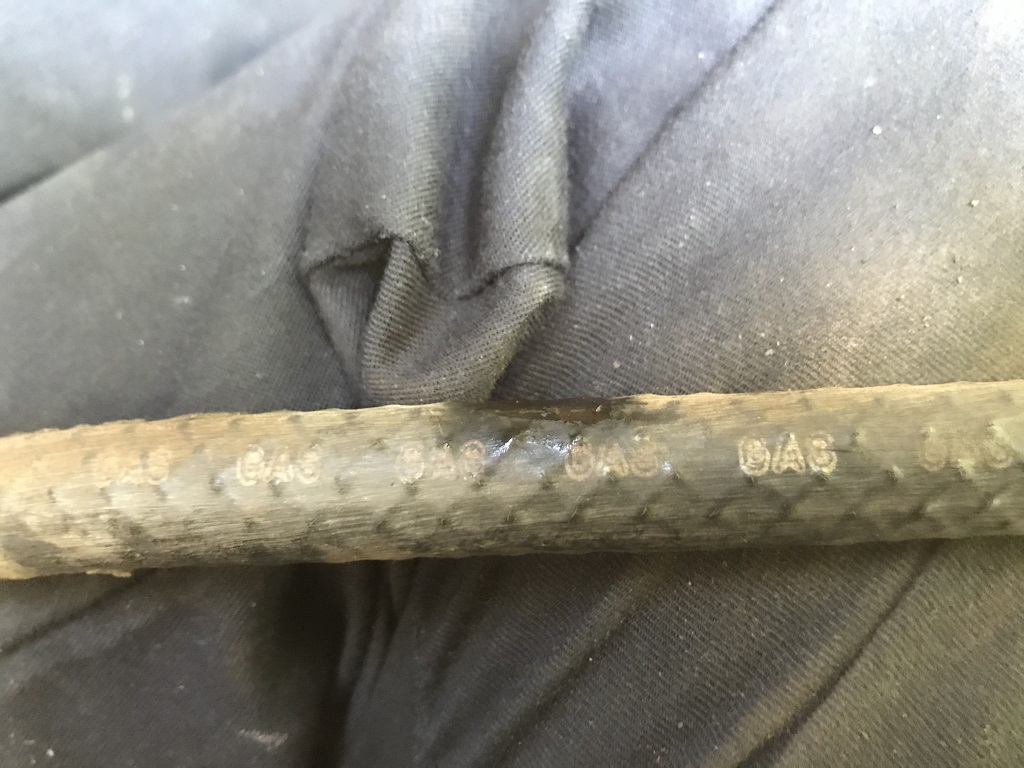
I like to look for clues (clue clue clue clue... as Scooby Dum would say) as to what the original or older stuff looks like. This just says "Gas" over and over again with no indication of size - it's 3/8".
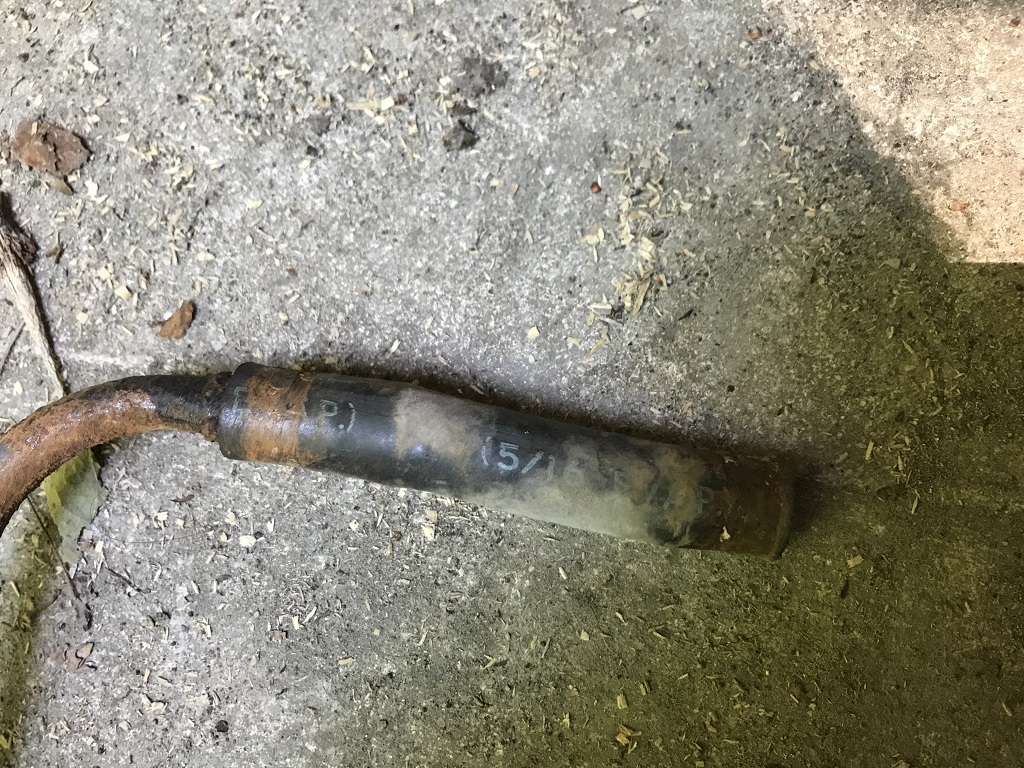
The end lines on the tank are 5/16".
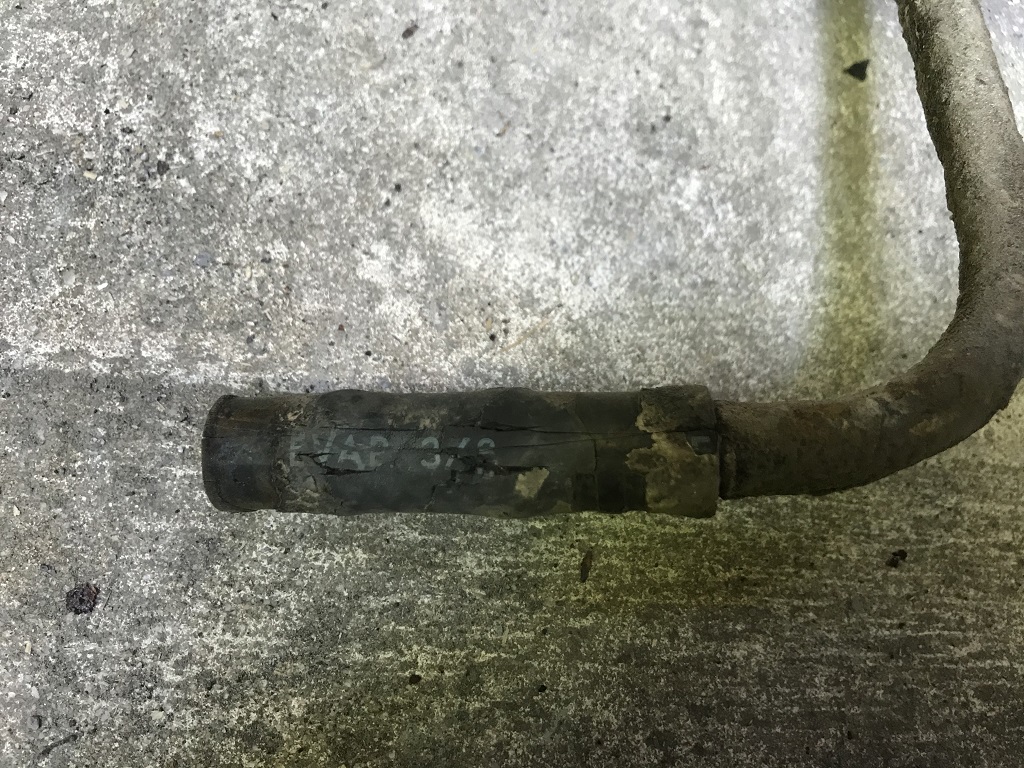
The middle vent is apparently a 3/8" line as well, but it's not a "Gas" rubber line but one specifically for "EVAP". I'm not sure if it makes a difference?
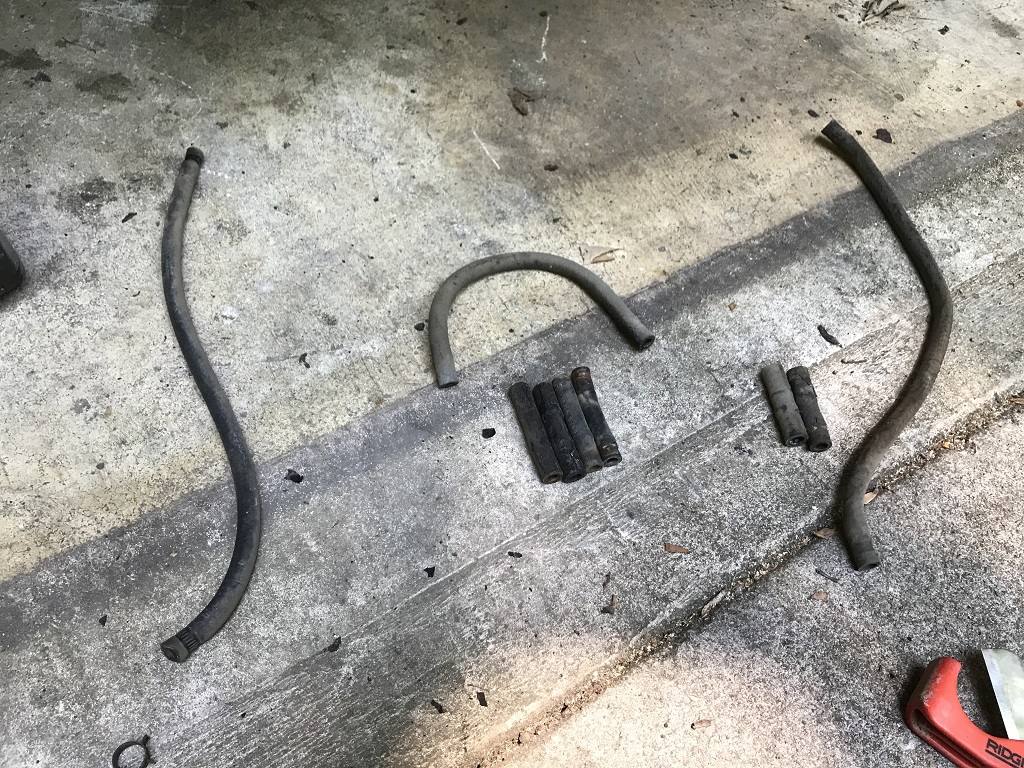
Old rubber all set aside by group. The leftmost is the return line to the tank and it's actually supposed to be 1/4" but someone jammed 5/16" on it.

New rubber all cut and placed ready to go. The clips that GM used are called "corbin clamps" or "constant tension clamps" which I learned today. There's also a special set of pliers that are used to install and removed them. It helps to know what something is when you go to a store and have to ask, the more you know!
Lines are all installed back in. Looks quick, but it took almost 2.5 hours with trash and dirt falling in my face and hair the entire time. No fun. The return line is a little short, I'll likely replace it later on.
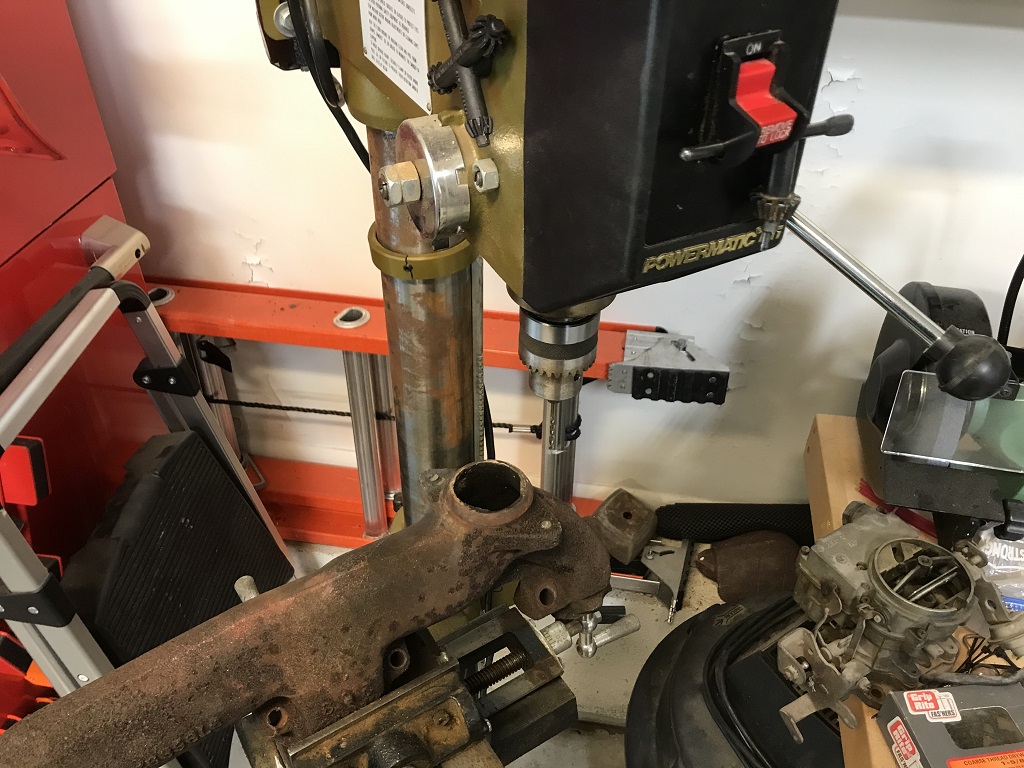
Time to drill out broken studs on the manifolds.
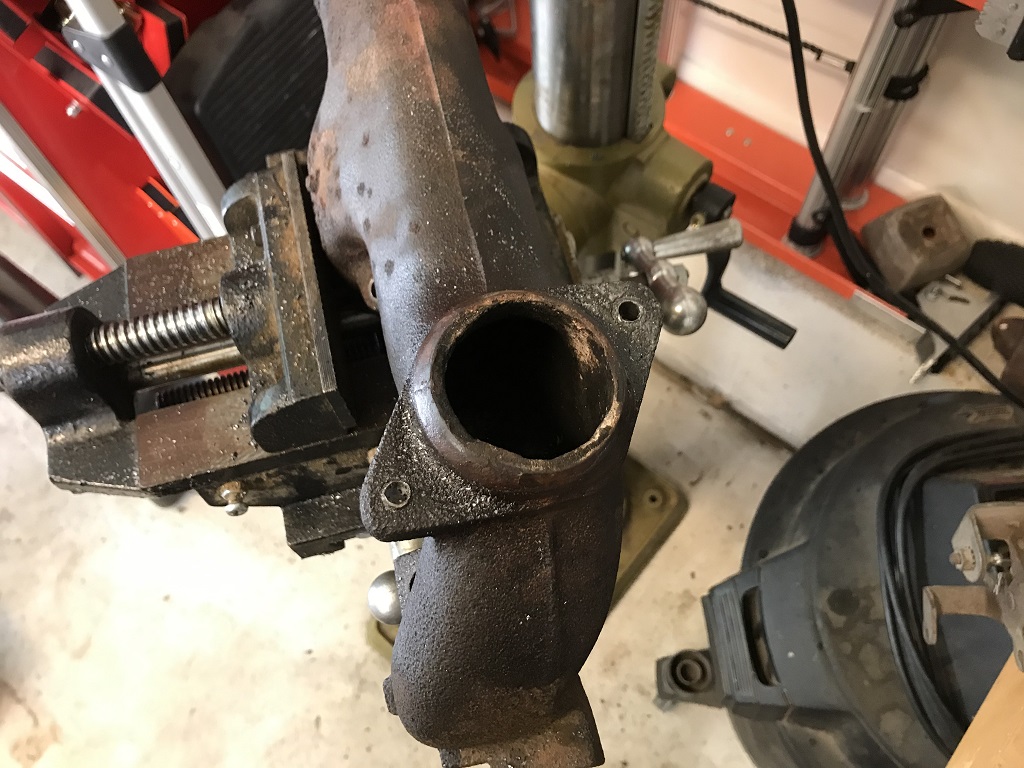
After an hour and a half, lots of progress. This sucks, drilling these things out is no fun.
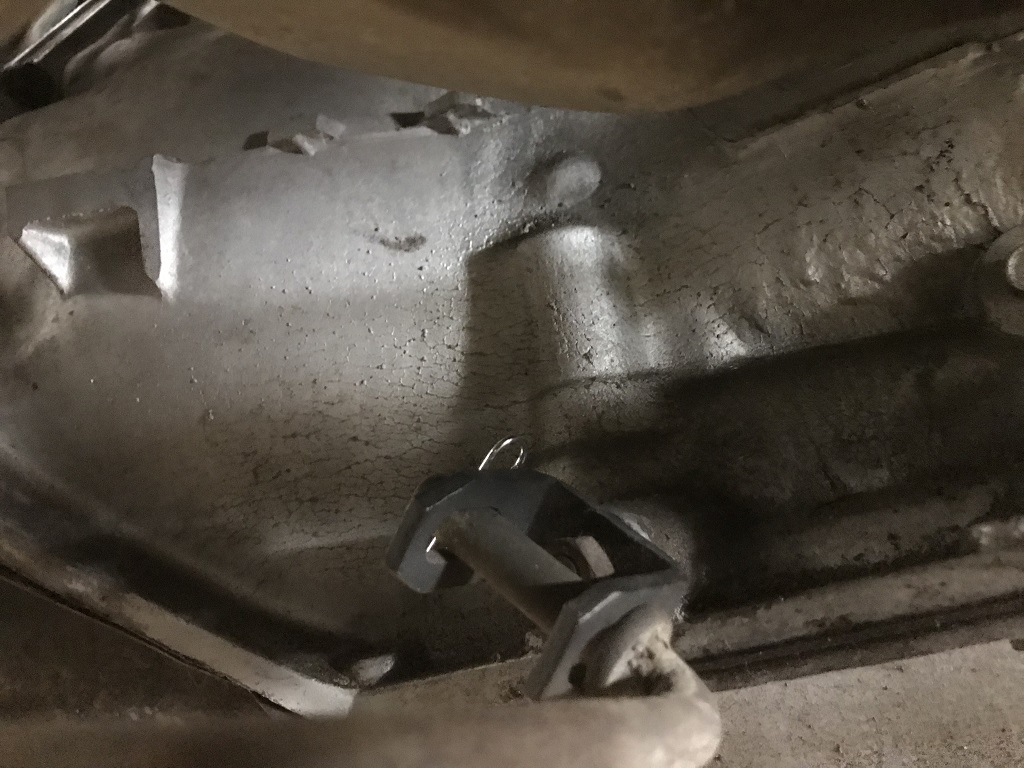
Shifter arm is secured in place with a hairpin clip (or hairpin cotter clip). Little details make it all better.
Dust cover to the transmission is put on. Yay.
But the highlight of the day is finding the front side of the block cable routing tube. It was in plain view where I left it who knows how many years ago! Cleaning the house for a move has its benefits.
Still hot today, but not as humid. Still got a lot done. Rebuilding the harness is next!
Return to 1971 Pontiac Bonneville
Last updated June 7th, 2020