Hookup - Part 6 (Electrical & Exhaust) - 06/12/2020
People think a car runs on fuel and water. They're partly correct. Cars also run on electricity!

Routing the positive cable along the front of the block.
Starter brace is added. Gives an extra ground and some extra stability.
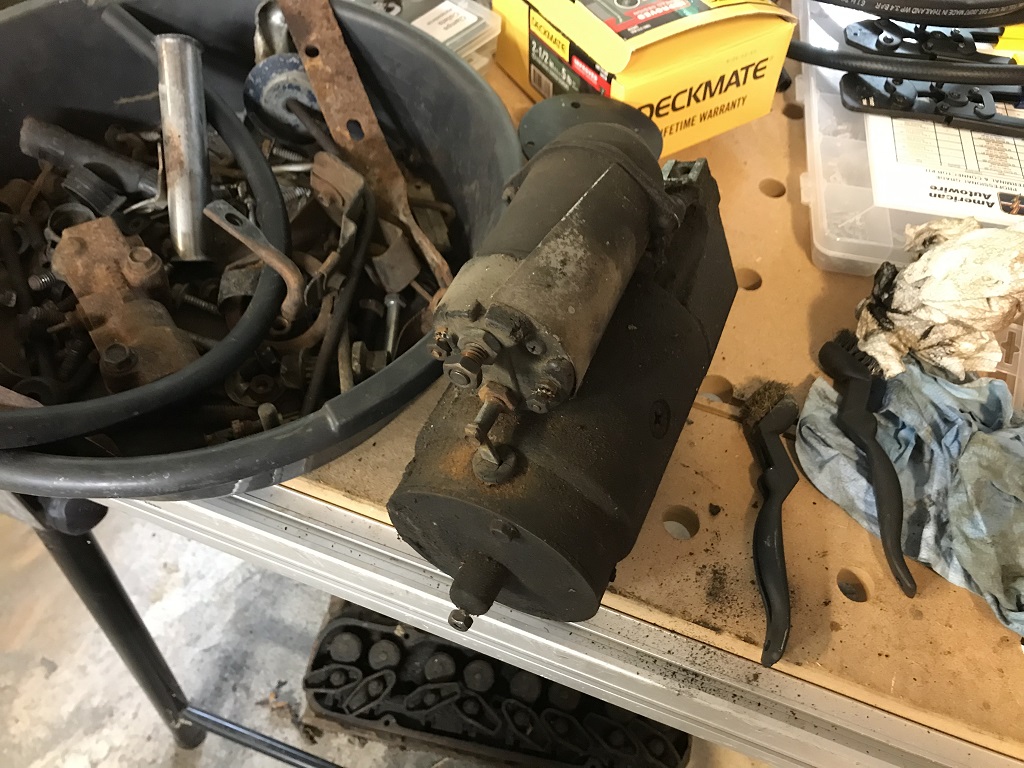
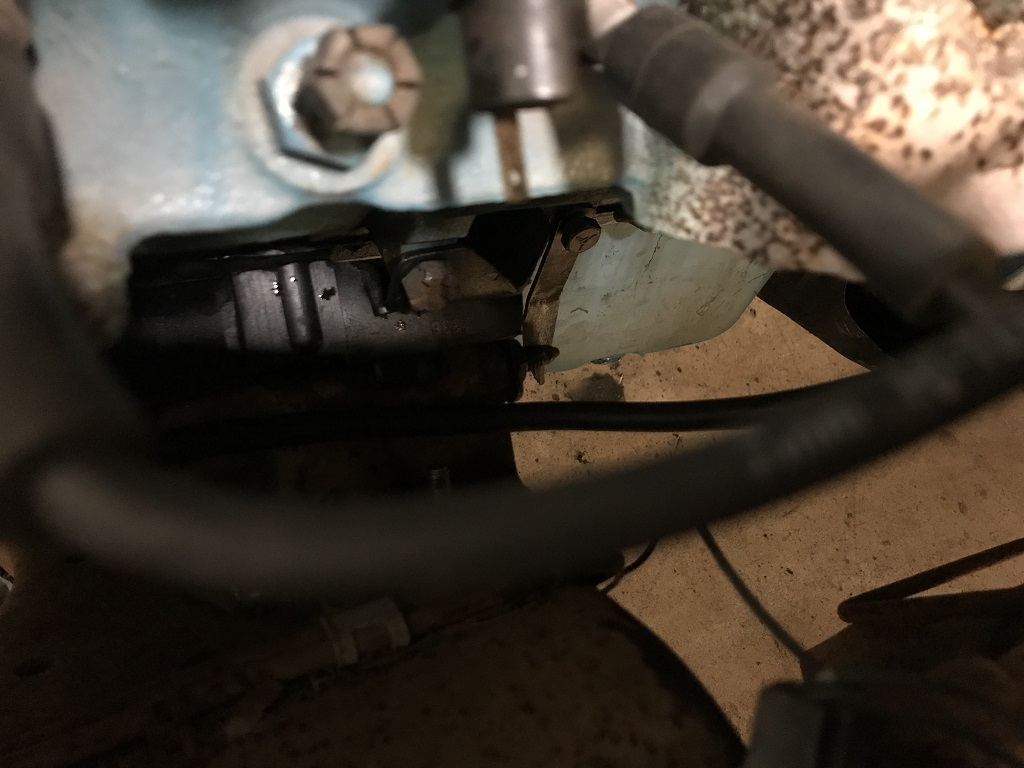
Cleaning up the starter fittings to get it ready to install. It has a heat shield installed on the solenoid.
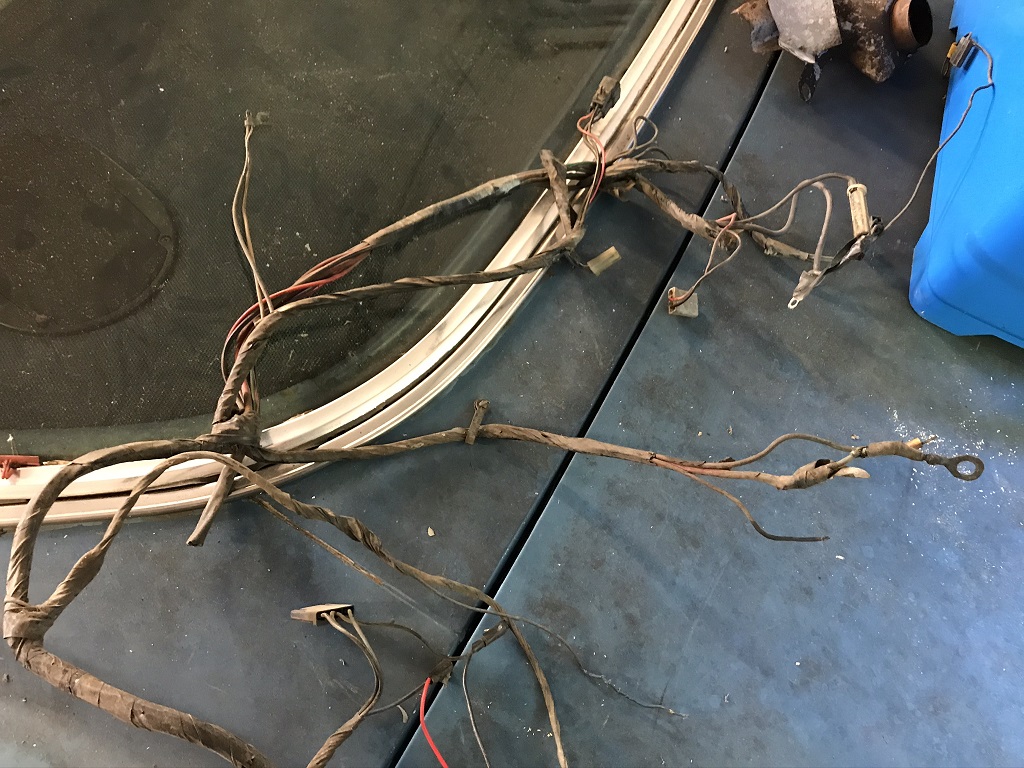
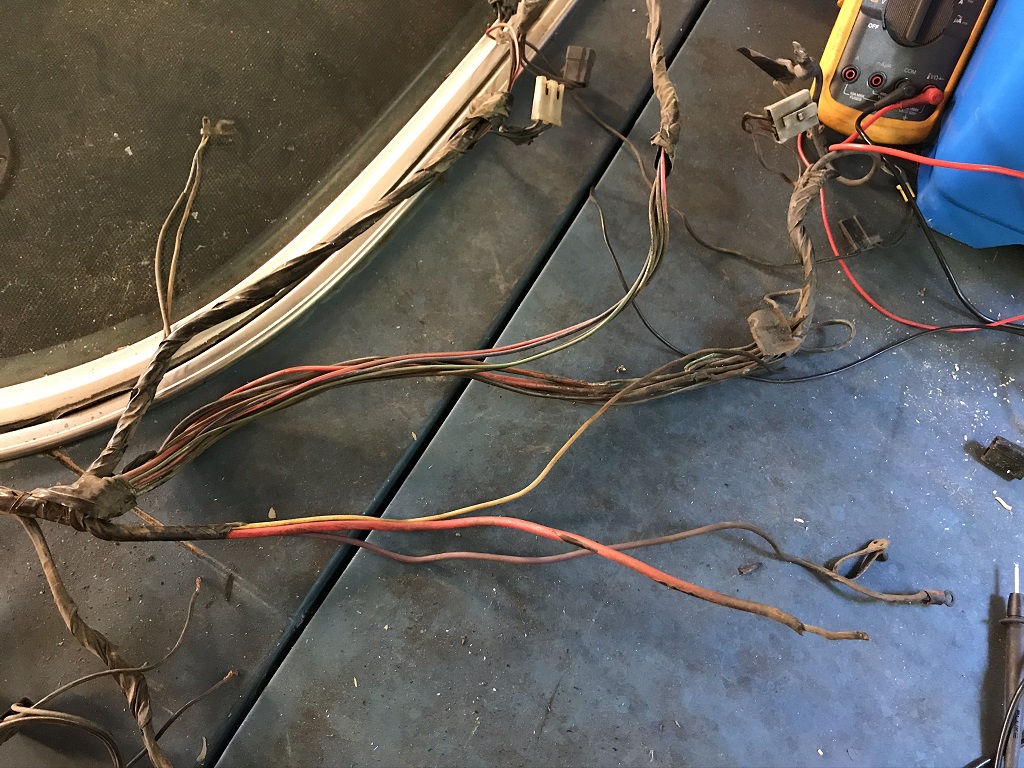
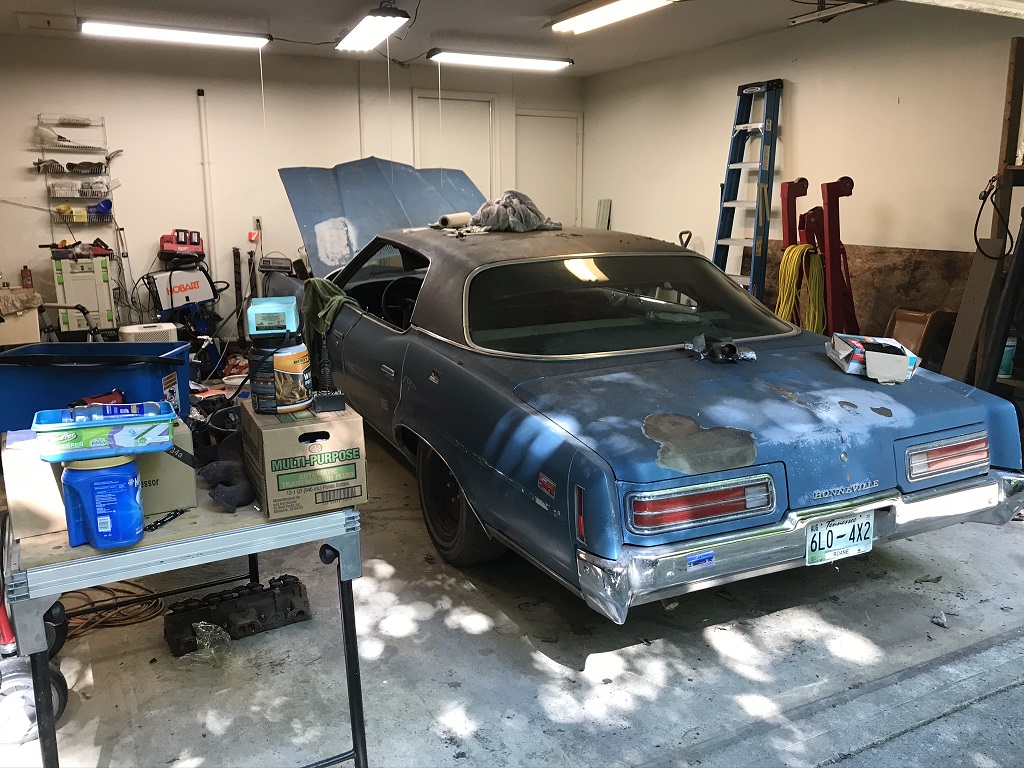
Engine harness is removed from car. Surprisingly, it wasn't even screwed into the firewall block so it has been removed recently.
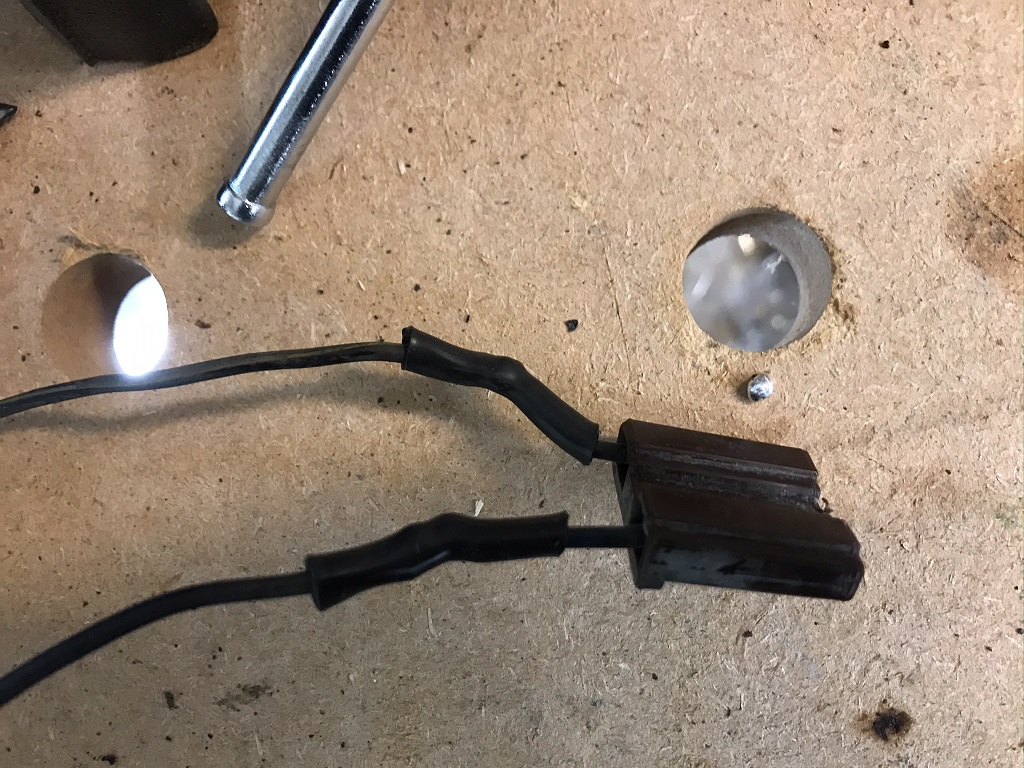
Starter & solenoid wires in the middle will need to be relocated.
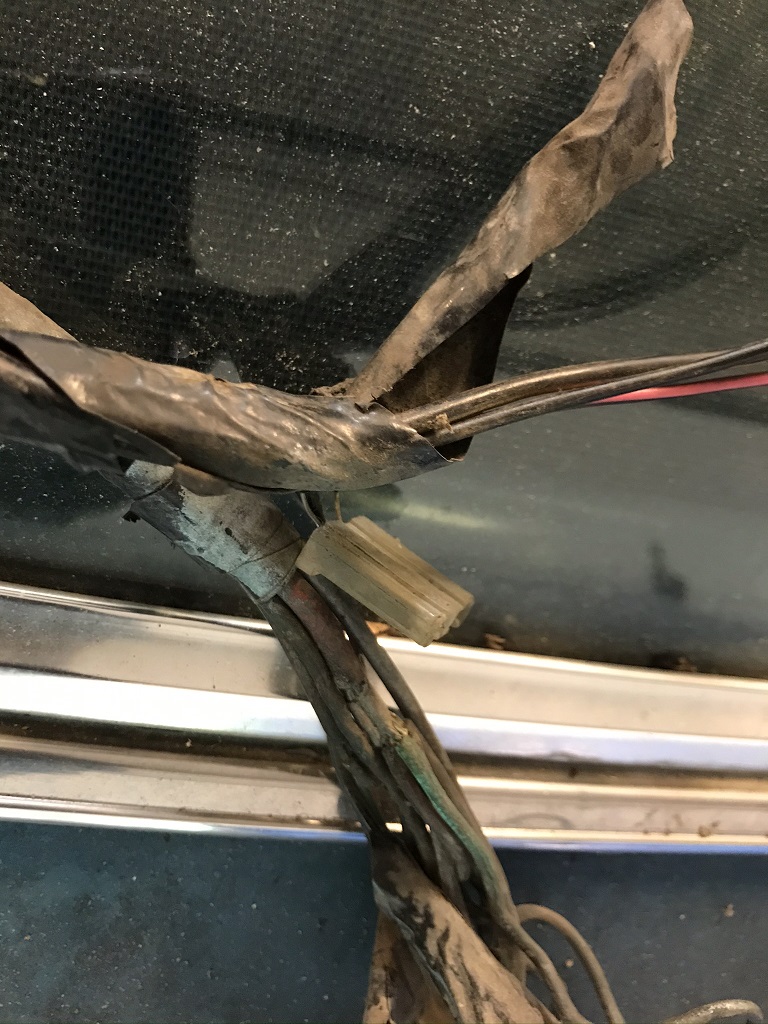
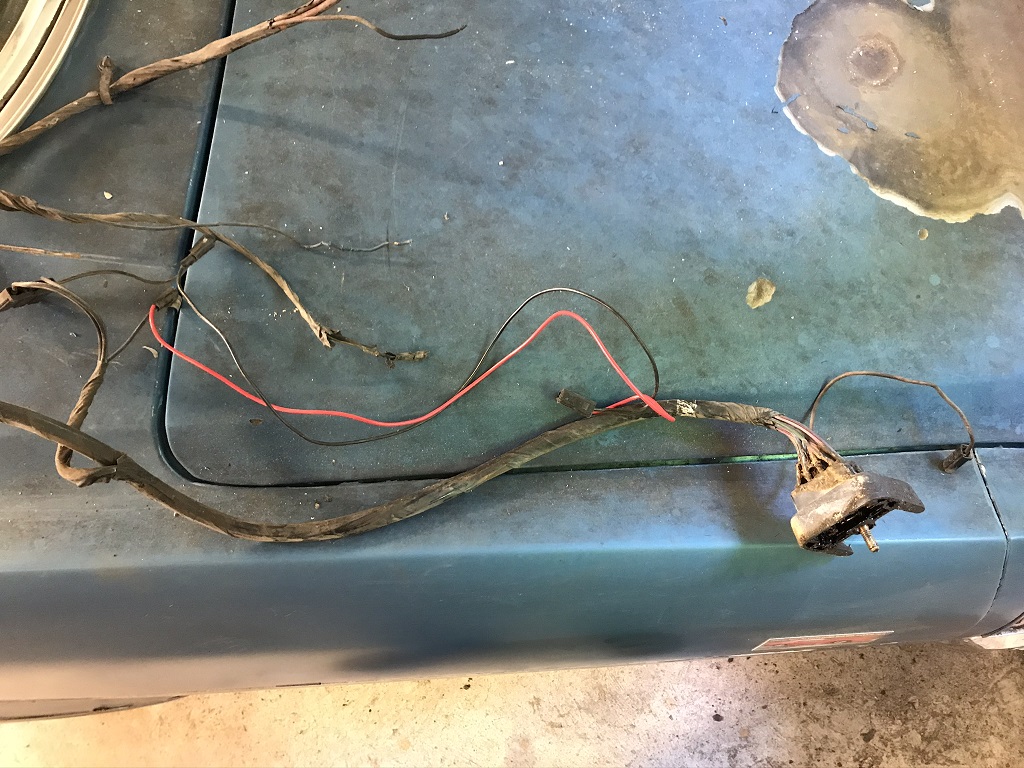
Fusible link was exposed...
Uh oh, this isn't looking good...
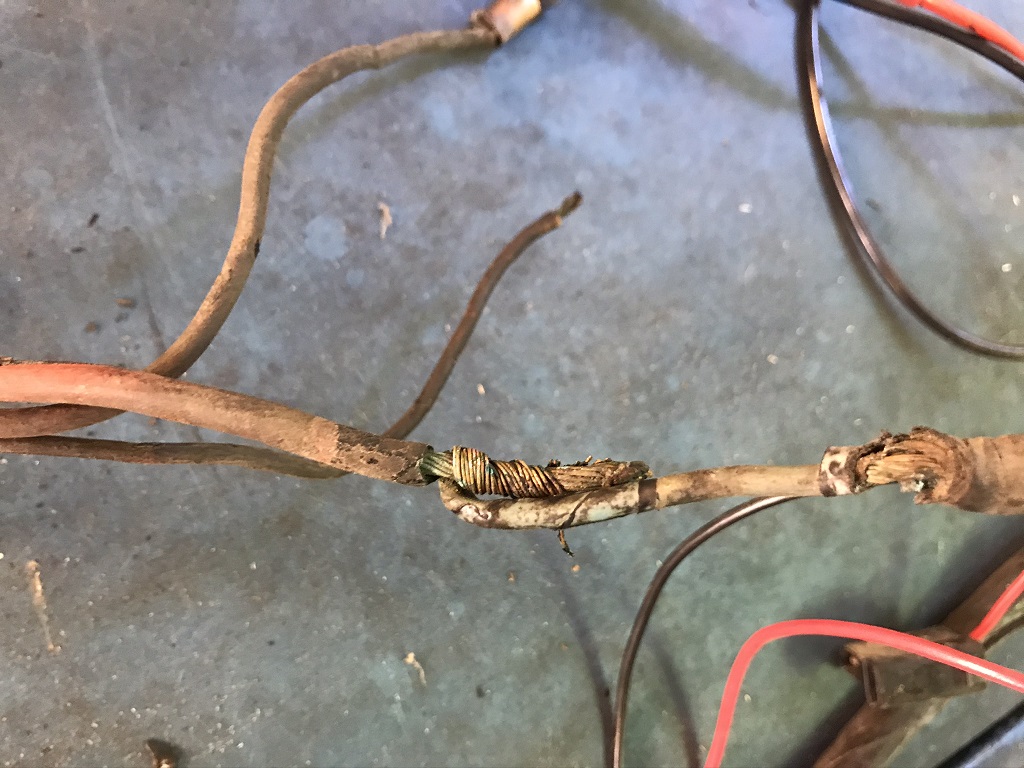
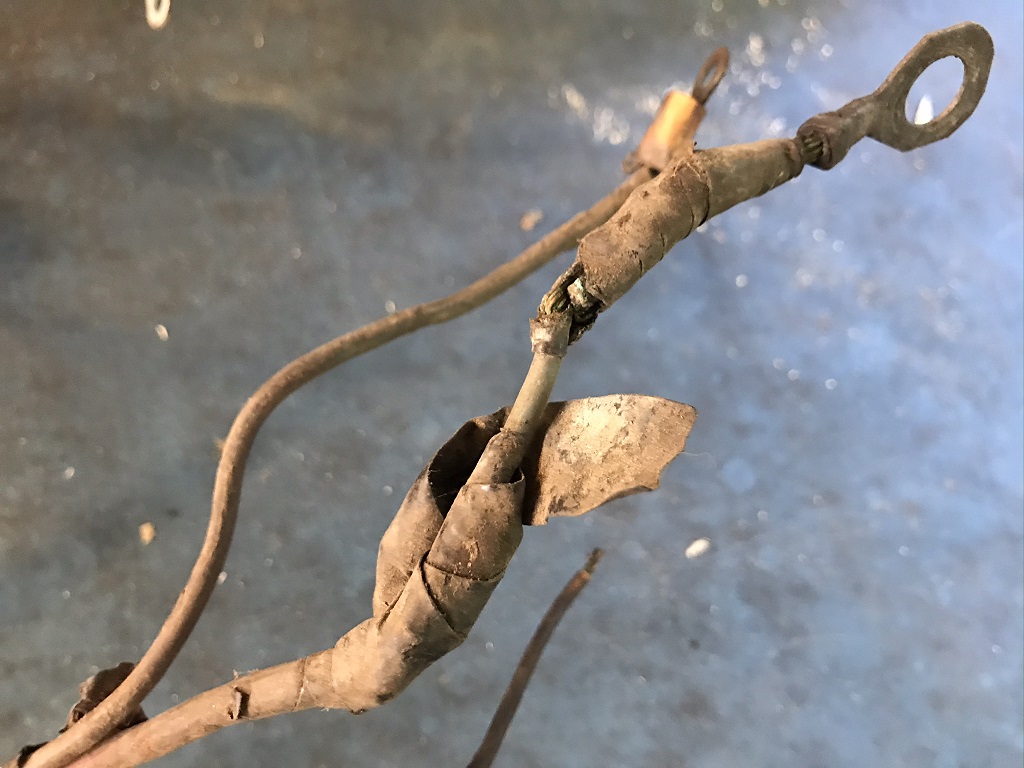
Yikes... that's bad. Wires are just twisted together.
Yeah, they spliced the main feed to the entire car from the battery by twisting new wire in between the existing feed wire points. Why? Couldn't tell ya! "Why does my car have electrical problems?!?!" is the battle cry I imagine...
If you cut back into the loom enough, you find good wire as a base. And the right colors too.
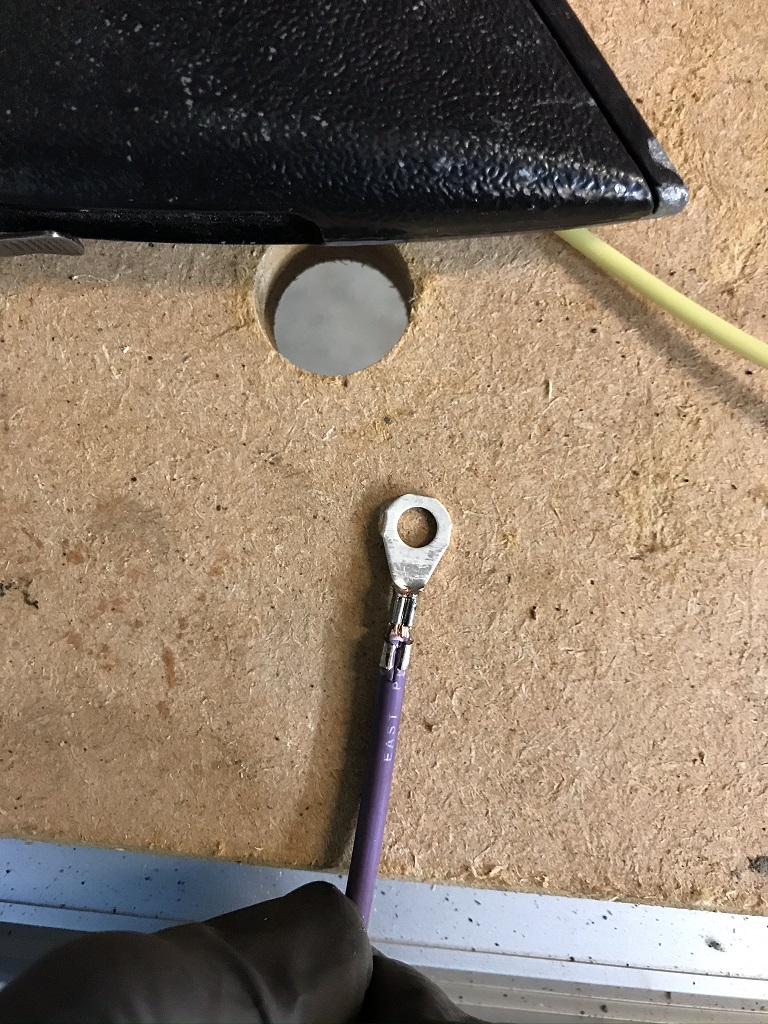
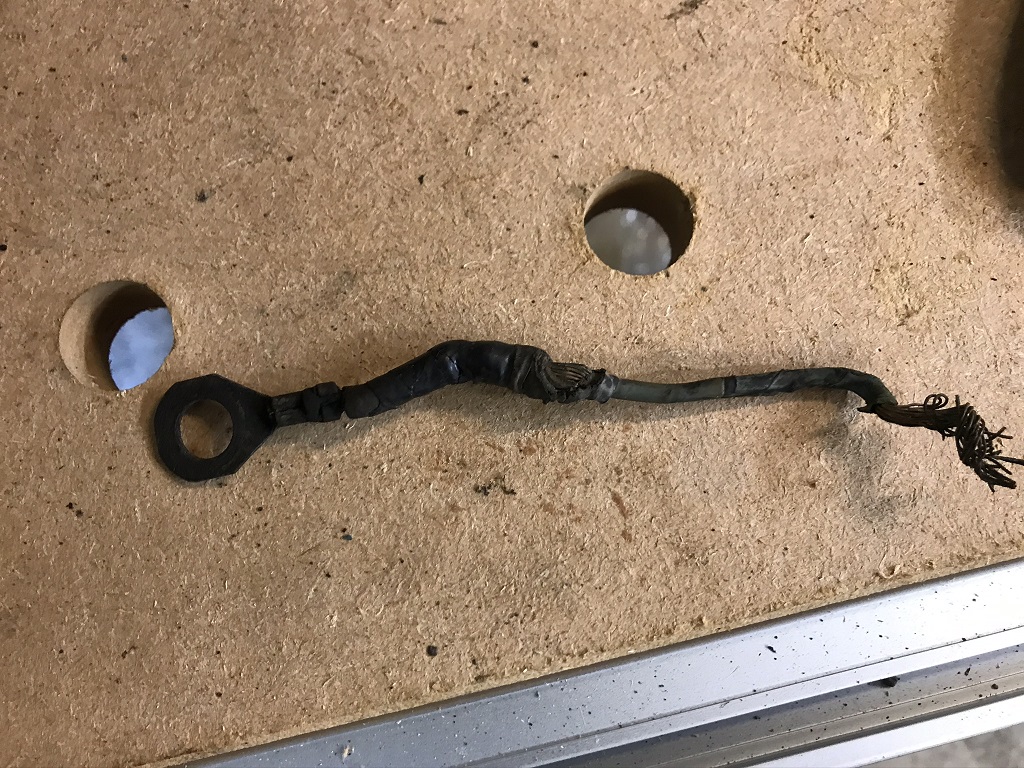
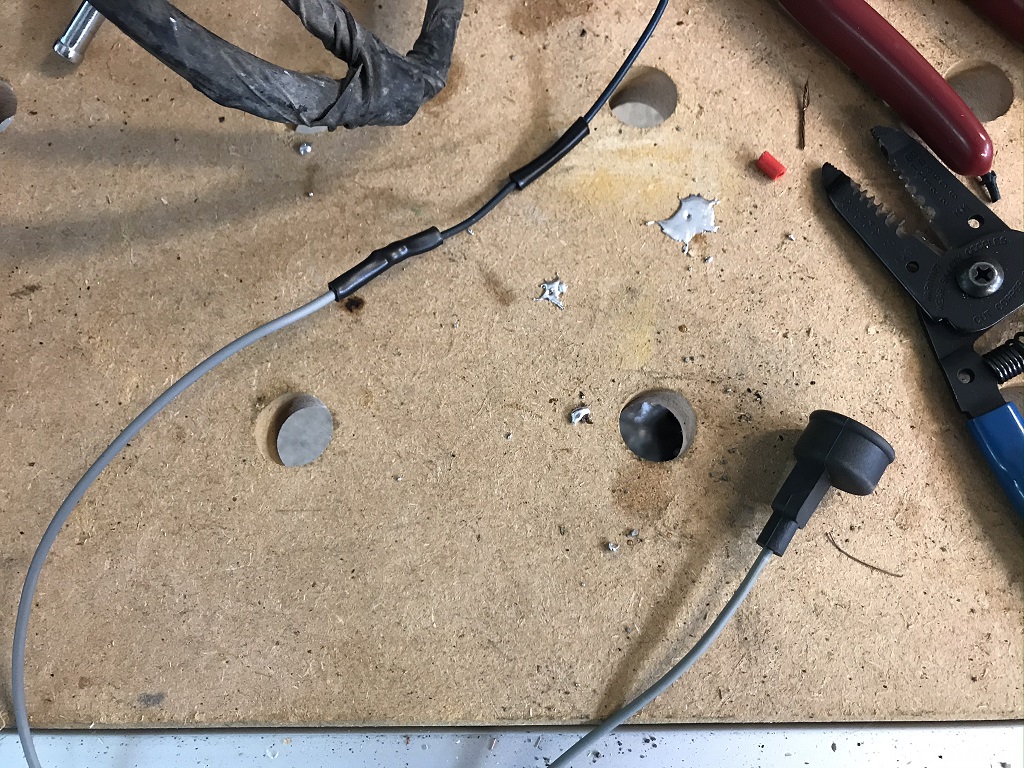
It takes almost 55" of wire to relocate the starter wires. And it's nice to have the right crimper to put the right factory-style fitting on.
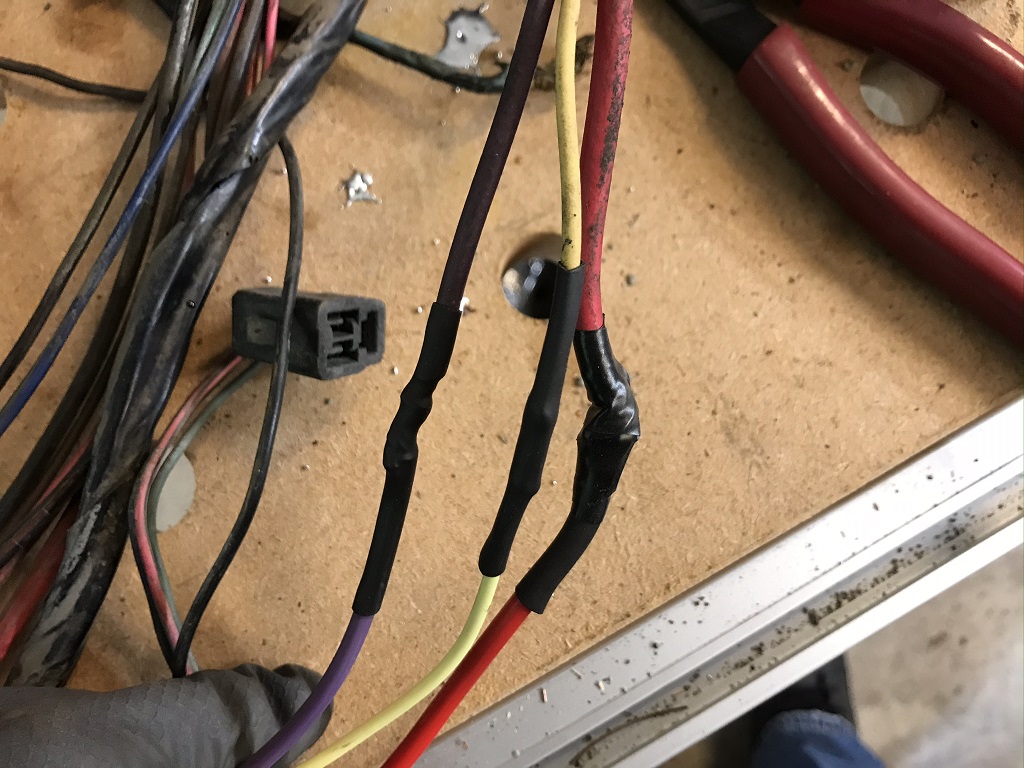
New wires long enough to reach the starter are spliced into the existing harness. Heat shrink covers all of the soldered fittings.
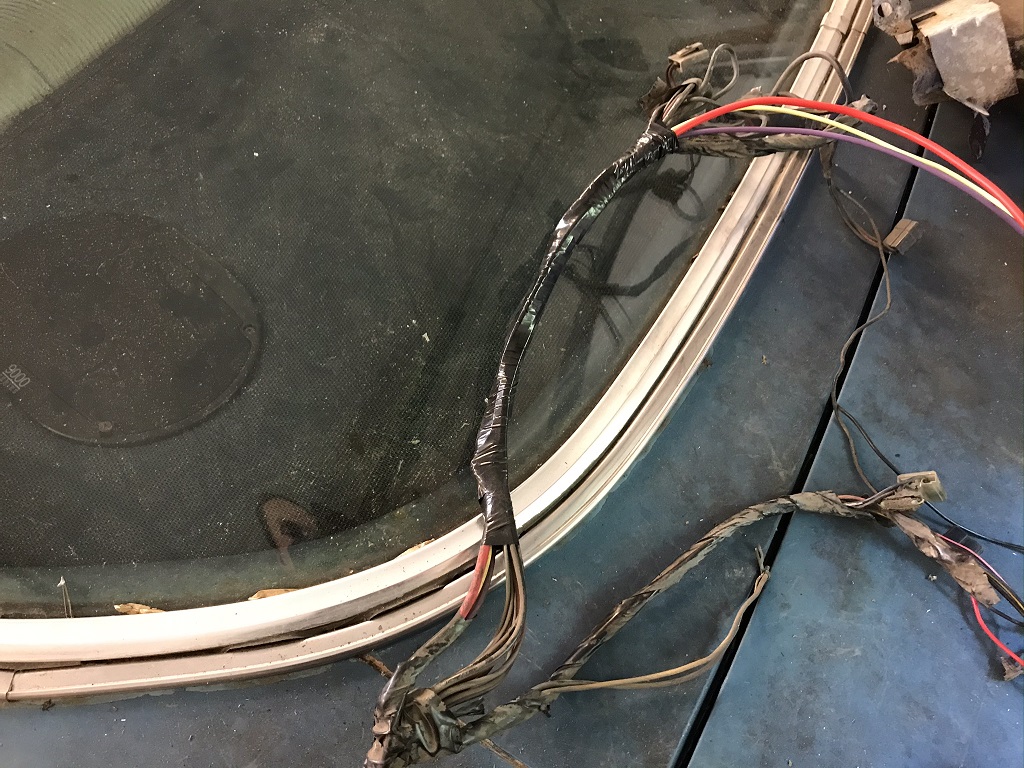
Wrap the wiring and relocated wiring in the proper vinyl loom tape.
Washer pump wires are reconnected and old pump wires removed.
Oil pressure sending unit wire soldered in.

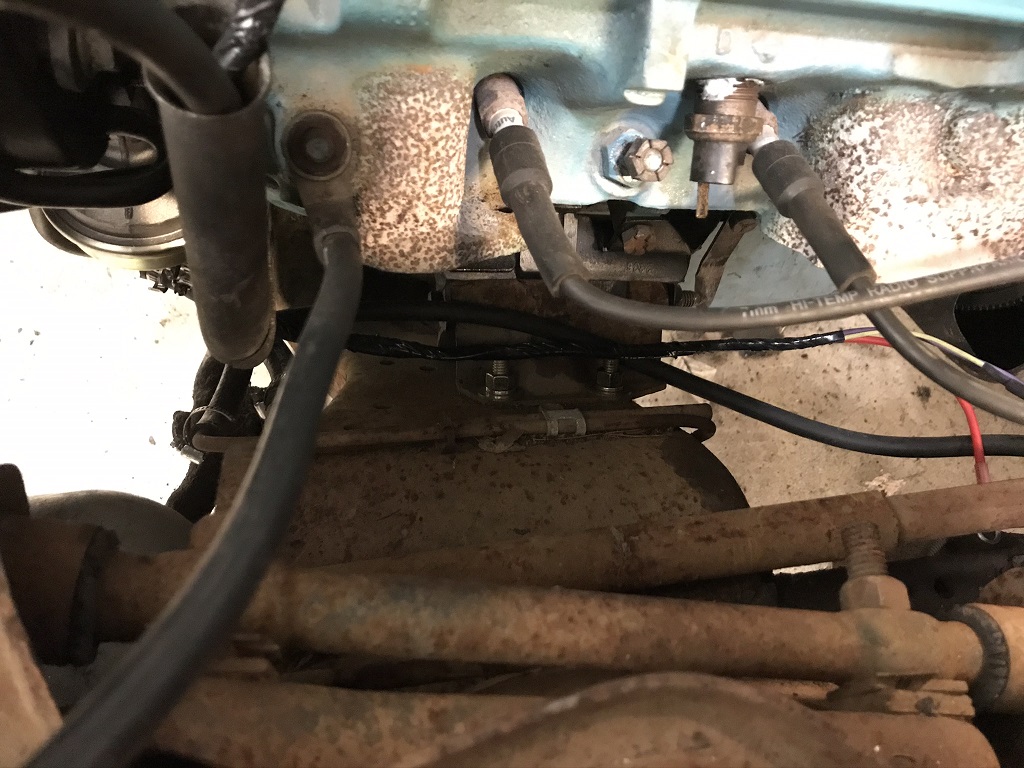
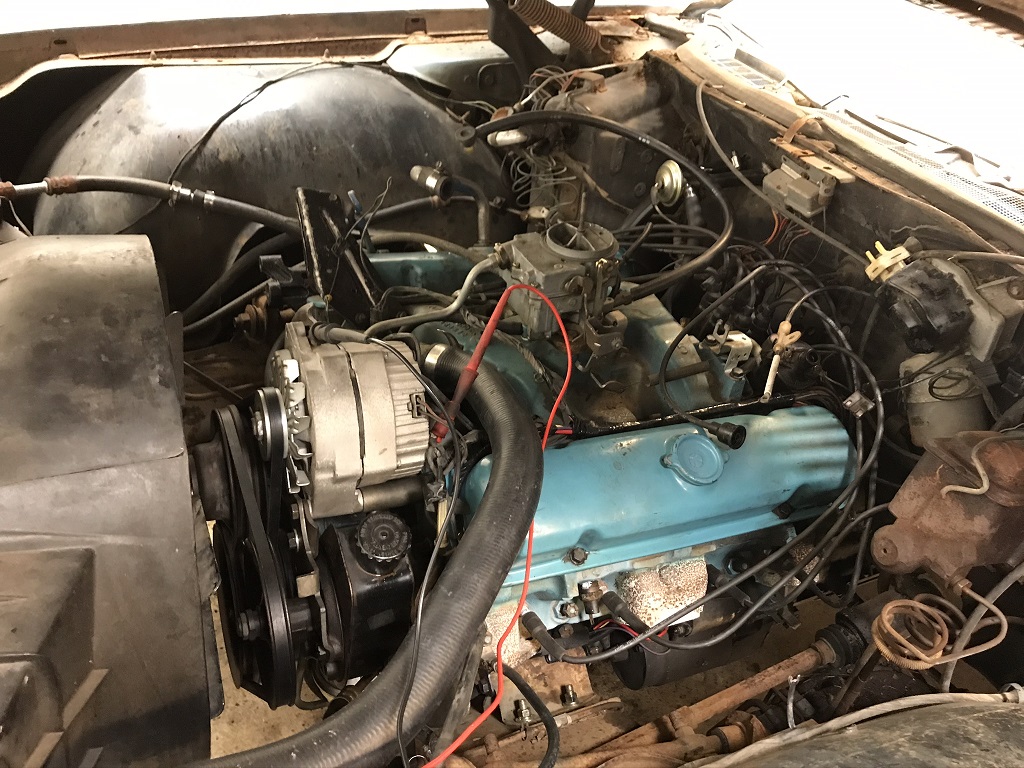
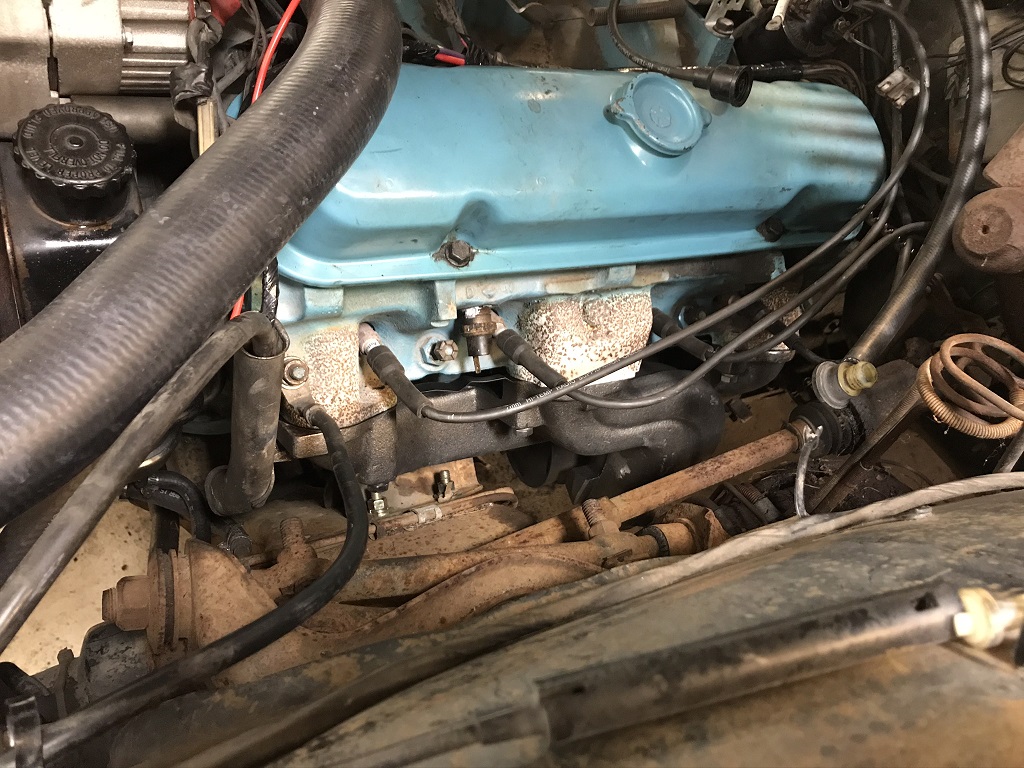
Harness goes back in, looped around the brake booster and hooked up to the coil.

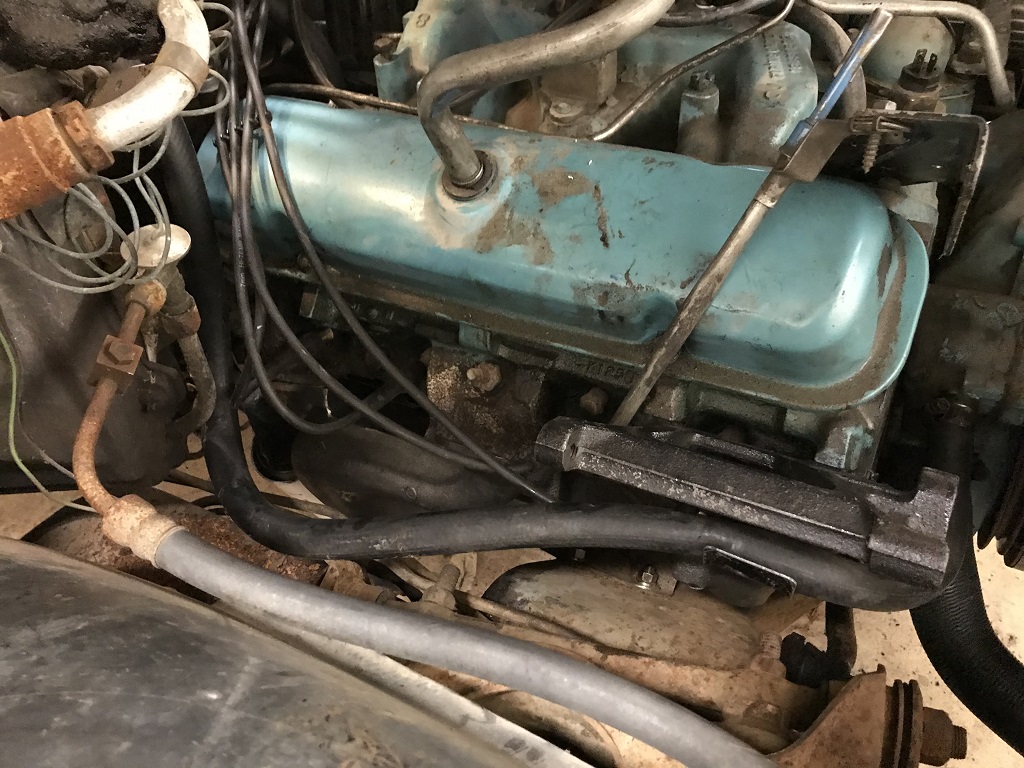
Hook up to the alternator, temperature sender, and loop the starter wires around the front vs. the original location.
It truly looks so pretty, it's a shame it gets covered under the engine. This is vinyl non-stick wrap, so it doesn't turn gooey by the heat.
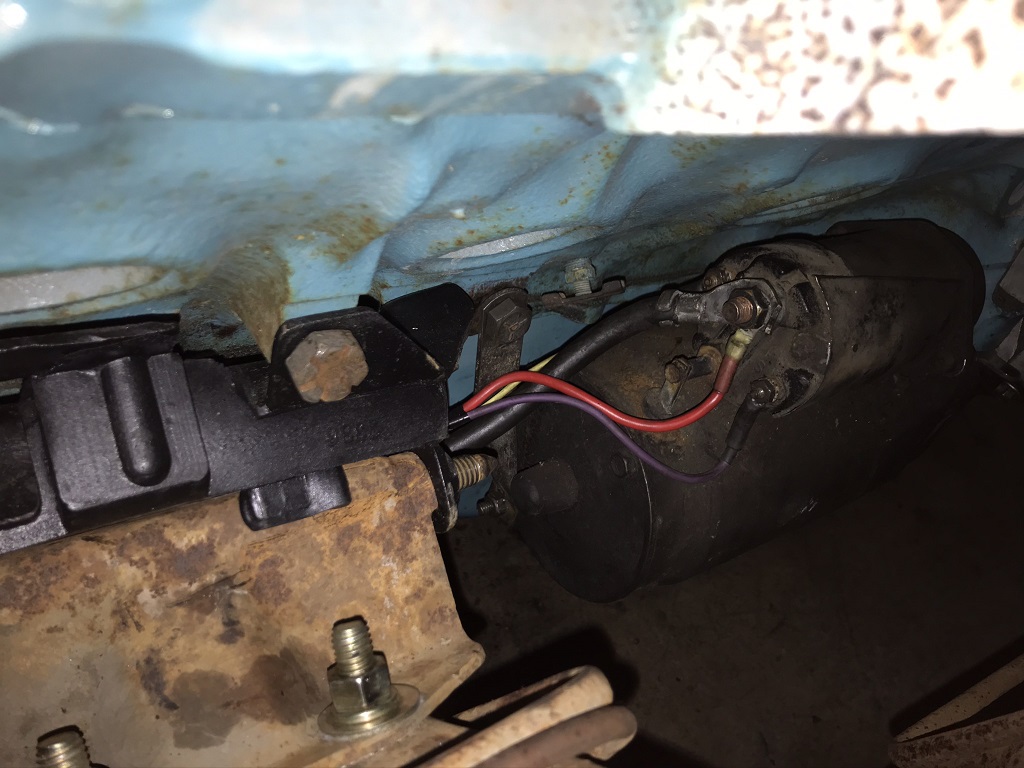
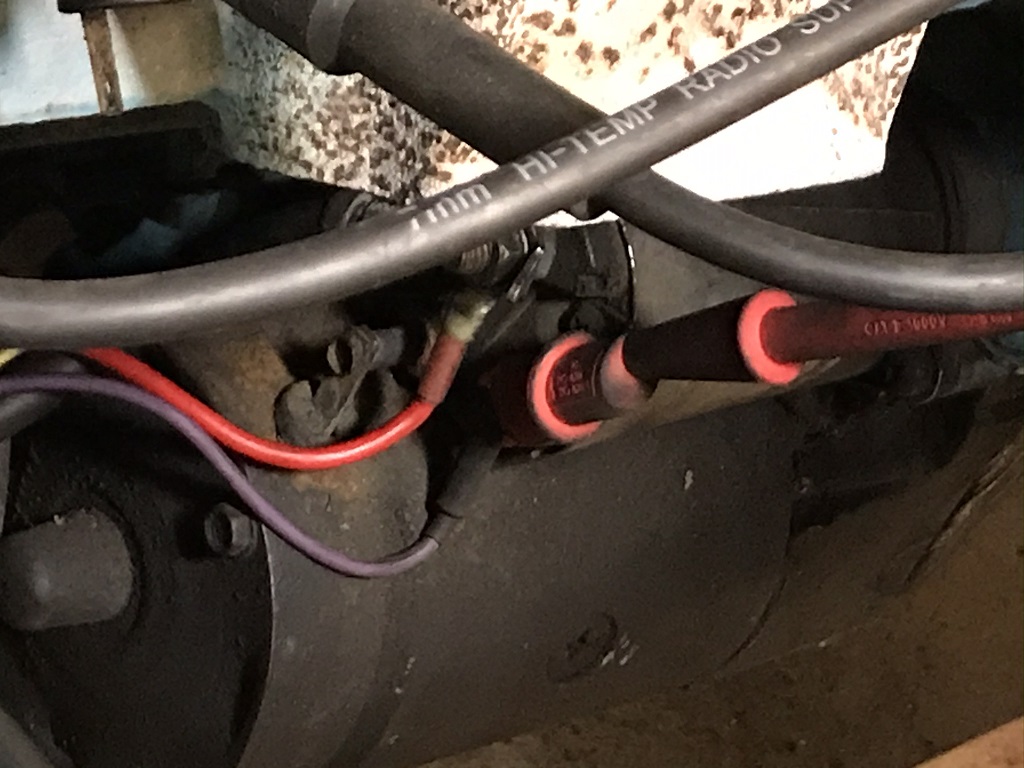
Starter is wired up!
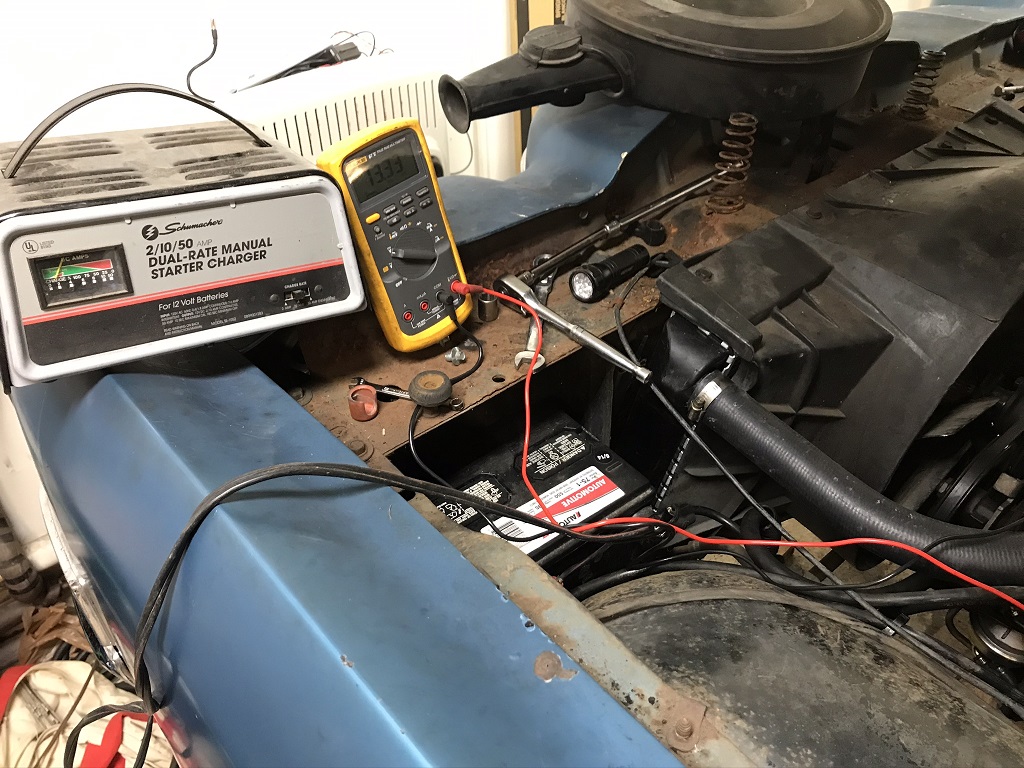
Well the battery is no good, naturally. Charger is put on to get the voltage up and test the system.
The harness is tested, coil wire removed to prevent accidental firing off of the engine.
Testing the starter solenoid. Fortunately it works!
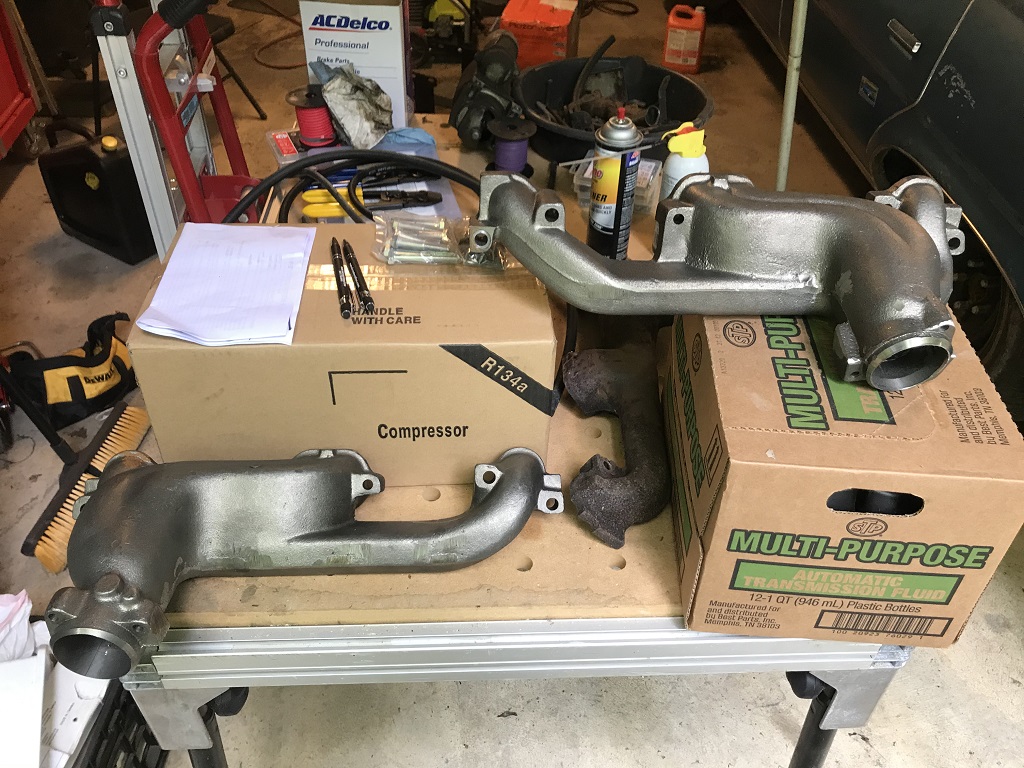
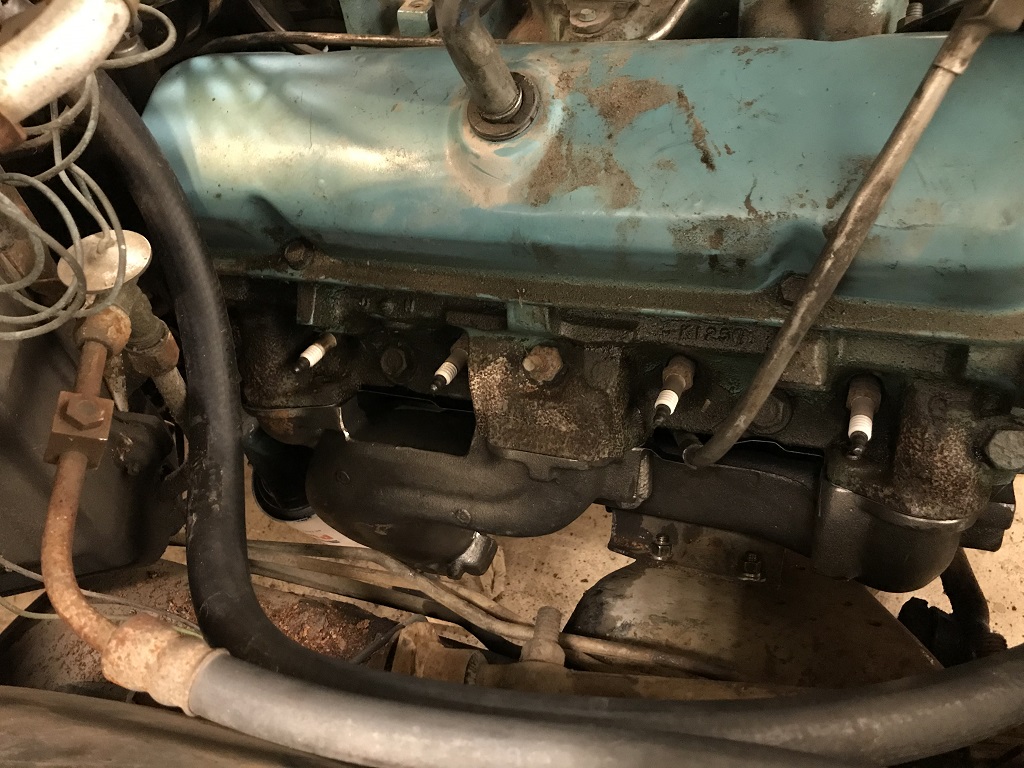
New exhaust manifolds since the old ones are not cooperating.
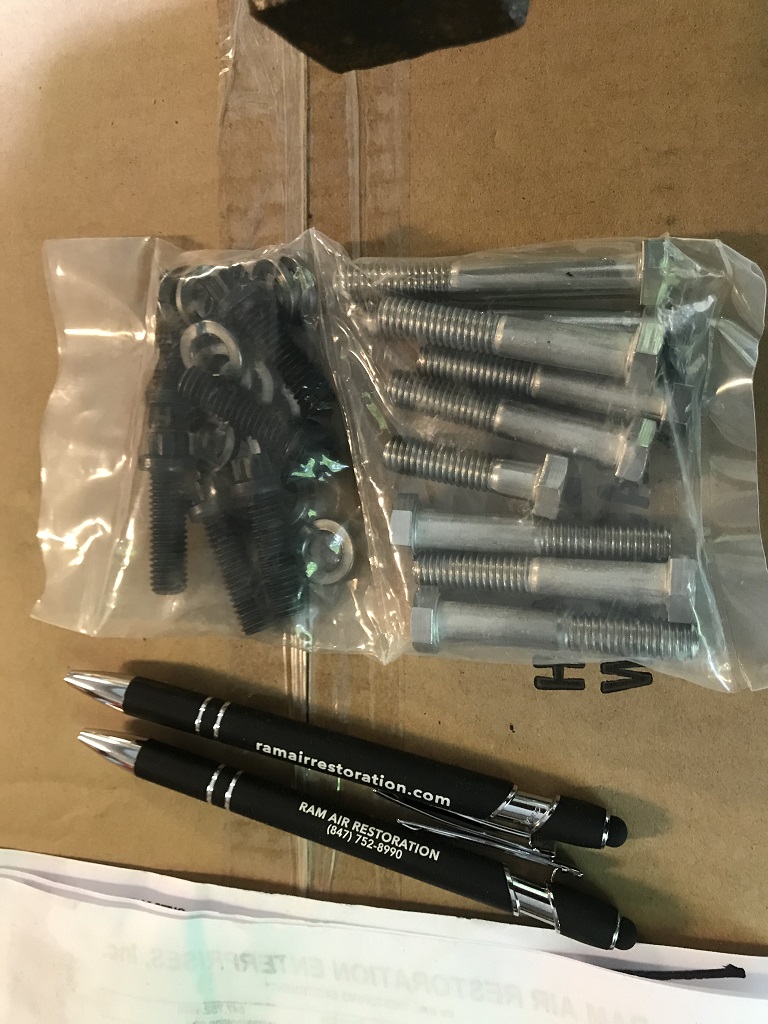
Nice new stainless steel hardware that won't crap out on me.
Passenger side manifold goes in. Clears the starter nicely.
Passenger manifold goes in from the top actually...
Passenger manifold gets covered up.
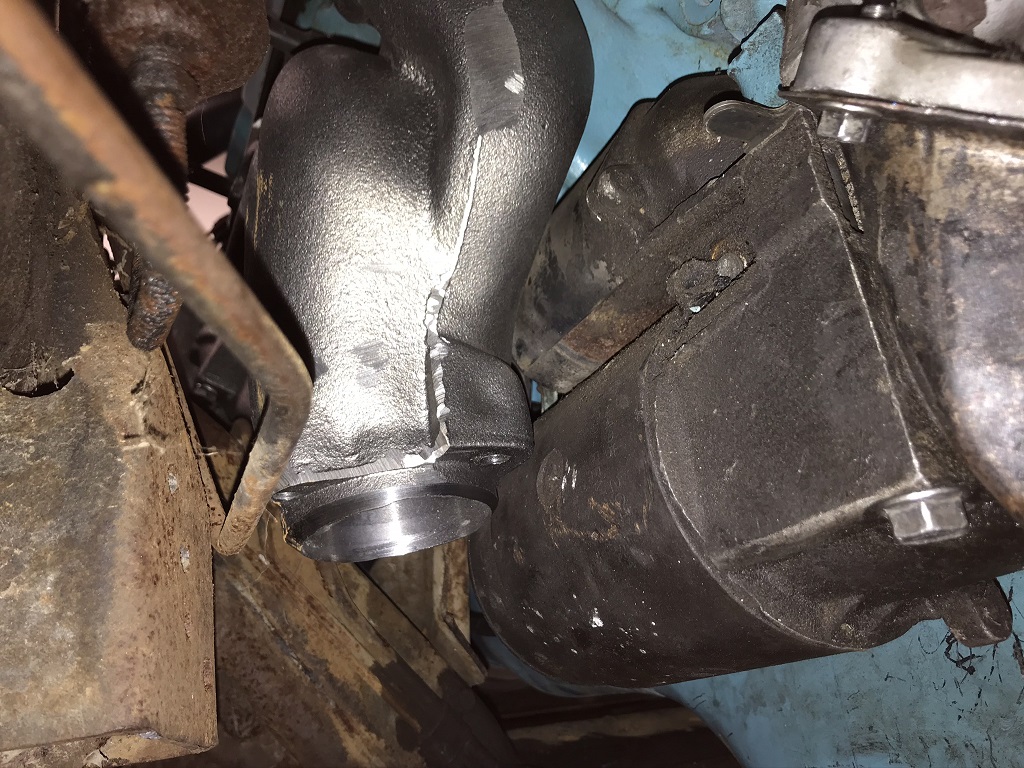
Driver's side manifold clears the starter... barely. It's close. Hopefully no hot start problems...
Driver's side manifold goes in from the bottom. Easily on a B-body I might add! No flanges as the guy is out, so it's open header time...
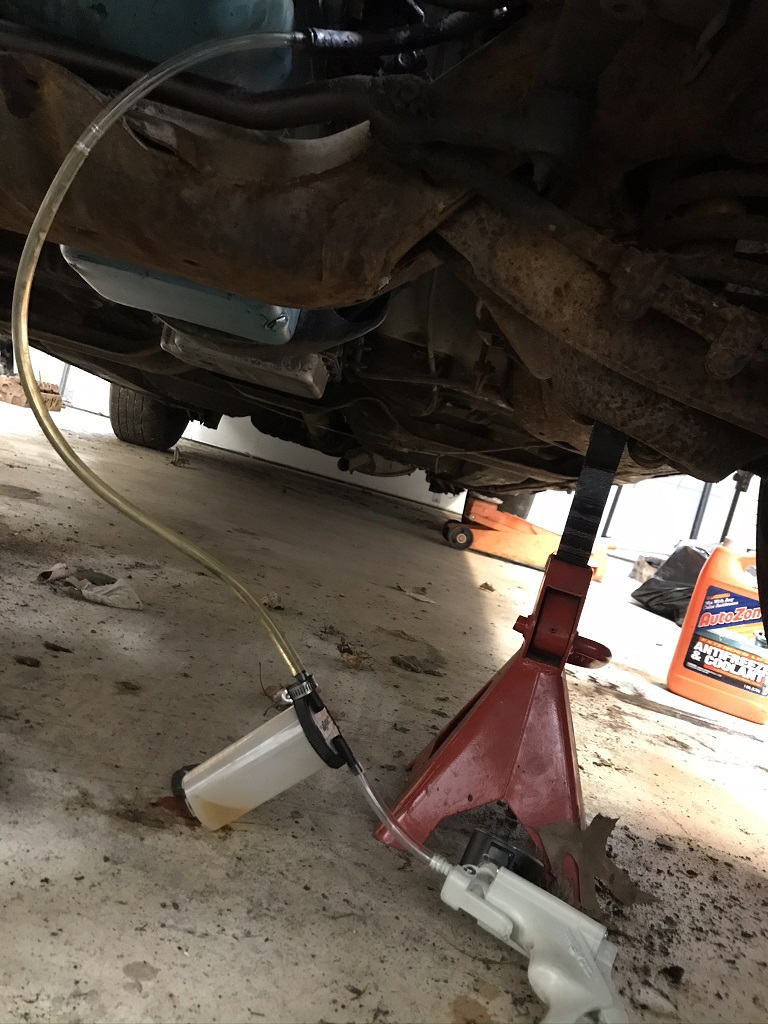
Prime the fuel system with a MityVac setup. It pulls clean fuel easily, no trash or nastiness in the tank. It's got ~8 gallons of fresh ethanol free gas in it right now.
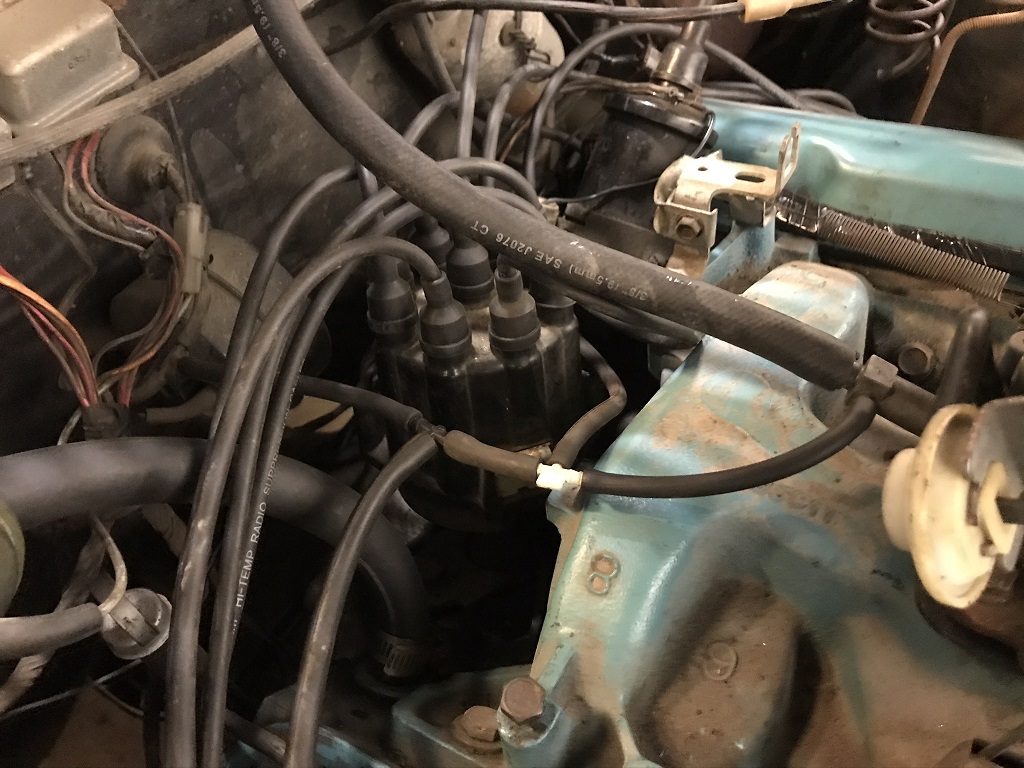
Have to make a vacuum tree. Full manifold vacuum (right side of hose) goes to the AC controls (left), the transmission (bottom), and the distributor advance (top). Coil is now hooked up and ready to go.
And it's ready to run. Cranked it over and it cranks as it should, coil gets power appropriately, I get spark at the plugs. Unfortunately with a bad battery you don't get much life. It will require a new battery before it'll run.
When someone says "just toss a motor in it" or "just needs engine" it is usually WAY more complicated than that...
Return to 1971 Pontiac Bonneville
Last updated June 12th, 2020