Engine In - Part 1 - 10/06/2012
The day has finally arrived. All of the parts are here (well, 97% of them anyways), the car is prepared, and we have nice weather to get the engine installed. Hopefully at the end of the day the engine will be well on its way to ready to fire and the car will have an opening and closing hood.
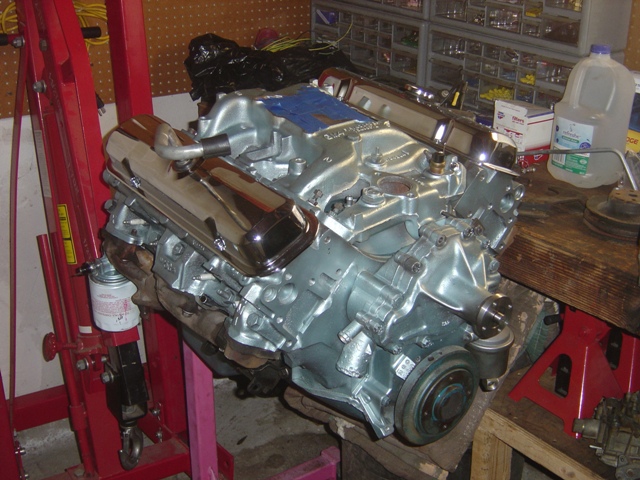
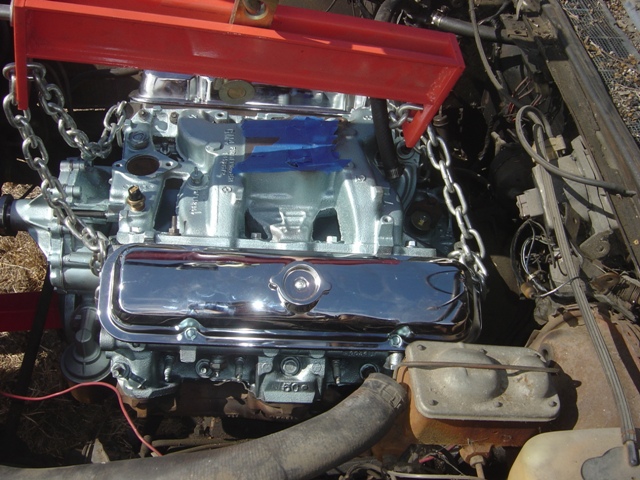
Engine all shiny and pretty. '69 intake is installed since it matches the patterns for the throttle bracketry. A '69 400-428 carburetor replacement (17054905) will go on top of it eventually, but a '71 400-455 replacement will be used for break-in since it's already rebuilt and ready to go.
![]()
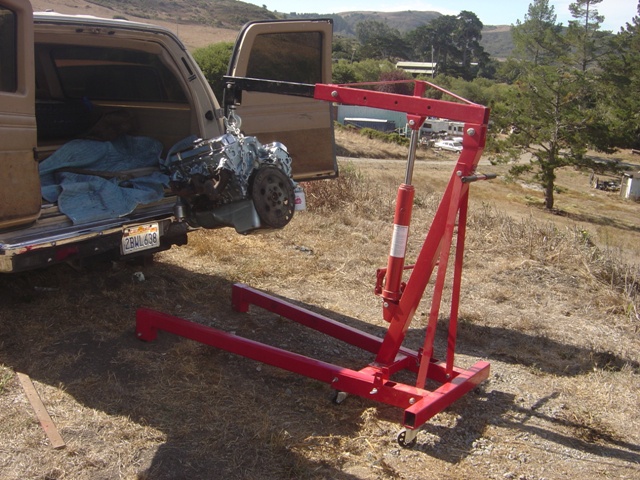
Out to the secret ranch where the tools may exist but may be used\locked up (it's always a mystery!) requires that any and all tools I want to use for this project be trucked in and trucked out over the mountains. Some idiot pulled out in front of me and made me lock my brakes to avoid hitting him along the way (white knuckle ride!) but luckily nothing got damaged or smashed. It was one VERY full Suburban though.
This is fun! No wussy stuff like doing this on a concrete driveway or asphalt.
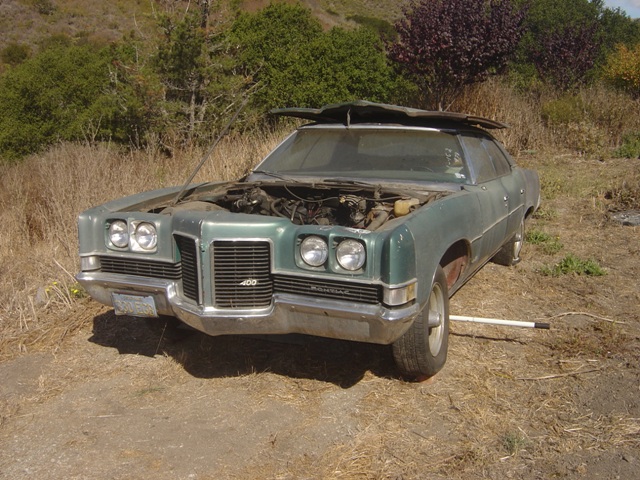
The car has been moved about 20 feet back from where it was originally, which is a mixed blessing. No longer do we have to work on compacted pea gravel which makes using a cherry picker a drag, but now we're on soft dirt and sloped down hill. Pea gravel would have been a better option (especially with a flat tire making moving this thing uphill impossible with 2 people alone).
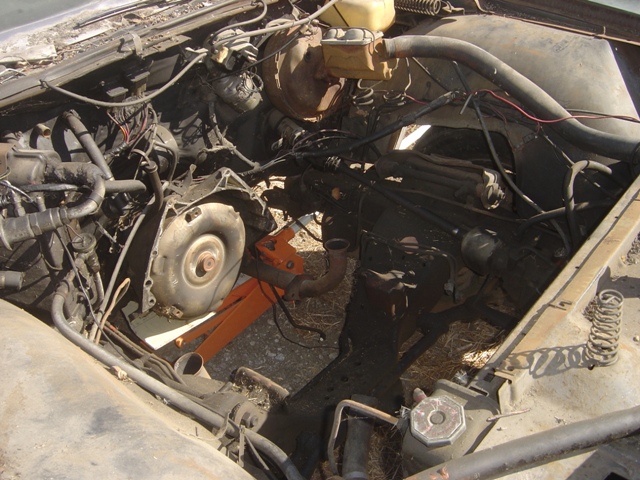
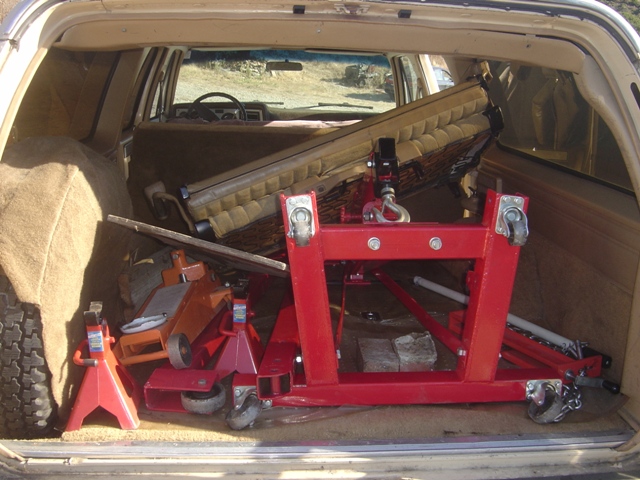
Transmission is supported, car is raised ~5" to allow for clearance of the cherry picker, and any misc. knick knacks are moved out of the way.
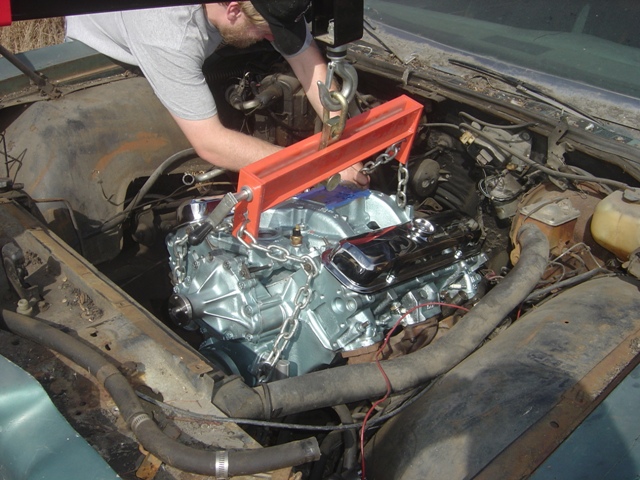
Made it in! It was a most unpleasant task in the dirt. Had to use a long metal sign post to unstick the wheels every single inch of the way. But we got it in with no damage (other than a slightly dented oil filter). Tony and I spent a LOT of time adjusting chain lengths to get every possible angle right to get it in.
Dowels in the tranny are finally aligned and the 2 are mated together! We had to get the engine on the mounts, drop the jack slightly, and then raise JUST the back part of the engine to rock the engine up and down (in the frame mounts without letting it pop out) to get the engine in. The cherry picker had dug in almost 3" into the dirt by the time we got it done and it was a bear to get the lift out even with no engine!
Engine is in, all 6 bellhousing bolts are tightened down, 2 motor mount bolts are in and tightened, and distributor is set to locate #1 with respect to top dead center. All went well.
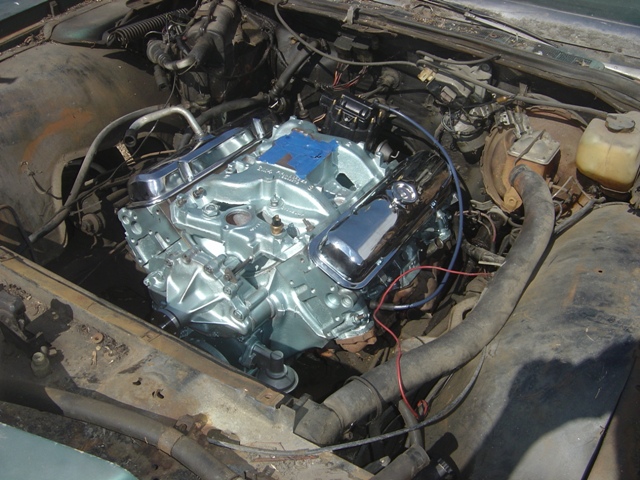
Exhaust manifolds are in - factory dual exhaust car because it still has the factory dual exhaust hangers in place (rarely seen on something this old). Factory exhaust pipes too all the way back to the mufflers. Just has 2 large tips installed on the stock exhaust... The wires are snaked down to get the starter ready - only the purple S terminal wire and the battery\+12V source feed wires were in the harness. Someone removed the yellow coil wire at one time. Spent time here to get the shifter hooked back up. It is missing the spring\bushing assembly that holds it to the frame, but it shouldn't fall out. A new hair pin clip keeps the shift arm in place and it ratchets through all the gears like it should now too (all ratchet points are accounted for, which the '75 had a major problem with before it was rebuilt).
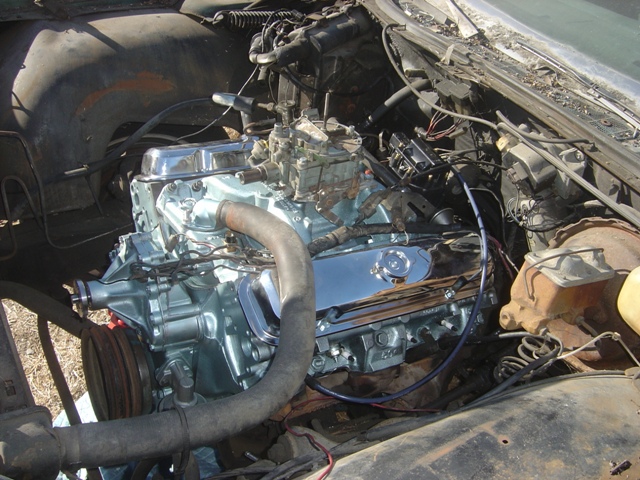
Carburetor is installed, wire harness is run & laid out properly, starter is in, torque converter bolted in well, new spark plugs installed, thermostat setup ready to go. Looking like an engine in the car now is almost ready to go!
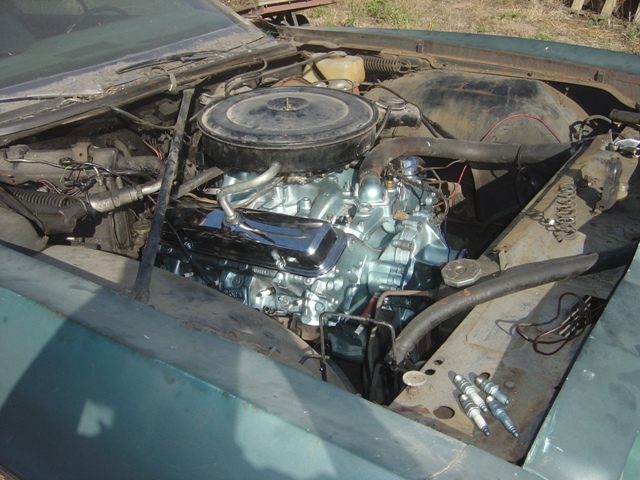
Air cleaner is installed to finalize sealing of the engine from the elements. All holes are plugged and filled, even if not fully tightened to keep out insects and debris.
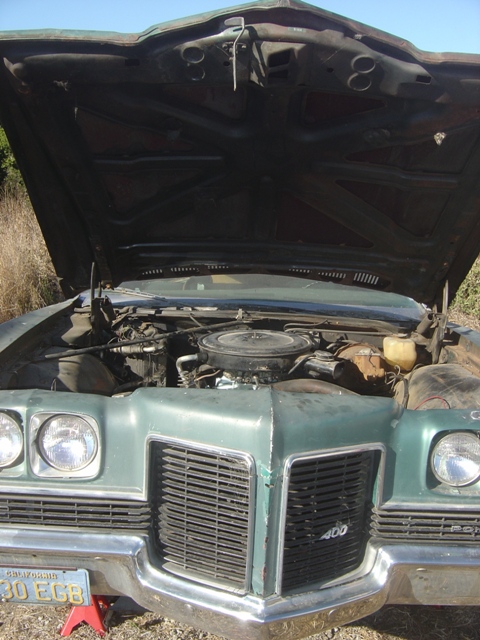
New unbent hood hinges actually make everything much better. Lubrication on the hinges makes things fabulous, slides right up like new now.
And the hood closed almost perfectly right away without a single hiccup. Tony was amazed that I was able to eye-ball it and get it so close. I had a great teacher in my good friend Steve!
All of the tools are packed up and ready to go home. A much less scary ride this time.
Well. That was one long day. Only worked for a total of 5.5 hours, but fighting the engine and hoist for the first 1.5 hours was draining. I'm so glad I had more than just me helping, it was a life saver. Although it was an odd twist, I was actually the "old timer" showing the "new young guy" how everything worked and he was learning from me and not the other way around like it was back in San Diego. It's a strange feeling, I guess that's what happens when you get old.
Things left to do:
Alternator\belt\brackets install
Power steering\belt\brackets install
Fan install
Shroud install
Upper dipstick tube, dipstick, and mounting bracket installed
Fuel pump lines install (tank feed and return)
Run plug wires
Install 45 degree bend on oil sender
Sort out wiring harness - alternator bolt wire missing ring lug, no coil voltage wire ANYWHERE
Things that might be an issue:
Radiator has seen better days - there's a giant all-thread in place of a drain cock...
Wiring harness really is a mess
Gas tank has unknown quantity of 12+ year old gas still in it. Plan to break engine in with metal gas can sitting on ground next to car and then drain tank later via eletric fuel pump.
Tires. DUDE, these are BAD tires.
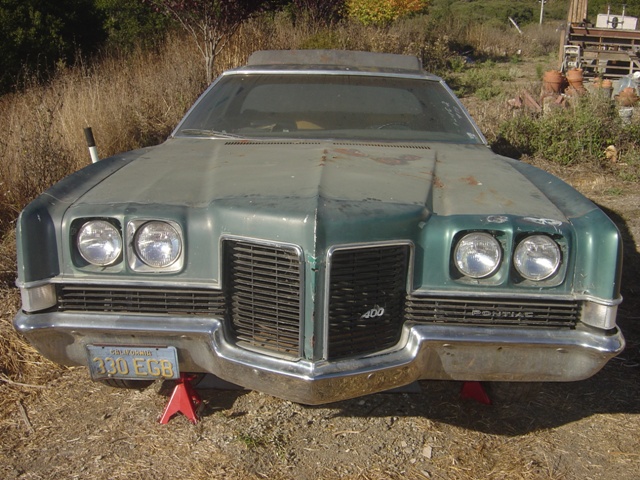
Always good to have a project close to completion. Big load off of my mind now that the engine is in and protected from the elements since the rainy season is close upon us.
Return to 1971 Catalina
Last updated October 6th, 2012