Gauge Install - 02/10/2013
The day has finally arrived. Rally gauges go in the car. This means I can monitor all of the car's vital functions from the dash without the horrid mish-mash of SunPro gauges that are strung throughout the interior haphazardly. Also time to finish checking other things out too!
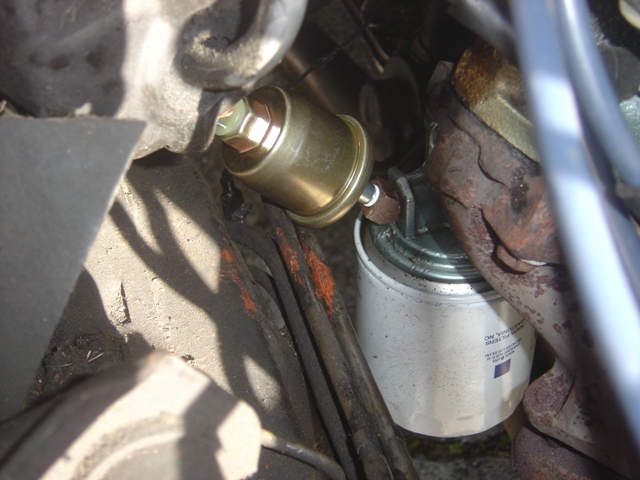
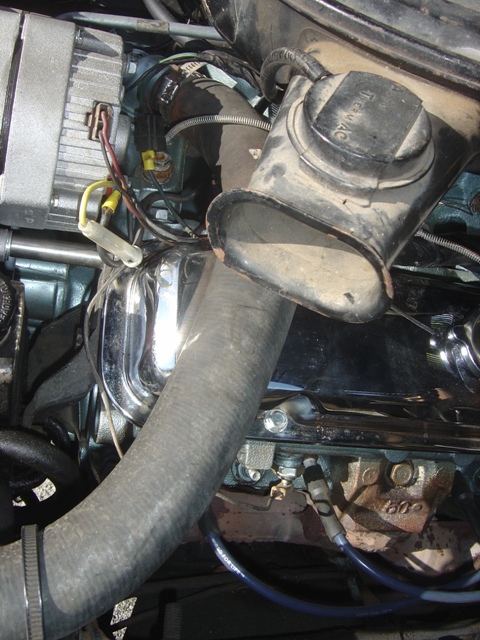
Have to remove the idiot light switch and put in a pressure sender. GM used 0 to 80 psi as 0 to 80 ohms. My engine has a pre 1970 straight oil filter housing which requires an adapter. I need to change it out for the proper one one of these days.
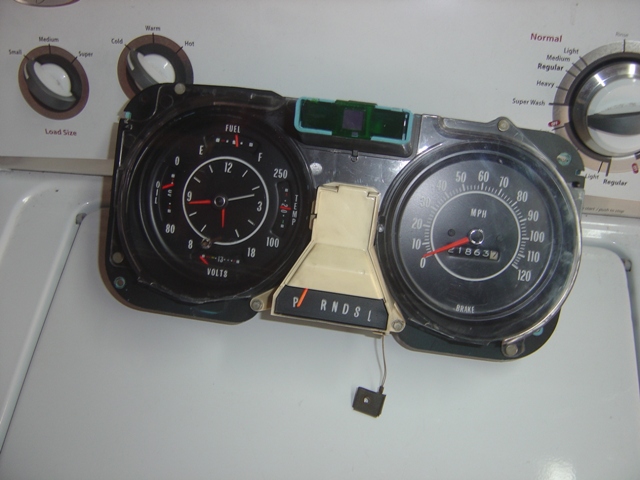
The coveted rally gauge cluster from a 1971 B-body. Found from a guy on the internet who made me a deal. It's almost too nice to put in this car...
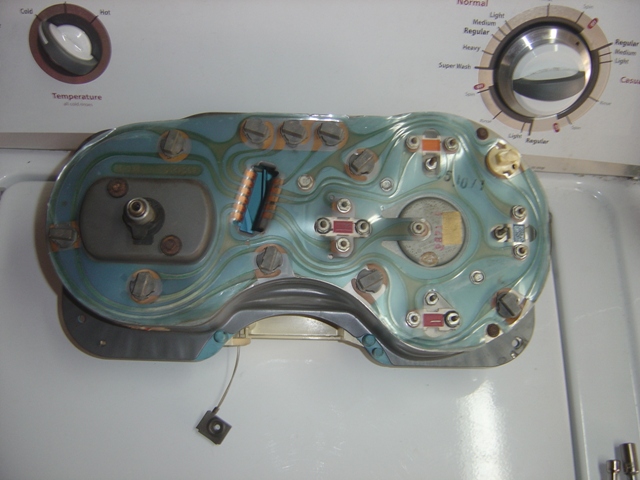
How the back looks. 12 pin socket, wiring is a direct changeover from gauges to lights.
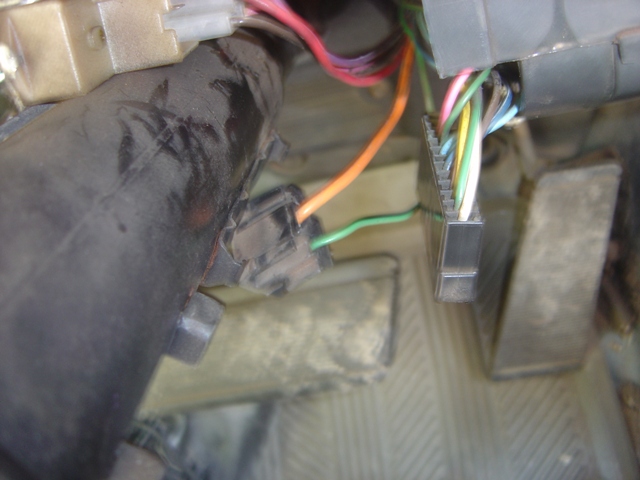
Ignition switch wiring has to be modified. This is the IGN3 terminal and it only has 2 terminals used, the green wire grounds the dash light to the temperature indicator - demonstrating that the bulb works on startup. Probably not a good idea to ground a gauge regularly.
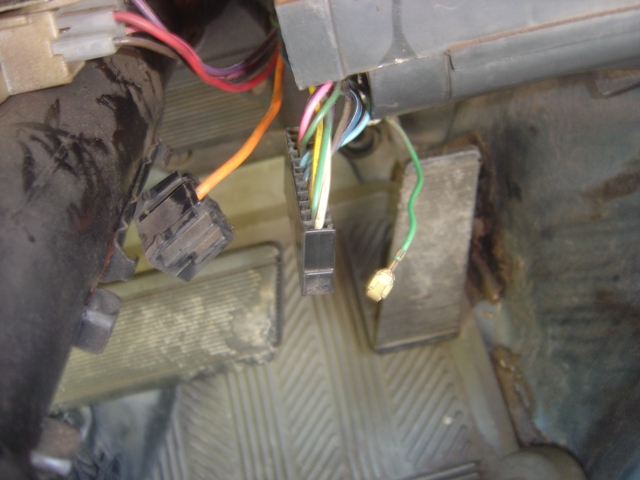
Little screw driver removes the wire, it is taped up and out of the way.
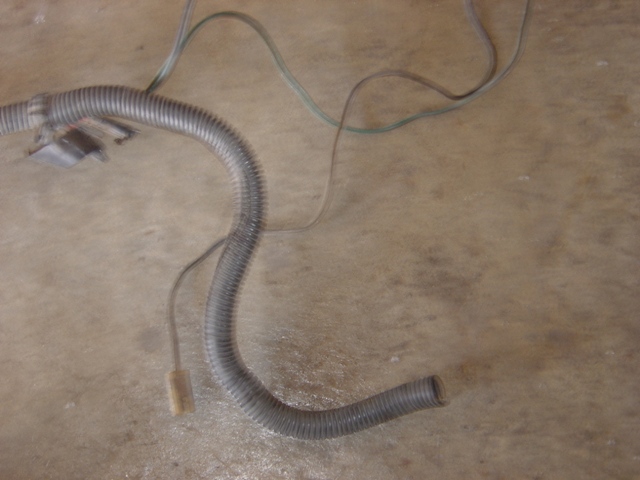
Yet another part of a '79 Trans Am engine harness. This part is the temperature sender plug.
And a new harness is made! I crimped the yellow spade on to an end of wire and plugged it in to the factory idiot light sender harness, then plugged it on to the button connection in the head. Just like the factory did it.
Removing the old gauge cluster. Whoever did this before didn't believe in screws.
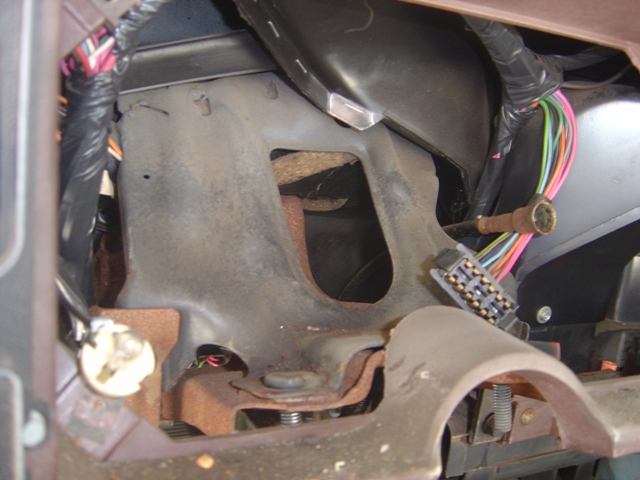
A hole in the dash! Speedometer and circuit board plug are on the right, fiber optic to washer\lights indicator on the left. Very little room to get your hand in, if the car has a radio it has to come out!
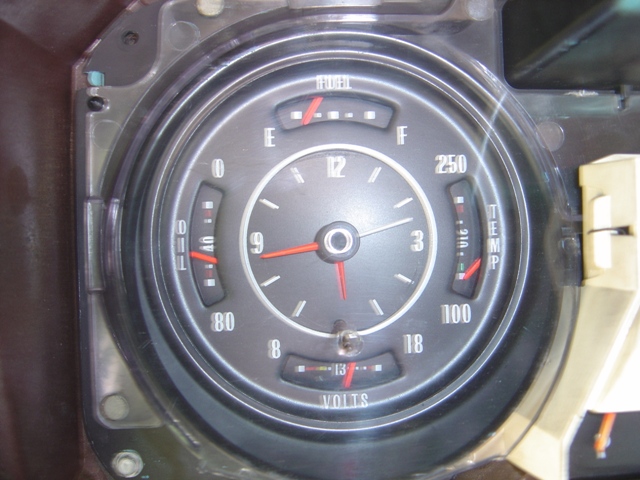
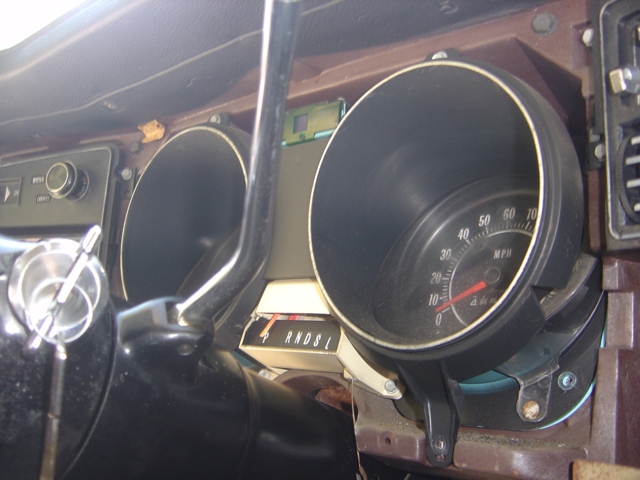
They are in and they work on cold fire up! 60psi of oil pressure and sub 100 degree water temperature.
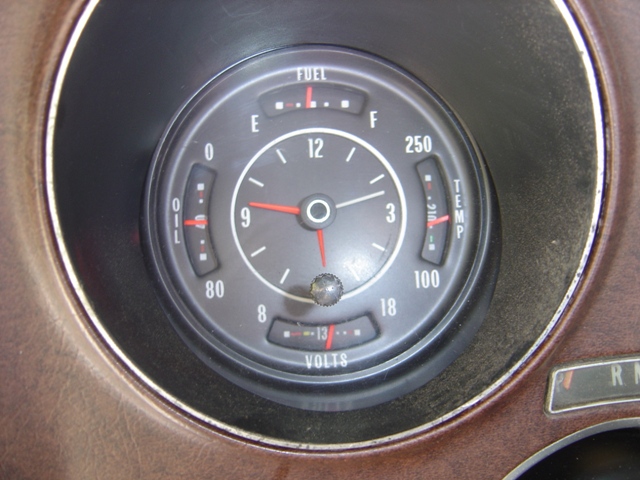
Fully warmed up at idle. 40psi of oil pressure and ~195 in the cylinder heads. It sits between 195 and the 210 notch, the mechanical gauge in the crossover indicated it was around 180 when it did that. Notice how the fuel gauge has started working again. About half a tank is right, I put in 10 gallons the other day.
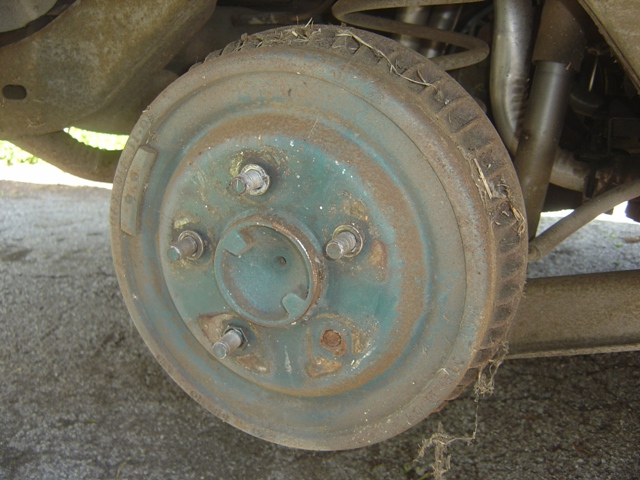
Time for drum brake inspection! They painted over the drum when they repainted the car. Don't ask me why... I also don't know why there are lock washers on all of the studs either.
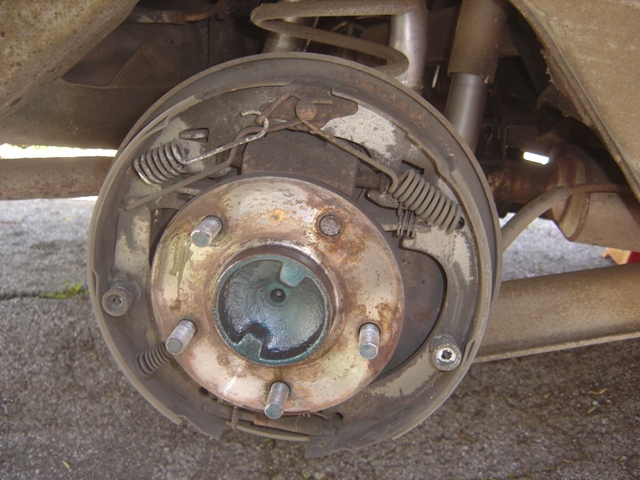
Decent amount of life left in the shoes. Minimal movement from everything, I sprayed the heck out of it all with PB Blaster and blew out all the dirt and gunk.
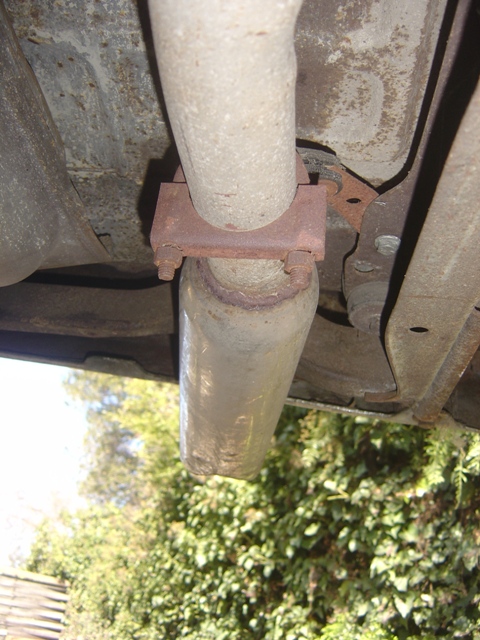
The rear end cover has a drain plug! That's nifty.
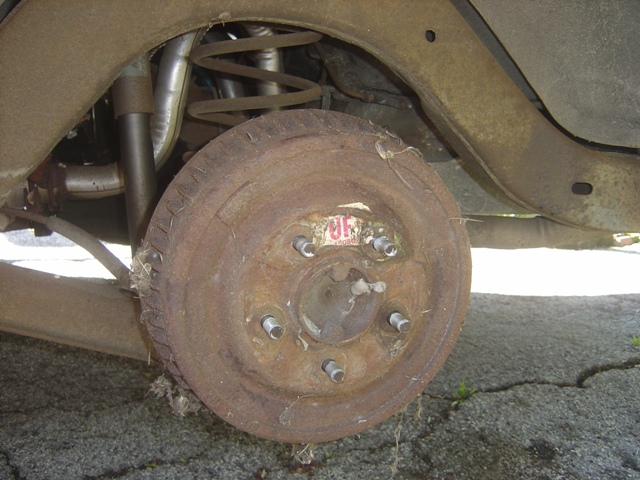
Driver's side. Drum has a UF sticker, looks factory.
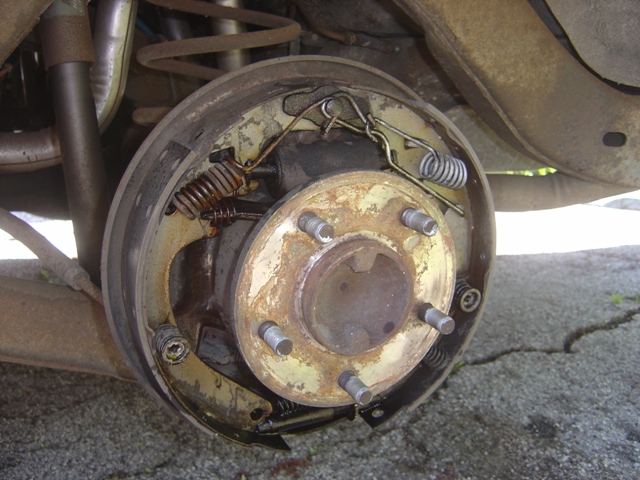
Decent life here too. Lots of cleaning out dirt and lots of spraying PB Blaster on everything to free it all up.
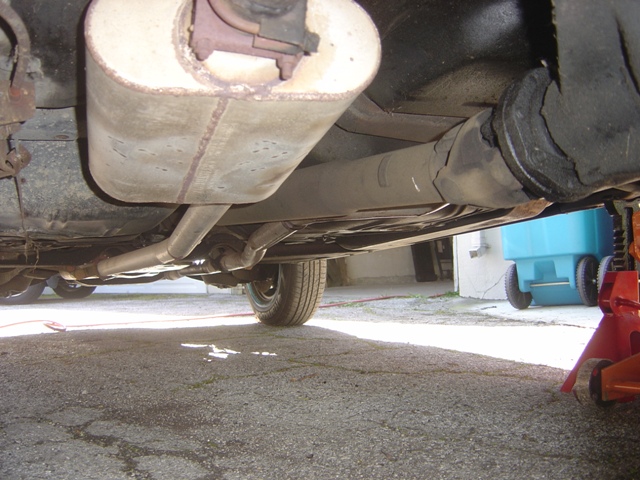
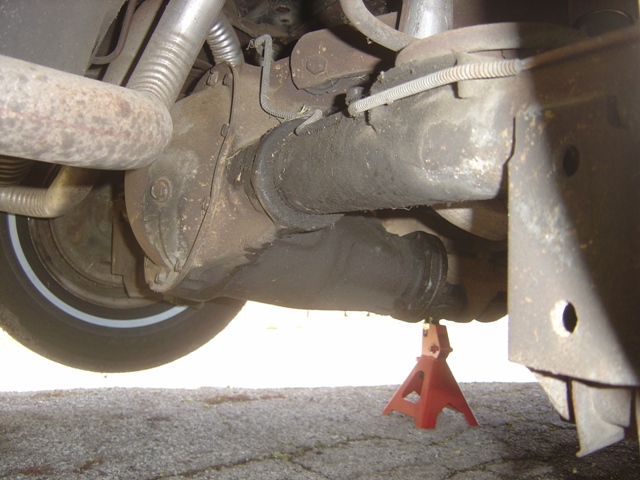
Factory dual exhaust setup. Except the mufflers say "Flowmaster" on them. UGH. Floors are nice except for that one spot by the driver's floor.
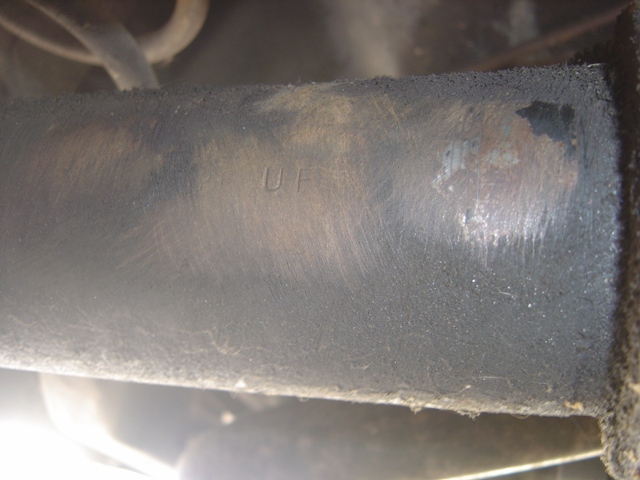
Rear end is coded as UF, same as drum. UF corresponds to 1971 big car 3.08 open rear end. Nice!
Monster tips are welded on annoyingly enough.
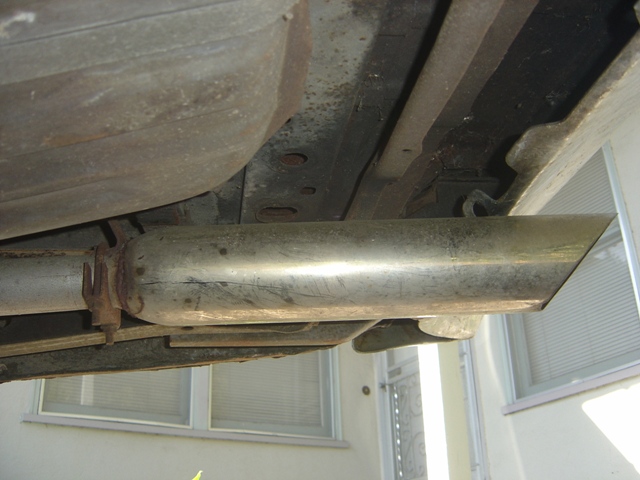
I have no idea why anyone would put these on this car. It makes it loud and obnoxious. And I can't remove them either, so it's even more annoying.
A productive day was had! And it was successful. Makes me happy when that happens. I also removed the mechanical gauges and put the dust cover back on the transmission, and found that I had pinched my valve cover gasket on the passenger side leading to oil being slung out the back and onto the exhaust. Oops. All cleaned up now! Just need to get the front brakes done and fix the intake exhaust crossover leak then it will be ready for driving around safely.
Return to 1971 Catalina
Last updated February 10th, 2013