Radiator & Brakes (tires) - 11/03/2012
After the last go-round, the radiator failed and the clutch fan failed at the same time. Decided I'd better replace those items if I wanted to actually ever get this thing running for more than 10 minutes at a time. Luckily RockAuto came to the rescue with a discount code and a brand new 4 row radiator (for $209)!
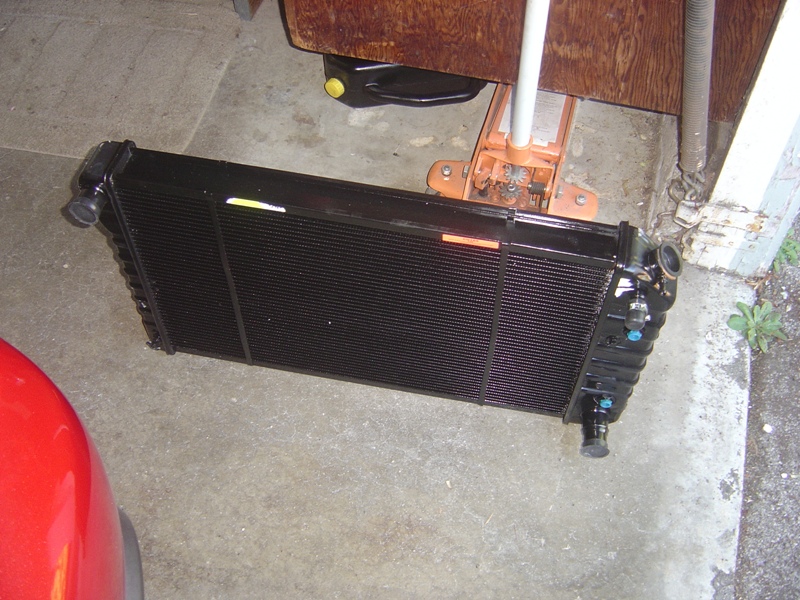
Pretty. Came in less than 3 days, which is actually quicker than even AutoZone could do. And it has a return policy which AZ didn't since "it's a special order item" therefore if they $*(# it up you get to eat it (so the dingbat at the register explained to me). I guess when you specialize in shipping parts and stocking them correctly like RockAuto, you can afford to service your customers without having to try and sell keychains and sodas to improve the store margins... oops, ranting again. I do like how it came with plugs for all the orifices, which is great to have around to keep critters and trash out. I'm weird, I save this sort of thing since it's always handy later on for other projects.
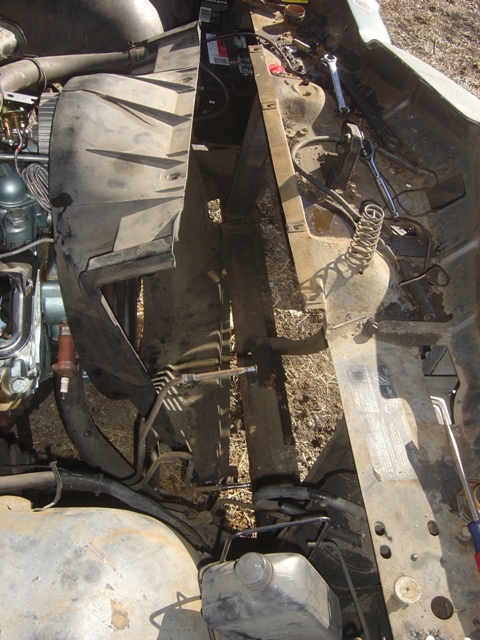
Out came the old radiator. Luckily not a single fitting broke or had issues, the transmission cooler lines were a little stuck but came out with a flare wrench without any drama or trouble. The shroud appears to be missing the passenger side foot rest for the radiator. It's also cracked up top. Kind of annoying but not much I can do about it since it isn't a reproduced item. My connection probably has one of these laying around though...
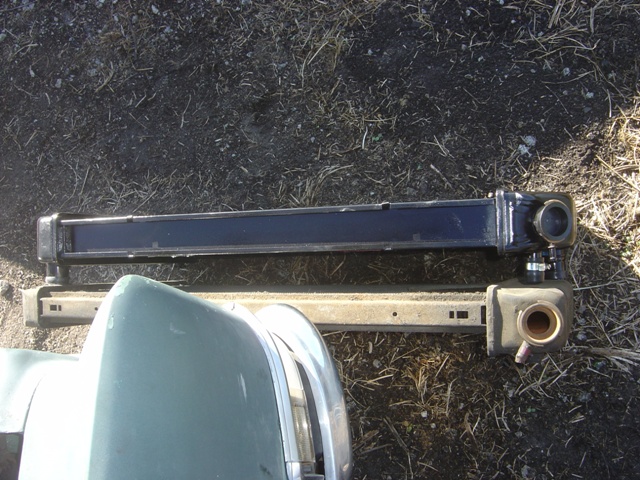
And you can see the difference right here. Same physical dimensions or length, width, and tank depth, twice the depth for water rows. Amusingly enough the water return fitting on the old radiator snapped off almost instantly, leading me to be glad I changed the radiator as THAT would have been ugly if it had happened on the road (and you know it would have). Extra nipple fitting on passenger side is for Chevy and their coolant bypass return line, Spectra provides a rubber fitting for it to block it off.

New radiator is in. While not exactly a difficult job, it wasn't trivial. The shroud doesn't like to be removed from the radiator with the engine in the car and the radiator doesn't like to go in with the shroud as a uniform item. I only had 2 rubber feet for 4 rows and the one that was left on the old was a very strange small size. The mounts for the bottom only existed on the driver's side and it was tweaked something fierce, so I'll have to fix that later on. Transmission top cooling line was about 4" lower due to the Chevy heater fitting, so I had to do some gentle bending and nudging to make it fit. No kinks or leaks, so that's always a good thing. Bottom fitting was the factory location and so were both intake and outlet cooling fittings. Fan clutch is a Hayden 2747 which is a heavy duty clutch for AC cars, which is also $25 cheaper than the 2757 (severe duty, which isn't necessary I've found on the Lemans).
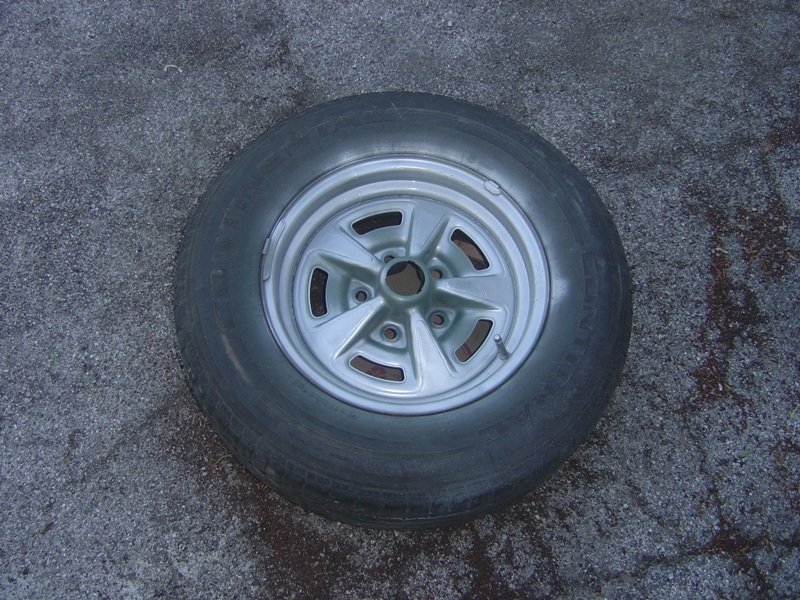
One thing that always makes an old car look better is a nice set of new tires and rims. Since I am not a fan of hubcaps or steel wheels with poverty caps and I despise the trend that East Bay thinks is "donk" or "box" with those ridiculous +20" rims and tiny clown tires, I went with factory tried and true Ralley IIs in 15x6. The Buick rally rims on the '71 that I have aren't my favorite look, not like I've ever had a problem with them before... but I didn't want to go that route this time. I found a set of rims from my Livermore B-body connection who has quite a stash of parts for the '71-76 Pontiac full size line. I even got to pick the nicest and prettiest ones with no wart-hogged out lug nut holes because he's a stand-up guy - he threw out 2 rims while we were looking because they had trashed lug nut holes (common problem). I ended up with 3 nice rims and one slightly rusty rim. I decided to give restoring\painting them a try because a guy over at Trans Am Country posted a thread about how easy it was to do his and I figured if he could, so could I! I chose to only do the worst one because the rest aren't terrible and I didn't want to end up with 4 horrible looking rims, I could compromise with just one.
I amusingly enough didn't take a before photo of it... but it was rusty and had zero paint left. I spent 45 minutes wire wheeling all of the rust and gunk off. Got it nice and shiny metal and cleaned it off. Then it was time to prime! I used Dupli-Color self-etching primer here on both sides. It has a nice grey-green colour to it, don't you think?
First step is to paint the base silver on the wheel. The primer instructions said it could be done within 10 minutes of drying, so I did! Both sides are painted silver. Dupli-Color silver specifically for wheels.
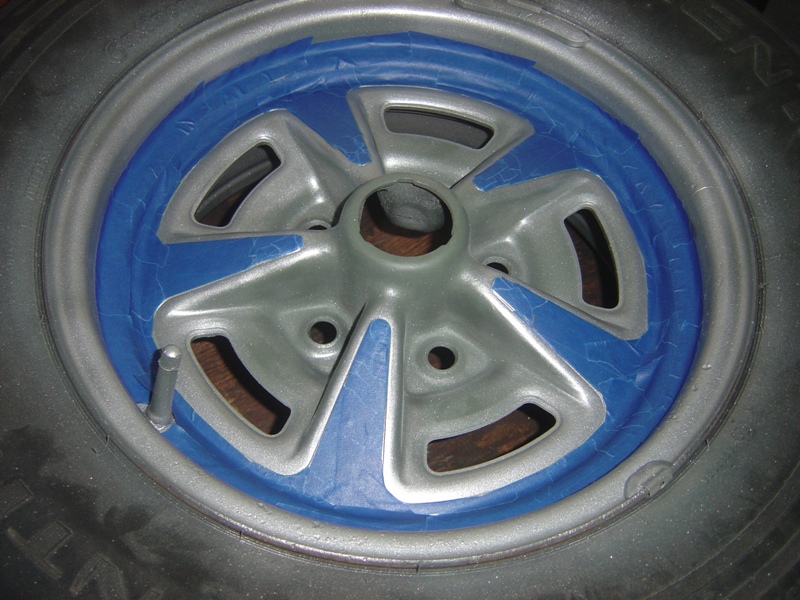
Gave the silver enough time to dry and cure, then masking! The way Ralley II wheels work is you have silver spokes and edges (covered by the trim rings) and then either charcoal or body color on the rest. Performance Years and Ames sell stencil kits and 100% correct paints that match factory colours exactly, but I decided that I didn't care that much and just wanted to see how it would look with O'Reilly stuff since it's just down the street. Blue painters tape, cut and sized to fit wasn't difficult to install. They sell a stencil kit that just tapes right on, but once again chose to cheap out.
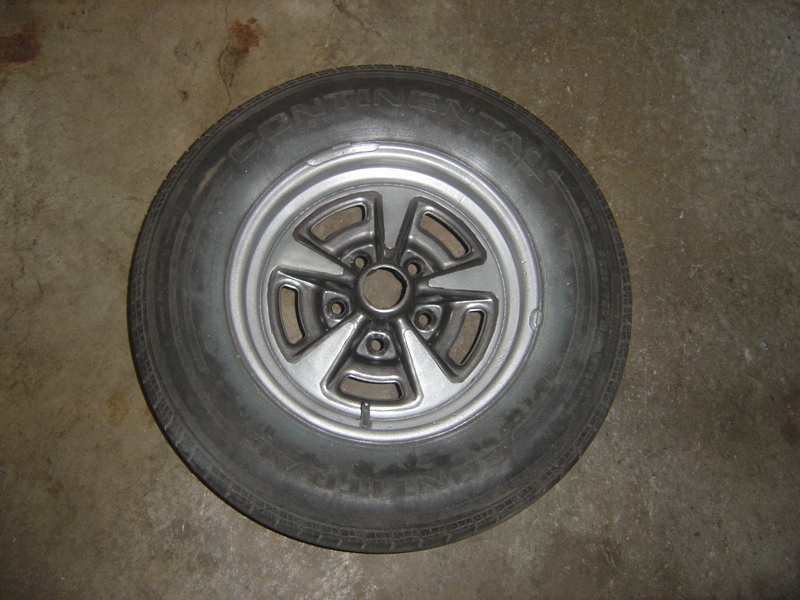
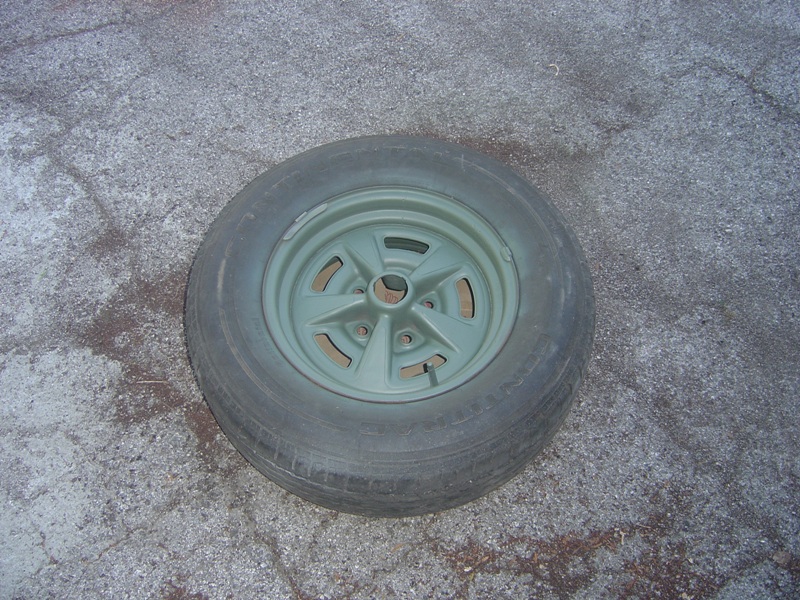
And Dupli-Color charcoal\dark grey is applied, allowed to dry for 3 hours and the masking removed. Not bad if I do say so myself. It's not perfect but considering what people charge for this work, I'll take it! Not to mention after 6 months of driving around do I really expect it to be perfect? Nope! And I managed to do this with the tire still on, so I can now do the Lemans as well.
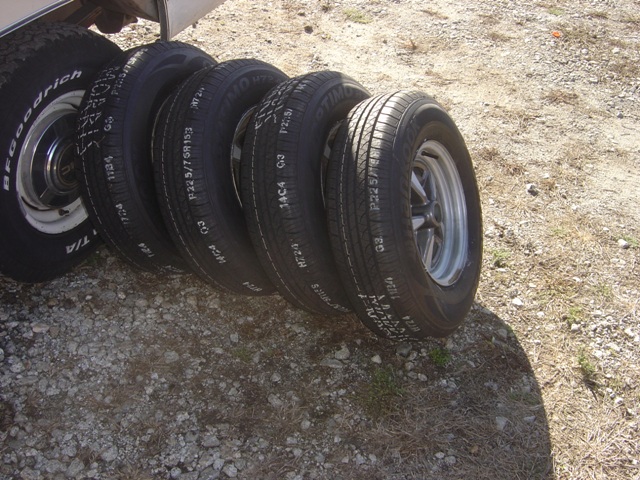
Original tires were H78-60, which translates closest into 225-75R15. Amusingly I bought a set from a local San Diego tire place back in 2007 and they were $225, but with the way life has been going in the world now they are $490! Not a bad tire and have a 70,000 mile 5 year warranty on them. Redwood General Tire got my business again because they did awesome work on the last set I had them do. This time was no exception. These even have my name on them, makes me feel special and all that.
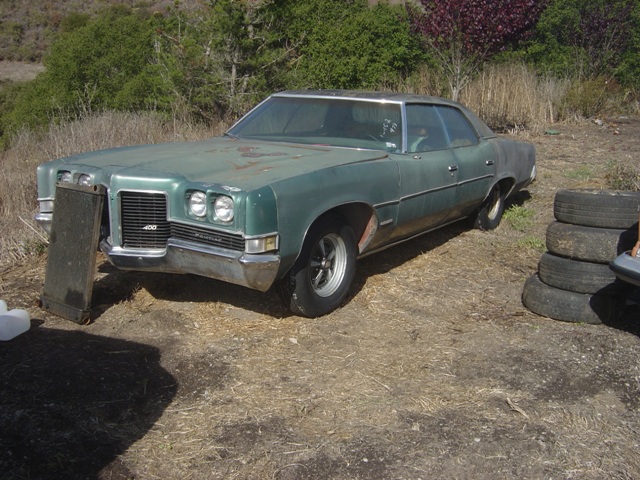
It actually makes the car look decent. Not great or perfect, but it's a far cry from the ugly look we had going on with 3 extremely low air tires and 1 refusing to even hold air anymore. Makes the car look ready. I inspected the brakes while doing this and the front rotors are still factory and have some meat left in them. The rear brakes will need some love - one broken wheel stud I have to pull the axle for and I'm REALLY not excited about that.
Once again, progress! Not bad at all. Had to pick up some lug nuts to fix the mismatched set that came with the car, including one wheel lock with no key - hammer and slightly larger impact socket fixed that right up! Now it's tuning time and fixing up the minor electrical issues and the car is ready to drive around and then eventually come home.
Return to 1971 Catalina
Last updated November 3rd, 2012