Tuning & Adjustment Day - 02/03/2013
In an effort to address the quality of life for driving, lots of little things need to be addressed. For one, removing the plastic line for the mechanical oil gauge and replacing it with an idiot light until I get gauges in the car. Have to repair the driver's window not going down. Need to fix the turn signals and reverse lights, add some mirrors to make the car not unsafe. Fun times ahead!
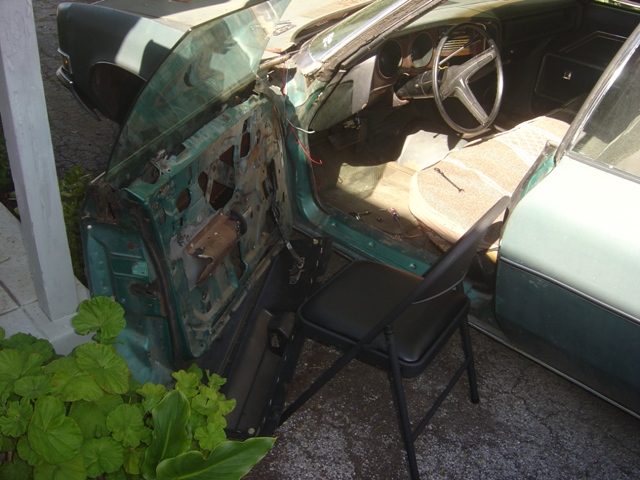
In my old age I realize that I could do this on my knees, or I could get a chair with cushion to spare my knees. No shame in whipping out the chair. My body will thank me tomorrow.
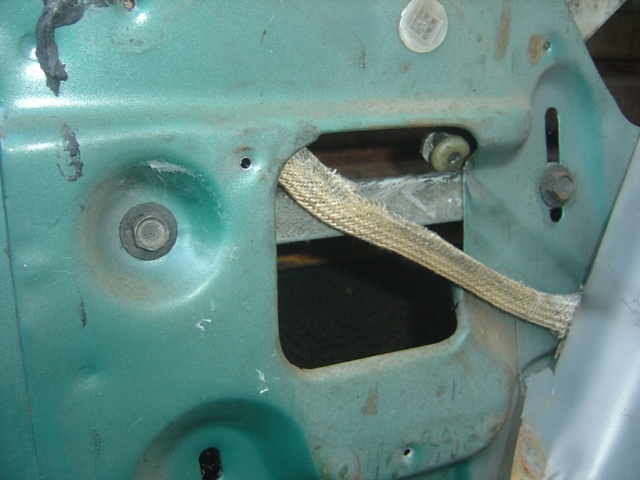
Somehow I missed this. The scissor pivots along this rail. It also prevents the glass from dropping out too. It is binding, hence why I need to fix it. Just remove the 2 bolts, slide rail out, slide rail onto wheel, bolt left rail point on loosely, adjust right bolt to almost horizontal with minor adjustments up and down if needed.

The Fisher Body service manual doesn't go into too great detail on how to adjust these windows and the pictures aren't great. So I'm going to write down how it works with photos. I started with this piece: this is the lower window stop. It keeps the window from falling into the door and rattling\smacking the door's upper lip. I started here because it was convenient. The motor stops when this bar increases the torque needed. It flexes, so I had to adjust it up higher than you think. Not sure if new hardware has this problem or not. My inner door framework has seen better days. The tab on it keeps it from sliding around.

Forward window track. Upper left bolt is visible, lower right oval hole is the other for it. Some minor adjustments up and down are possible here, but not really needed. Lube window tracks while they are out.
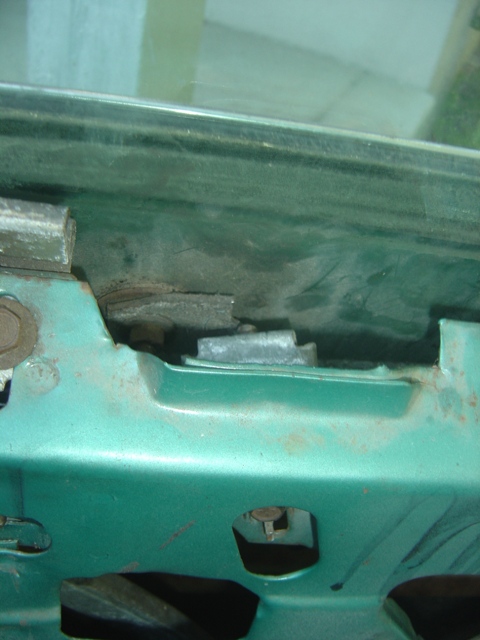
This is the rear upper window stop. Keeps window from going too high and interfering with weatherstripping seal. Both front and rear need to be matched to all the rear door seal to work as well. The bar has an upside down V in it, so to get it out and adjusted properly (if for some reason the window goes OVER it like happened to me) you have to lower the window a few inches. The tab keeps it from sliding side to side. Just one bolt.
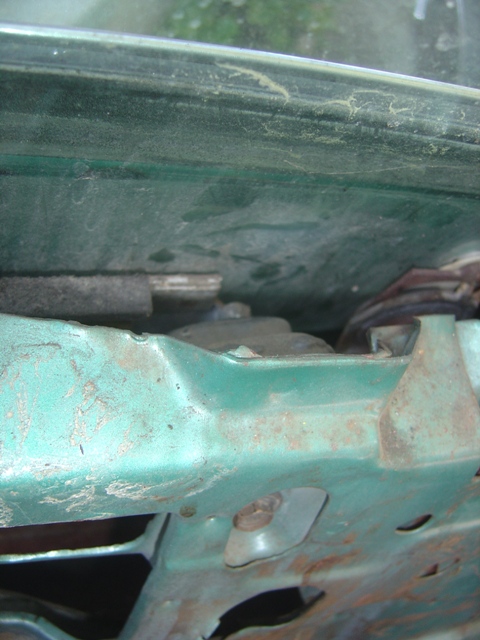
Forward upper stop. Works in tandem with rear to make window nice and even. Has an upside down V with rubber coating on it (not sure if rear did at one time, doesn't look like it). Another single bolt item.
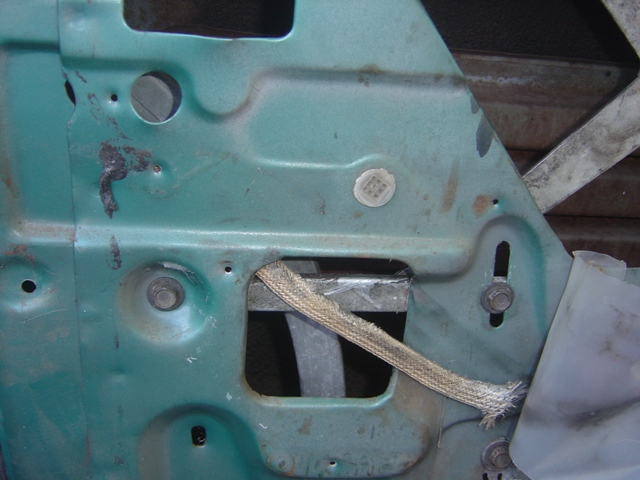
The window's scissor pivot track.
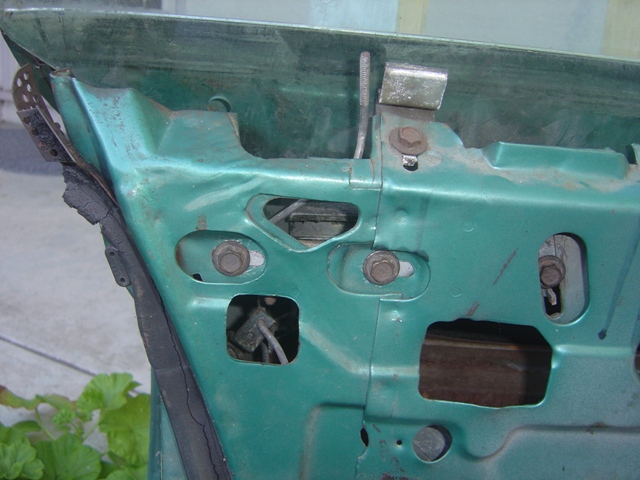
Rear track upper mount - 2 bolts. The window already being in place pretty much leaves you with little adjustment I found, it pretty much bolts where it wants to.

Rear track lower mount - one bolt. As I said before, my door has seen better days. My method was to loosen the tracks a little bit, move window down to make sure the lower stop is where I want it - window top 100% level with the rubber seal that runs along the door lip. Tighten down lower stop fully, move window up to adjust both upper stops so that the door is vertically aligned with the rear door seal and almost 100% level with the top right of the rear door (and also this makes it even with the front weatherstrip). Tighten upper stops fully. Lower window 1/3 of the way down, fully tighten all window tracks. Roll window all the way up and down several times, verify no binding or funny noises and nice and even movement. Seems pretty simple, but without having done it before it took a few tries to look right. I'm proud of myself.
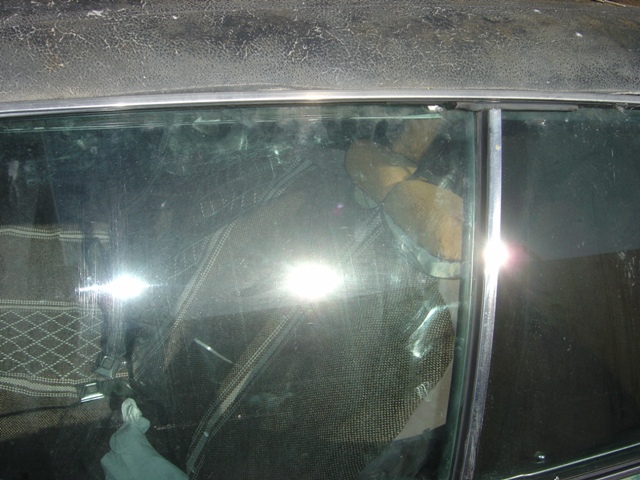
Window is fully adjusted properly.
Time to install the remote mirror I have! '71-72 used chrome mirrors, never seen sport mirrors available from the factory so I don't know if they were. The mounting mechanism is different for the chrome vs. the body colored ones.
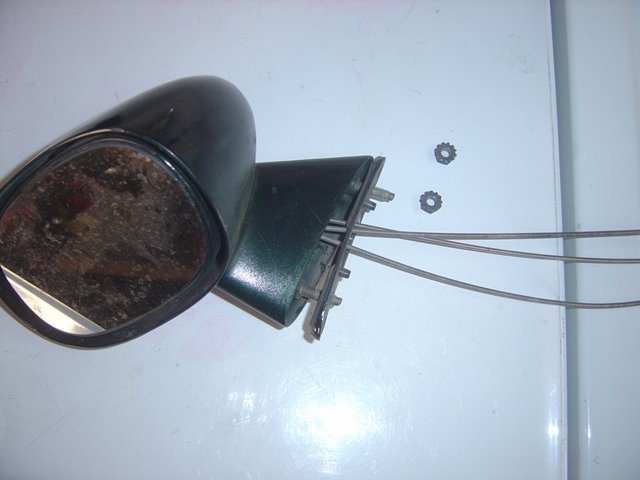
New mirror and pad. The studs are attached to the mirror and require the locking nuts to thread on.
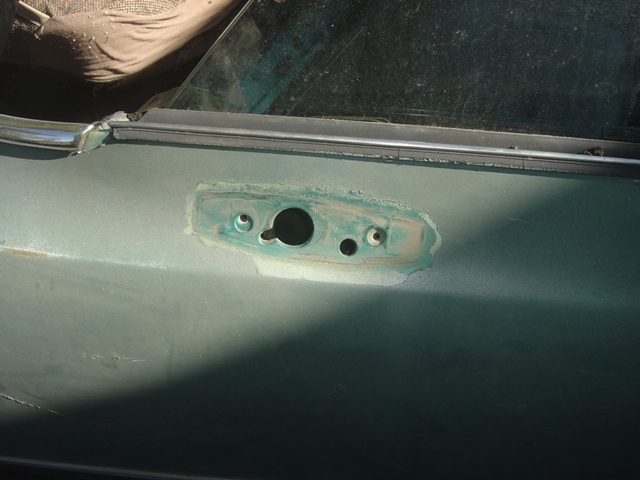
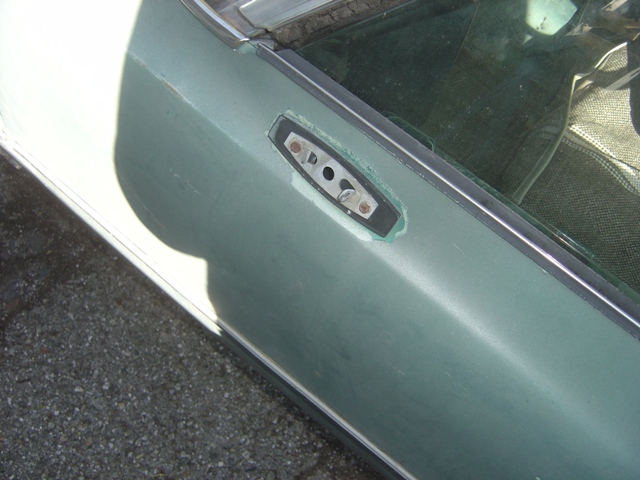
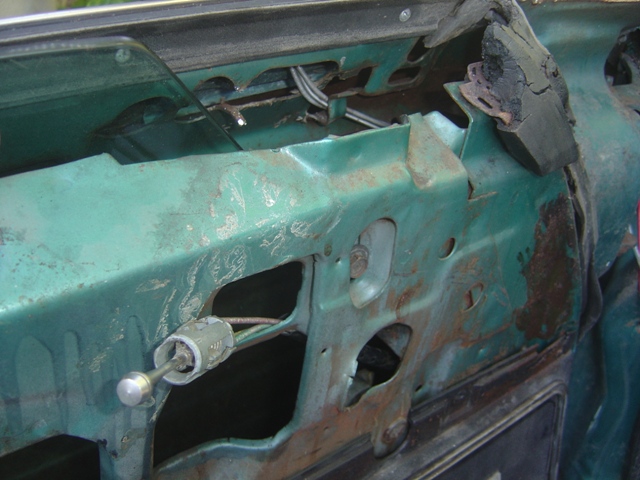
Removed the old hardware, there's a plate welded into the door frame that the mount used. It will need to be drilled out.
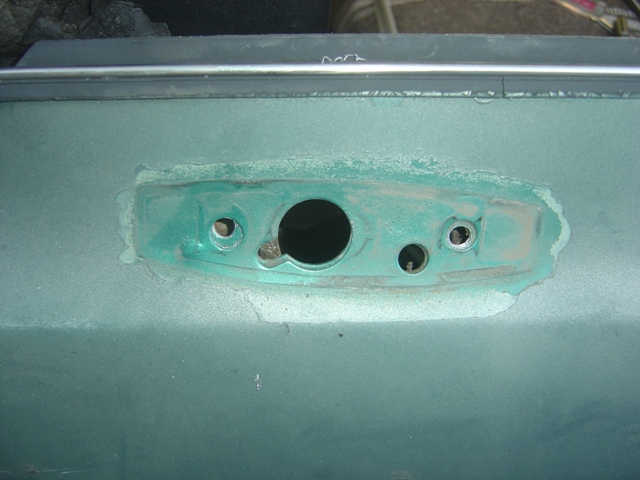
Drilled out slightly to allow the new studs to slide through. The locating and mounting holes for the pad are 100% the same between the two styles.
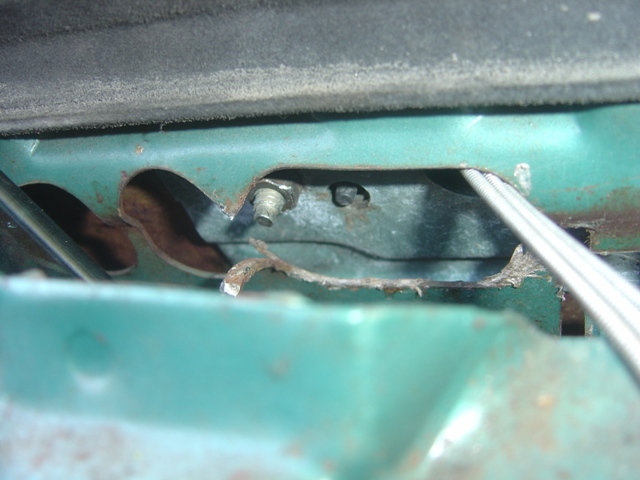
Not my favorite thing to do, but I had to cut the brace and bend it out of the way. Only was able to get the front nut on, but the hole was a super tight fit and the nut is on pretty tight and shouldn't loosen.
Remote cable guided through holders, a plastic clip holds it on the lower right of the door and it passes between the window track to avoid the window 100% of the time. Stays put well. If I had an upper door panel it would clip in to it and be done.
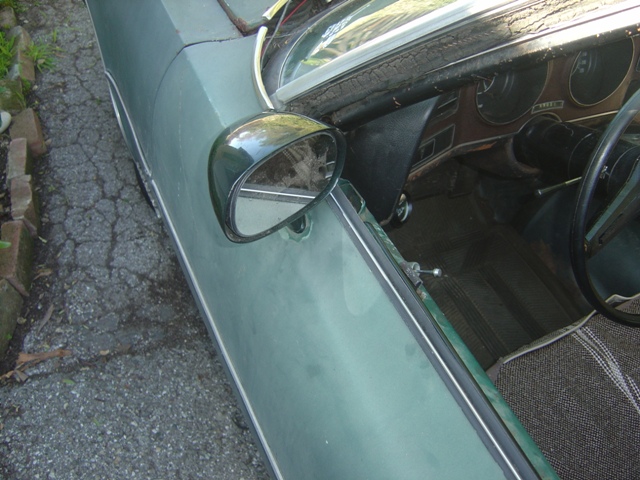
All nifty looking and nice.
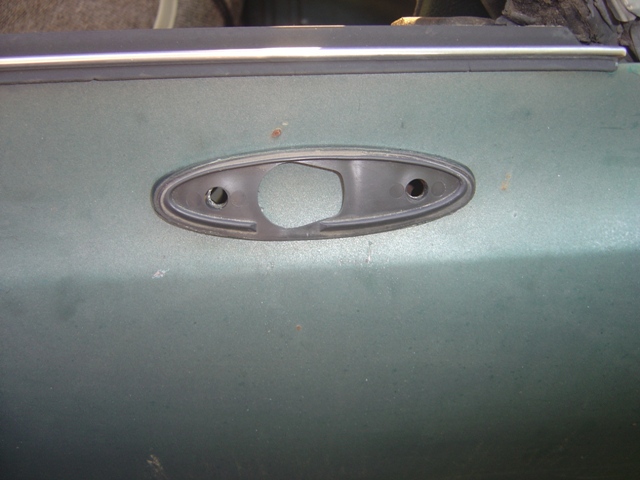
Passenger pad is drilled. Used Sharpie and punch to mark holes, wasn't 100% accurate but close enough for government work. For reference it is 12.5" from the door edge, just like the driver's side.
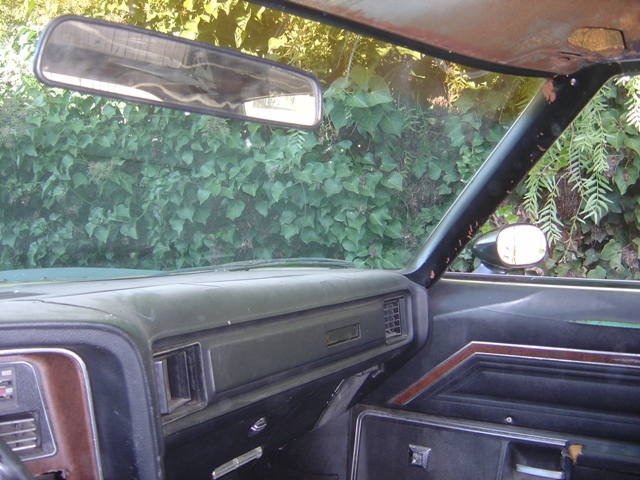
Passenger side is done. Looks nice. Mirror is stiff and doesn't like to move, going to spray some PB Blaster in it to free it up, not much use if it doesn't allow much adjustment.
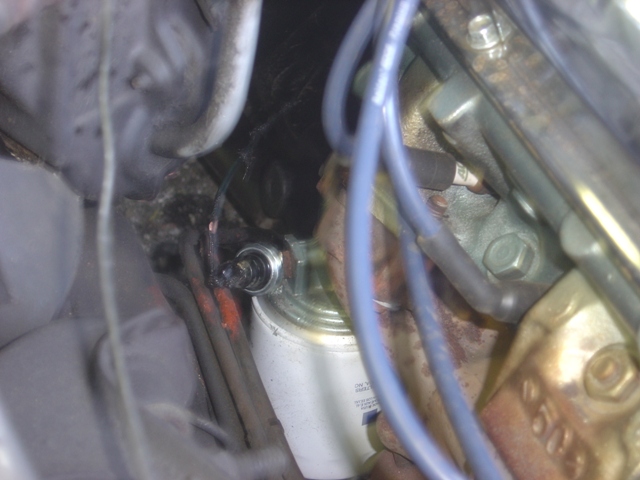
Plastic line removed, idiot light installed. Amusingly enough, I never could find the blue wire for the oil sending unit, so I got the flashlight out and traced the harness. Saw a wire running over to the passenger side of the transmission (which TH400s didn't have). The wire was wedged between the transmission pan and the exhaust manifold. Judging by how melted and ugly it was, it sure had been like that a LONG time. Cleaned it up and hooked it up and lo and behold, it actually worked.
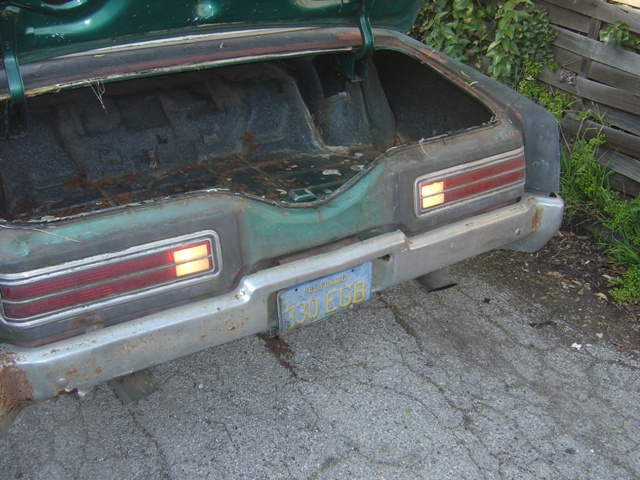
Reverse lights are now functional. Yay! It is the little things.
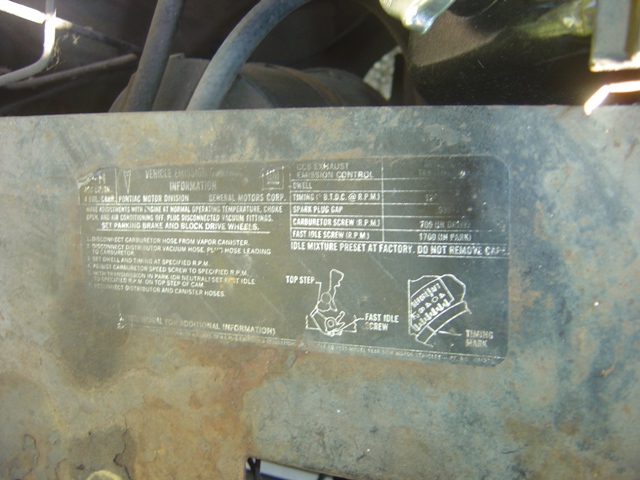
1971 400-4bbl emissins sticker. YH code I believe. 12 degrees was stock, 1700RPM fast idle, 700RPM warmed up idle in drive.
Decided to video the startup and running. It was about 58 degrees outside and hadn't been run all day. Watch and listen! Interestingly it seems to have developed a ticking lifter or something. It goes away almost instantly if you give it a little throttle and doesn't seem to miss or anything bad. This engine has more cam than I've ever run before, so I'm not sure how normal it all is or if something is wrong. I decided after running it and listening to it (it's only audible with the hood open) that I was going to do some tuning. Verify that there isn't a failed or out of adjustment rocker, a bad cam lobe, etc.

The driver's side rockers oil SUPER well. The passenger side wasn't as much, but oil still flows nicely. I will say, working in a B-body engine compartment is awesome. Plenty of room for everything. Here's a video of the rockers going. Look at them go! All rocker arms have polylocks on them and are nice and solid needing nothing, so the cam is in good shape. No lobes wiped or anything. Always good insurance to check that out.
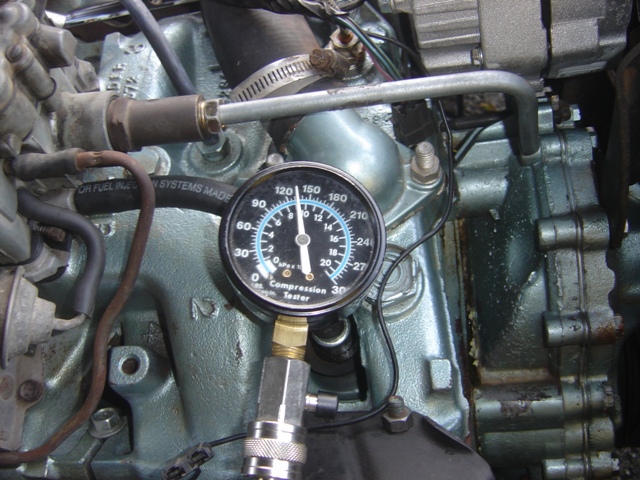
Also decided to run a compression test. Results are below.
#1: 135
#3: 135
#5: 145
#7: 45
#2: 135
#4: 90
#6: 140
#8: 150
Kind of a bummer. #7 doesn't seem to be doing so hot. #4 is similar but not absolutely horrible. It's the rings, doesn't look like they've sealed properly. With some high RPM blasts on the freeway I might get lucky, but won't hold my breath. Fortunately the engine runs really well right now despite that ticking noise. All spark plugs are nice and tan, no oiling or fouling going on. I also decided to re-torque the head bolts since the engine had gotten nice and hot several times. Got almost 3/4 of a turn on all the head bolts in between the combustion chambers and the outers were just fine. Maybe that will help, eh, who knows. Does need to be done anyways. No exhaust gasses or problems with the cooling systems.
Well that was a busy day! Got lots done. Drove it to get gas hoping maybe the sending unit would start working. After 10 gallons, it still reads open. Probably a corroded ground terminal on the inside of the tank, easy to fix, pain to get to. Fortunately Spectra makes one, $60 new. Nice to have options. Next on the list of major things to do is brakes. Gotta do both sides as the brakes suck. I did manage to get all of the signal lights working and even all of the dash lights (just a little dirty rheostat that some movement cleaned up). All of this instead of watching the Super Bowl. I rule.
Return to 1971 Catalina
Last updated February 3rd, 2013