Work Round 2 - 08/05/2012
Engine block is making all sorts of progress now. Almost ready to fully assemble after weeks of cleaning and preparation.
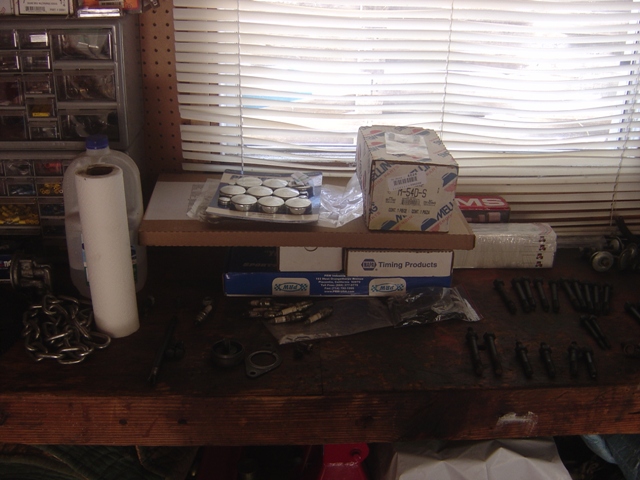
All of the parts needed to put an engine back together.
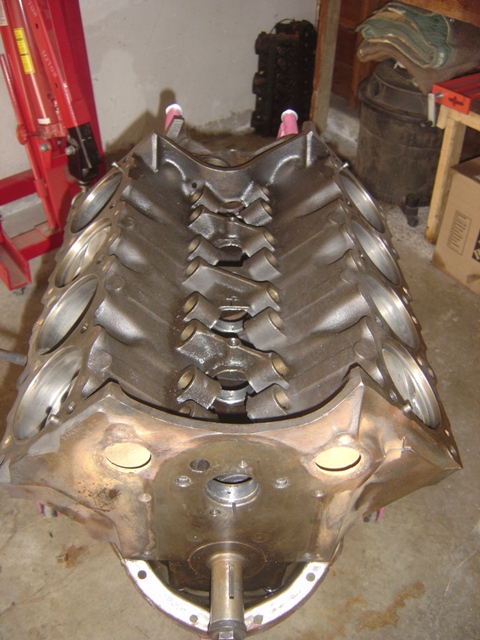
New cam bearings are installed. The machine shop was not happy about doing it with the rotating assembly in the way, but they did a fine job.
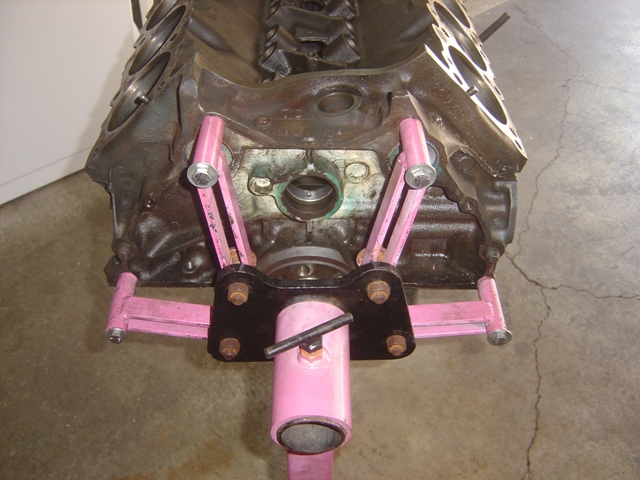
Rear cam plug is still not installed.
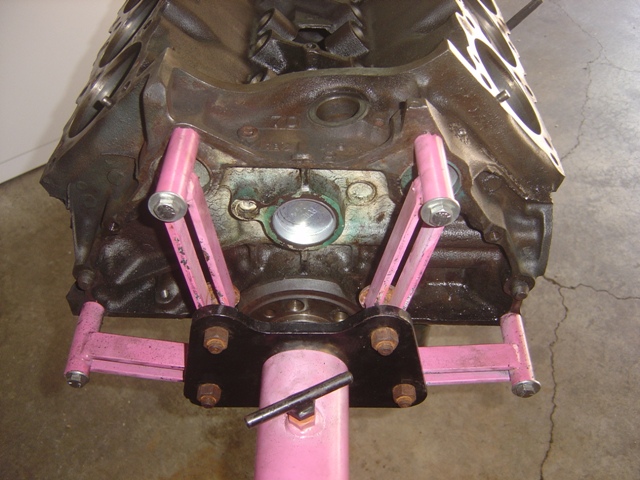
It's the big flat one and it presses in and fits just fine.
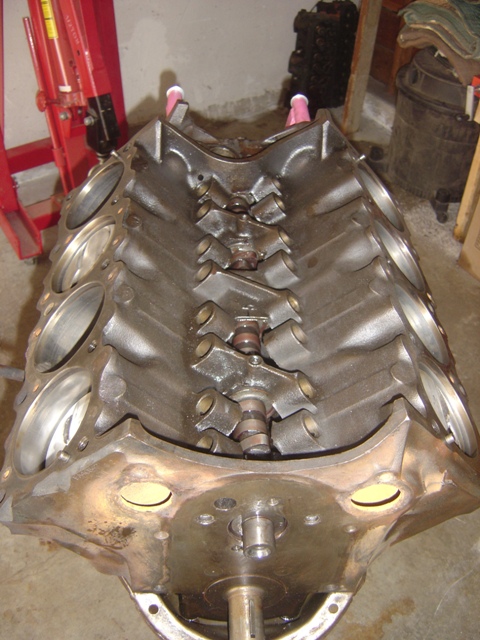
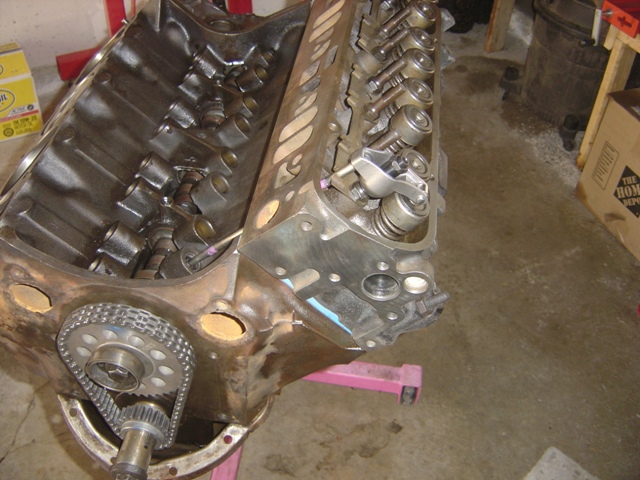
Cam is installed. This was more difficult than it looks. It went in fine all the way to the last cam bearing and then didn't want to move any more. After a few minutes of attempting, I ended up putting the cam bolt on the end and rotated it with a wrench. Cam went right in without any effort. Working smarter, not harder! Cam rotates freely without any effort required.
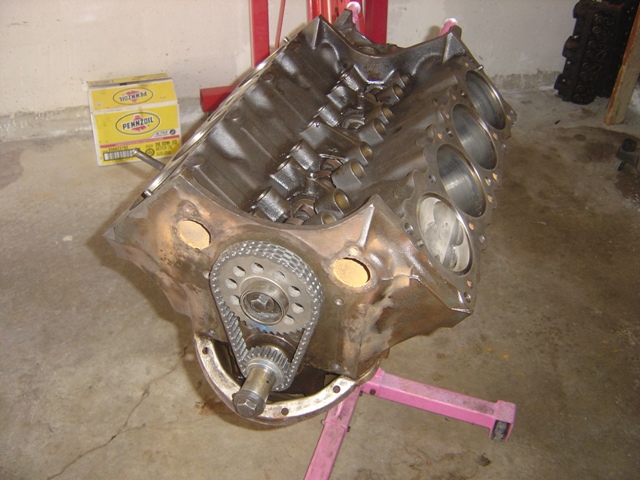
Put the timing chain and gears on. Note the blue dots. Those are what you line up to install the chain and time it properly, not the woodruff keys on the crank and cam. Also, note that the crank gear is slightly larger on one side than the other, which means it won't go on backwards properly! I spent a little bit more time than I should have figuring that out today... Luckily no harm, no foul and all is right in the world. I also put lock washers on the cam thrust plate so the chances of it loosening up are nil. I checked my 400 and 350 we built and both had lock washers. Apparently someone at one time didn't put them on this engine, which ended up killing it. Since the dots are at 12 and 6 o'clock, the engine is at TDC for the #6 cylinder. Rotate the crank around a full rotation and the #1 piston comes back up and you are on TDC for #1.
Cam specs are as follows:
TC-01-HF
Adv Dur................274/280
Dur @ .050...........224/232
Lift @ 1.5.............480/485
Lobe Center..........112
Overlap................56
From Pacific Performance Racing. Stock converters should work without too much hassle per the people I know who have used this cam, and Ace also recommended it based on the car it's going in and engine specs.
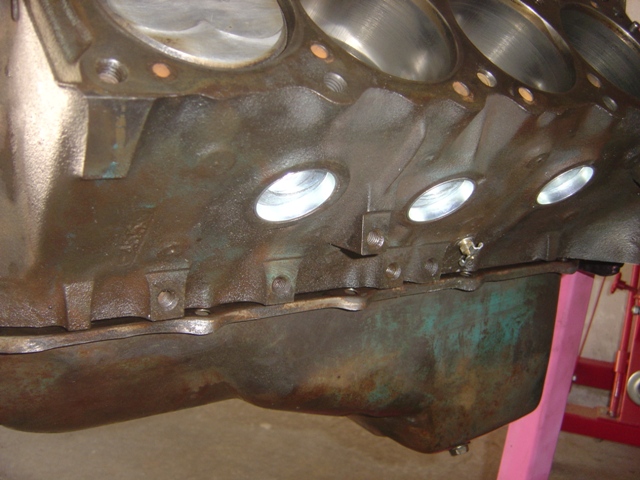
Freeze plugs and block drain are installed.
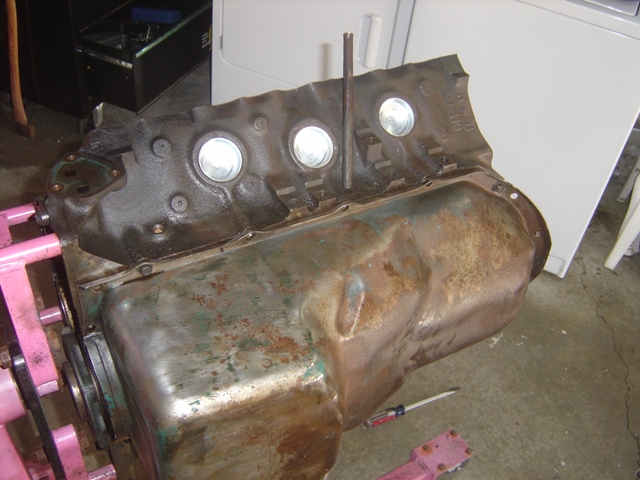
New freeze plugs installed in passenger side. Can't find the last block drain I had, so I need to get another one. 1/8" NPT is the fitting size. Autozone sells these for like $3.
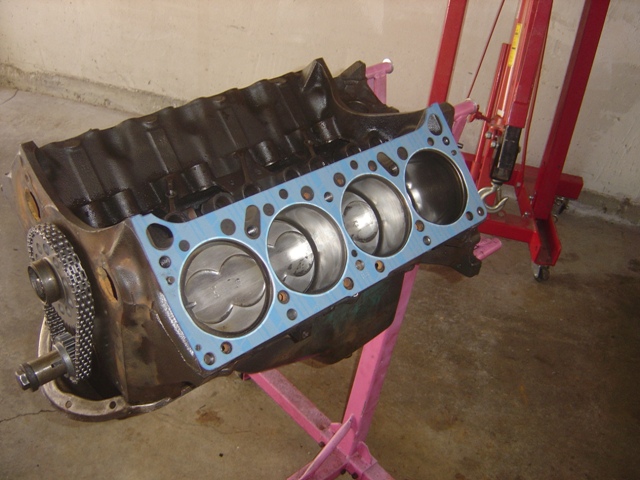
Test fitting the cylinder head gasket.
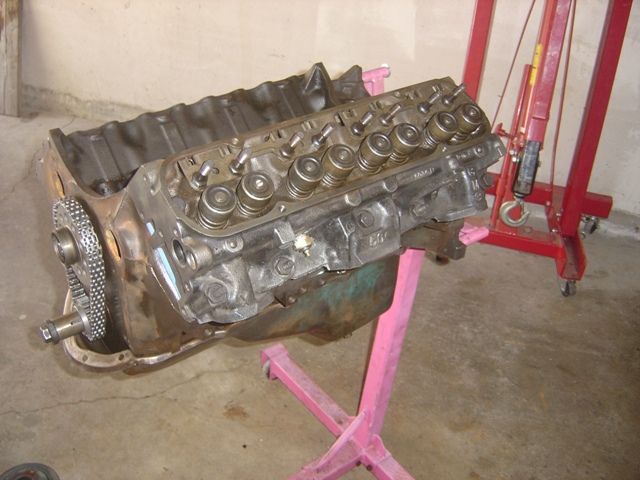
Testing the fit of the cylinder head. This will allow for valve train geometry to be verified.
Test fitting exhaust valve - lifter, push rod, rocker arm. I spun the lifters around the lifter bore and then removed them to verify no gunk or dirt was in them. Then put the pushrod in and installed the rocker arm. Rocker arms are PRW 1.5 stainless steel roller tip rockers with poly locks (only $120/set from Pacific Performance Racing in San Pedro). Both intake and exhaust valves fit without issues and binding. I have to wash them fully and then dry them off with compressed air, then soak them in motor oil for 30 minutes and apply assembly lube to the tips when torquing them down and installing them (kind of complicated, isn't it?).
Well, not bad for another short day of setbacks. Coming together quite nicely. The lower dipstick tube looks shady on this motor, so I need to order another one, which is keeping me from being able to finish up the bottom end. Once I have that and the oil pan bracers, I'll be ready to go. This engine stand is a little scary, it wobbles back and forth a little too much for my liking, so I may end up having to deal with that somehow. But I like progress!
Return to 1971 Catalina
Last updated August 5th, 2012