Driver's Door - 05/02/2016
Time to finish up the driver's door. Class up the car a bit more, make the door look good.
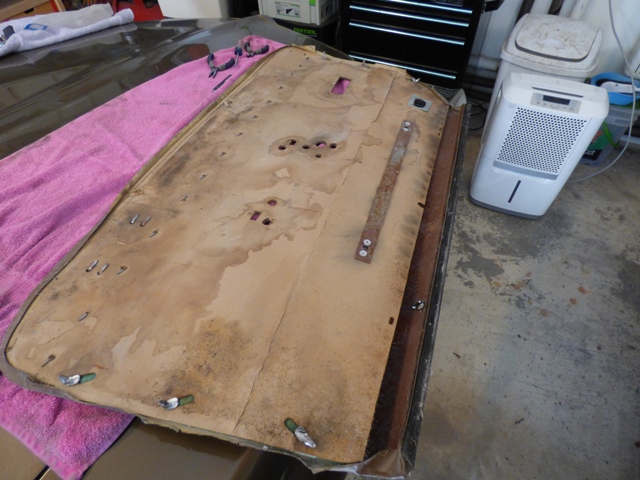
Need to begin stripping all of the original hardware off of the door panel. This required a bit of soaking in PB Blaster to break the screws free. To my best knowledge these screws aren't reproduced or easily obtained new, but are used on virtually every GM car from 1968-1981 or so, so finding them isn't too difficult but I dislike hunting things down I already had but have to because they were ruined!

All the original straps and trim are removed. Pretty straightforward job. Evidence of considerable water damage on the door panel.
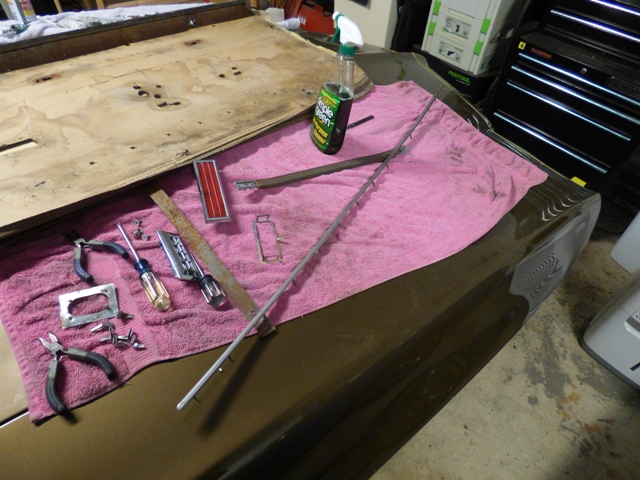
Fortunately the parts all cleaned up quite nicely with some Simple Green and a rag. LOTS of primer dust all over everything, it gets in EVERY nook and cranny if your car spends any time at a body shop. This is why people do body work first...
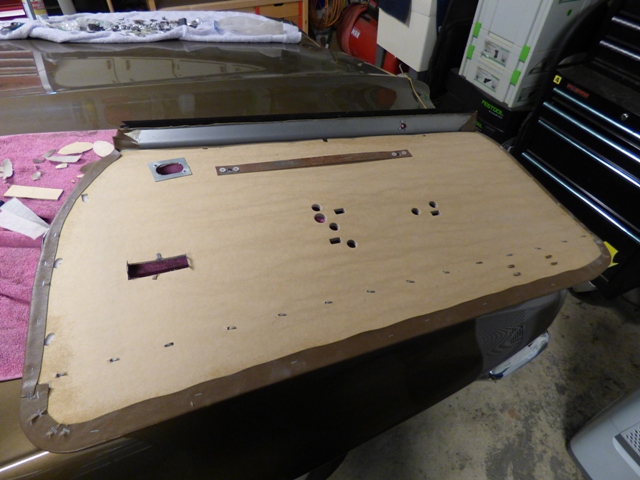
New hardware is mounted in the door. A razor blade is used to cut out the pre-punched holes in the door panels. The power window switch was not pre-punched, but the window crank hole and some measuring is used to open it up in approximately the same place - I don't think the factory was terribly consistent from car to car either so as long as it fits in a close enough spot it's good.
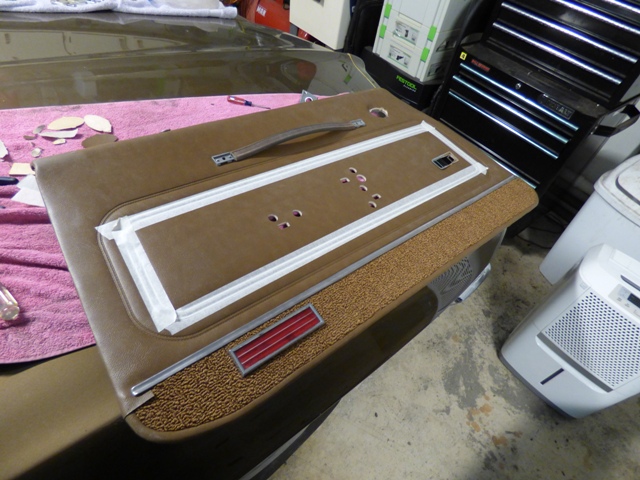
Looks good. Not bad at all.
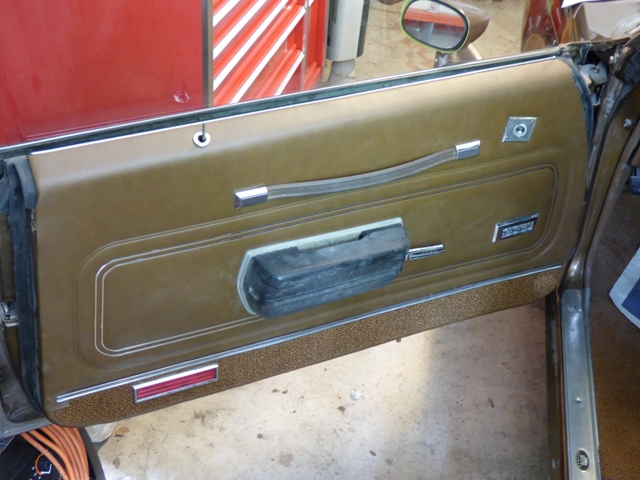
Door panel installed, which took very little effort really. Poor black beat up arm rest is installed because the orignal got lost by someone...
The door used 3 screws along the edges to keep the panel from flopping in the breeze. These screws were gone after '72 to be replaced with plastic clips. These holes were not pre-punched either, it requires lining up an awl and punching a hole...
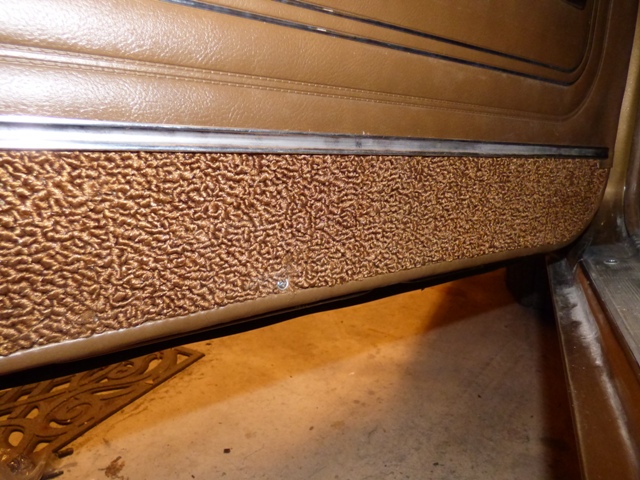
This screw was trouble - just because you punch the hole nicely doesn't mean the screw won't snag the carpet at the bottom. If you don't notice it, you'll start to de-thread the carpet from the panel (oops). I caught it in time, used a pair of tweezers and a pick to re-thread the carpet back in. A hot soldering iron can be used to create the hole and essentially cauterize the carpet around the hole to prevent this problem. No one but me will ever know...

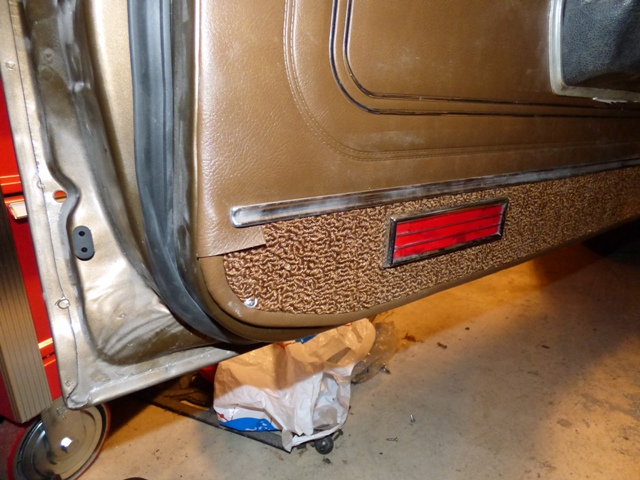
Final screw on the bottom right, can't even see it over the carpet. It's secured though. The 3 metal clips that hold the door panel on the upper part fell out after I had already screwed everything in, that was fun.
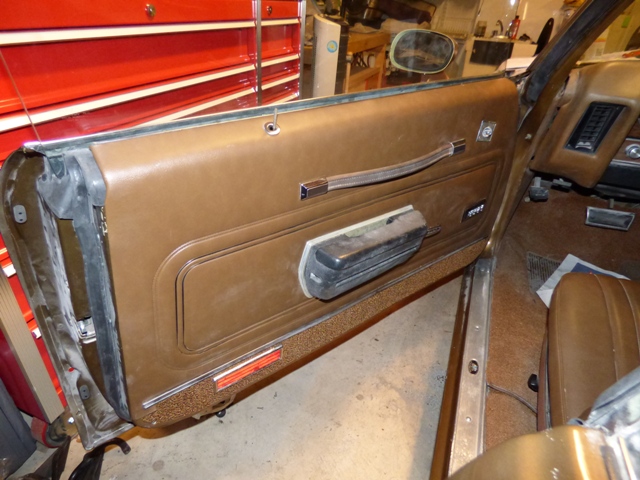
And door panel is done! Note that the mirror adjuster knob is ever so slightly crooked... this is because the remote knob escucheon is square for sport mirrors but the non-sport mirrors used a round one that was bigger... and this is what the door was pre-punched for. I didn't catch it until it was almost too late. It's not perfect but as I like to remind myself, when the factory was building these and the guy on the line had to install the parts every 60-70s on the car, it can't possibly be too perfect.
This took almost 3 weeks of working a few hours here and there, now you know why restoration houses charge so much. It takes a lot of effort to put new parts together when you have all the hardware, nevermind when some ding-dong lost half of it and you're having to hunt it down and scrounge from other junk cars. Minors victories.
Return to 1972 Lemans Page
Last updated May 2nd, 2016