The New Engine! - Part 9 - 11/10-11/2007
Wow. A little break between updates. Having a kid and then having the entire county catch fire will cause problems with updates. But we decided to make good progress while we could this weekend.
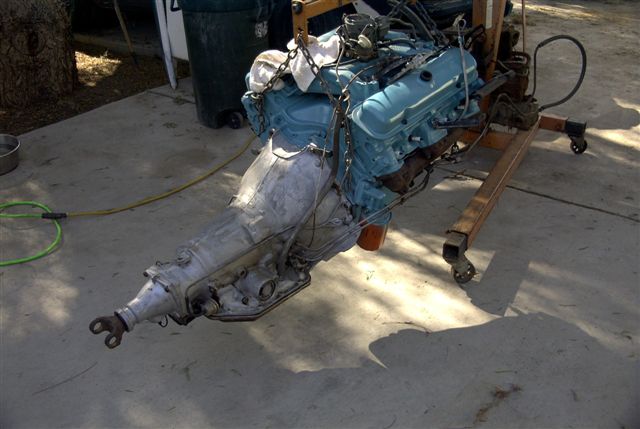
Engine and transmission are assembled and ready to put back in!
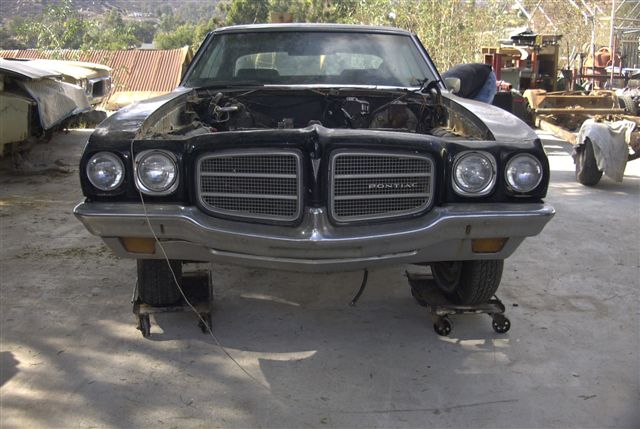
Lemans is ready to accept a new engine and transmission.
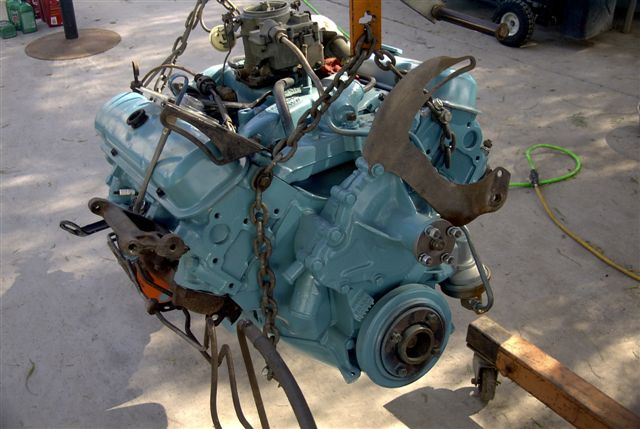
I like to dress my engines as much as possible when putting in. This means much less fighting with the exhaust manifolds and other hard to reach places.
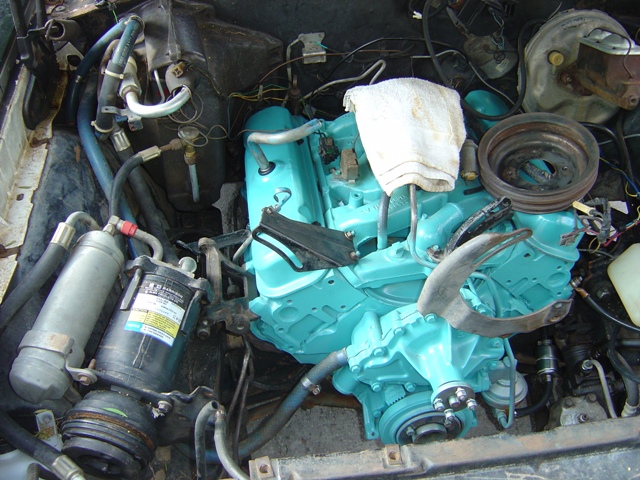
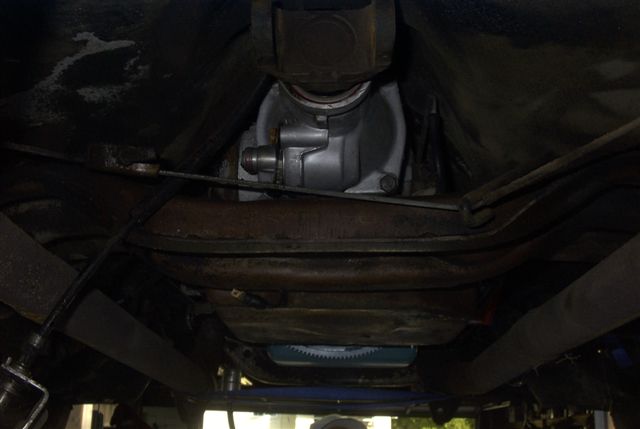
Hey! It's in! Now everything gets to get hooked back up. Putting the engine in is probably the hardest and most time consuming process of the entire job.
Remove engine chains, restore fuel lines and motor mounts to ensure the engine doesn't go anywhere.
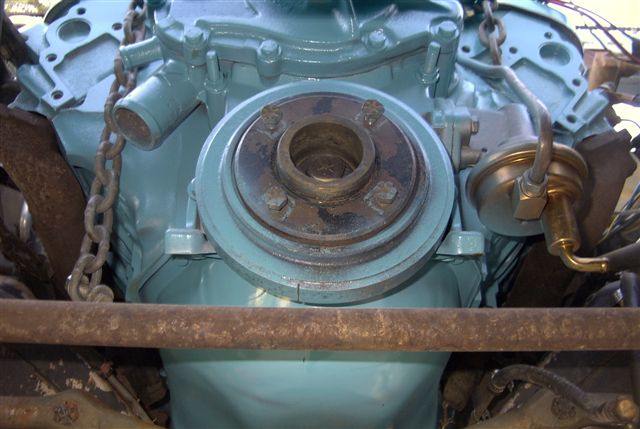
Transmission is placed on crossmember and bolted down.
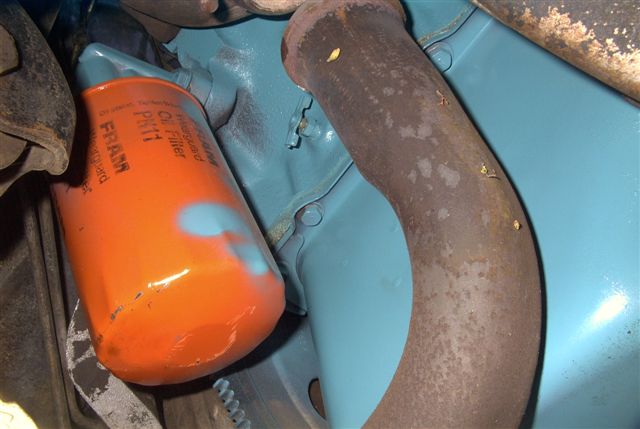
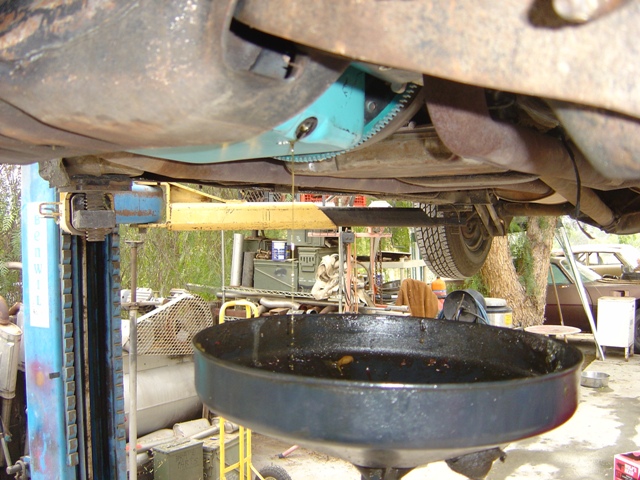
This picture is here 100% just to bug Steve. We are using up the junk Fram filters that have infiltrated the supply on test stand motors, so here we get a nice shiny picture of a Fram filter. At least the block drains are obvious and somewhat easy to get to.
Battery cables and starter are installed and wired back up.
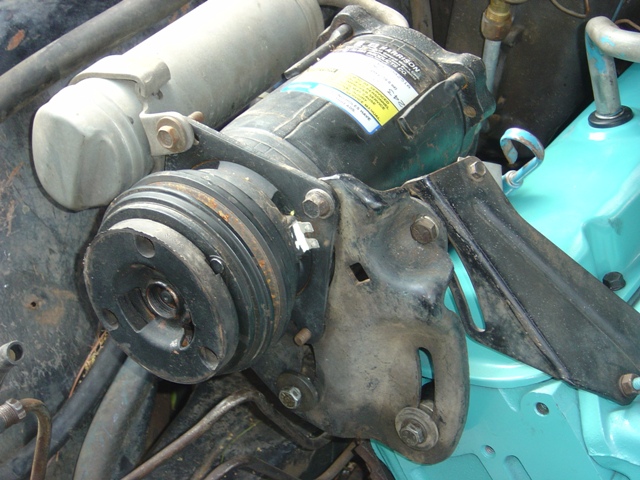
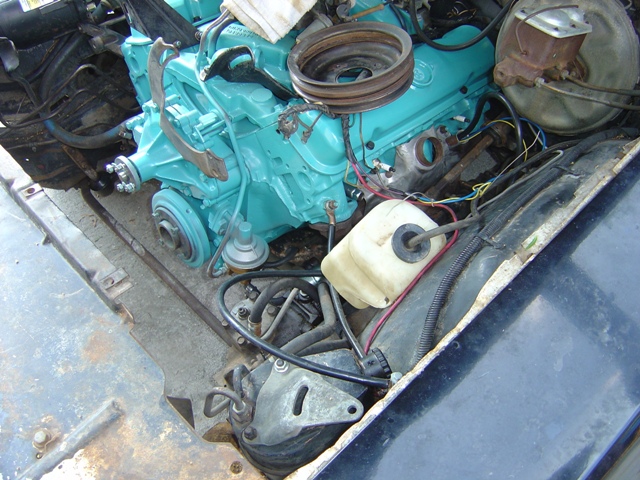
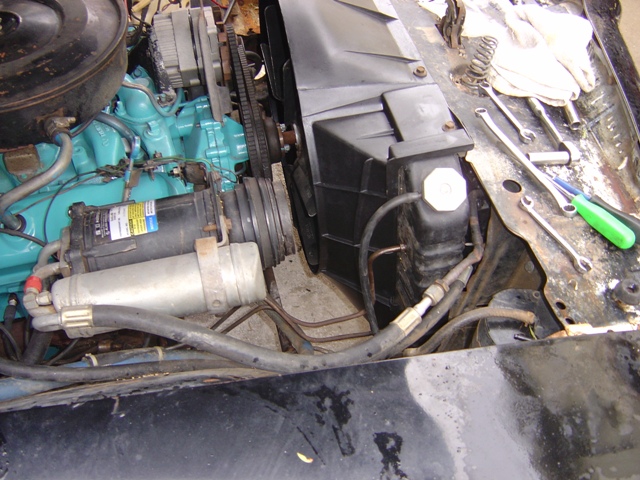
Compressor is bolted back in. Probably THE most intense bolt-wise of all of the accessories. Lots of spacers, washers, and 3 different bolt sizes on this guy.
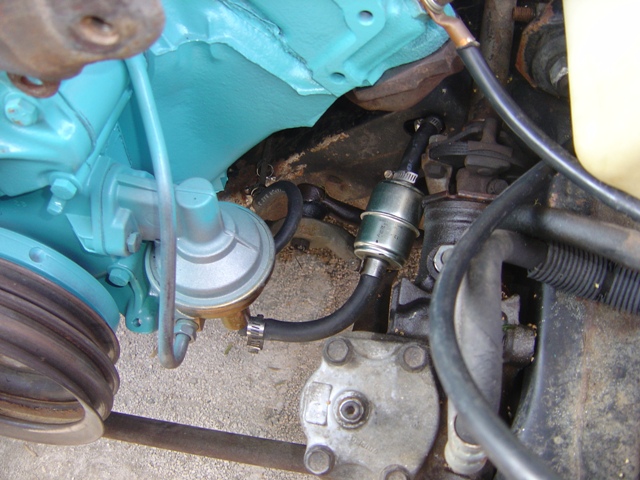
I'm proud of the way the fuel lines came out. Extra filter and zero kinks. The gas tank vent was also rotten and cracked so it was replaced as well (which is quite an interesting angle to work at).
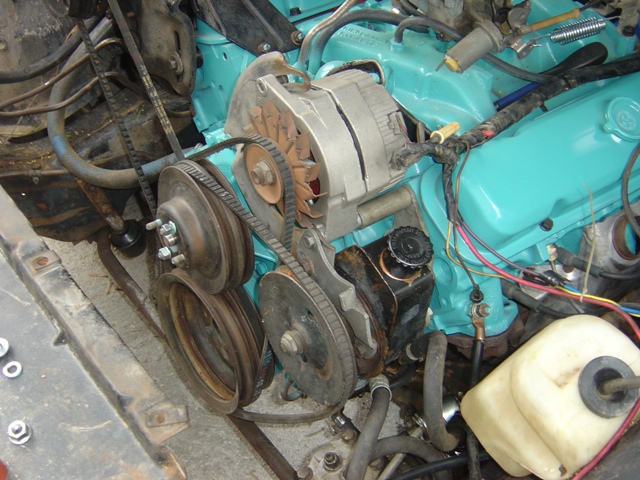
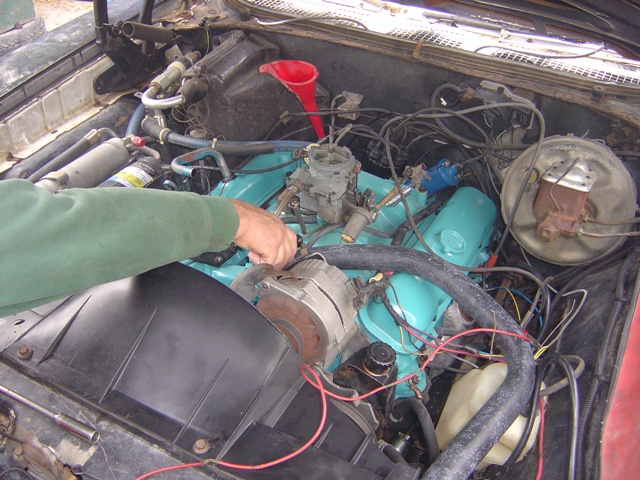
Alternator and power steering pump are installed. Lucky for me the belts are getting long in the tooth and should be replaced soon.

Distributor, coil, plug wires, and throttle return springs are installed.

New shroud on the old radiator.

Again. Yes, I did realize about 5 minutes after taking this shot that the shroud is on backwards.
Radiator, shroud, fan, and overflow tank are reconnected. It took almost 6 gallons to fill the cooling system back up!
Tuning time from master Steve himself! The transmission was 4 quarts low despite losing a ton of fluid everywhere we went and tried to work on it. No exhaust leaks - which Steve said he couldn't believe (he has bad luck with exhaust leaks on initial startups). But hey, we spent a ton of time cleaning up the surfaces, putting new gaskets, and torquing down the bolts so having a leak would be a big surprise.
After letting the engine come up to operating temperature (195 at the head, 150ish at the upper radiator) it was time to do an oil change. The oil came out VERY nice and clean, contrast to how nasty and dirty the original engine was when we started.
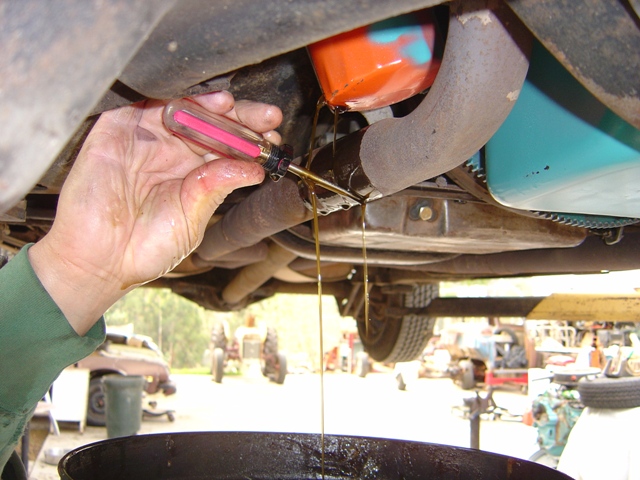
A little cloudy at the filter this time, but it doesn't look like pepper was poured into it this time either! This means the filters are doing their job. This filter wasn't heavy at all, which means we probably got a good chunk of the goop and gunk out of the engine on the first 2 oil changes.
And of course no engine transplant or tuning exercise would be complete without videos.
Initial running
Steve adjusts the idle mixture.
It was WAY rich compared to on the test stand. Just adding a converter compared to free-wheeling sure changed the engine tuning and behavior. Initial timing was set at 12° and fully functioning 20° vacuum advance was verified. The old vacuum advance was no good, which partially accounted for the sluggish 455 performance. This engine sounds nice. Major thank yous go out to Steve, Phil, and Albert for helping me get the engine in and the hood on Saturday. For the first time since I have owned this car the hood pops up perfectly and fits without any rubbing or issues ("We can go back and keep adjusting until it doesn't fit like it used to if you like" -Steve). Phil personally saved the day by reminding me to put the remaining 5 quarts in the engine after an oil change when my hand was on the key. Thank goodness for misadjusted neutral safety switches. Distractions during engine work are BAD okay?
The car is 99% done now. It runs, the AC works, the vents operate, all of the leaks are fixed (and the valve covers were BAD since we never torqued them down warm after running them). All of the old dirt and gunk burned off and the handful of minor leaks were fixed. Now all that is needed is to remove the inner spring from the carb (major foot pressure required now), hook up the charcoal cannister, put a new speedometer cable on, put coolant\distilled water in it, and service the AC (sounds low on oil).
Not bad for starting this project almost a year ago. What is more amusing is that the radiator has scratches in it from 11\10\1999 showing that it was for my car at the shop that I had it installed at. Not bad for 8 years down the road!
Return to 1972 Lemans Page
Last updated November 11th, 2007