Rochester 2GV Rebuild, take 2 - 08/07/2018
After owning this Rochester 2GV carburetor for almost 20 years, the pump shot finally gave out after its last rebuild in 2006. I figure I'd gotten my moneys worth... but I needed to be able to drive this car again so I need to fix that.
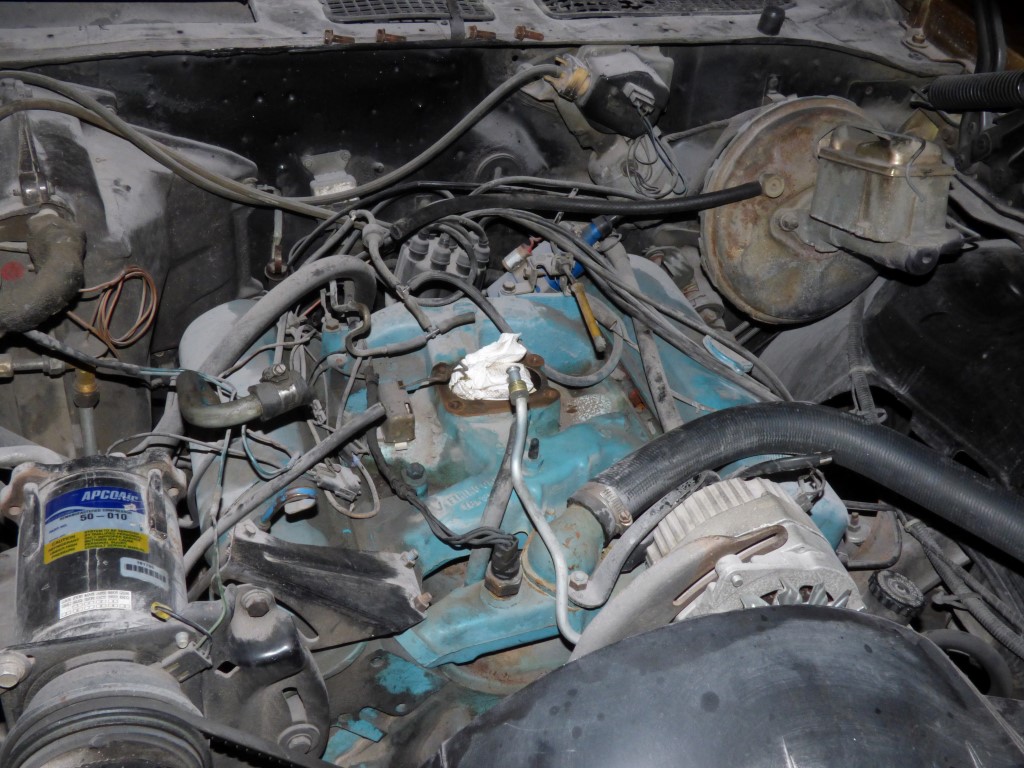
Begin at the beginning! Take off the carb that is...
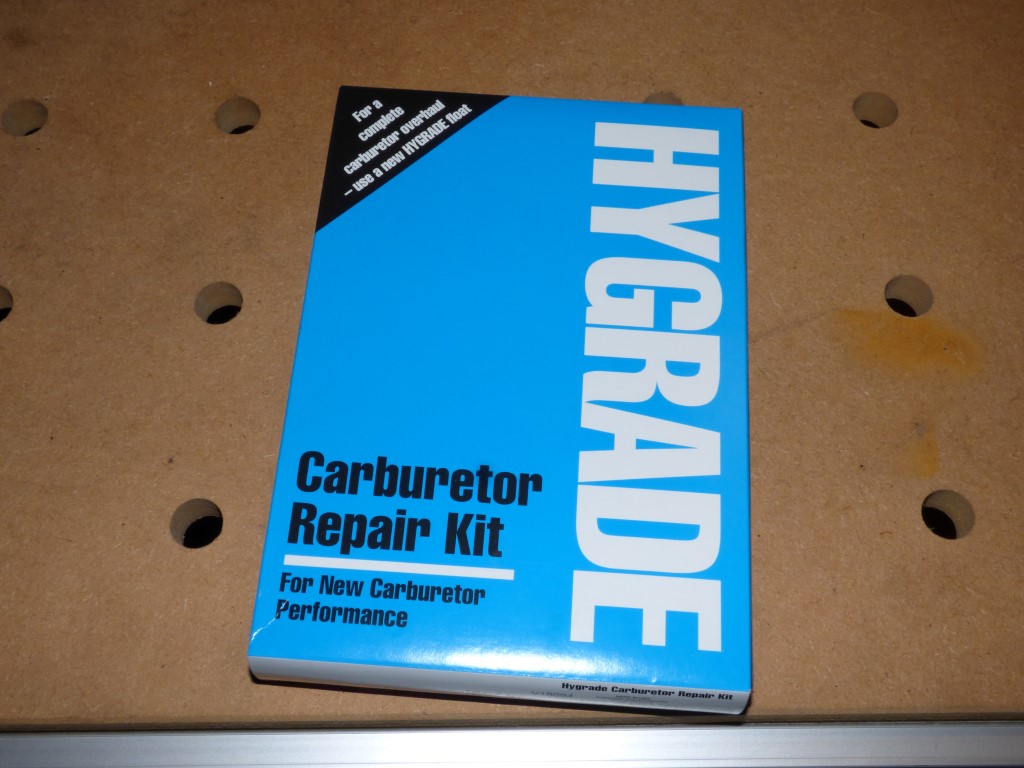
A carb rebuild kit was obtained! Hygrade... never heard of them before. RockAuto.com's brand. The label says "Made in the USA" so at least the box is American.
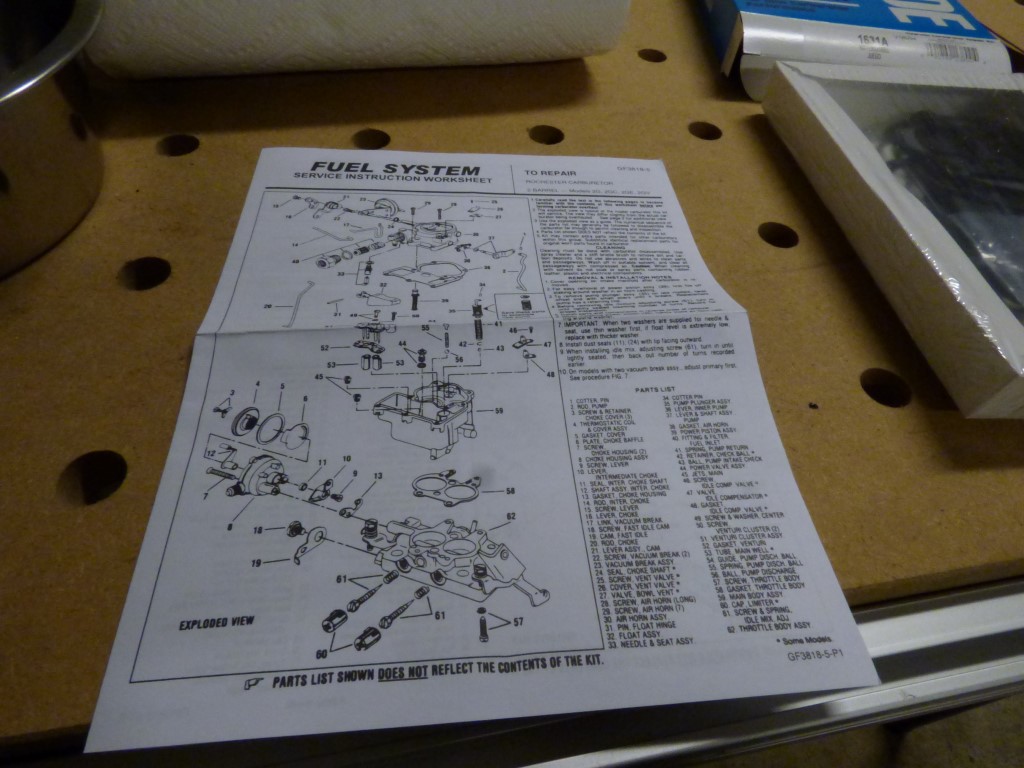
Standard instructions...
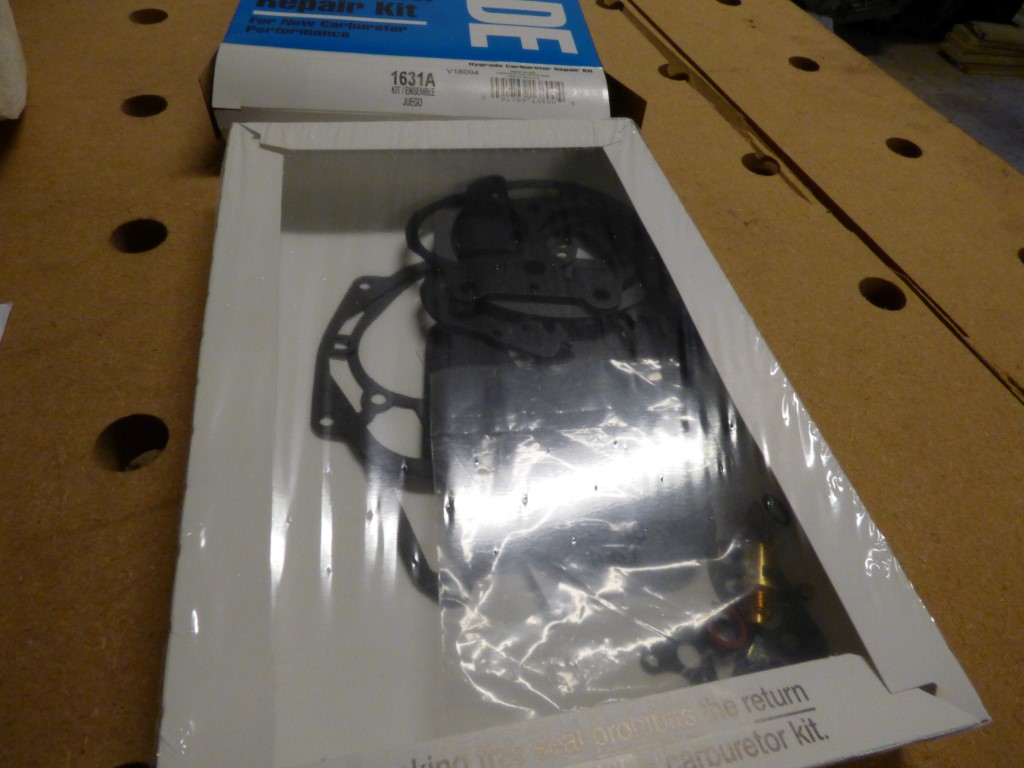
Standard parts bundle.
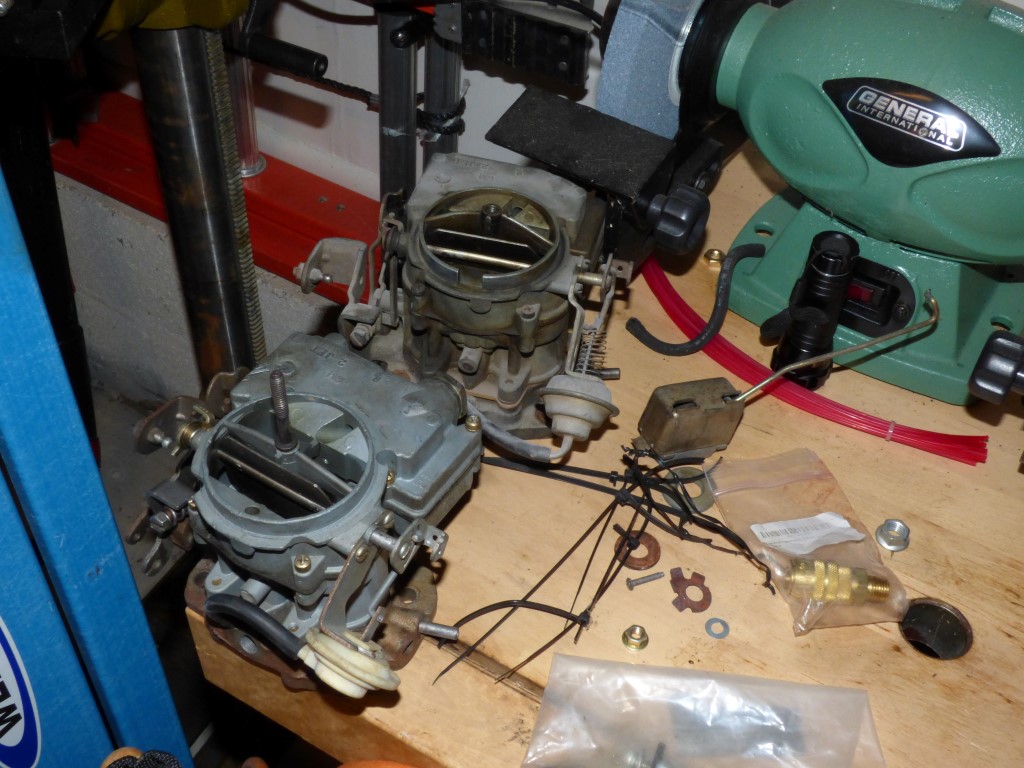
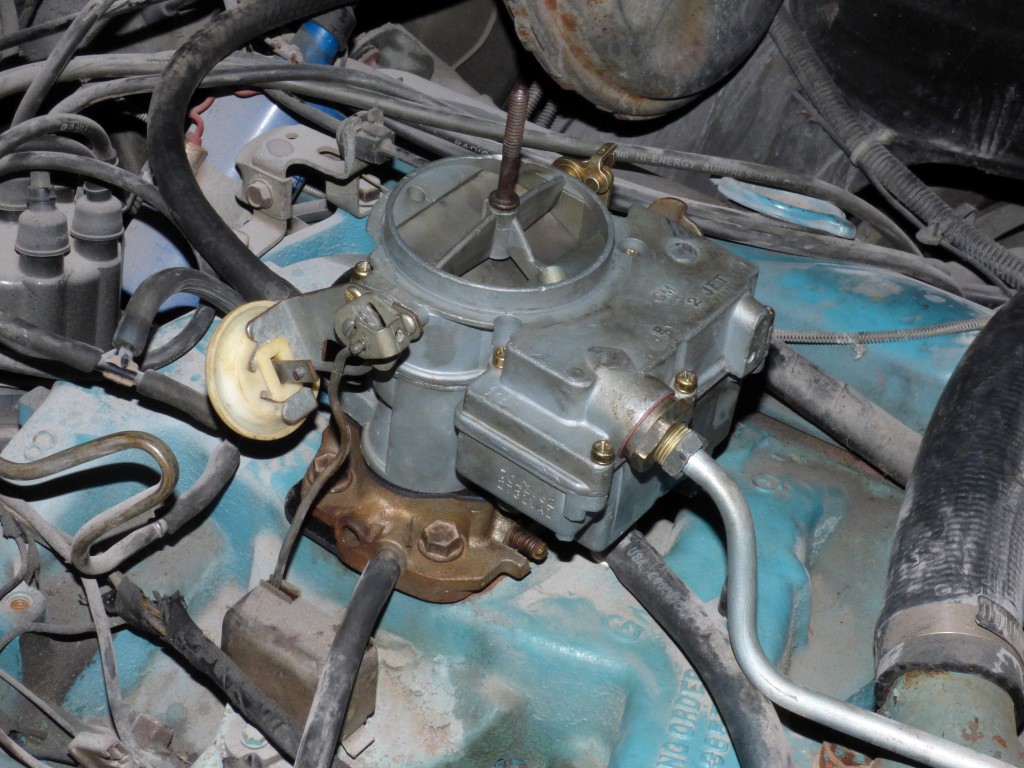
In my travels, I've acquired a spare carburetor. Previous ones have been epic fails, but this one seems like it has potential. It came in a box of parts when I bought the car. The carb I originally had on the engine has a warped air horn so its choke has been... how do you say... fickle... over the years. It left me almost stranded on the way to a final in college when I was running late. I'm taking this opportunity to get rid of the warped one and rebuild the "good" spare.
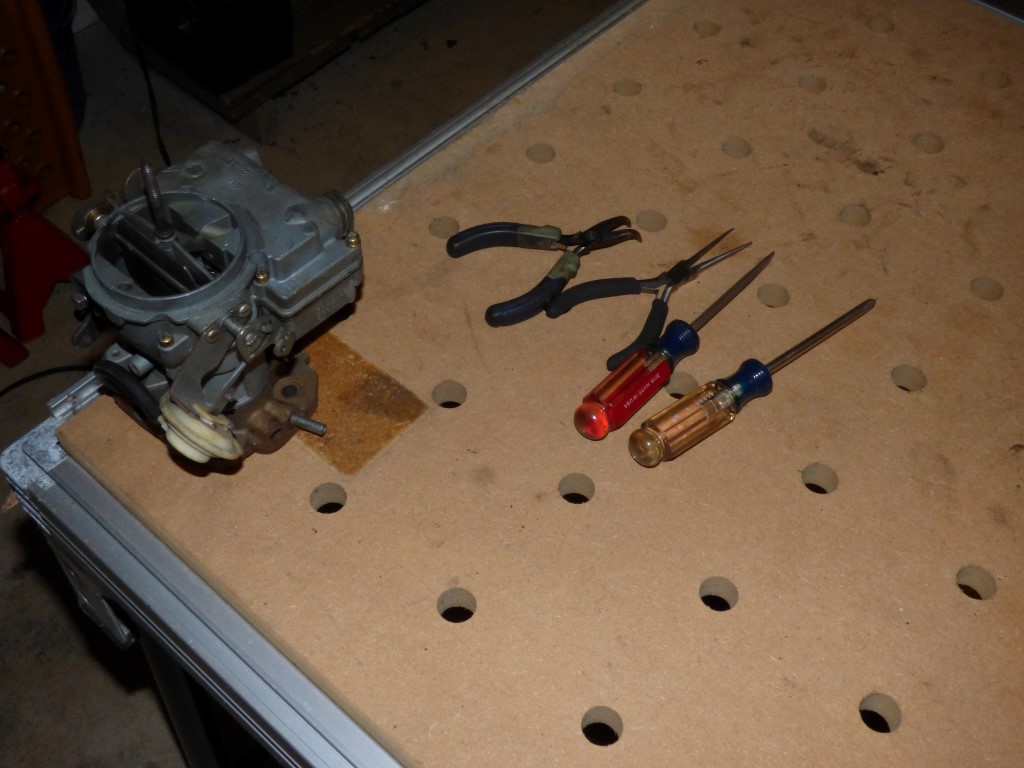
Lay out the tools on the portable workbench!
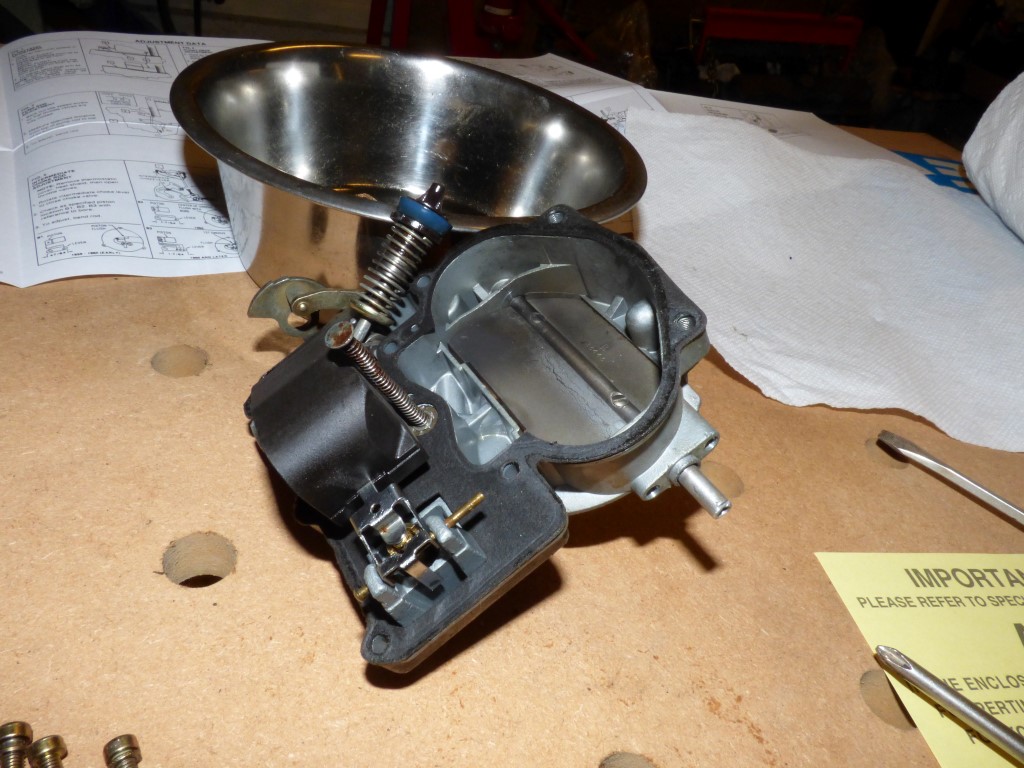
Vacuum break is removed... and let's just say I don't like what I find.
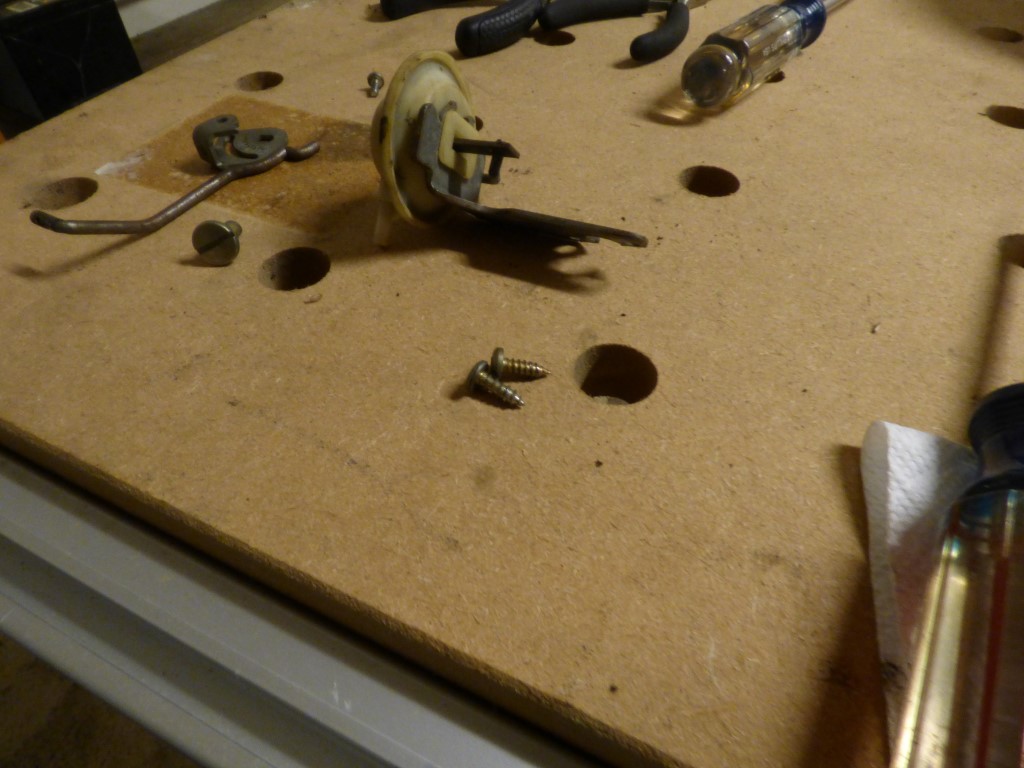
Joy. Some idiot used sheet metal screws instead of the original machine screws. I hate this type of screwup...
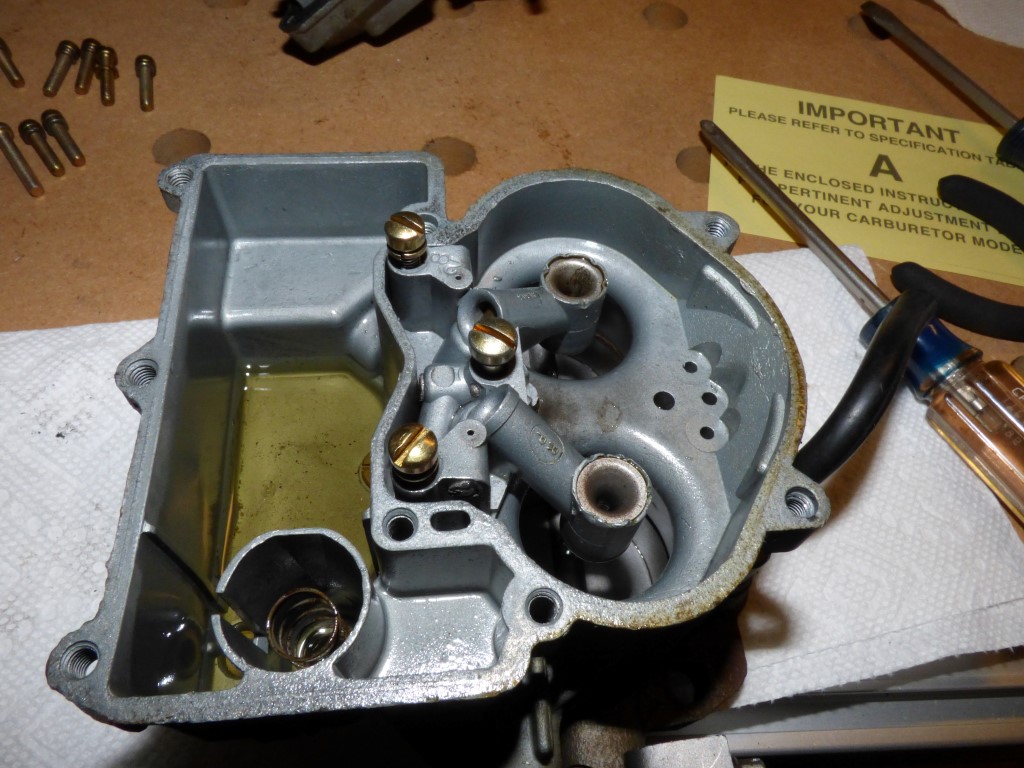
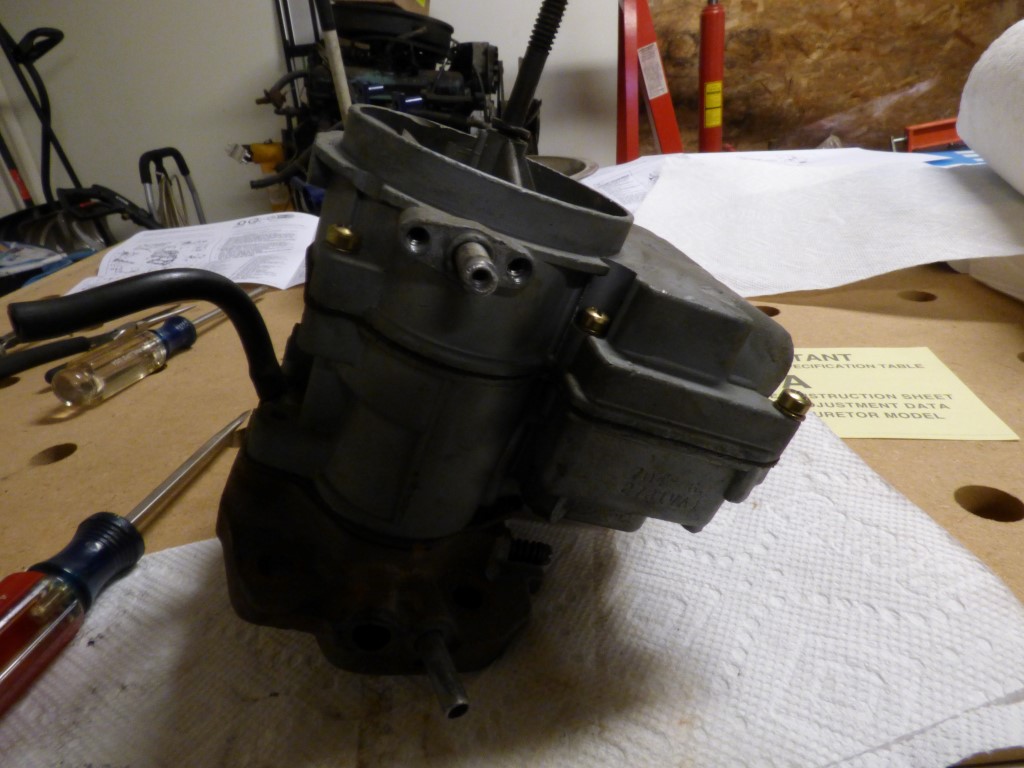
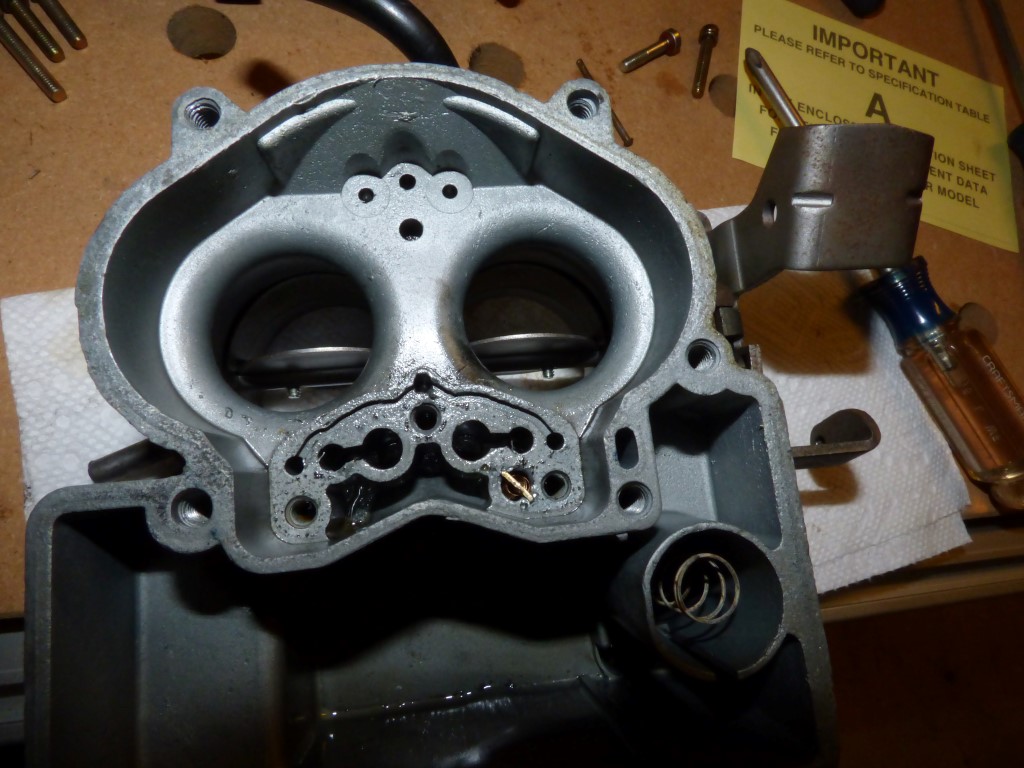
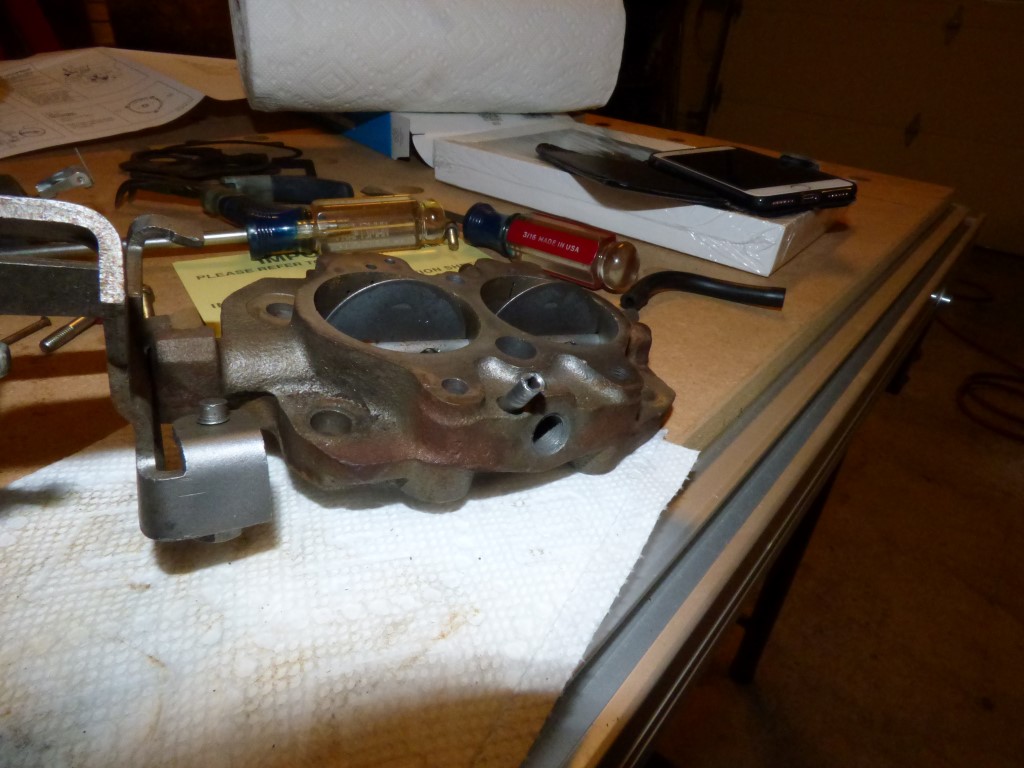
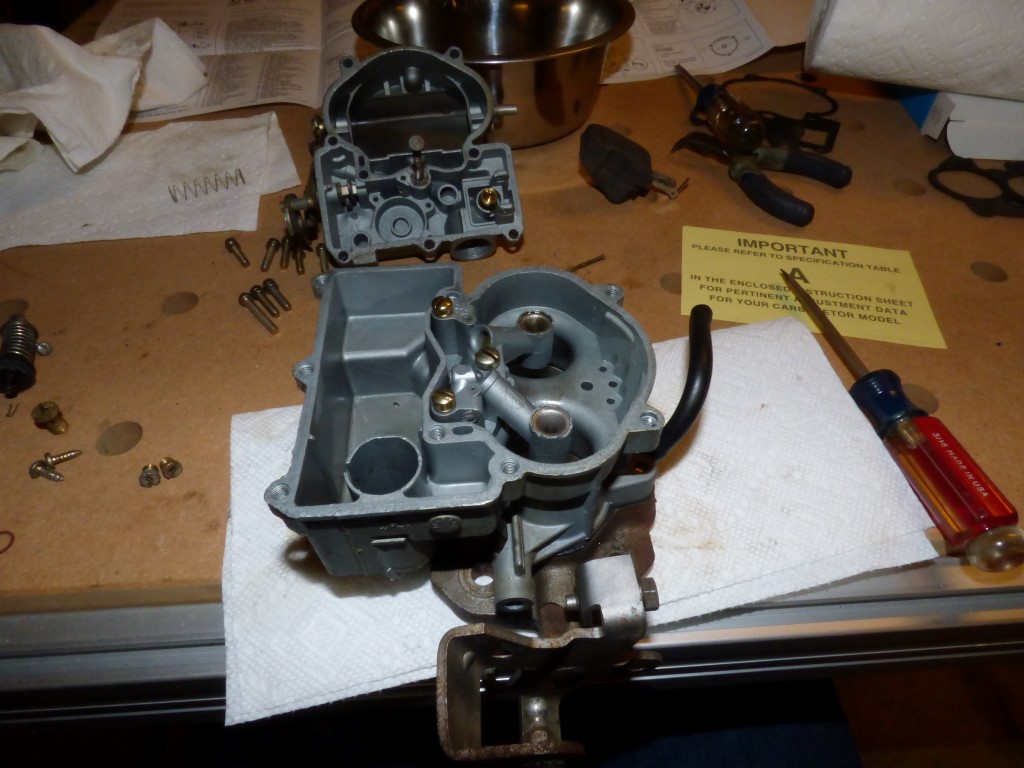
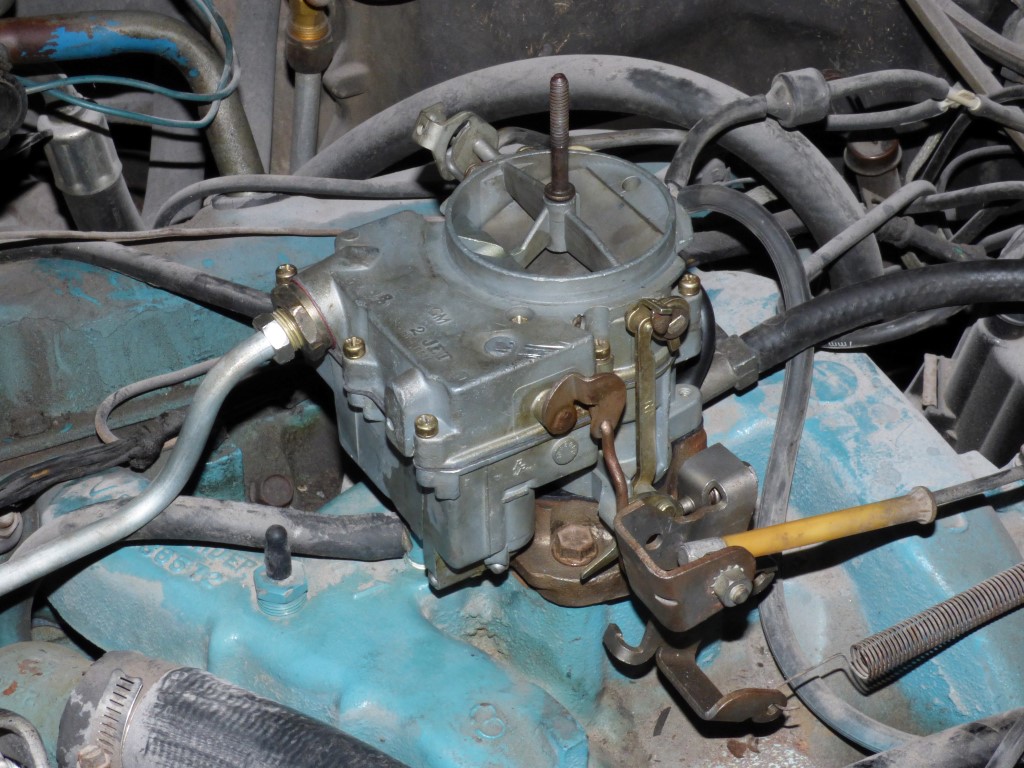
Body of the carburetor.
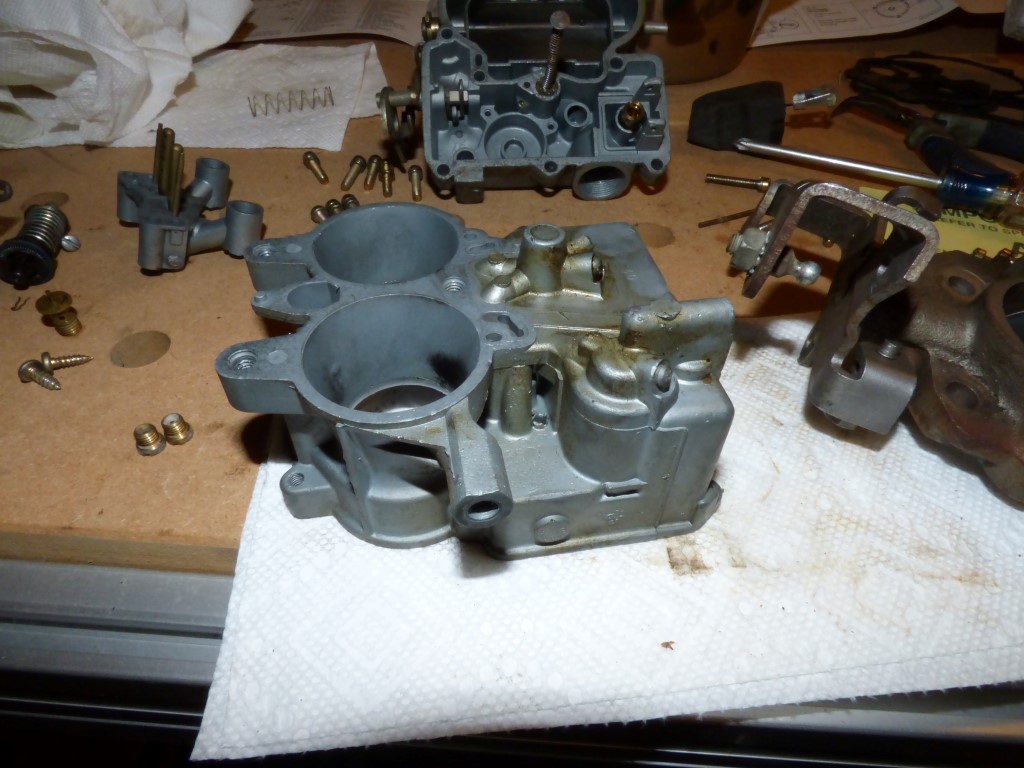
Air horn is removed.
Jets are removed.
![]()
Body is now empty of stuff. It's a technical status.
Somebody has been in this carb before... and whacked the hell out of the power piston to stake it in place. Multiple times. Probably a mass rebuilder's shop.
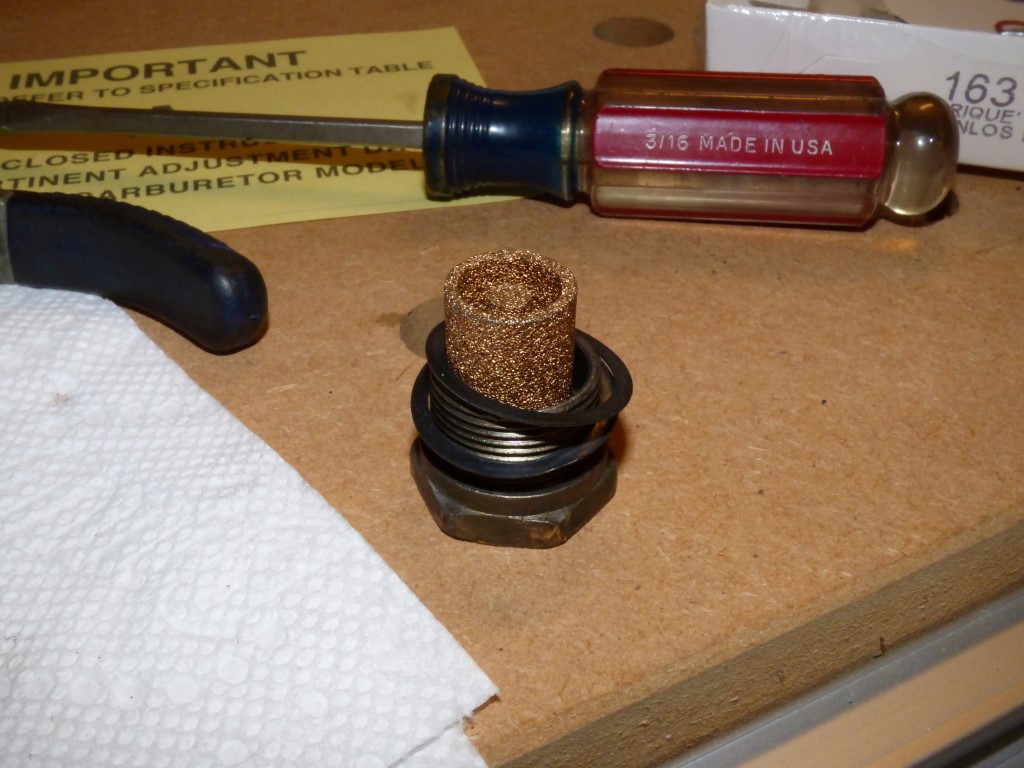
This piece has also seen better days.
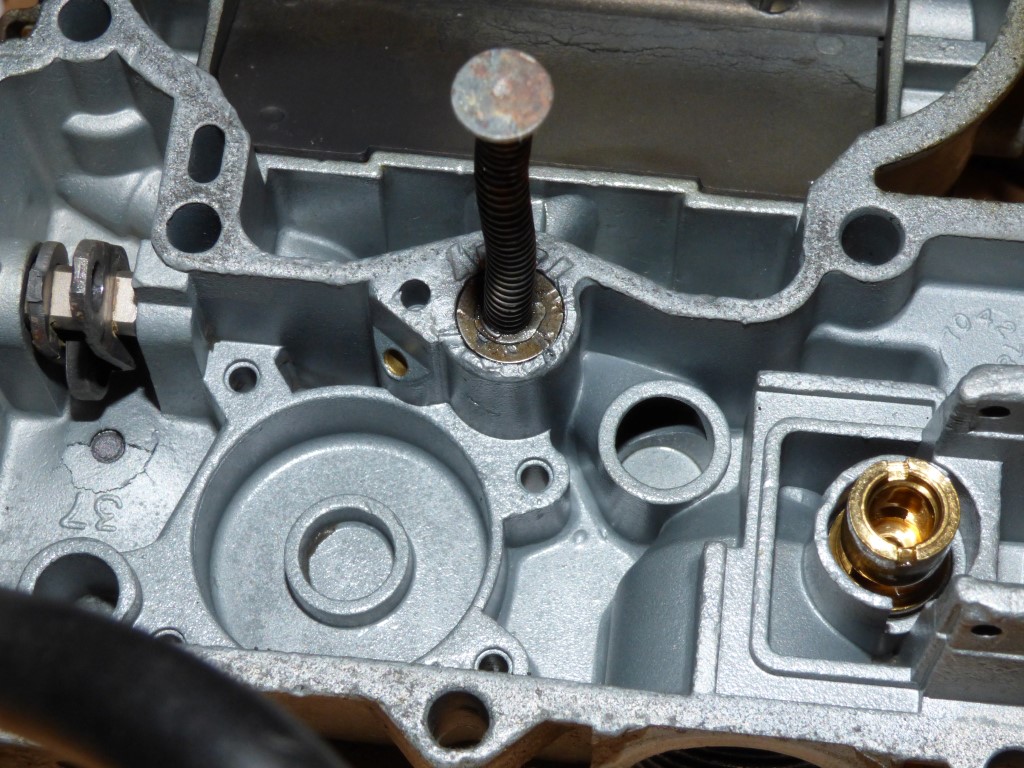
You have to be trying to screw this up. The vacuum break port is mushroomed pretty nicely.
All nice and clean now.
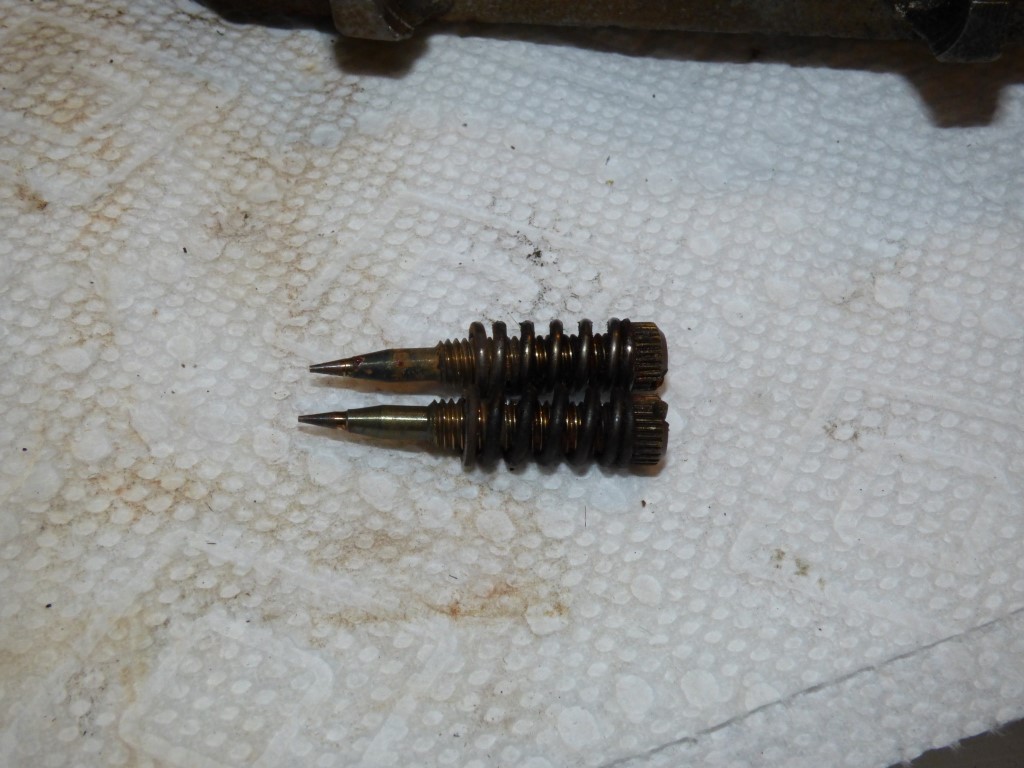
Sweet. The mixture screws are not the same. They were also 5.5 turns out...
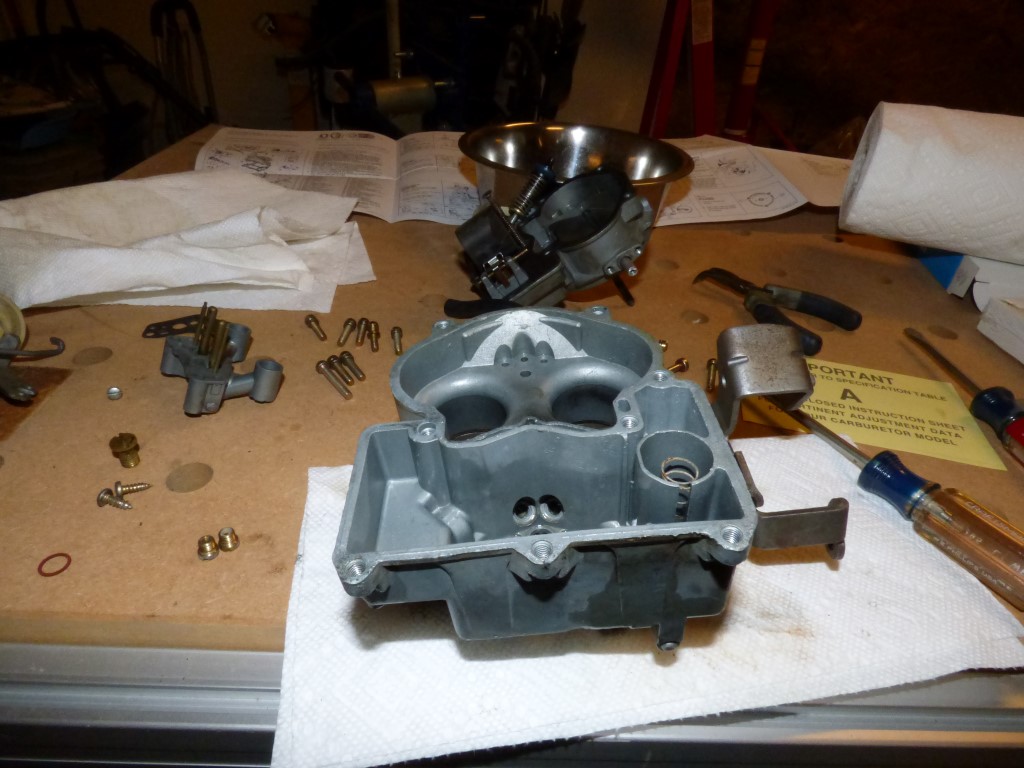
Assembled the throttle body.
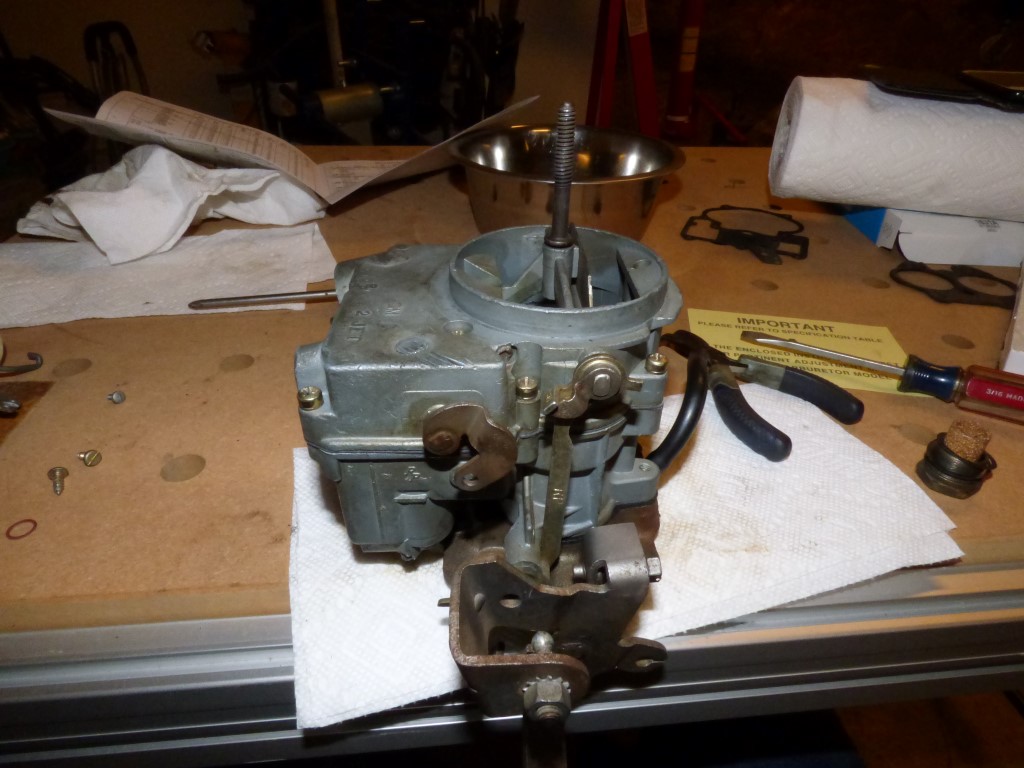
Assembled the entire thing. Set the float drop for 1 11/32" drop & 11/16" at full, which was WAY off from how it was when I opened it.
My favorite thing to see. If one is good more must be better! Multiple gaskets usually mean leaks, which in this case was no different.
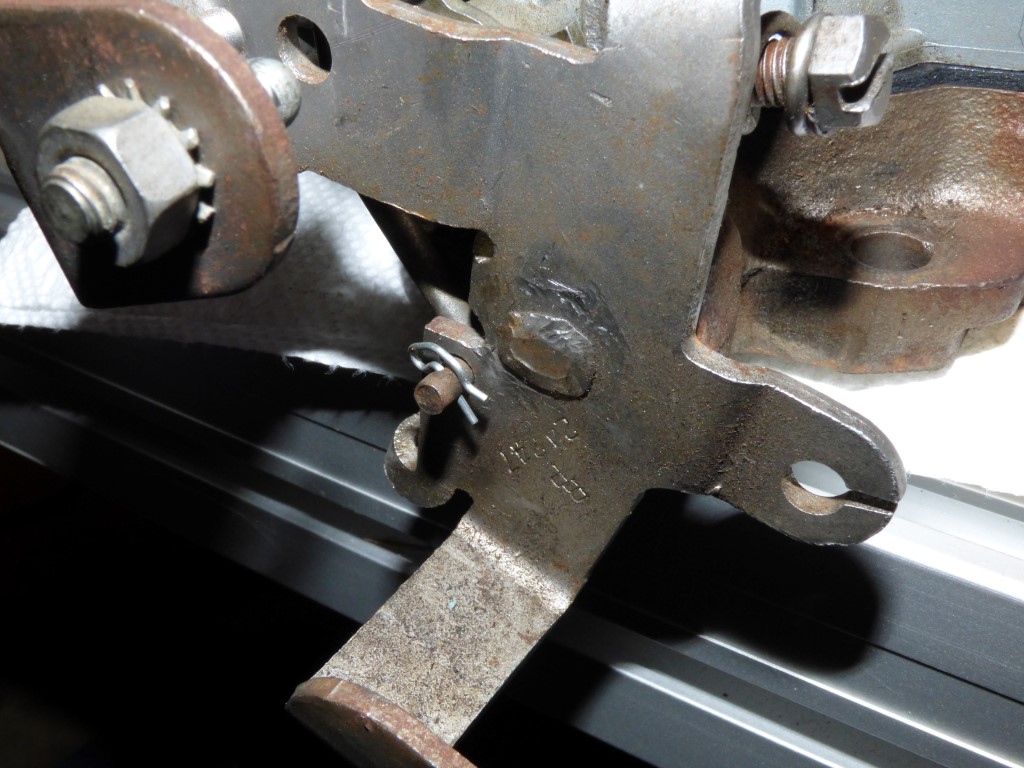
This clip was originally missing, would lead to a bad day if the linkage bound up or fell out on the freeway...
Now it's installed!
And ready to test.
As Steve says, it fired "first piston up" after a little priming and went straight to the proper high idle. And it didn't leak a drop of gas, and I didn't even have to warthog the fittings down. 2 turns out of the idle screws made it run but it sure wanted to burn your eyes. Setting it at 3.5 turns out made it bearable. It seems to be idling around 800RPM with a little surging, but the gas I'm using is at least 4 years old from California. It does ok in gear with the AC on after a few adjustments. Not bad for not having referenced the book when I did this... it really is like riding a bike once you've done it a half dozen or so times!
Return to 1972 Lemans Page
Last updated August 7th, 2018