Heater Core - Day 4 - 06/28/2008
Now that the heater core has actually been replaced, it is time to clean up some minor issues that have been bugging me for some time now. Most of the ductwork and dash accessories are out, so no time like the present!
The defroster ducts have never had a screw in them since I owned the car. Which meant that they flopped around and didn't always blow air. I remedied the situation and now it blows air only into the ductwork.
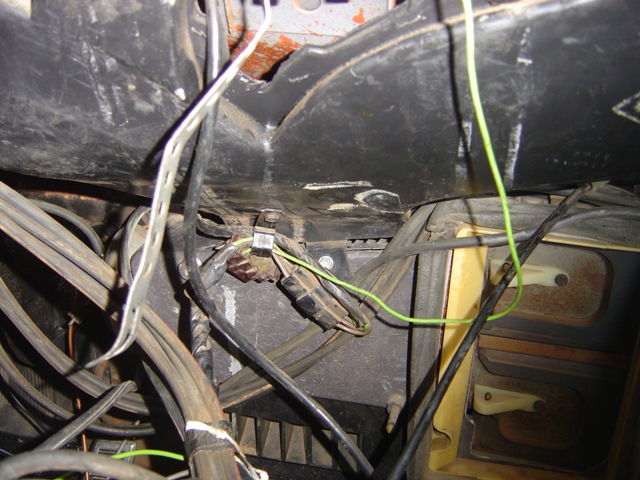
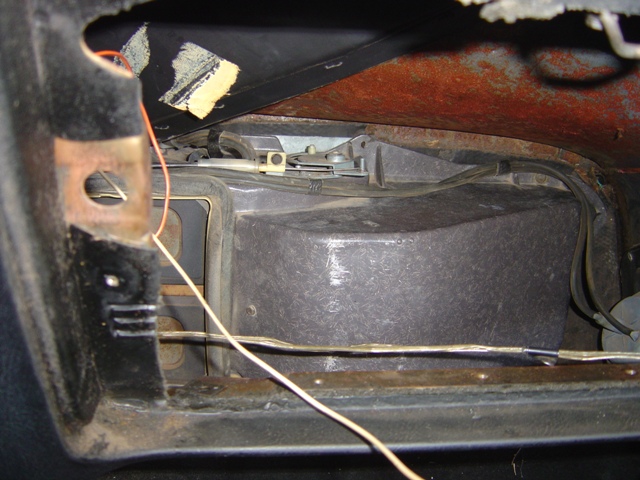
Horn relay is right here on the left (headlight switch on the right). I decided to remove the dash to get to some burned out bulbs and fix some broken ductwork pieces. You can see that the left vent doesn't remain in place since it is broken.

Not a great picture but you can see the broken plastic pieces and the speed nuts still holding them on.
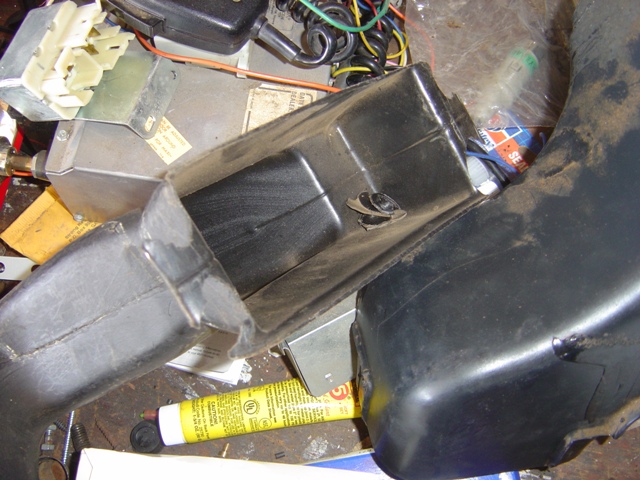
The old duct with the broken pieces. Some clown yanked the thing out without removing the nuts, hence this situation. It is annoying on two fronts - that it is broken and that I had to remove the dash to fix it.
A new piece that was part of my $10 purchase years ago. Not broken at all. I flushed out 4 spiders living in it with water.

What it should look like when installed! No more bouncing around and not blowing air out the vent when I hit a bump.
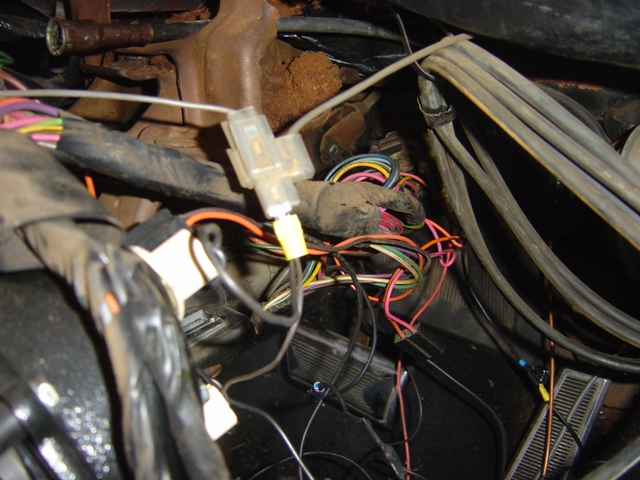
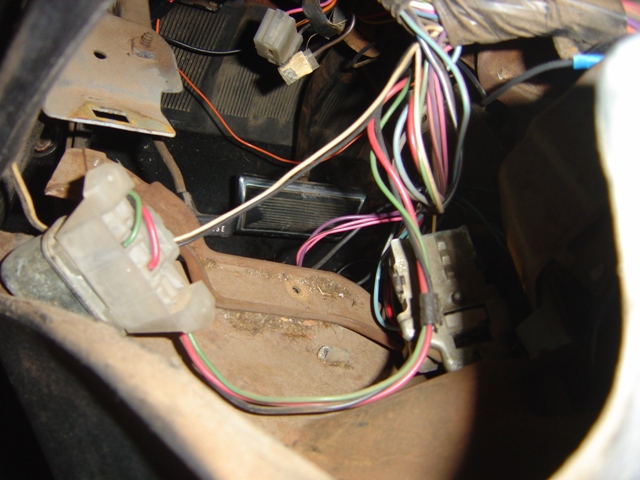
Clock\tach lighting plug. I fixed this since originally it was just a splice into the cigar lighter (young and dumb) and not very bright at that. Grey wire going off to the right is to the floor shifter indicator light for a console car (which this is).
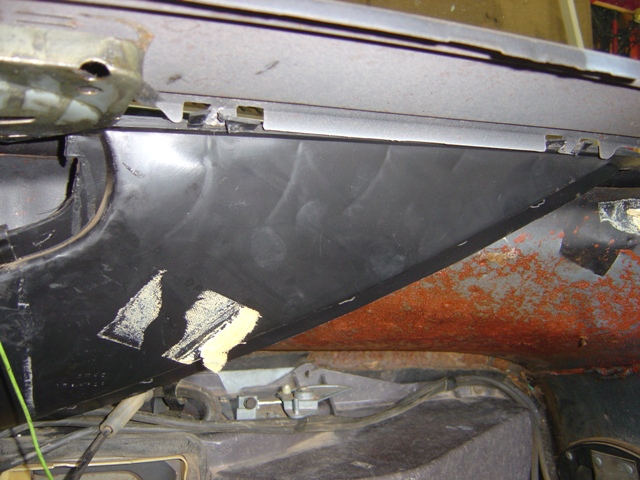
Yay for broken defroster tabs. I really don't know why they did them this way.
The driver's side is worse off. It's almost impossible to get these out without cracking and breaking since they are exposed to the sun their entire lives and the plastic is somewhat brittle in this area to begin with.
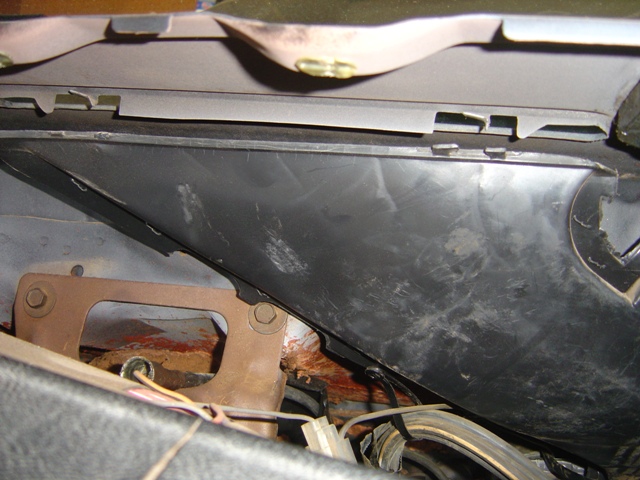
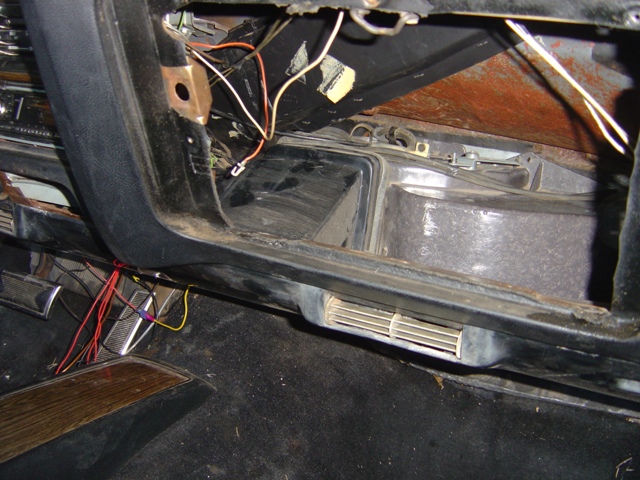
I bent the metal up a bit to get them to stay in place. Over bumps and whatnot don't seem to affect it anymore. They blow great air now too. Note where the speedometer cable comes in and hangs out. Makes it a bear to get it out for cleaning and lubing if yours is chattering.
Temperature slider hooked back up and calibrated properly (swings to both sides without issue). Speaker wires will be routed up to the top of the dash where the door jamb light is hooked from the factory.
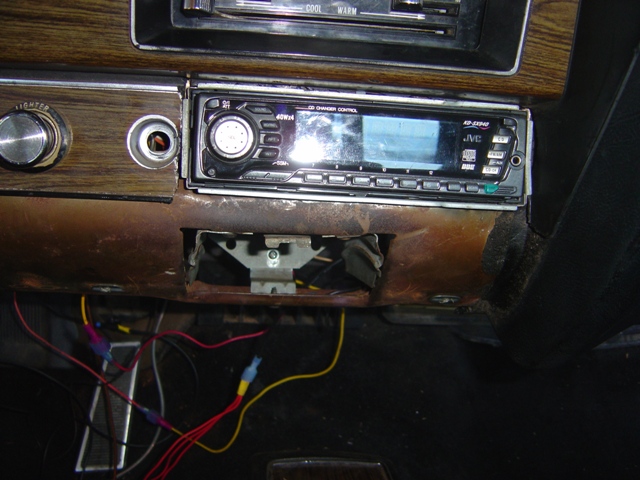
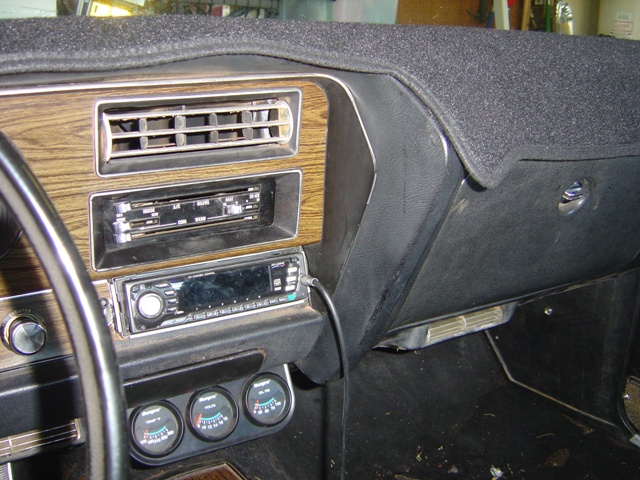
Radio and ashtray are hooked back up. I took advantage of this extra space and added some extra bracing to the radio to prevent it from coming out or falling all the way back inside again. I wouldn't have cut the dash for the radio, but we take what we are given doncha know.
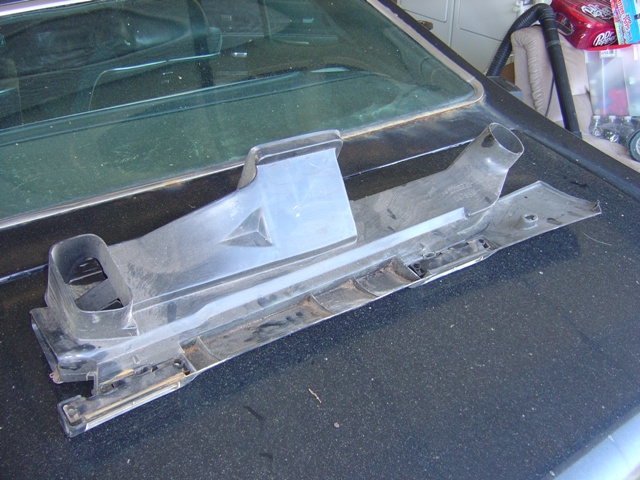
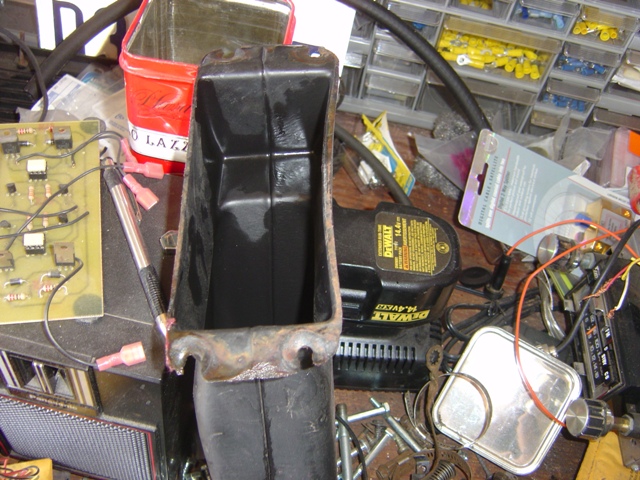
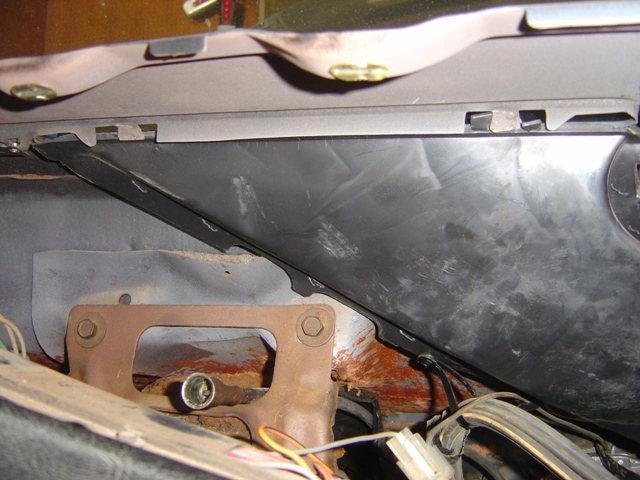
New plenum section is cleaned up, deflector vents installed, and ready to be installed in the car. No broken tabs or warthogged out bolt holes either.
Plenum is installed. Lines up pretty nicely too. All the vents hooked right up.
All put back together. You wouldn't even know it was ever done.
All of the lights are nice and bright again (even he ashtray fiber optic) and everything seems to work. The car got to 185, flowed water in the heater core, and no evidence of a leak anywhere. I shut the heater core off with the slide of the temperature lever and it didn't skip a beat. The vents flow air VERY well compared to how they used to, AC is nice and cold, no air leaks from around the plenum or any more random cooling of the wiring harnesses and speedometer cable. Nice to see how some things work out for the best. Fixing all of those little nagging things sure makes a car more enjoyable to use during the daily commute. Now if I could just get 20MPG I would be set...
Return to 1972 Lemans Page
Last updated June 28th, 2008