The New Engine! - Part -4 - 04/17/2019
The continuing saga of engine assembly and all the joys it entails resumes. This time with more assembled engine results while crisis is narrowly averted...
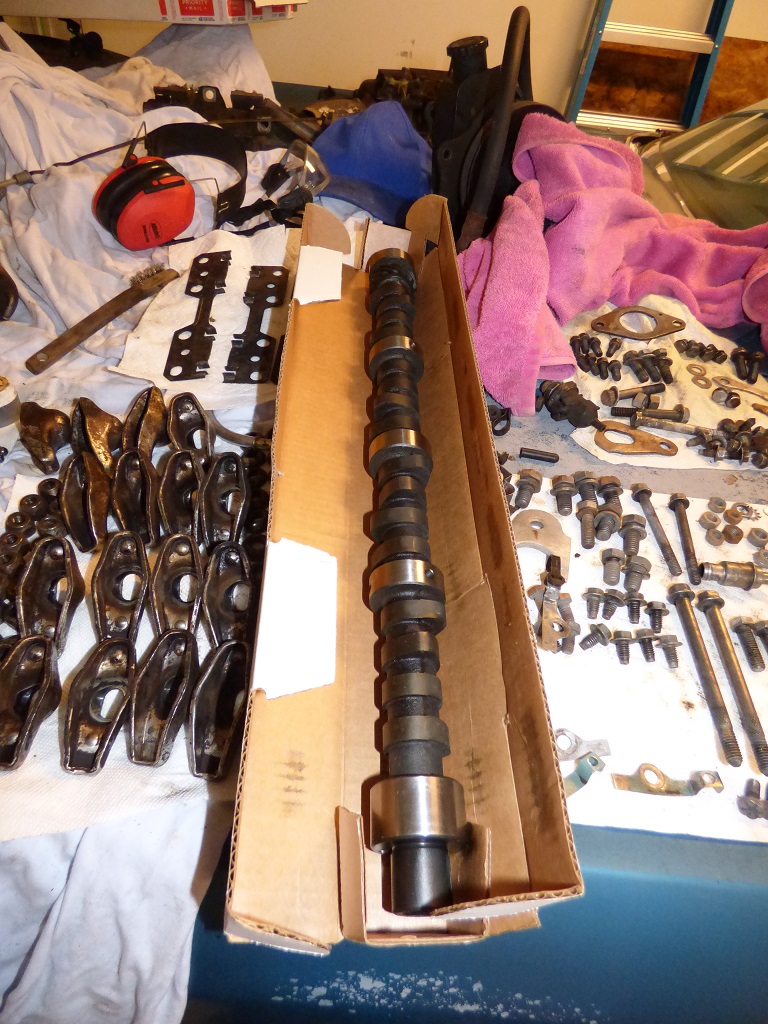
The new cam is wiped down and ready for prep to go in the block.
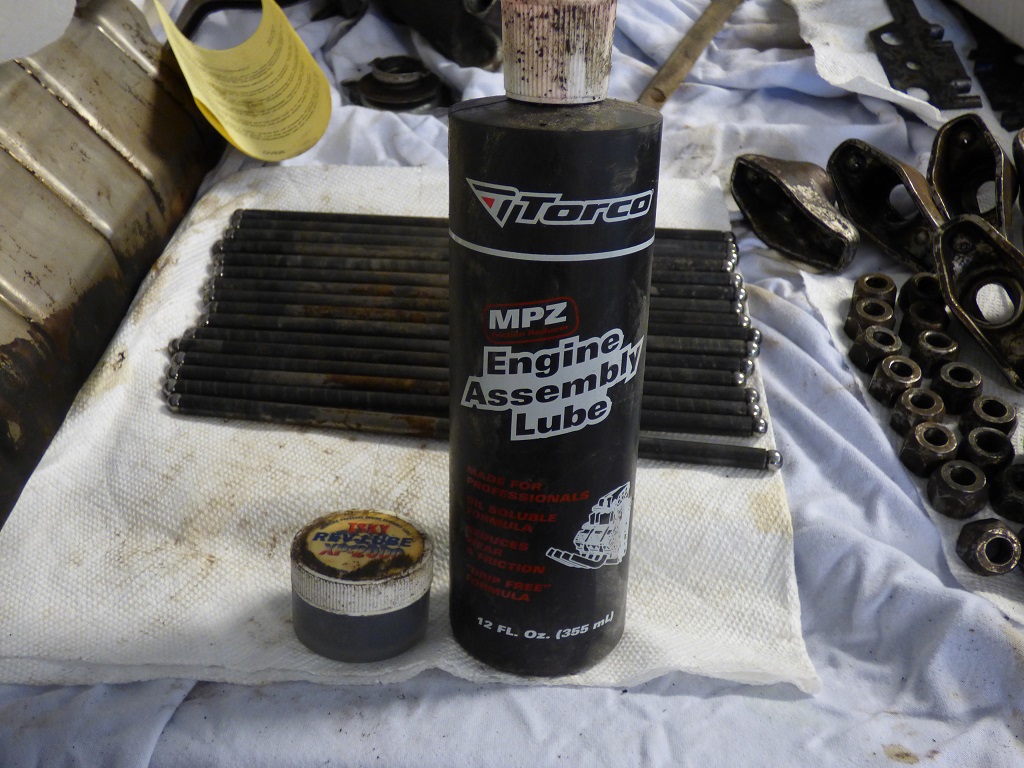
Isky Rev-Lube and Torco engine assembly goo are used. If the camfather himself recommends this for his cams, who am I to say otherwise?
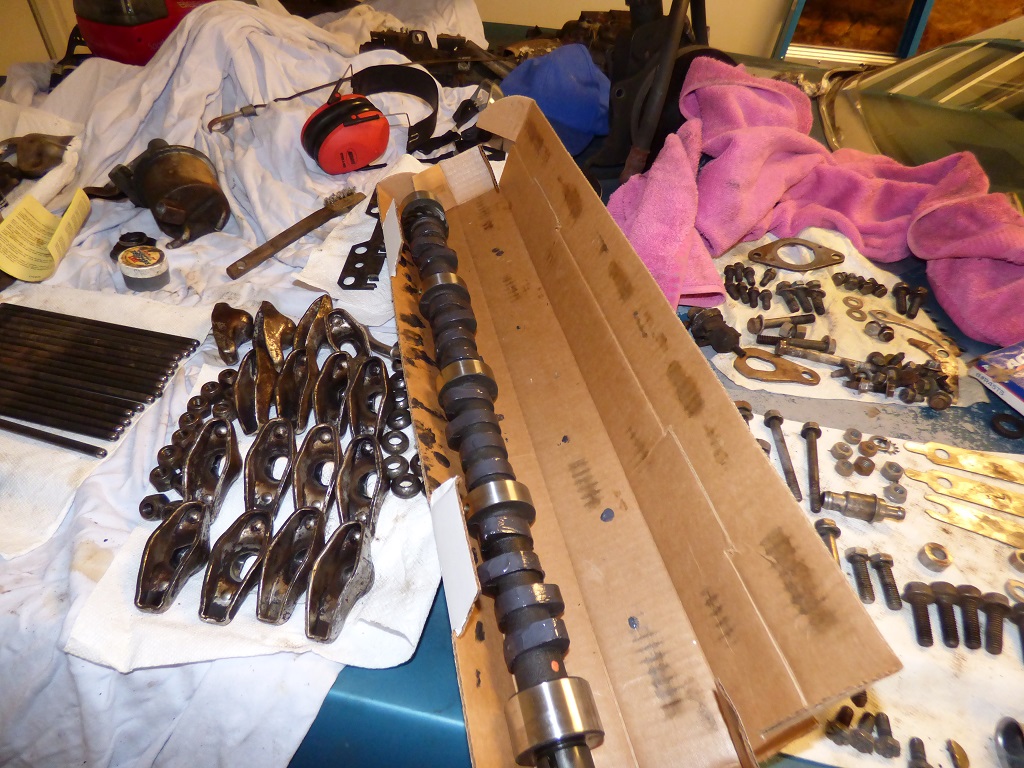
Cam is coated with break-in lube and ready to go in the engine.
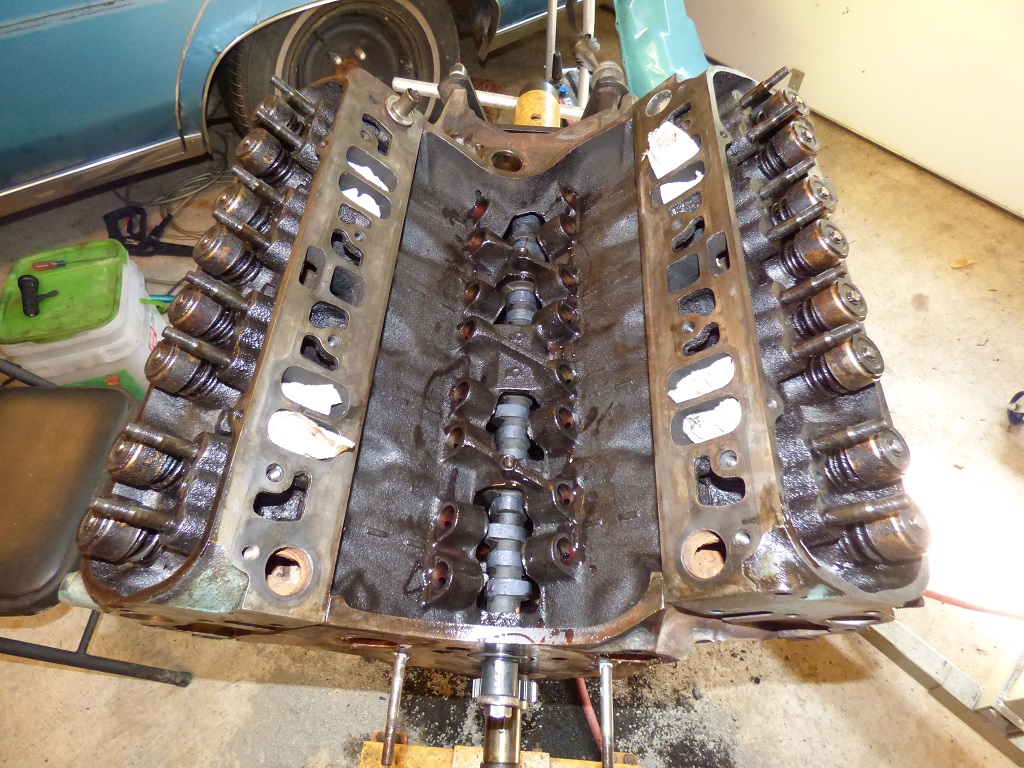
Cam slides right in without issue. No core shift on this block despite it being a 455 and 47 years old! Assembly lube was used on the cam bearing surfaces and lifter bores.
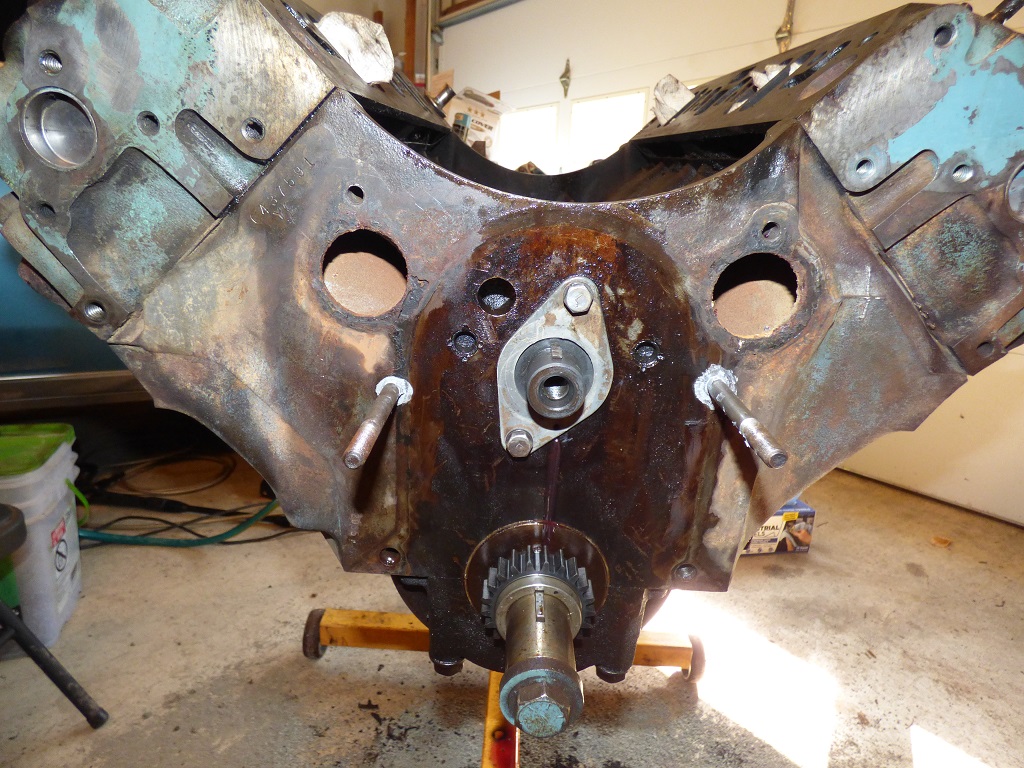
Cam retaining plate installed hole down.

Oil pump mounting surfaces are cleaned up heavily.
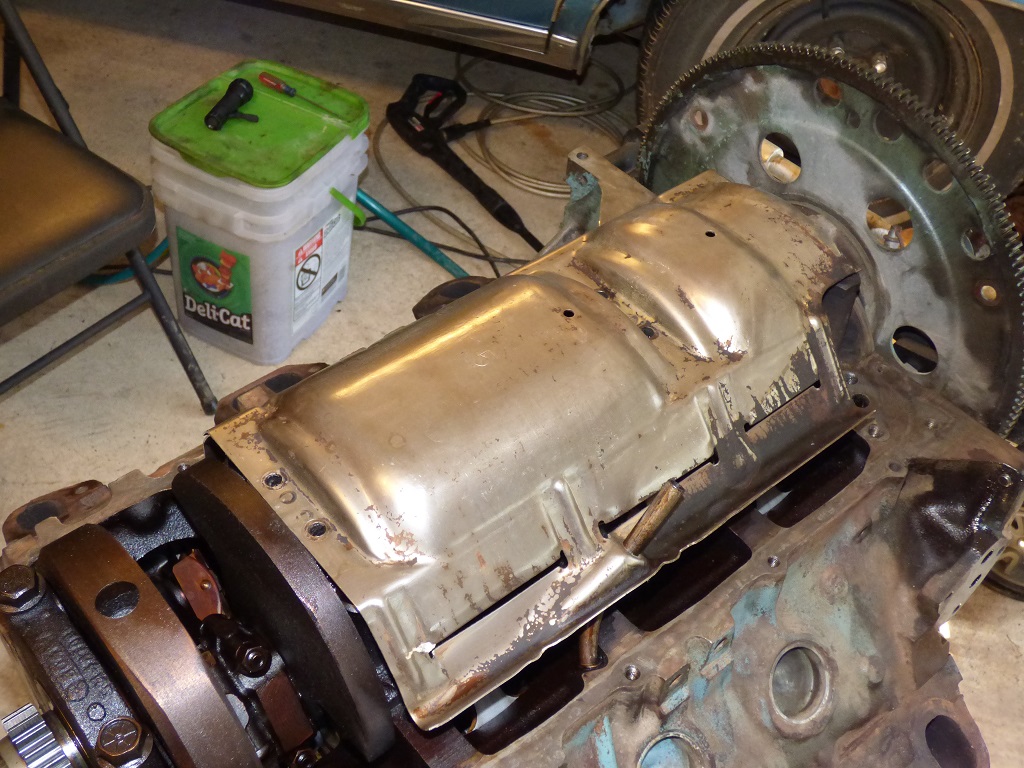
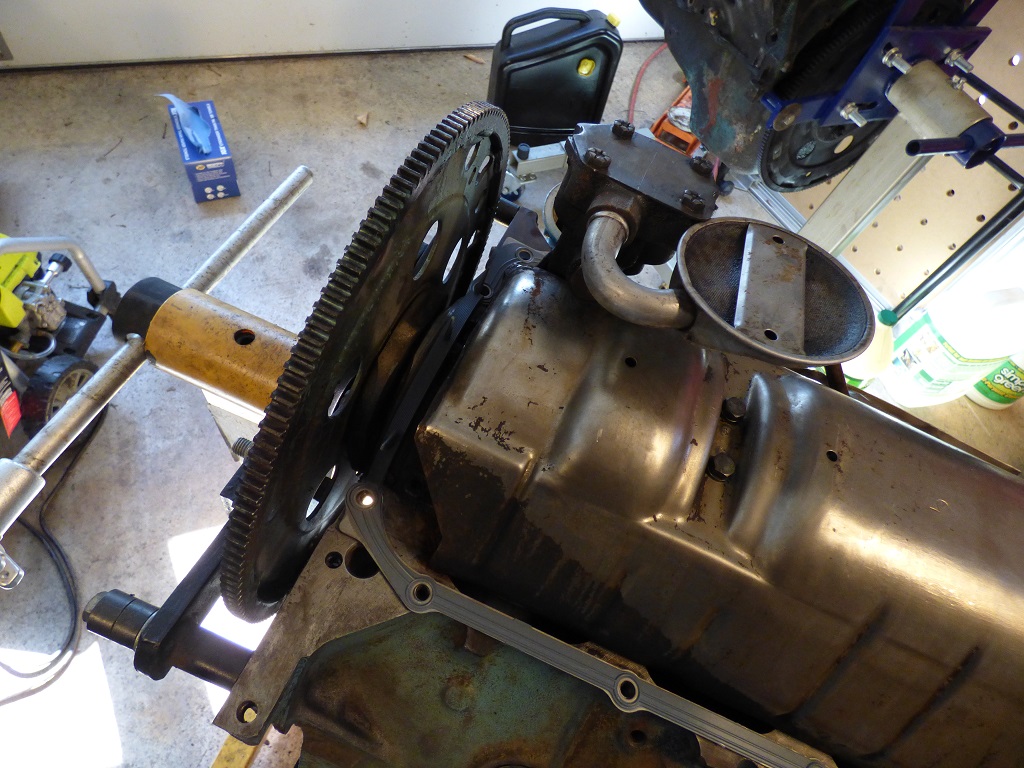
The windage tray gets installed and it came out looking pretty nice if I don't say...
Oil pump drive rod goes in. Absolutely imperative that it does too otherwise it's a bear to get it in!
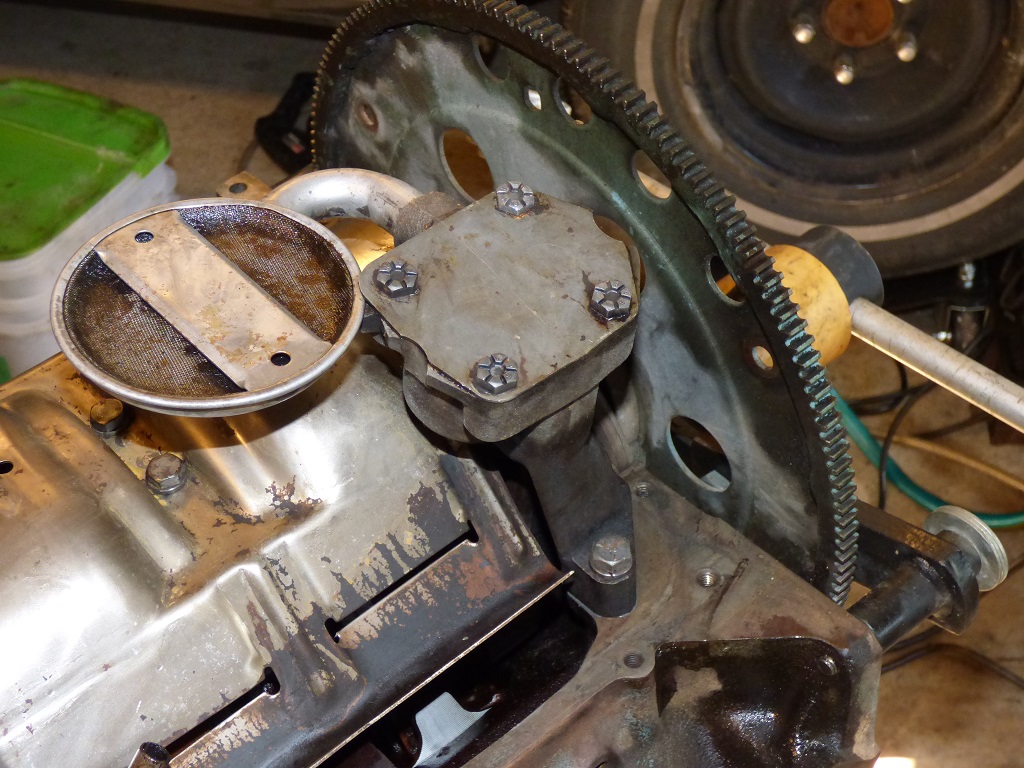
The oil pump goes in too.

It's critical that the drive rod and the pump tang actually mate up too...
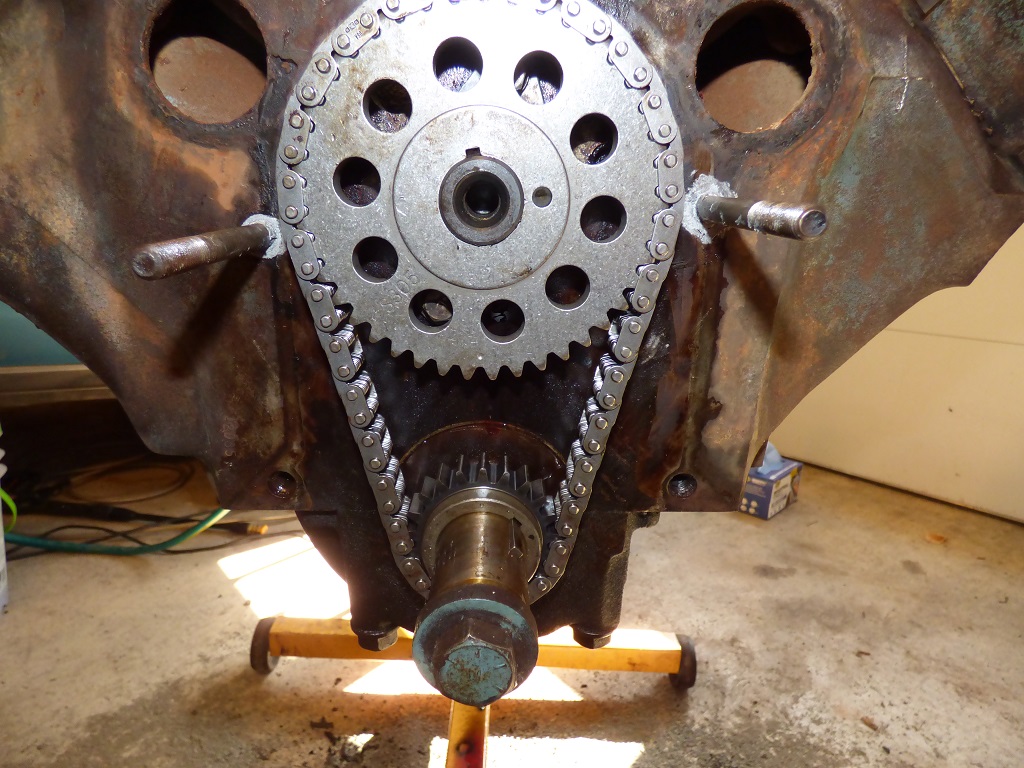
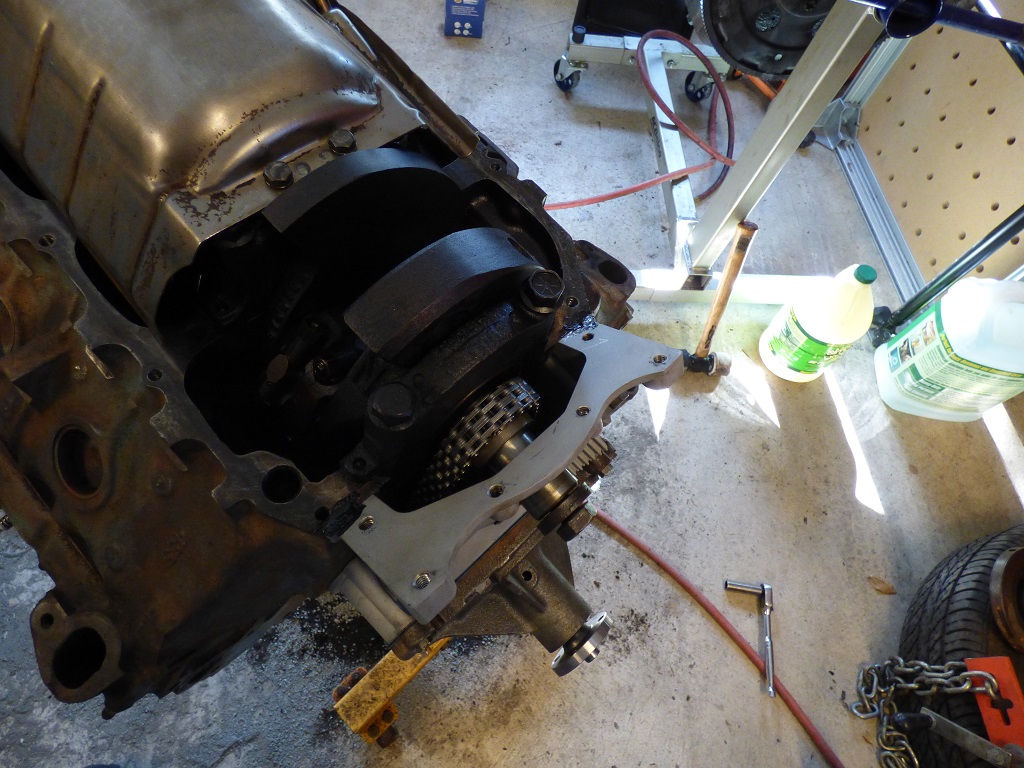
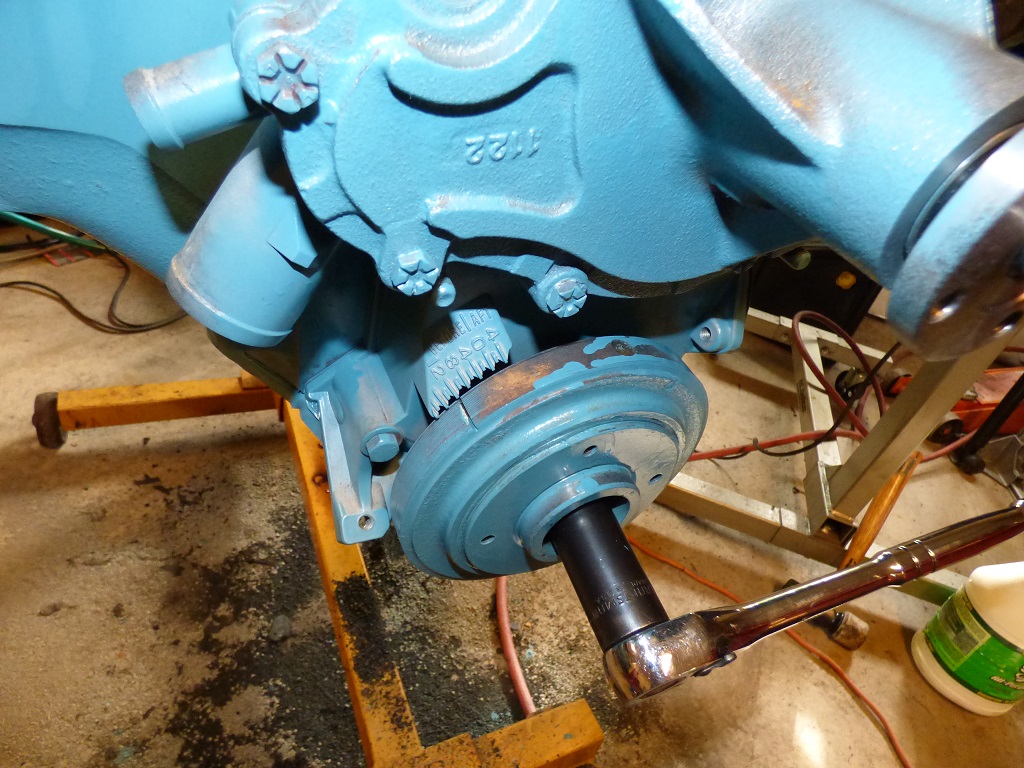
Timing set goes on. Installed dot to dot, which is TDC for #6.
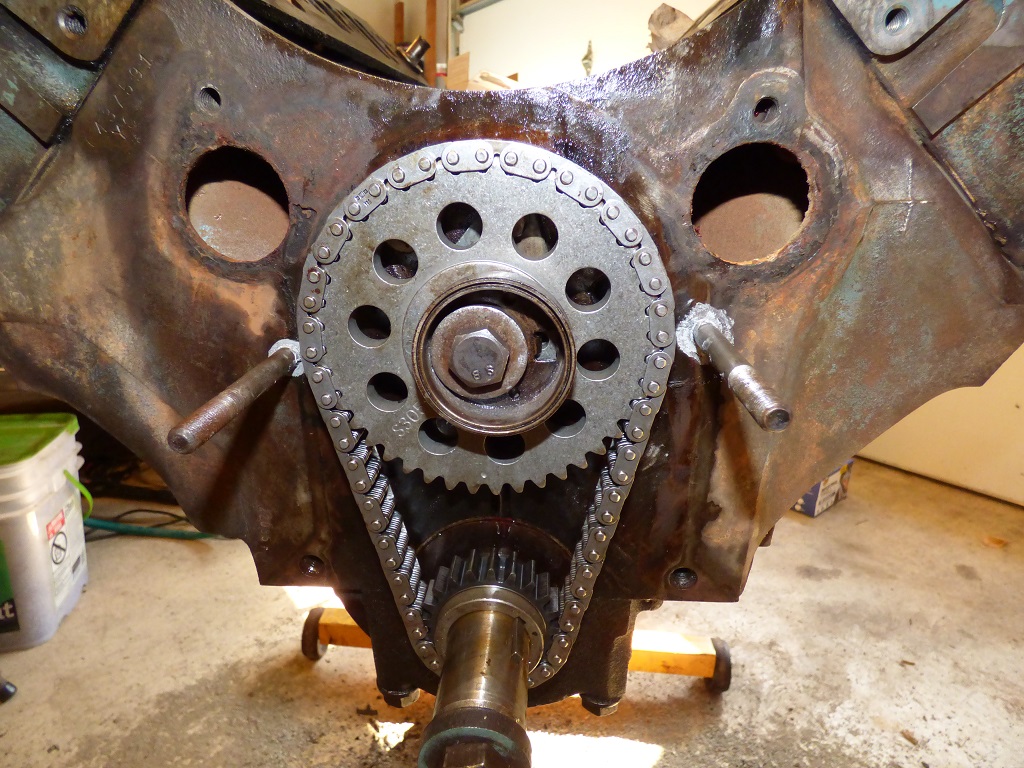
Fuel pump eccentric goes on. Another way to tell it's on the #6 firing position is that it's pushing the fuel pump down - it would be in the upper left side if it was at #1.
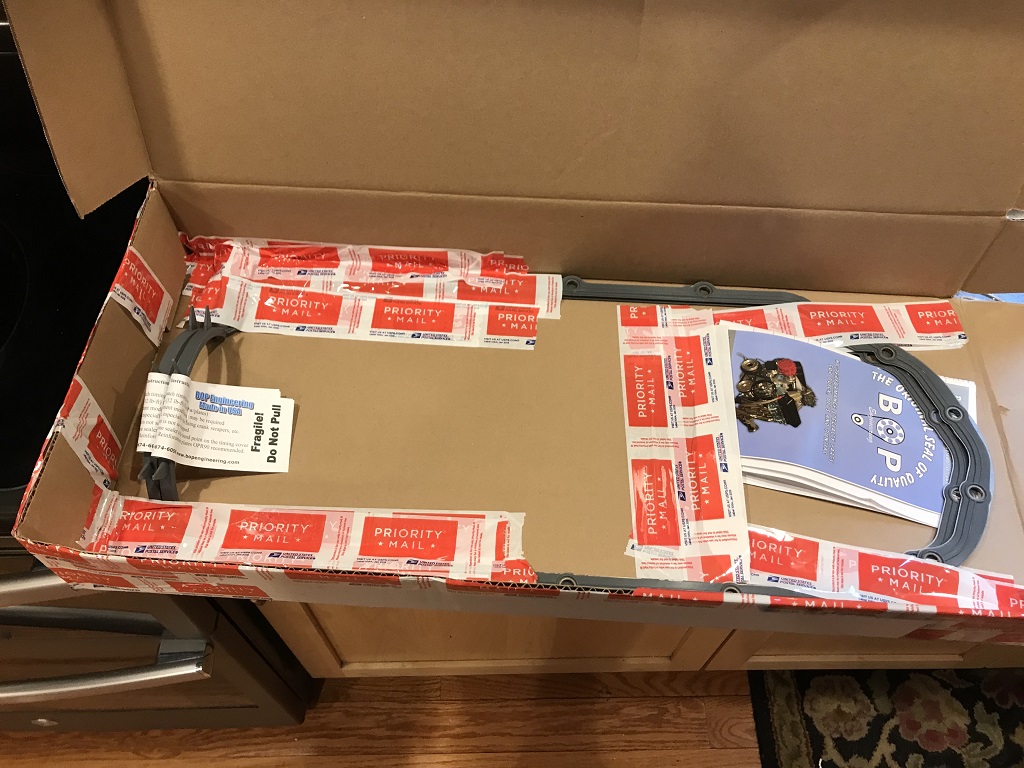
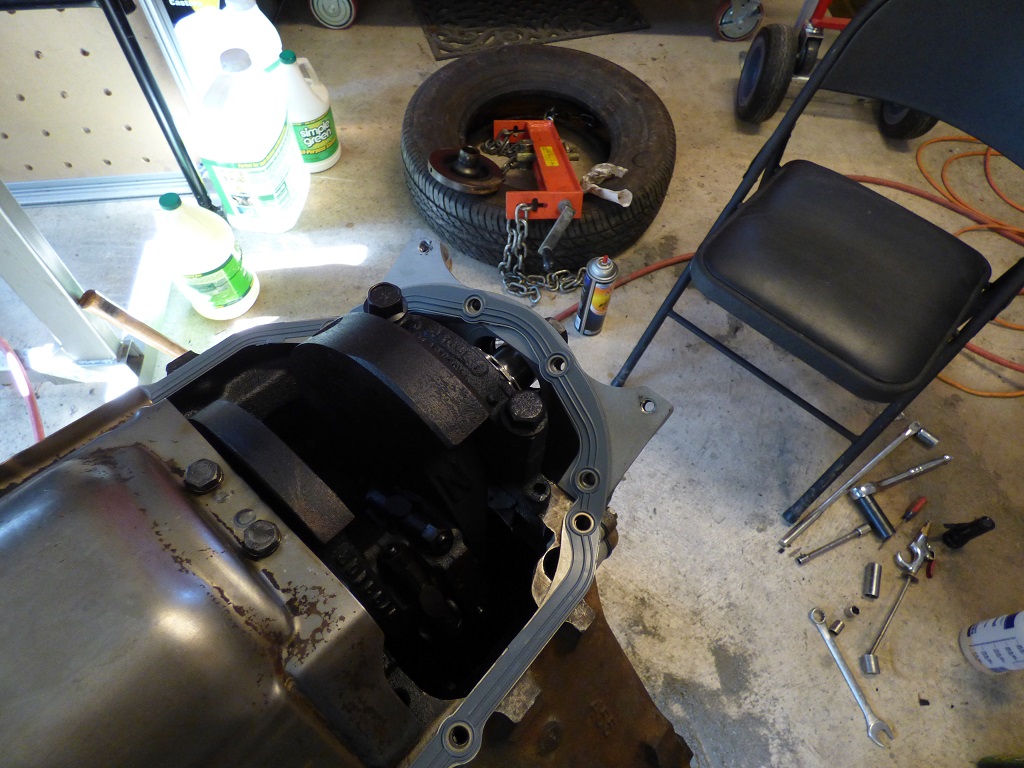
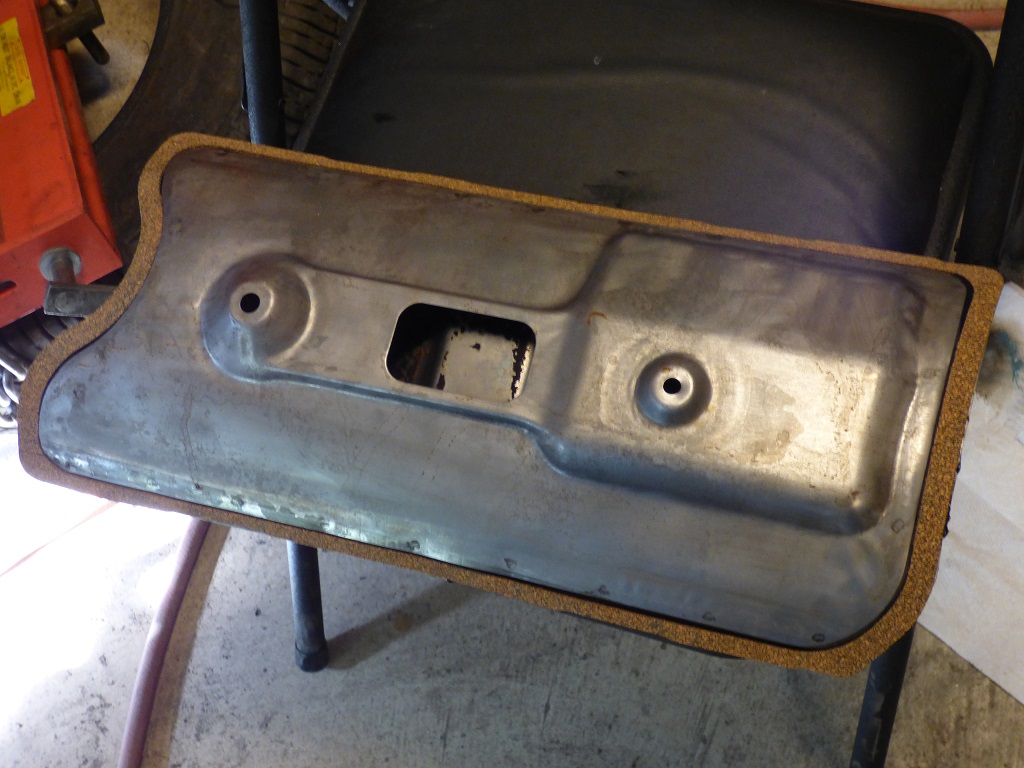
I never liked the cork oil pan gasket as they always seem to leak on me. The BOP one-piece oil pan gasket uses modern technology sealing and looks really nice. Can't beat how nice it is when they ship it to you either!
The gasket requires a test fit!
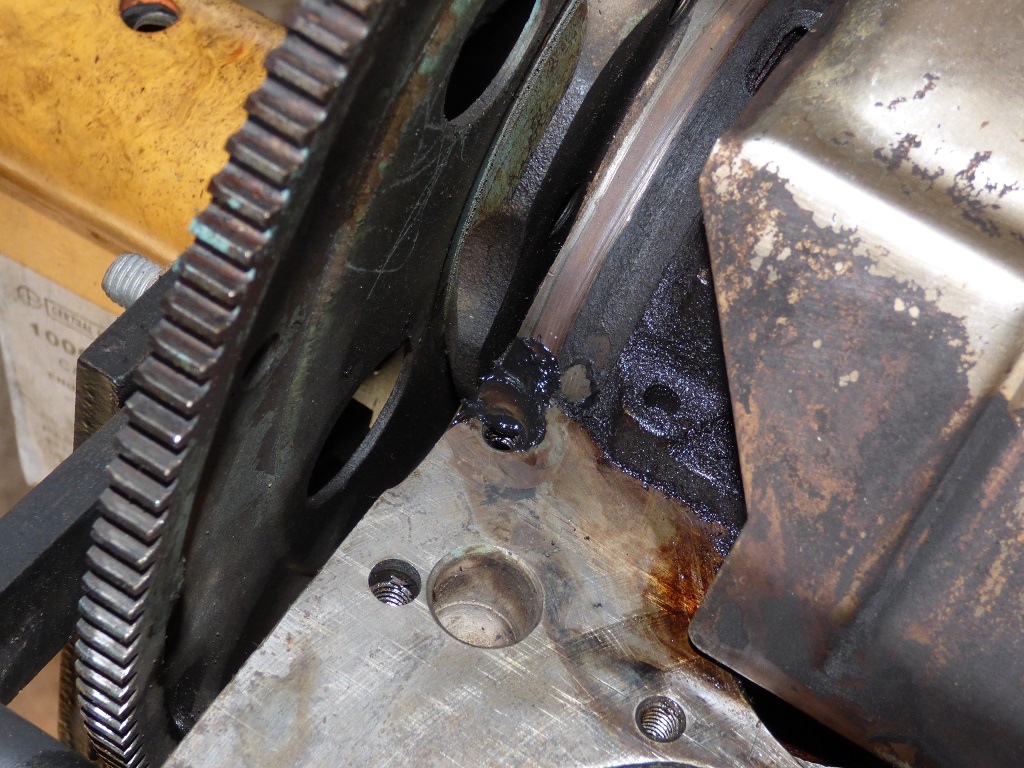
A little rubber mallet action to make sure it conforms to the timing cover to block to pan triple point junction (it's field enhancement for leaky pans).
A little sealer in the corners...
...and a little sealer on this corner...
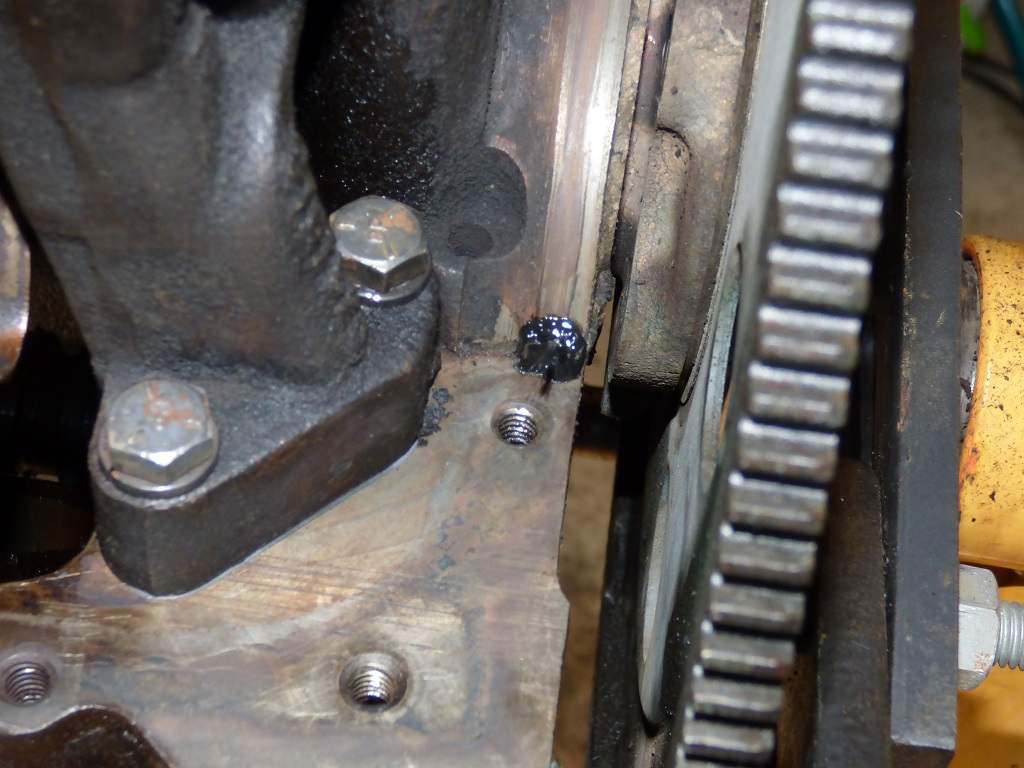
...and this corner per the BOP instructions.
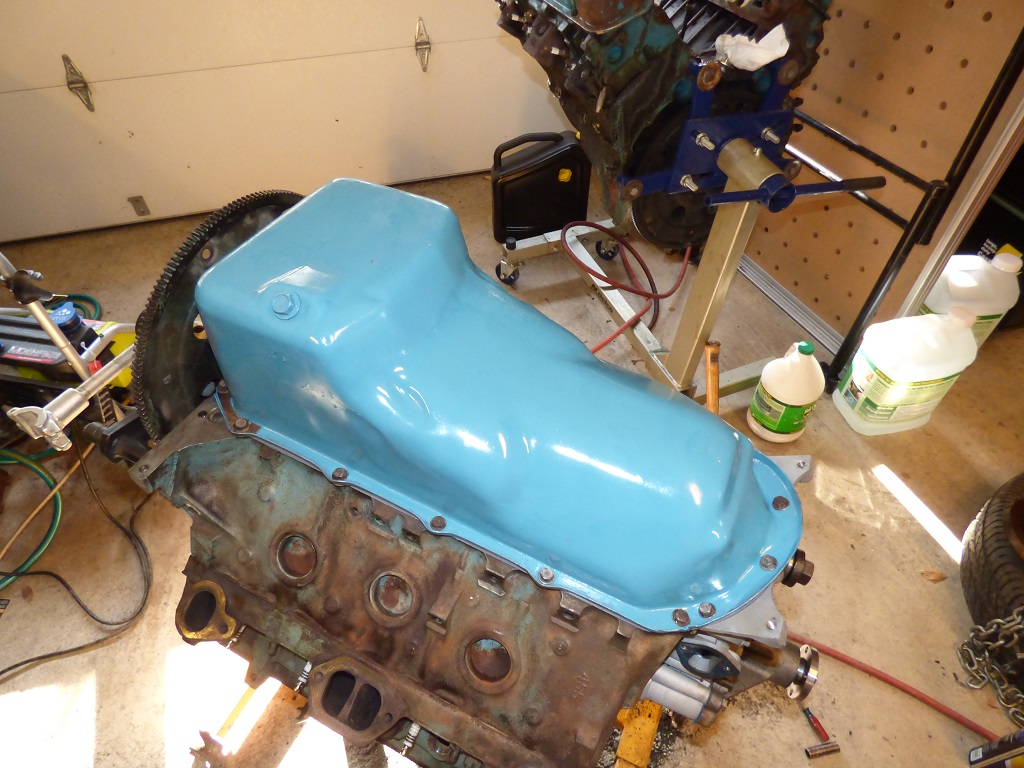
Oil pan goes on. A little massaging is needed to get all the bolts to line up as it is a complicated piece, but no major issues.
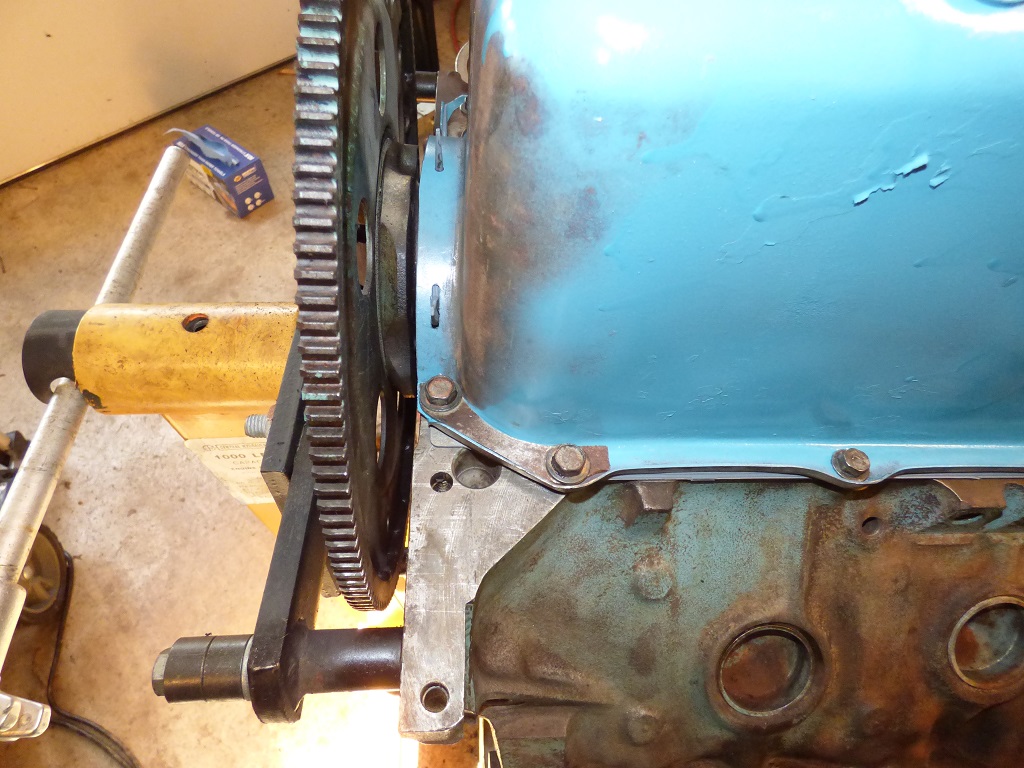
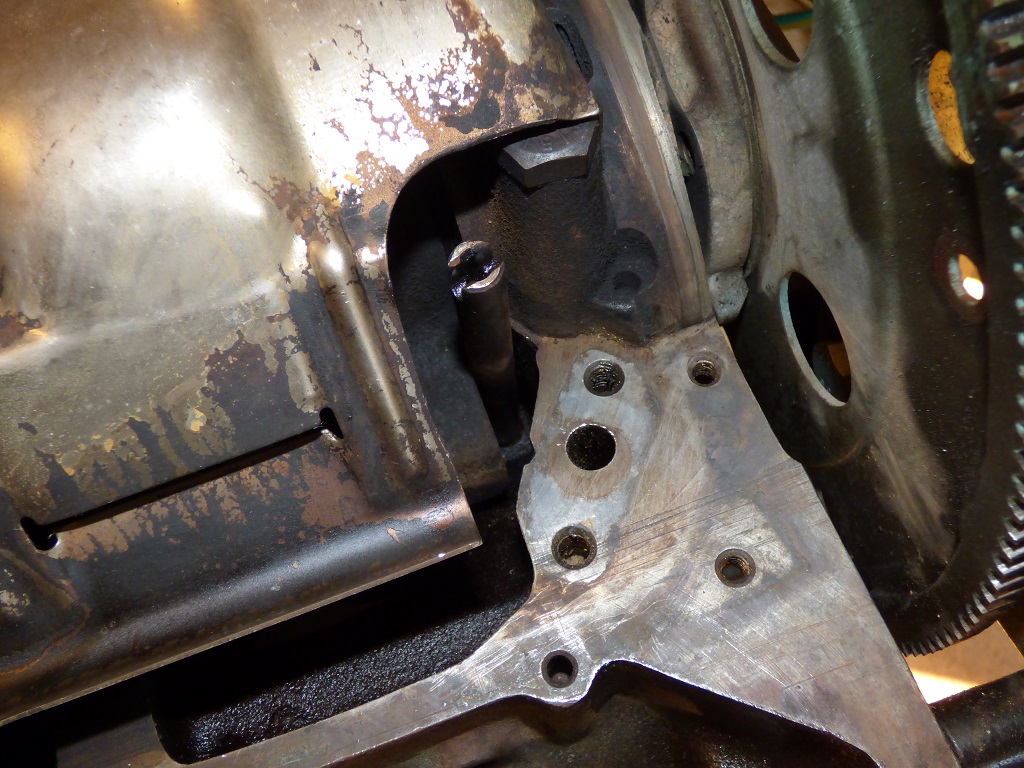
Factory braces to assist in sealing.
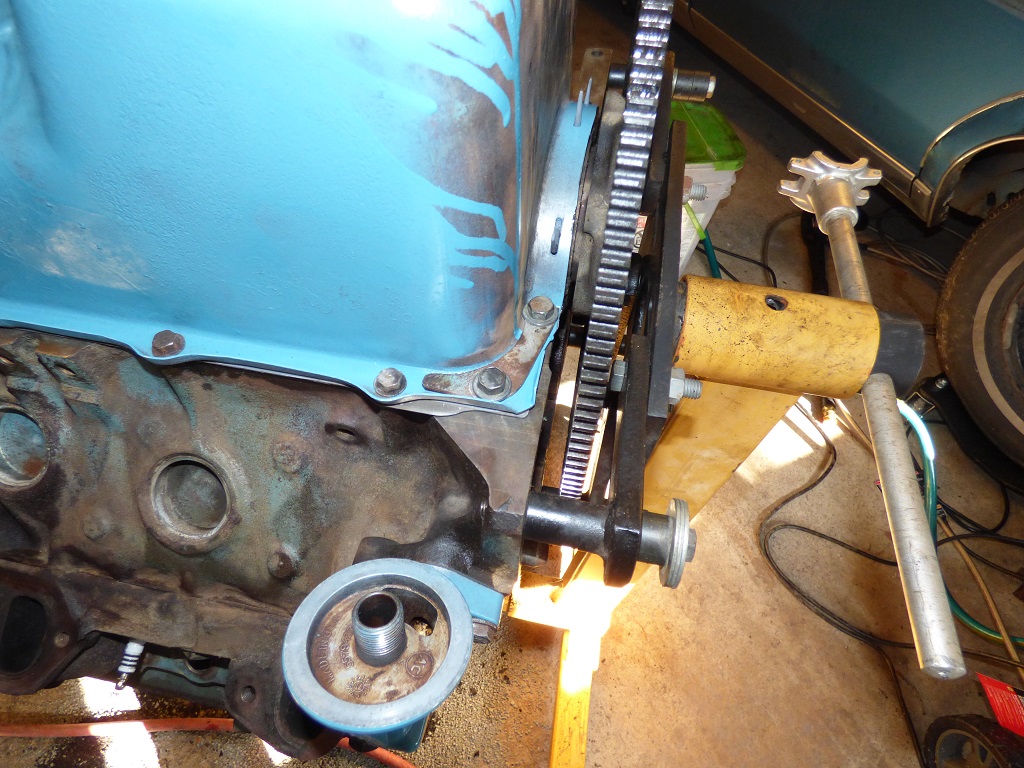
I never leave off a factory sealing brace, they wouldn't have added these at the cost of $0.75/car for a couple million cars if it did nothing!
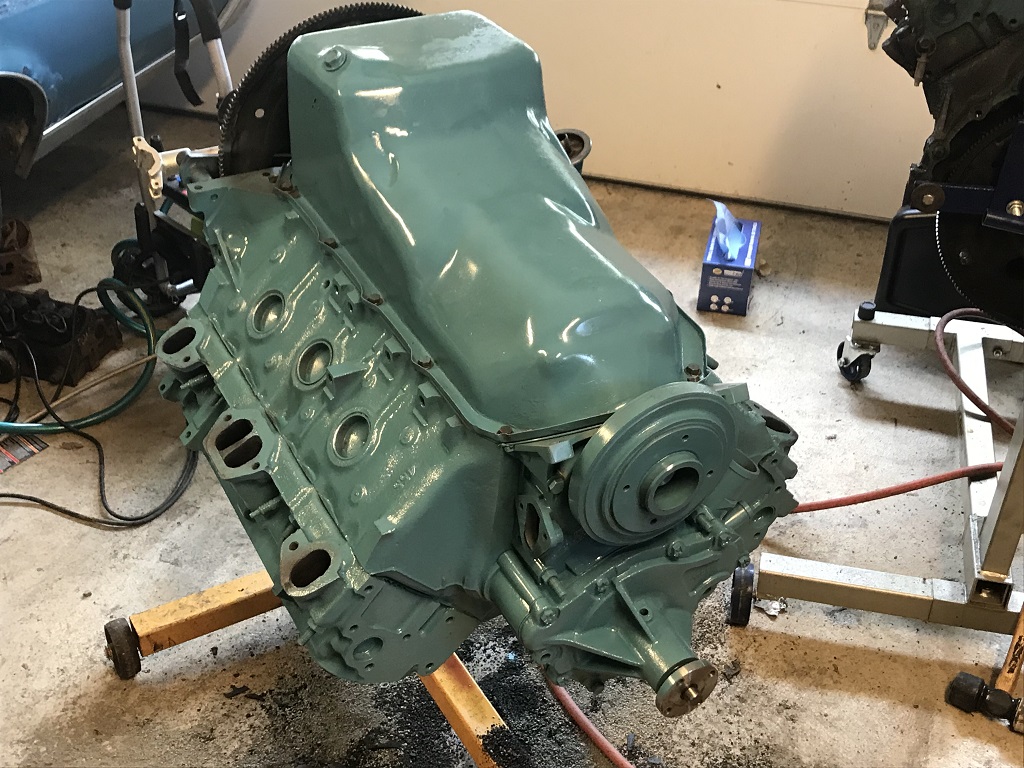
Since it was upside down and I wasn't able to get to work on it for a few days I went ahead and painted this part of the engine.
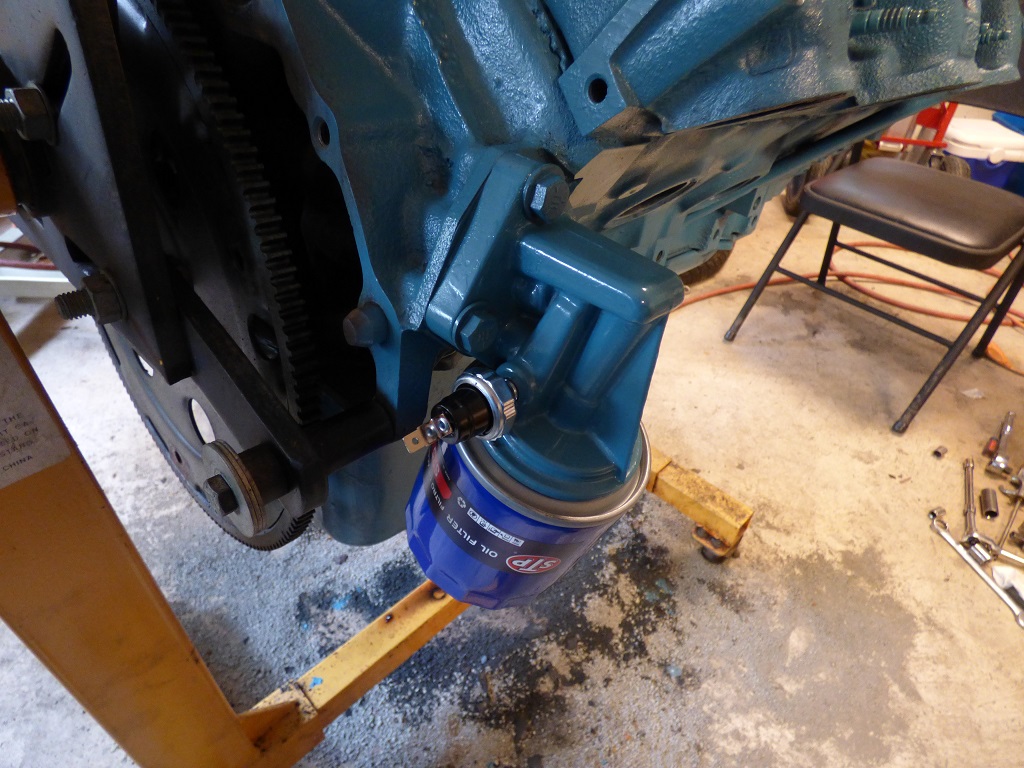
Oil filter housing with new filter and new sending unit. Looks pretty nice! Hopefully it won't leak...
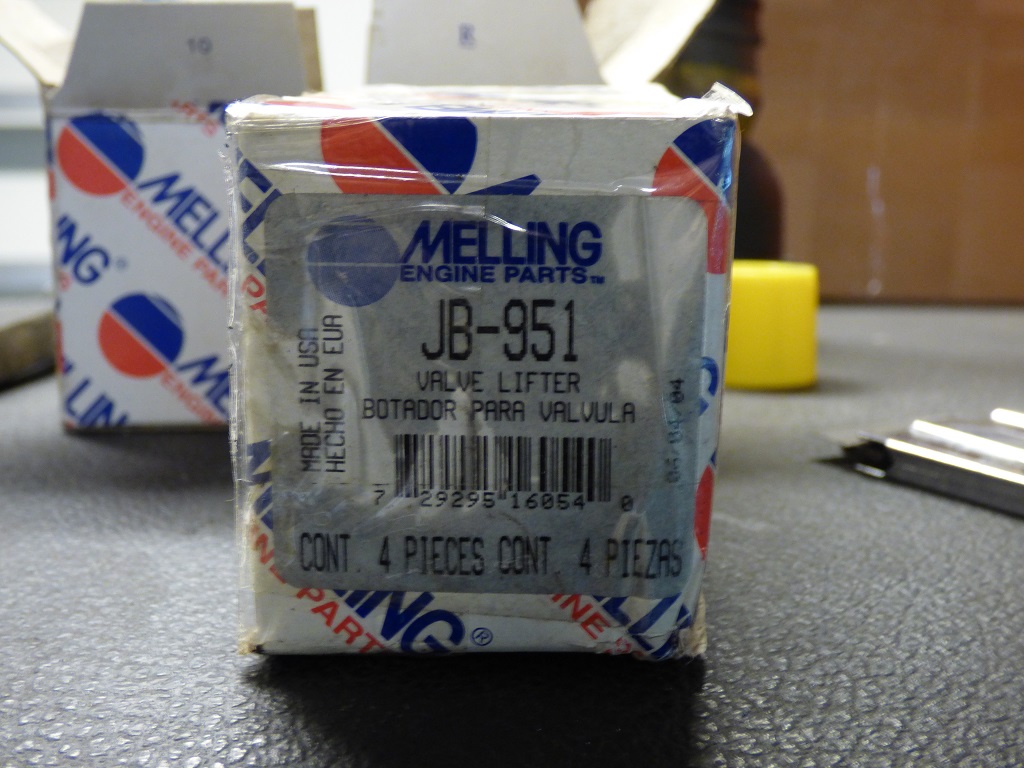
Brand new Melling lifters. Made in the USA... from 2004. Back when you could still buy these at your local Auto Zone for like $3/piece. Steve and I stocked up at the time, this is the last set.

Comparing the factory lifters (incidentally ALSO supplied by Melling) to the new ones reveals they are identical.
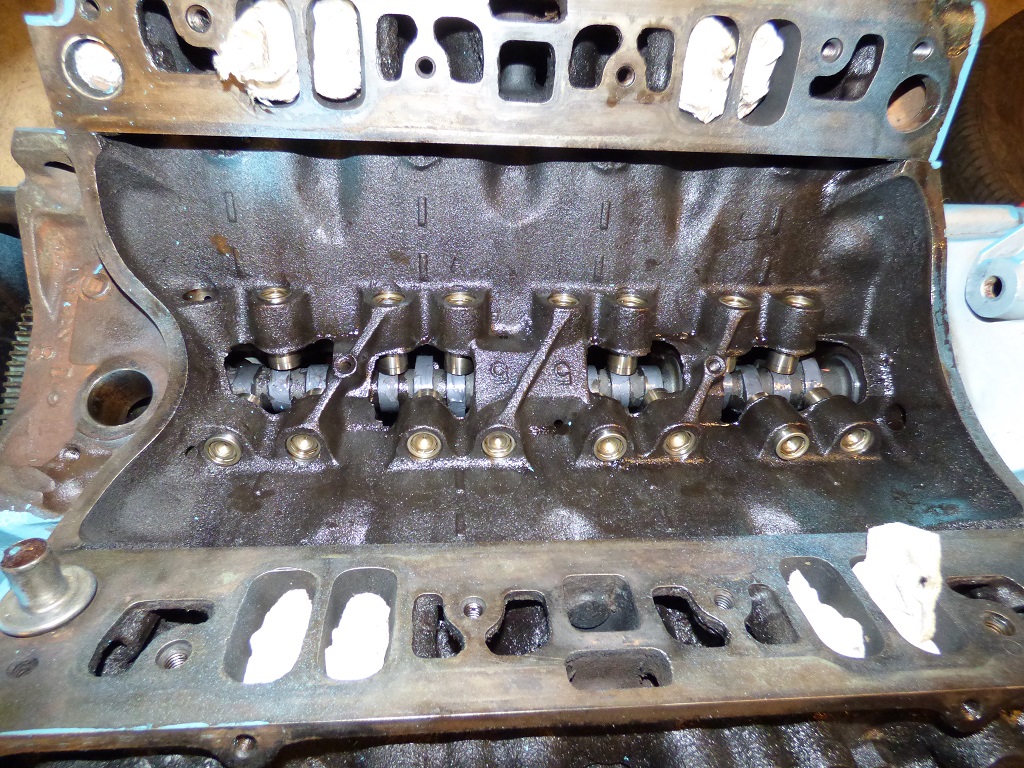
Lifters are in, lots of massaging and gentle touches to get them rotating and sliding up and down without any effort. And of course none fell down which was nice. #7 exhaust is left out to facilitate priming the engine without pushing any potential garbage from that passage into the brand new lifters...
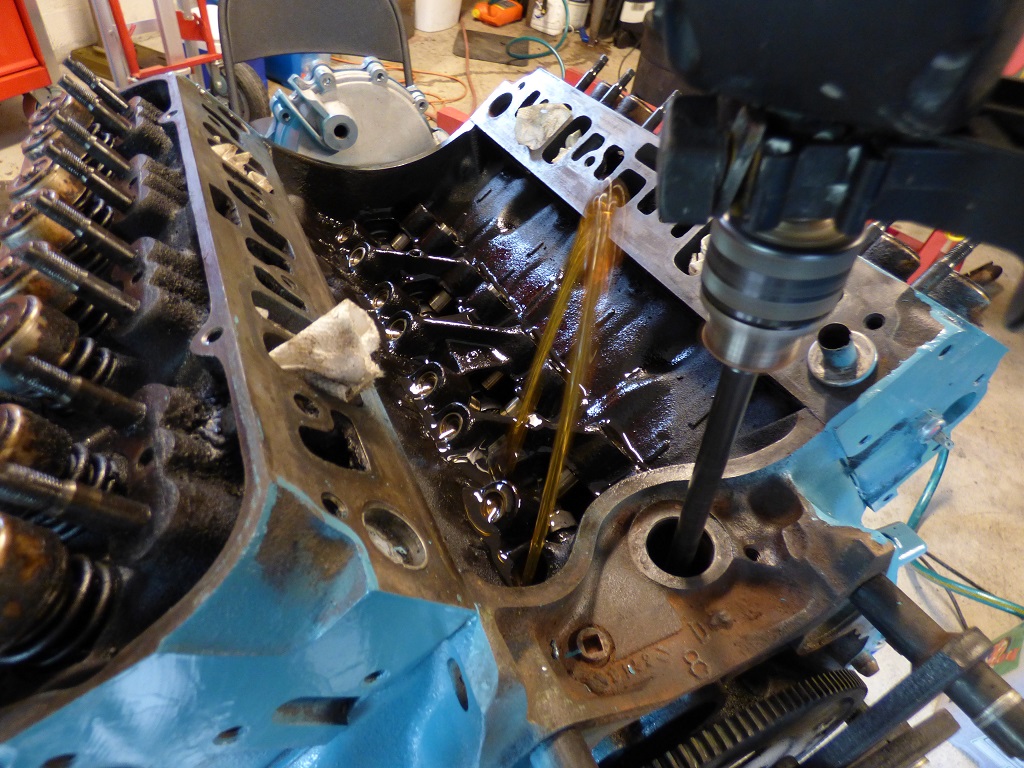
Always nice when you get a gusher of clean oil. Shows the pump is working!
Priming goes well, all the lifters get oil quickly.
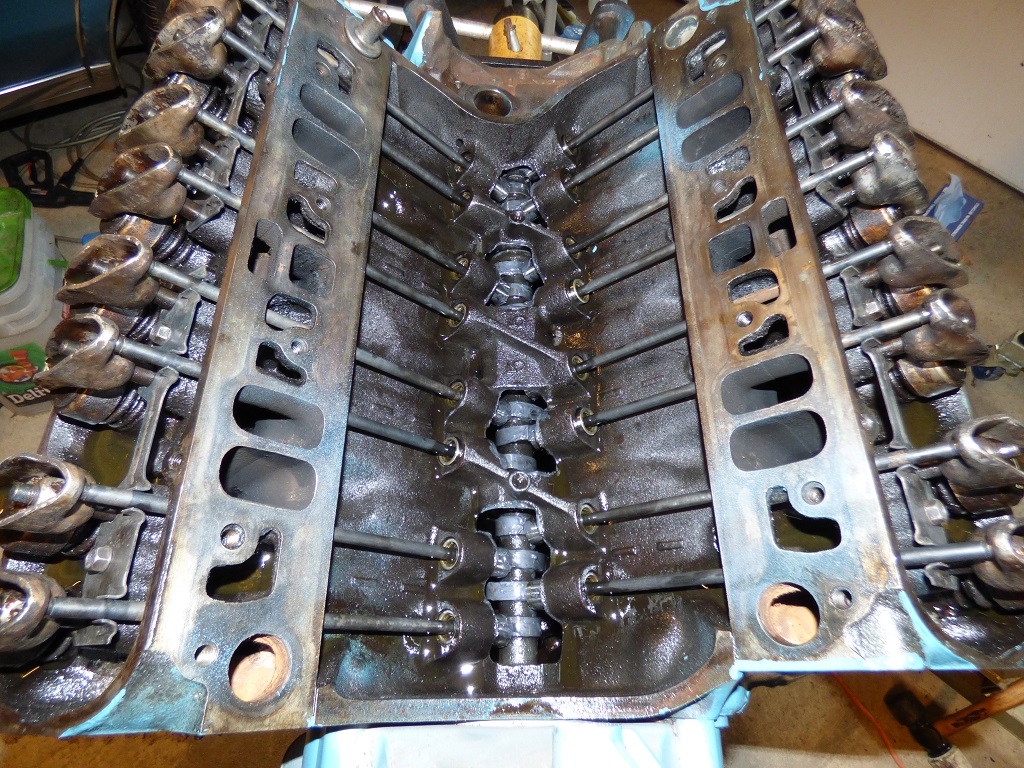
Guide plates get installed.
Pushrods go in after being checked for straightness.
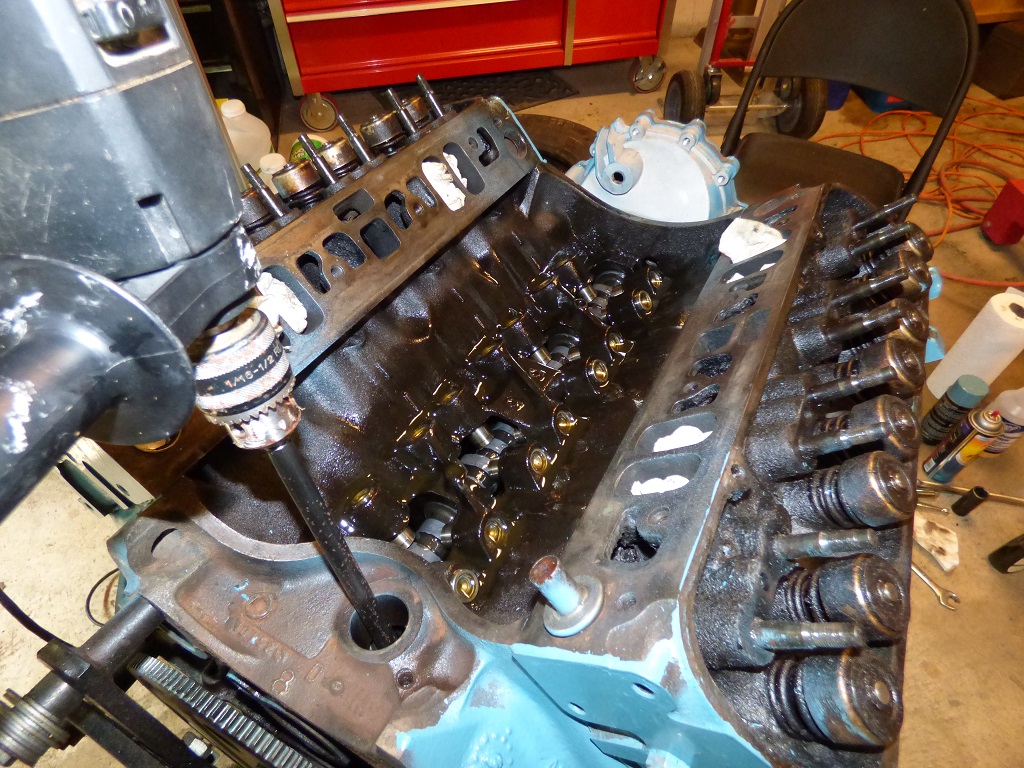
Time for the rocker arms to be installed.
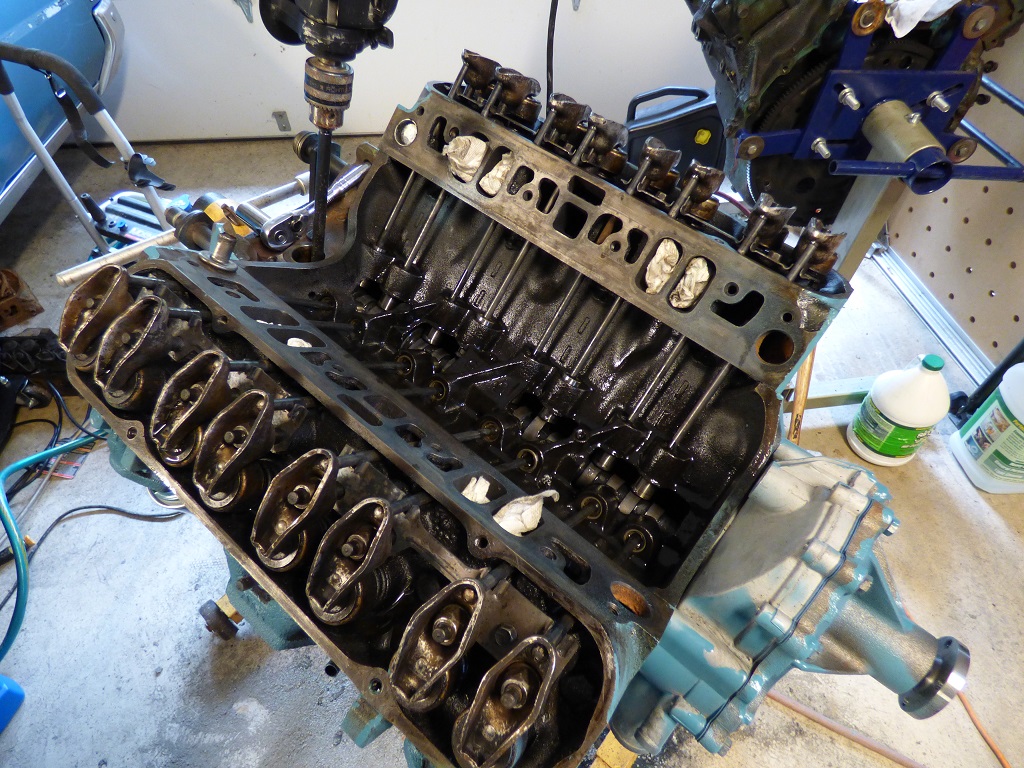
Rocker arms are all installed and beginning to tighten down. This is the factory setup, so 20 ft-lbs on each nut right? WRONG. Well... rather this produced some issues with VERY tight pushrods and lifters and the valves not wanting to fully open. This gave me great pause. I regrouped for a few days while reading and investigating. Turns out that the lifters were sticky and not moving because they had been sitting on the shelf so long. I forced them (with gentleness) and let them sit a few days. This gave me time to verify that they were lubed and clean and also to see if my oil pan leaks (it hasn't so far, woohoo!!). Once I returned a few days later the valves and lifters moved smooth as silk and the lifter and pushrods spin in their bores like they should. Whew...

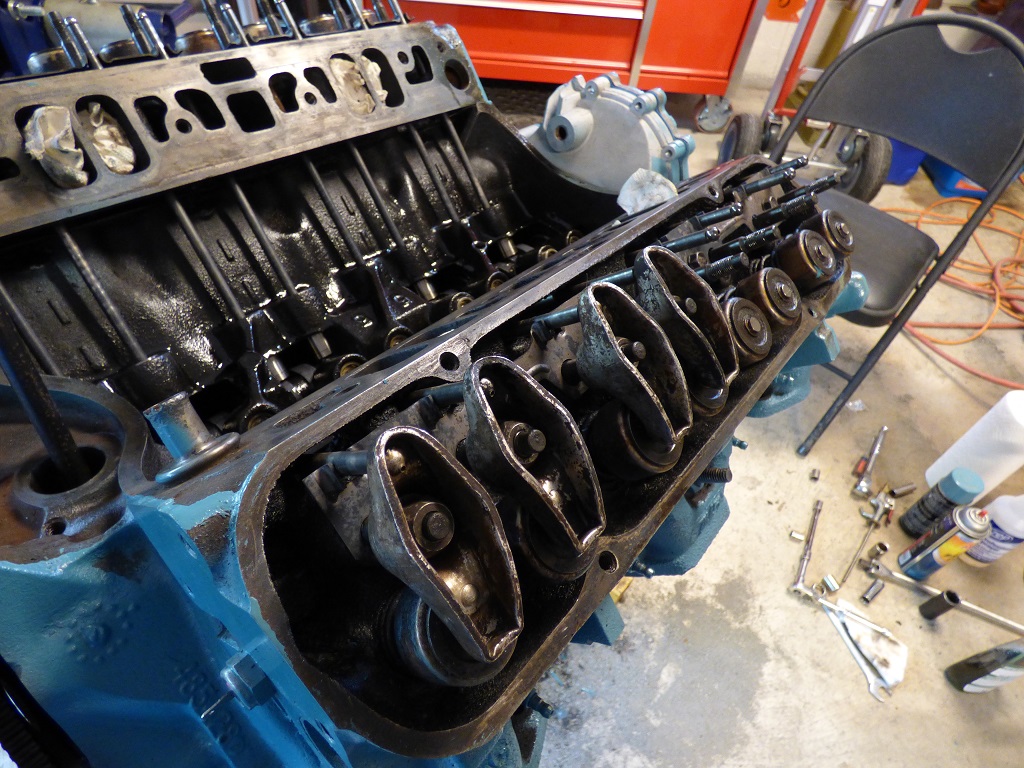
Now the favorite part: verifying that all of the rocker arms oil. Theoretically a running engine would have them oiled up and flinging oil in no time, but I don't want to chance it since it's an expensive mistake if one doesn't. The passenger side all came up effortlessly.
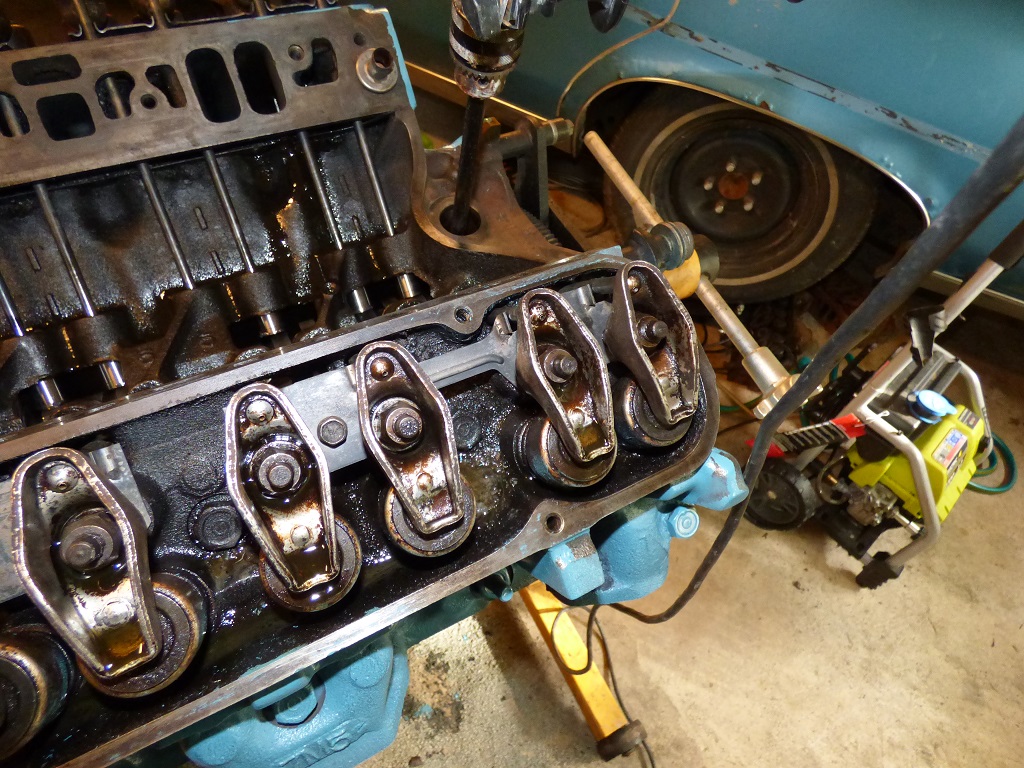
There's ALWAYS 1 or 2 that don't like to oil...
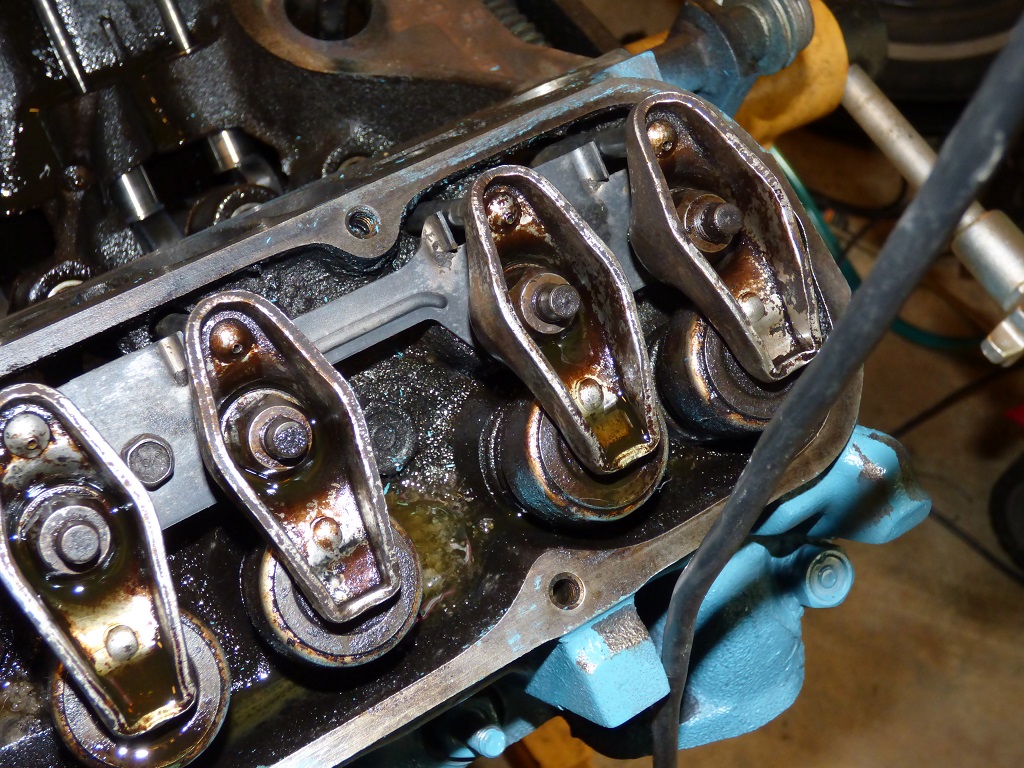
...and then they do and life is good.
I re-lubed the cam because I'm paranoid and it can't hurt. It's now ready to seal up and fire.
And set the timing to 12 degrees BTDC, which is how much initial this engine will likely appreciate. Since it's set, all I have to do is drop the distributor in and get the rotor pointing right at a terminal to get it spot on. Cam break-in is always a dicey time so I want it to fire up as soon as it can.
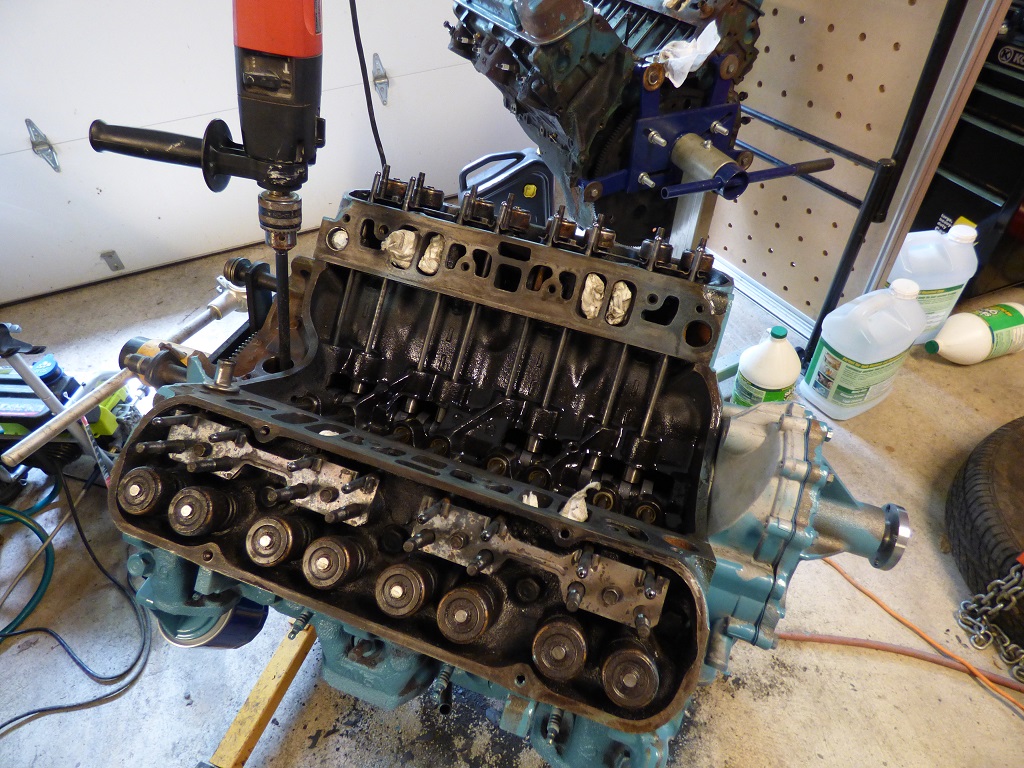
Preparing the valley pan: get the gasket attached to the pan.
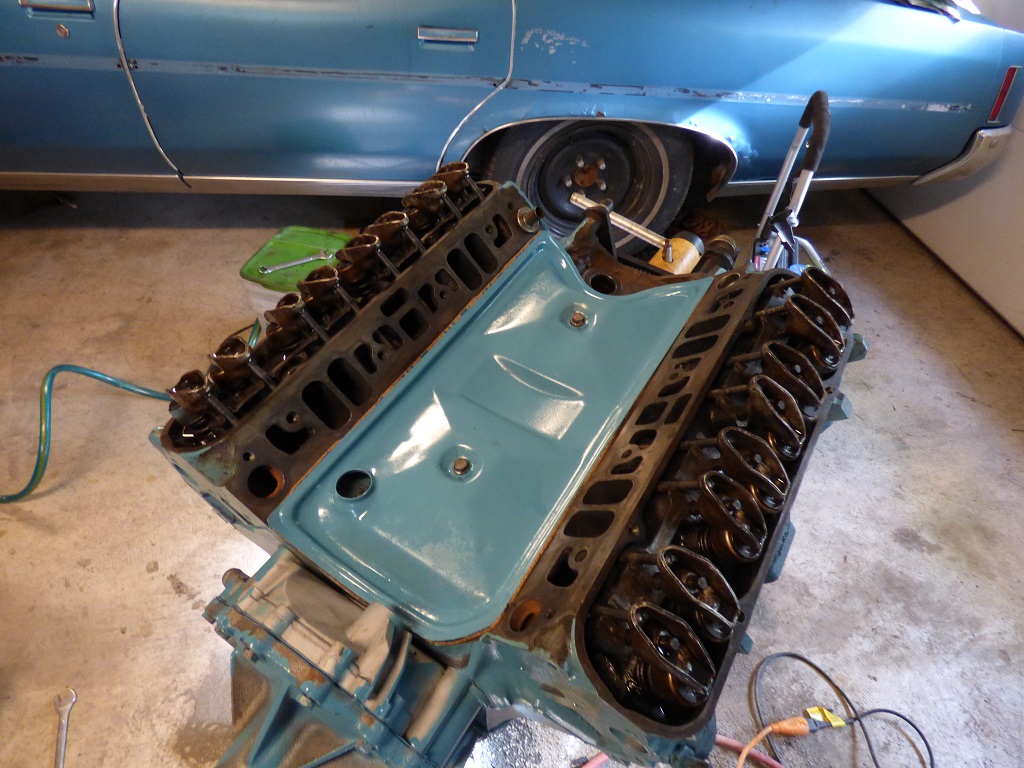
Valley pan is on and tightened. Always a scary thing to do since you can bottom out the bolts on the cam bearings and eat your cam...

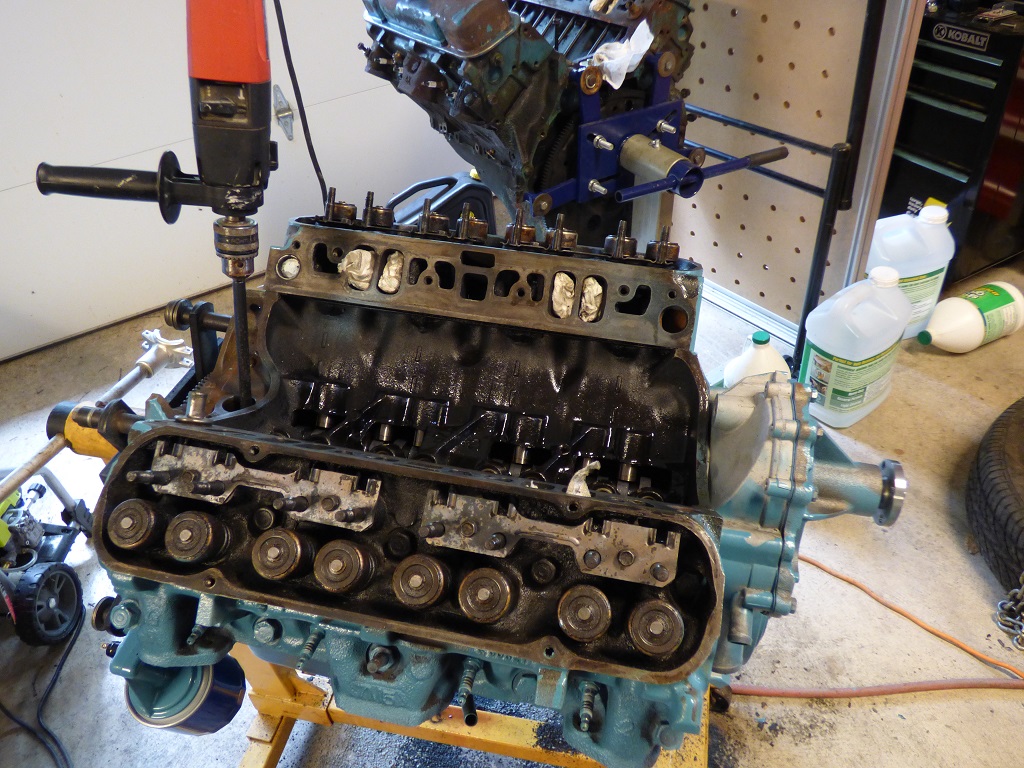
Valve covers on.
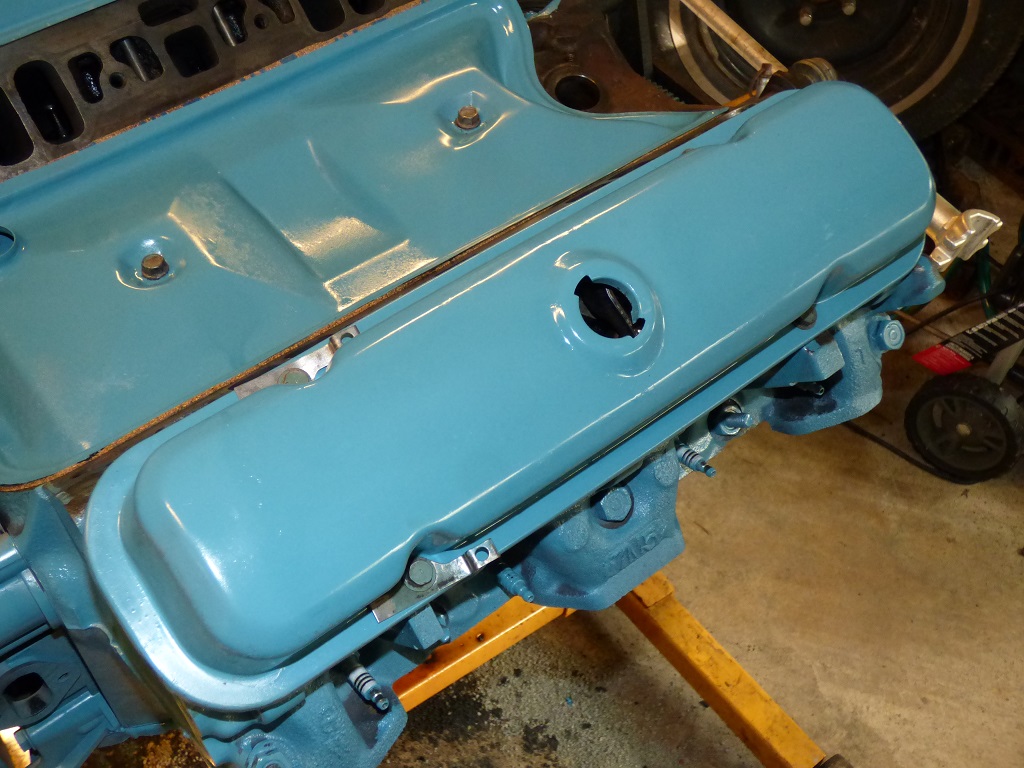
I'm a sucker for the factory loom holding brackets...
And at this point the adventure has to stop because my intake gasket set is for a '65-71 engine and won't work on this one... frustrating but such is life. The engine is *really* close to being ready, just need to install the intake and paint the few surfaces left, then it's engine swap time.
Return to 1972 Lemans Page
Last updated April 17th, 2019