Tachometer Install - 05/14/2006
I had about had enough with having a blank hole in the dash for the clock\tach spot. This annoyed me. I decided to make a decision about it when my previous "let's build a tach" efforts had failed due to an apparent poorly regulating air core and me accidentally shorting the 12V & ground on my test circuit and smoking the current limiting resistors (good thing I put them in, the IC was just fine). I noticed Peter on The A-Body Site was parting out a Grand Am he had and happened to ask if he had a tach for it. Turns out he did and it worked great. $100 later it was mine (along with parts of the harness and the horn setup). I was expecting only the tach, but imagine my surprise when I opened the box...
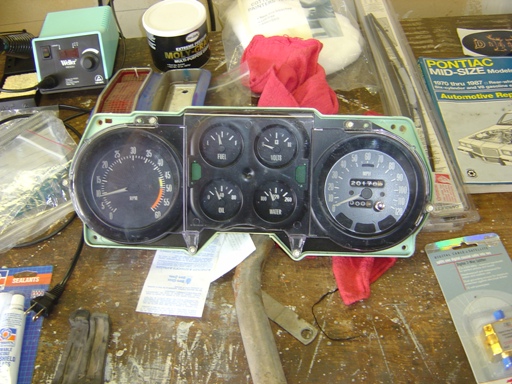
Not just the tach, but the whole cluster!
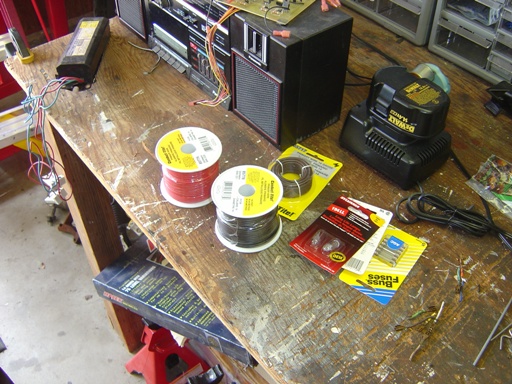
Gotta have some wire for the job. The local Kragen made itself useful with two 100' spools of red and black 14ga wire. It's slight overkill, the harness wires on the car are all 18ga, but I wanted something useful. I also got 20' of brown wire to match the wire colors GM used (so I can easily remember what it is supposed to be without running to a service manual).
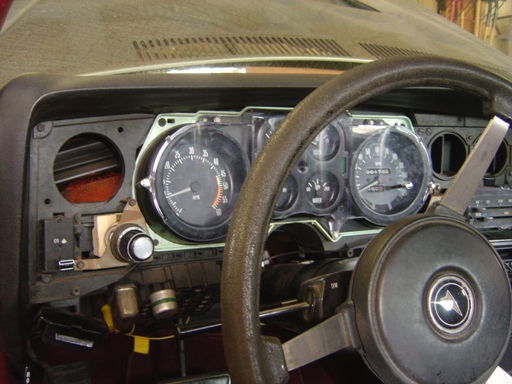
Been driving around with this for the last 2 years. The paint has been peeling on the gauges since I bought the car, not sure who did this or why. Devin sent me pictures of him picking up the car and it was done then, so obviously he didn't do it. It would have been nice had they applied the paint coat evenly for those of us Type-A personalities that get upset when things don't match nicely. I demand alot of my cars...
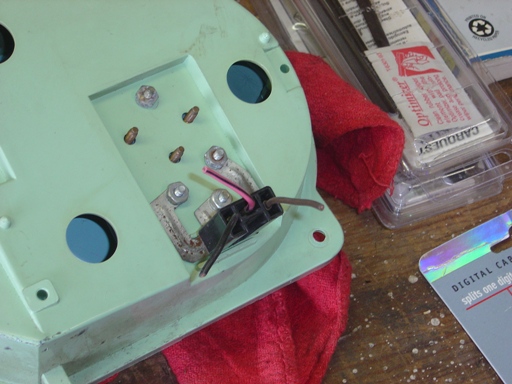
The holy grail of parts for the tach setup. NO ONE could tell me what wires were supposed to go where on this tach. Not a single person. Anywhere. It's not in the service manuals or wiring diagrams (not even the routing and plug info is detailed in the books). So here I have it, and now I know. Pink+black stripe is switch 12V, black is ground, brown is coil. Just like on a 2nd gen Trans Am, but no ground on those cars as they get the ground from the printed circuit board in the back, these cars are a separate circuit entirely (and the 2nd gens are stamped on the metal case as to what goes where). I assume a previous owner several back hooked it up wrong and that's why the one that Devin had when I bought the car didn't work.
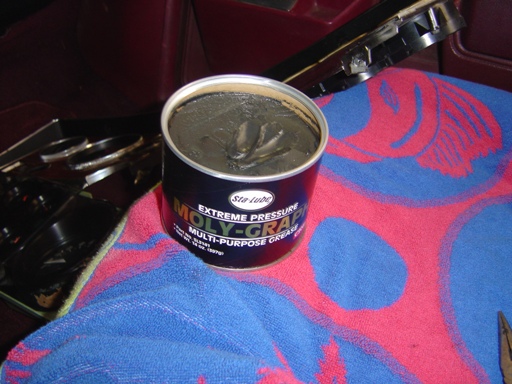
While I have the cluster out... the speedometer cable chatters. And has chattered for over a year. So I decided to fix it with some grease! General purpose high temp grease.
Greased this guy up. Pulls right out. The only thing on the cable was transmission fluid, and that doesn't seem to be a good lubricant for the cable. I greased it up with a circular motion upon re-installation and it went pretty nicely. Speedometer doesn't chatter or vibrate very much anymore. Hopefully it will last. I was surprised the cable didn't come lubed up...
New connections are soldered on. Crimps are nice, but in an environment where any water is present they will corrode up and eventually stop working. Solder is much better.
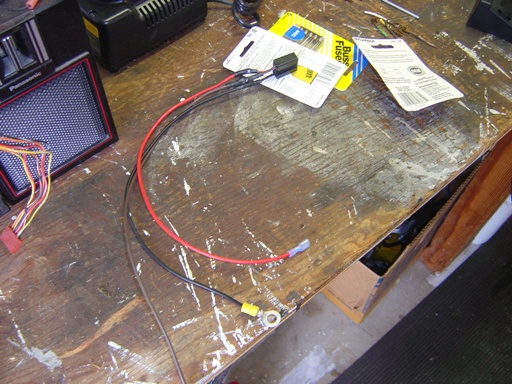
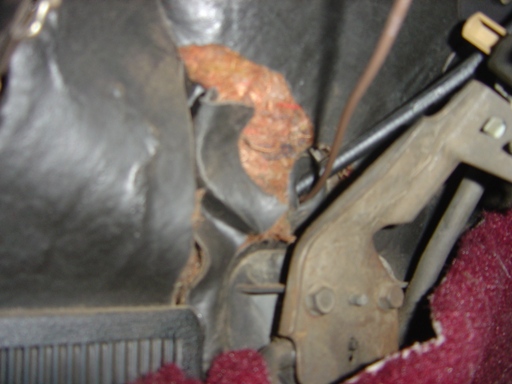
Tachometer wire from a '78 Camaro I found in a salvage yard. Bill and I pulled this from a car over 15 months ago and it sat in my garage waiting to finally be installed one day. Fusible link and all, looks very factory, but not 100% correct for this car (for unitized maybe).
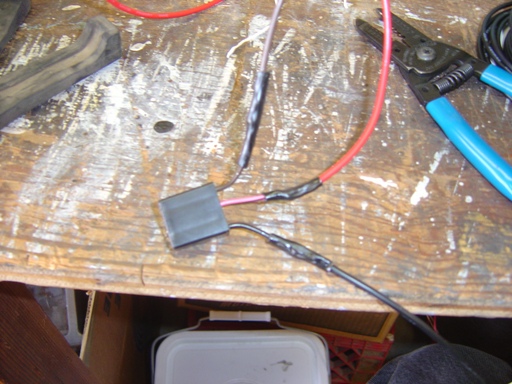
Shrink tubed wires. Electrical tape makes a mess and eventually melts in the heat, which is why GM didn't use it on their cars, they used a special electrical tape that only sticks to the tape itself and dries up rather than melts in heat.
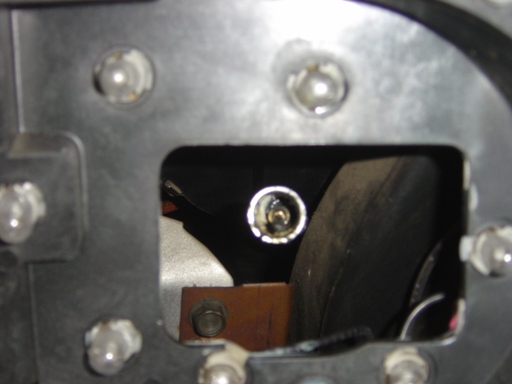
Plug test fit. Works good, wires will be cut to fit.
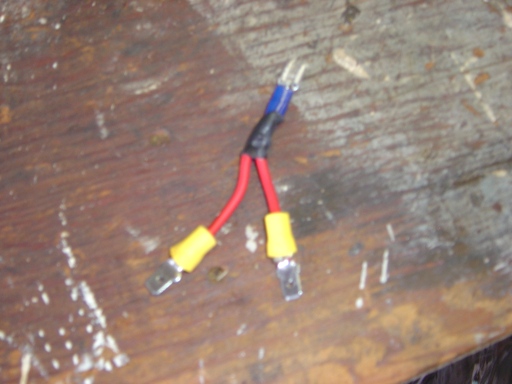
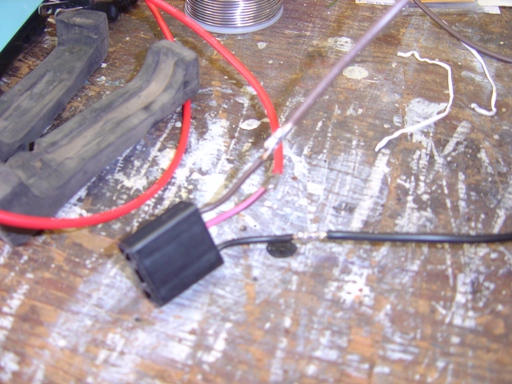
Y-splitter is made to tap onto existing switched 12V circuit. The factory used things similar to this over various years, my Lemans has one. All connections and crimps are soldered after crimping to ensure years of troublefree operation.
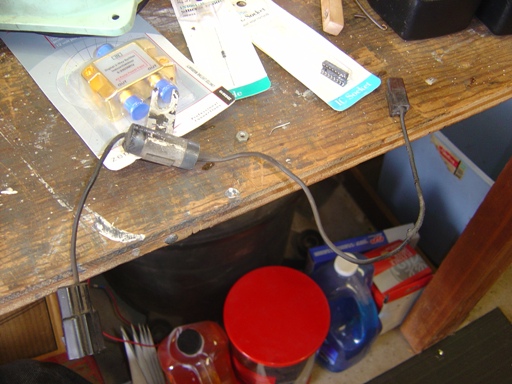
Finished harness. The ground will be connected to the steering column as it's a VERY reliable path in my experience. I took one of the far bolts out and used the yellow eyelet connector to mount it.
I have no idea where the factory routed the coil wire out from. The factory diagrams don't go into too much details and I don't feel like taking the IP harness apart to make it 100% correct. So I used the existing rubber boot for the speedometer cable (since I knew where it went). Very little (if any) mechanical movement is present in this location so it's quite ideal to me.
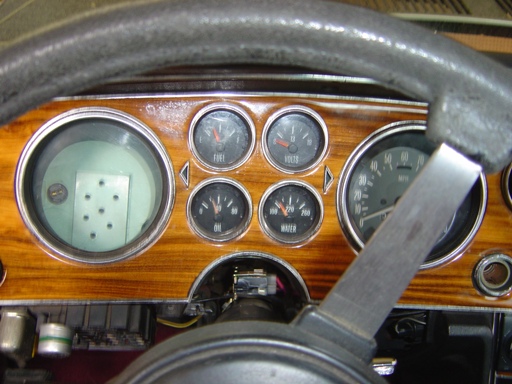
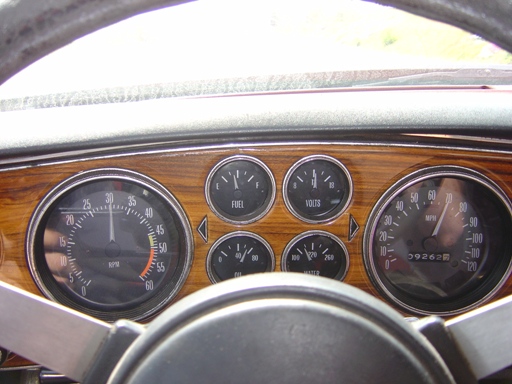
Cluster is reinstalled.
Fuse and tach lead are added and installed. Kind of hard to tell it doesn't look original.
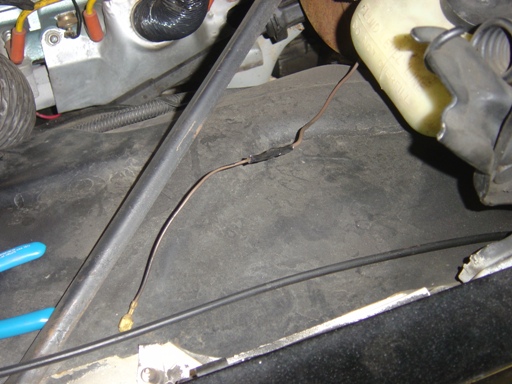
Coil wire to the interface is soldered on and cleaned up. This way I can take the harness back out through the firewall hole without pulling that giant fuse or damaging the plastic tach plug.
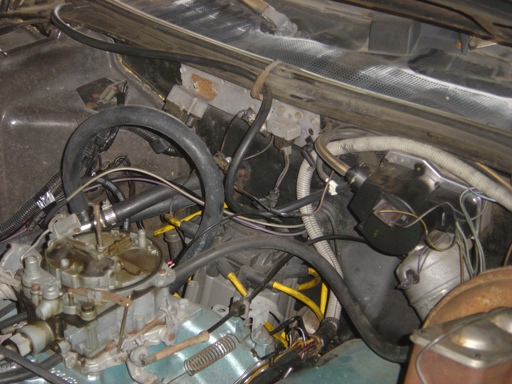
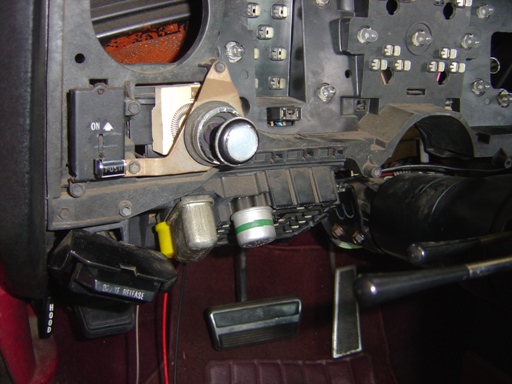
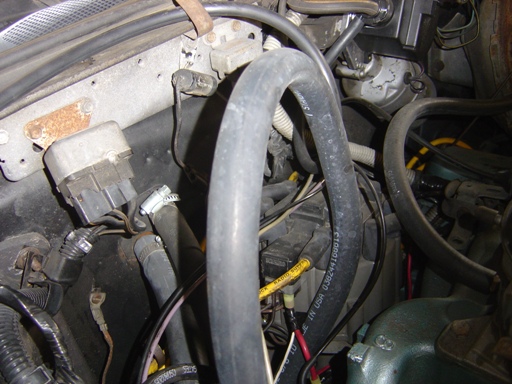
Wires are routed. Took the coil wire and ran it up to the plastic conduit to keep it away from the spark plugs and any EMI issues that might result in errors. I'm not a "100% factory" kind of guy, but I hate it when it's obvious some baboon has been working on the car and cutting and splicing wires everywhere and just in general making people who have to clean up after said baboon upset at the mess that could have been avoided.
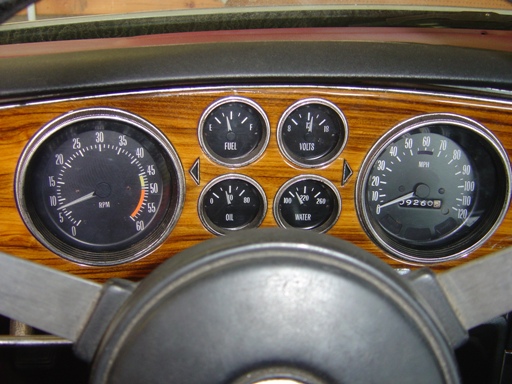
Look at that, all installed. The speedometer provided didn't have a working odometer (it would just click, and that's annoying every 0.1 miles). So now I have a hole where the trip would be. I've never seen a trip-less tachometer car, and I don't know if they actually made one, so I would always have a hole in either the tach area (for the clock that this car no longer has) or a hole by the speedometer (for the mileage trip that this car no longer has). Such is life. If anyone has one, that would be neat, but I'm not going to lose sleep over it.
Not a bad job if I do say so myself. So many long months of planning this job out only to be dashed so many times finally resulting in a complete working tach and gauge set. A working trip would have been nice, but I now have 2 speedometer clusters that I can send off for repair and recalibration, so I'm not too upset or worried about it. Now I just need to do a rally gauge conversion for the '67 wagon...
And of course nothing is satisfied until we have a test run to test whether it works above idling in the garage!
Return to Grand Am Page
Last updated May 14th, 2006