The Upgrade - Part 1 - 02/04/2007
I have purchased several options for my car. These options were available new, but were not bought by the original owner. I had decided to put power locks and a power trunk release in the car. I also bought part of a rear defrost system, but don't have the relays needed to install that one, so it isn't going to be done. Also my new dual core speaker needs to be installed as well. I also get to take this opportunity to fix my broken voltmeter gauge and burned out seat belt warning light. And fix the busted passenger side defroster duct. And add all of the bolts that a previous owner never bothered to put back in and are contributing to this thing being a squeak box. While we're here, I'm going to seal up that stupid leaky sunroof. It never worked right and it just lets water in. Silicone to the rescue. Lots of work to do. Good thing Lisa is out of town for two weeks, it will give me a chance to get this done and occupy the garage for the entire time.

Gotta work in comfort.
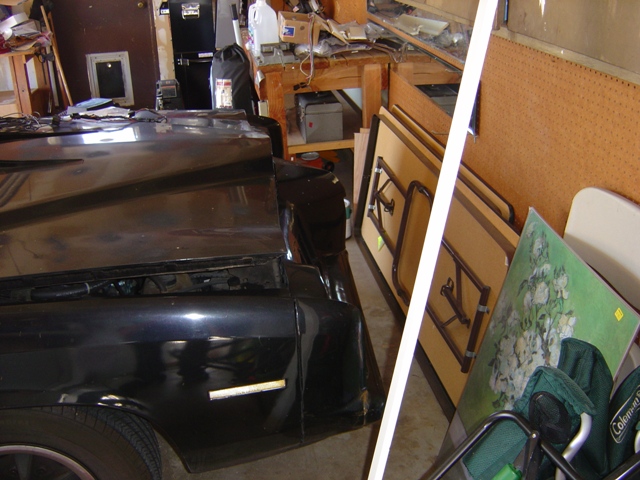
Tight fit.
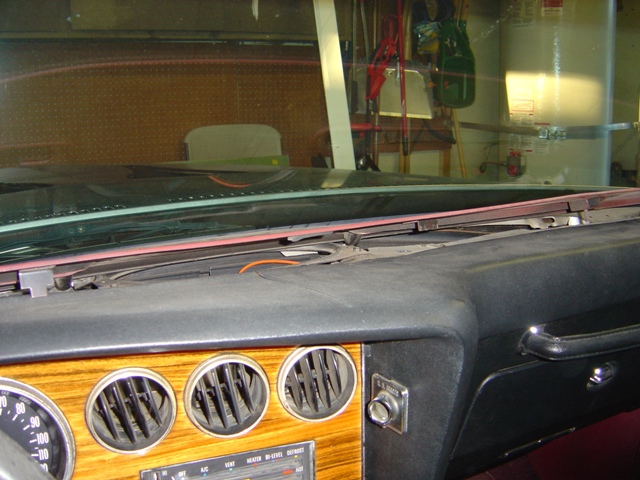
This upper dash panel has rattled ever since I bought the car. Because NONE of the bolts were put in. And one of the tangs is broken off (the one nearest to the glove box, the ONLY one on that side naturally).

Rather than tear up the A-pillar cover, I removed it. The upper dash panel is a tight fit.
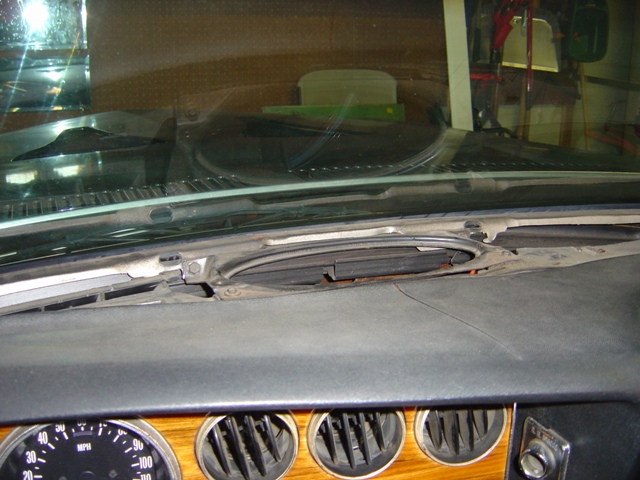
The front speaker hole. Unfortunately it is going to require some care to get the new speaker in because it is slightly deeper than the original and the AC duct sort of gets in the way... I had this problem on the wagon and made out all right though.
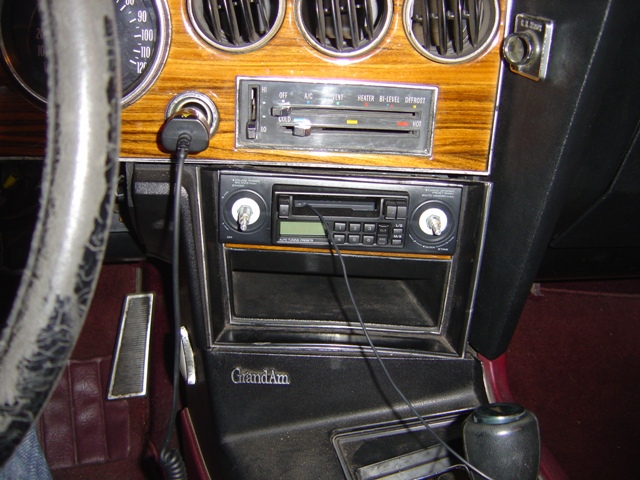
Dismantle the radio.

AC ductwork and glovebox are completely gutted.
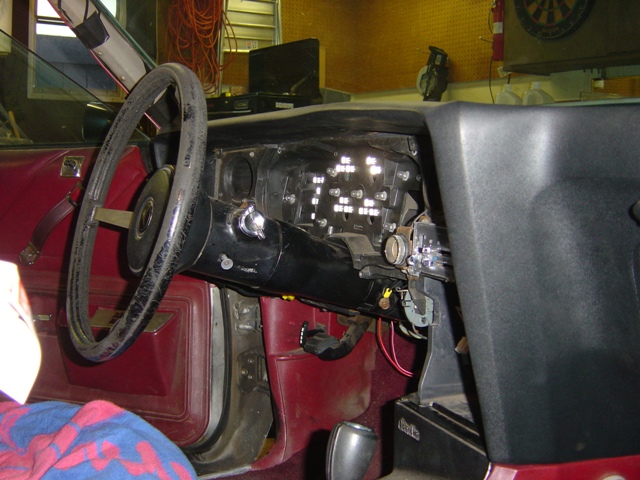
Instrument panel is gutted too.
Dash is separated from the firewall. Due to not wanting to deal with the wiring, I haven't removed it completely, and don't plan to if I can avoid it. Notice the defroster duct is not hooked up because the metal tabs were unbent to give access at one time and no one bothered to reinstall them.
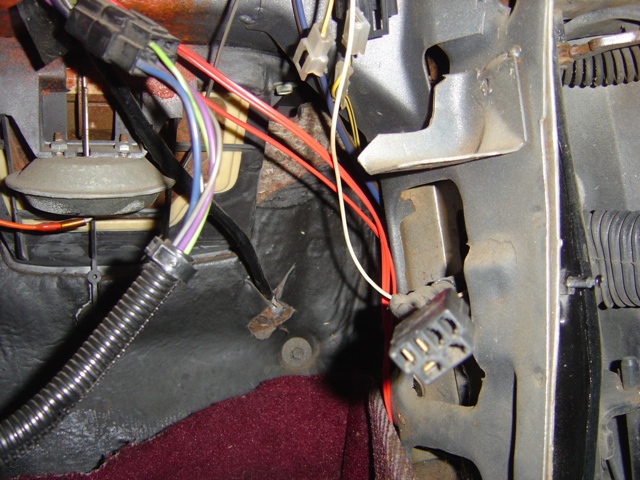
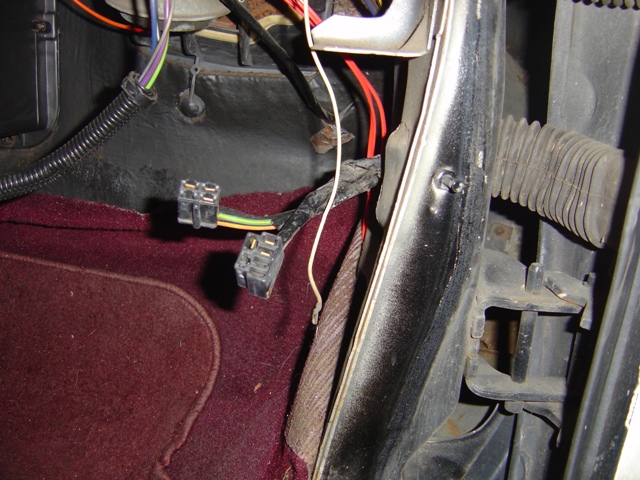
Cross body conduit harness comes out here. No power lock wiring, the plug is for the power windows. Kick panel MUST come out for this. Good thing it only is 2 bolts (one in center, one outside) and is held in place by the A-pillar cover and the sill plate. Unlike SOME cars we know that use IMPOSSIBLE to get out screws! Can you hear me F-body? I'm talking about you!
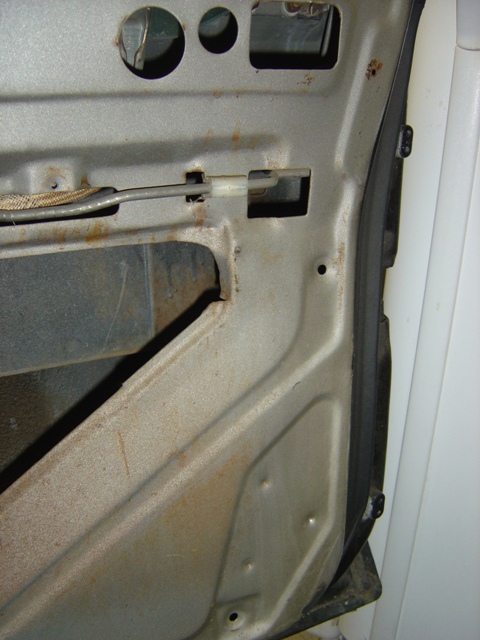
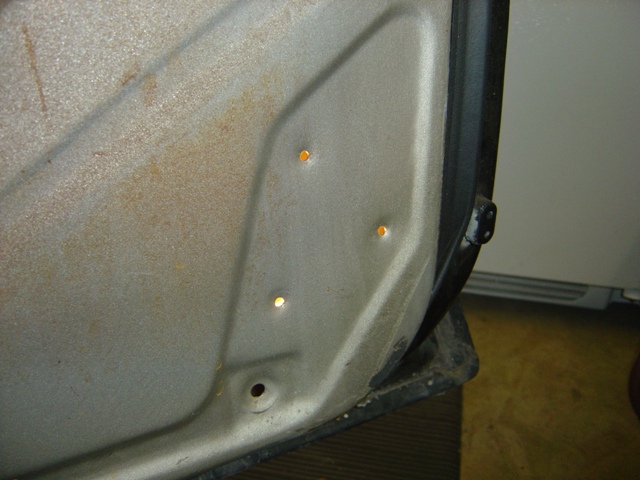
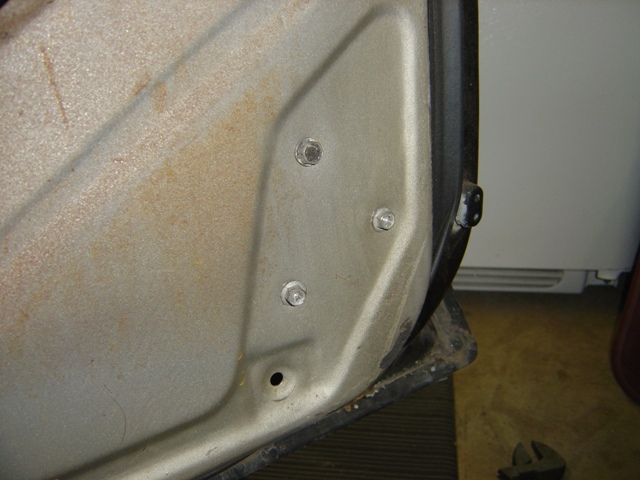
Hey, dimples mark where the actuator should go! How nice of them.
New harness is installed with power window and lock wiring. I'm going to fix the door jam switch while I'm here (all that paint covering it means it doesn't work well now). On a side note, plastic one-way tabs are used to hold the grommets in place. '73 (this car) and '74 (donor car) use DIFFERENT grommets (figure that one out). The holes don't come close to each other. Grommet still fits just fine though. In hind sight I probably should have swapped out one grommet for the other, but it appears that the wires were fed through the grommet, terminated with push tabs, and then inserted into the plugs, meaning you can't fit the plugs through the grommet. Not worth the effort, it doesn't rain enough here to worry about it.

Power window motor needs to be removed just to gain access (no leverage trying to remove the plug when installed).
Holes drilled. A 5/32" bit was used to start. The size moved up a few times to get a good fit.
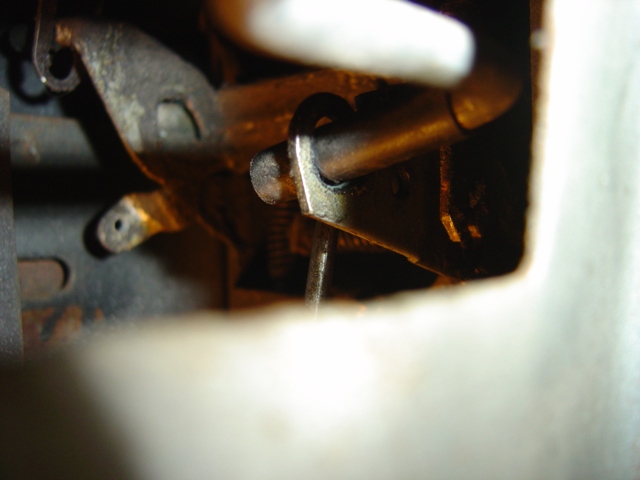
Rod is installed for the actuator, it hangs down in the picture. Funny story here. See that hole in the background? I assumed that was where the rod went. It is about 1/8" too small of a hole for the rod. I tried to drill it, but I couldn't get my drill in there. I was starting to get annoyed, this went on for 20 minutes hunting for a hand drill. Then I did a fit check with the actuator and noticed that there was no way this thing could be where it went based on the angle the rod would have to approach the actuator and it would likely bind. Then I searched for another likely place. Here it was. There are two holes though (let's here it for interchangeable parts). One is punched (top), the other requires a punch to open it (bottom). The top holes is the one you use to get total actuator movement in either direction. So now you know!
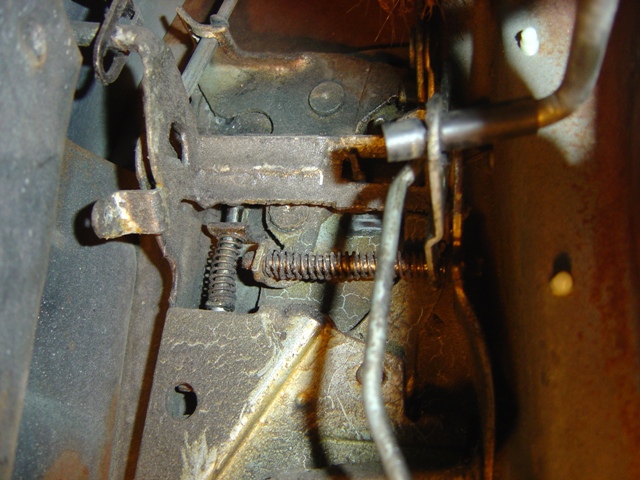
The entire rod and door lock assembly. Lots of unused parts here. Everything moves nice and easy.
Actuator bolted down. Funny how these cars used screws for the power window regulators and lock actuators while the F-body used RIVETS for everything. Only 2 bolts came with the actuator (oops). I had another that fit perfectly, but it's a fricking metric size 11. So now I get to curse myself the next time I have to change this out. And yes, I did test this actuator out before putting it in. It shot across the garage floor both times.
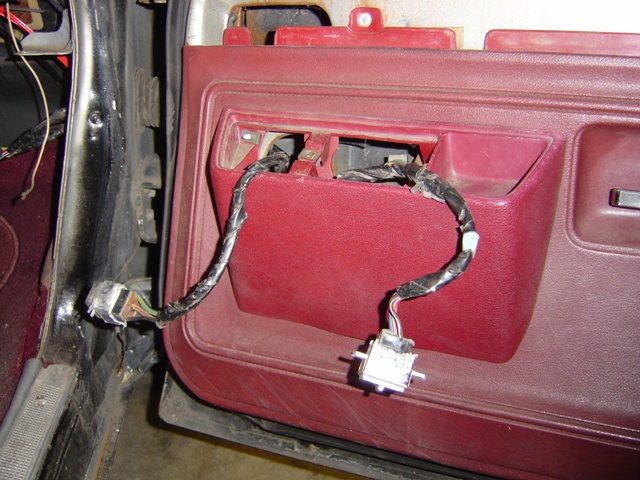
Feed the plugs out. The door lock is closest to the rest of the car.
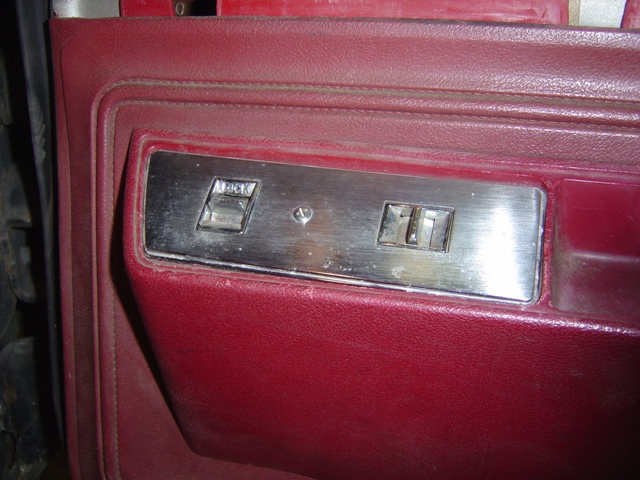
Switches and plate all installed and ready to go.
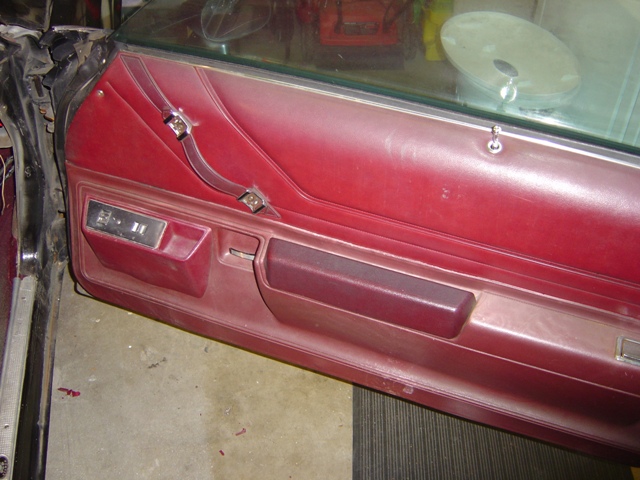
Door put back together!
While this has been a chore, this is hardly the hell that is the F-body power windows and door lock situation. I still have to deal with the driver's door and the cross body conduit (not fun) plus all the other little projects that need to be tackled while the dash it out. Good progress for the first day. The power locks are going to be the biggest bear of the entire project, just because of that cross body conduit harness needing to be dealt with.
Return to Grand Am Page
Last updated February 4th, 2007