AC Rebuild - Part 2 - 09/09/2015
Before I can put the AC back on the car and get it cold, I have to do some serious work. The work involves replacing all of the hoses and fittings and o-rings, and to do that we have to have everything cleaned up. We also have to rebuild the VIR since it likely has never been apart.
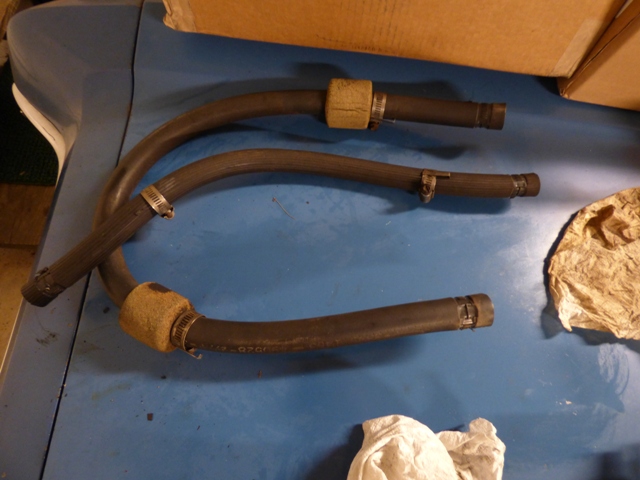
Cut off the old hoses and put them off to the side.
The fittings are covered in grease and grime from the engine compartment after 40+ years.

Lots of Simple Green and elbow grease gets everything cleaned up and ready for installation.
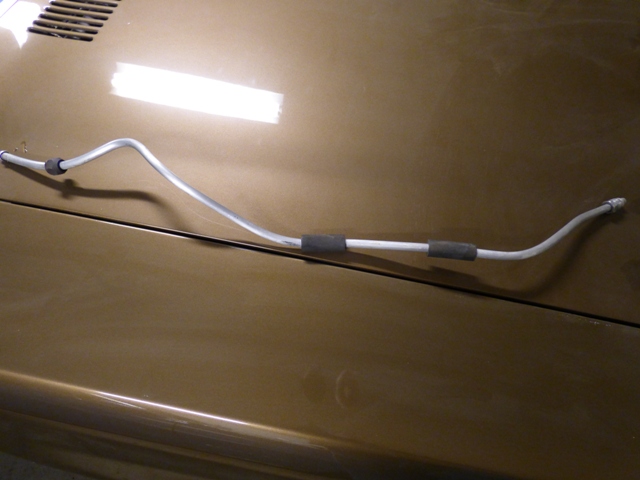
Liquid line was blown out with brake cleaner and then scrubbed down to remove the grime and gunk.
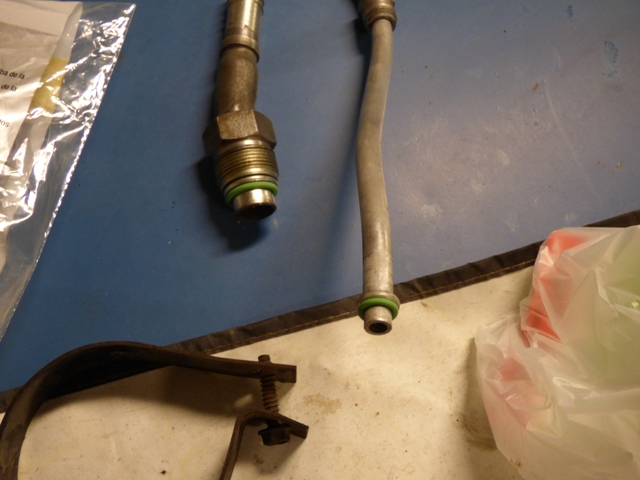
Verifying that I have all of the o-rings needed, would hate to forget a few and need to run out in the middle of the job!
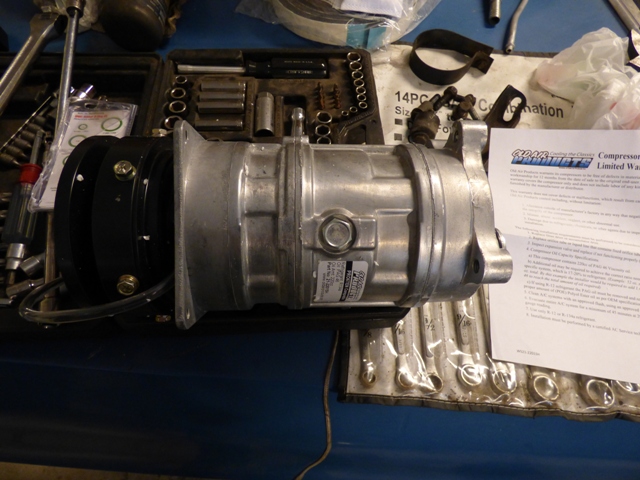
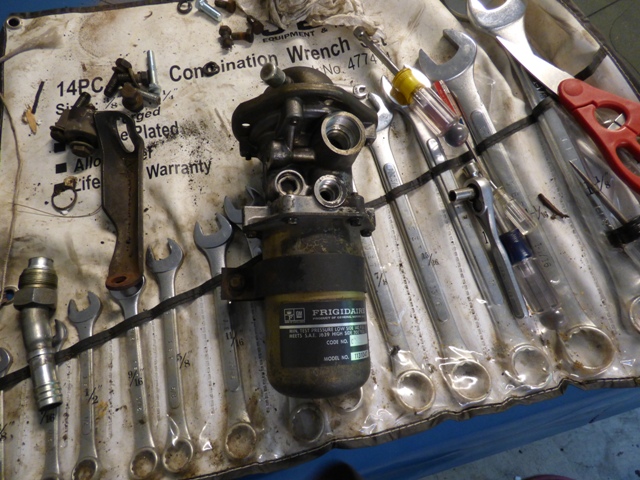
New compressor is removed from the box. This is a Pro6ten which is a Sanden style that is designed to be a drop-in replacement for the old GM A6.
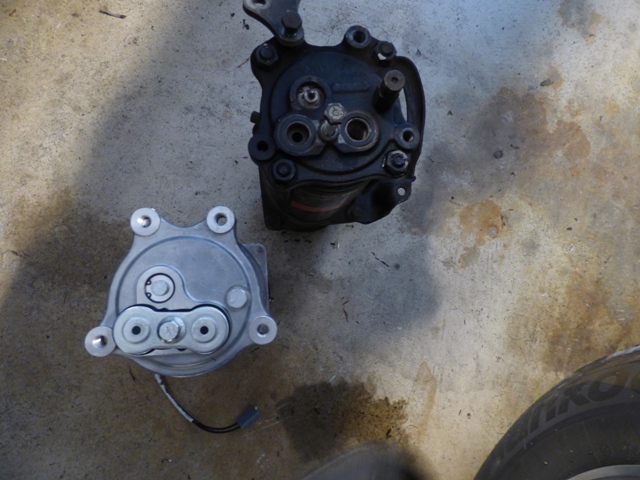
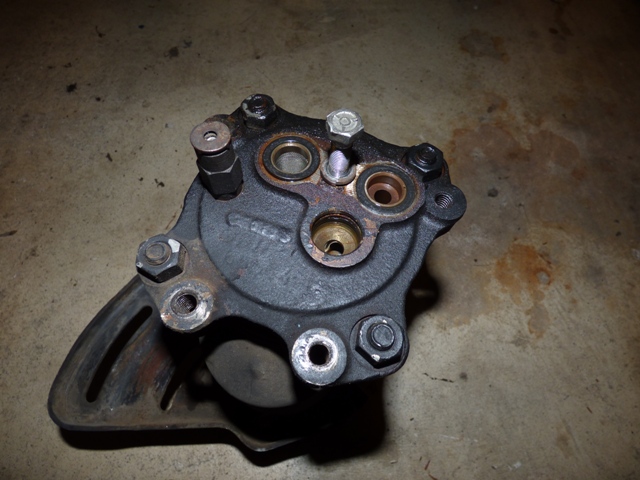
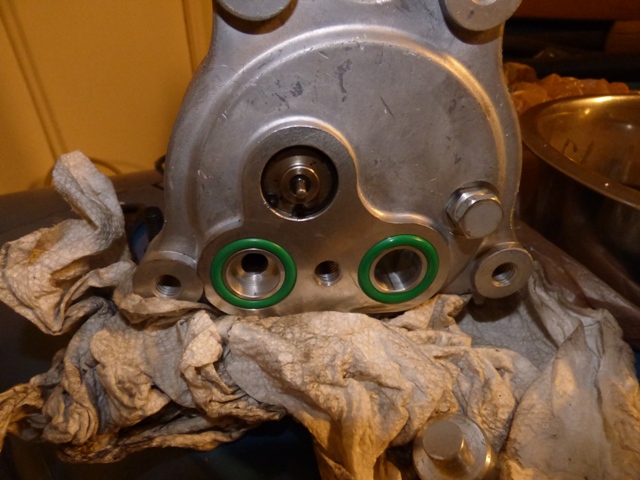
Comparing the backs of each, they are identical.
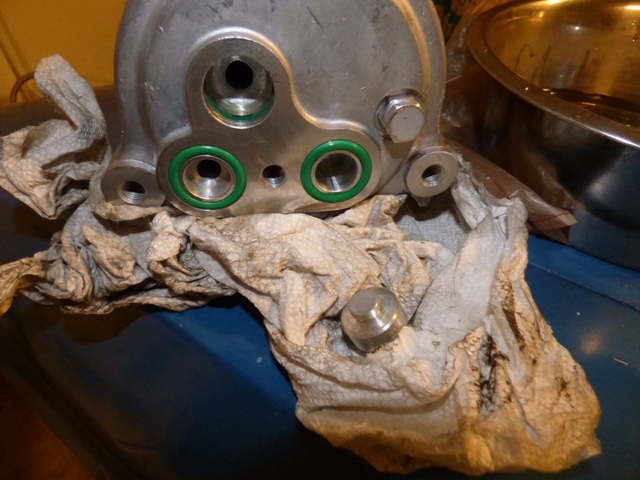
Since I'm using R12 and the compressor came set up for R134a, I have to drain the PAG 150 oil out and replace it with Ester oil. Out came about 6oz after overnight letting it drain. The instructions say it came with 200ml (~7oz). I also pulled out the plug for the super heat switch as I need to transfer it over from the A6 compressor.
Super heat switch is held in place by a c-clip and comes out with some love.
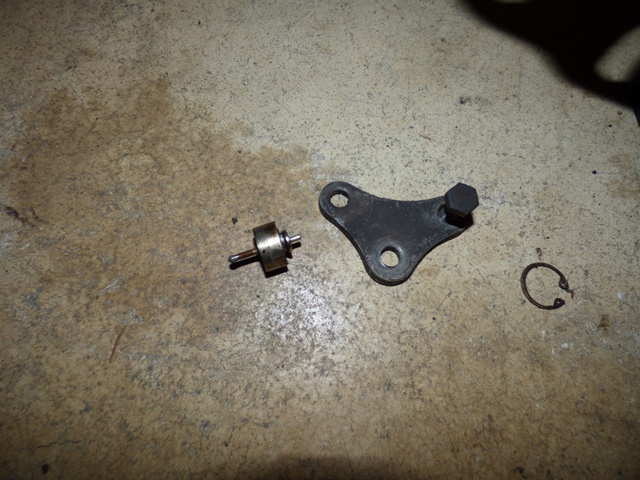
Small little thing. It is cleaned up considerably before going back in the new compressor.
And it's in!
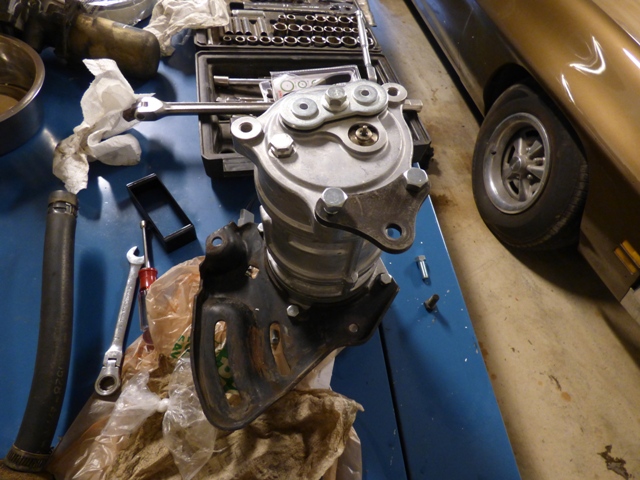
All of the brackets are transferred over and it is ready to mount on the car. The instructions say to add 17-20% of the total refrigerant weight in oz of oil to lube the compressor - so since it's a 4.25lb system - 68oz x 0.17 = ~12oz, so I added 12oz of Ester oil to the compressor.
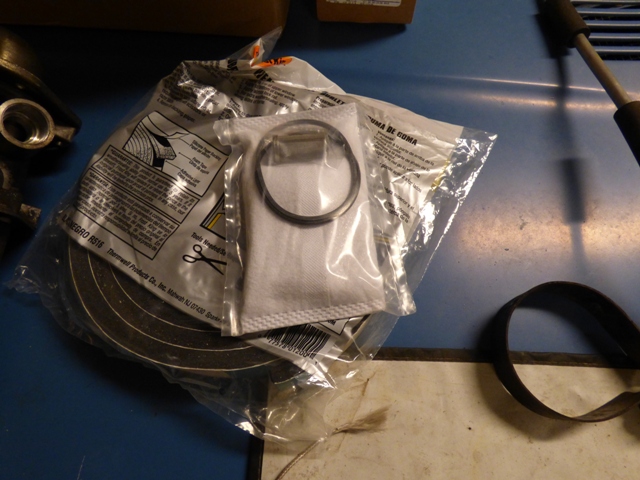
The VIR kit comes with o-rings, fittings, and a new dessicant bag.
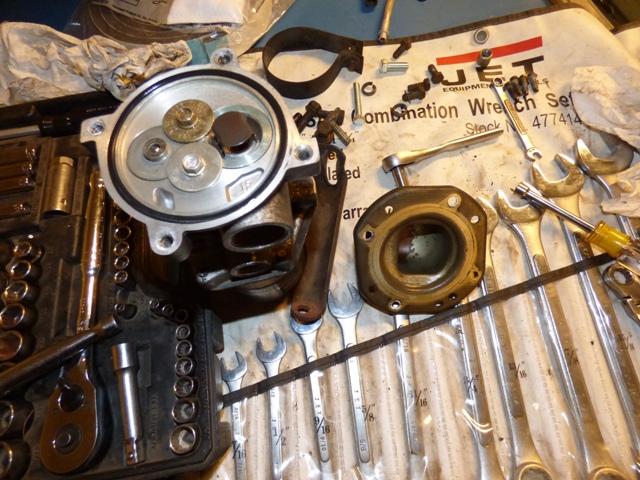
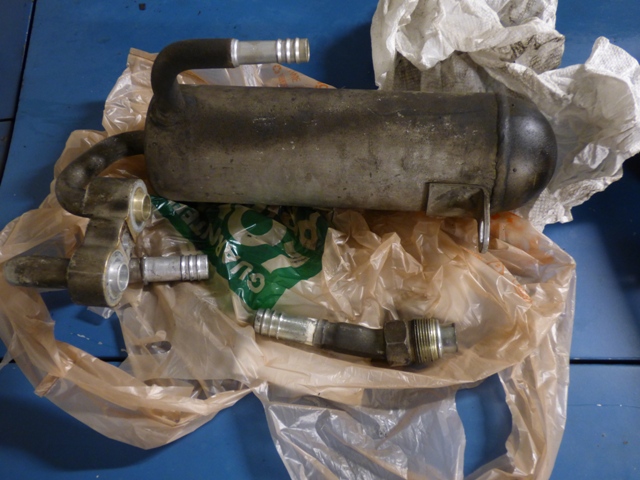
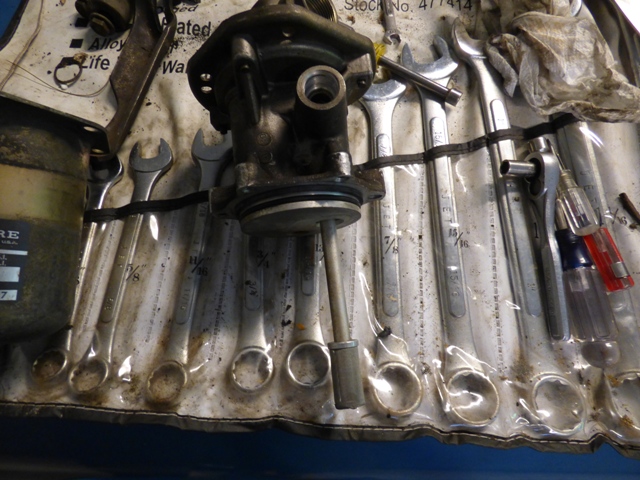
VIR is disassembled up top.
Bottom removed. Lots of dirt and grime here.
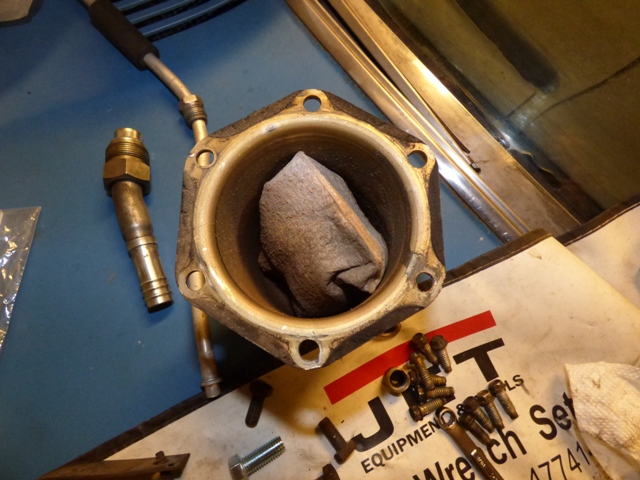
Old desiccant bag. There was 1" of dirt in the bottom of the bowl.
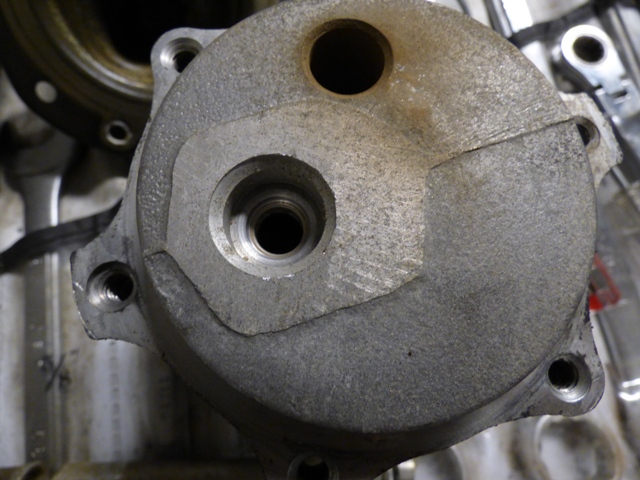
Cleaning up the VIR asssembly.
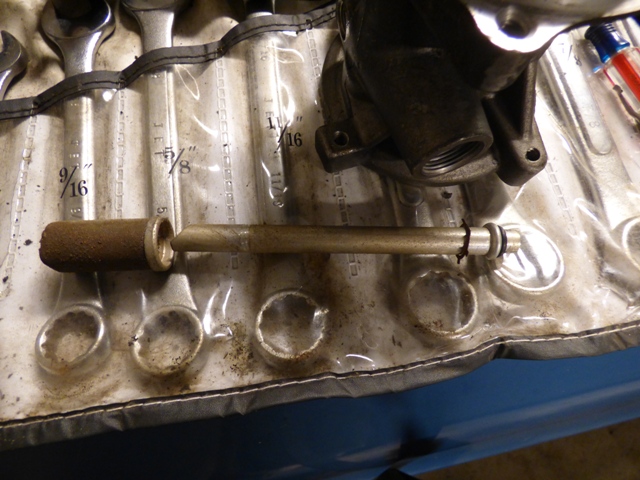
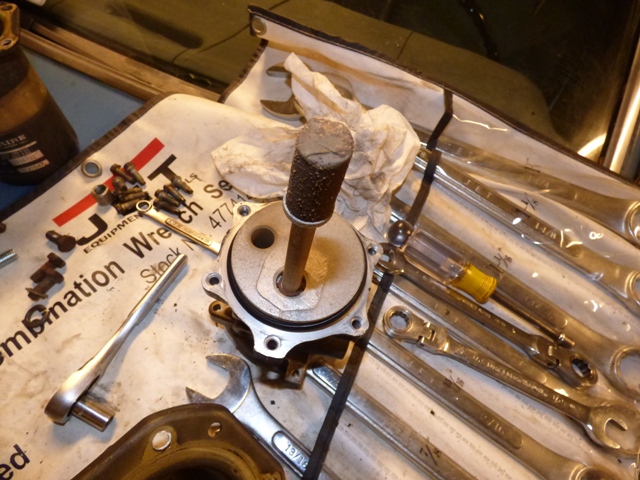
Pulling the old tube apart to put the new parts in.
New tube and parts in.
VIR is back together and ready to install. Put it in a giant ziplock bag to seal up the desiccant bag from absorbing all of the moisture in the air.
Progress! Now it's about time to finish the final touches and get the AC ready to go on the car.
Return to 1973 Grand Safari
Last updated September 12th, 2015