Courtesy Lights & Power Door Locks - 10/11/2015
I like options. Especially ones that increase the benefit of driving the car and give it a more modern feel. Courtesy lamps for the doors and power door locks are 2 such options that I've had sitting in my stash for quite some time and decided now was the time to add them.
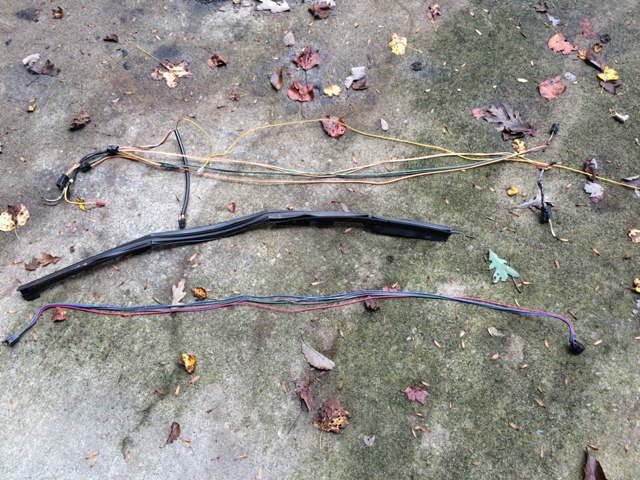
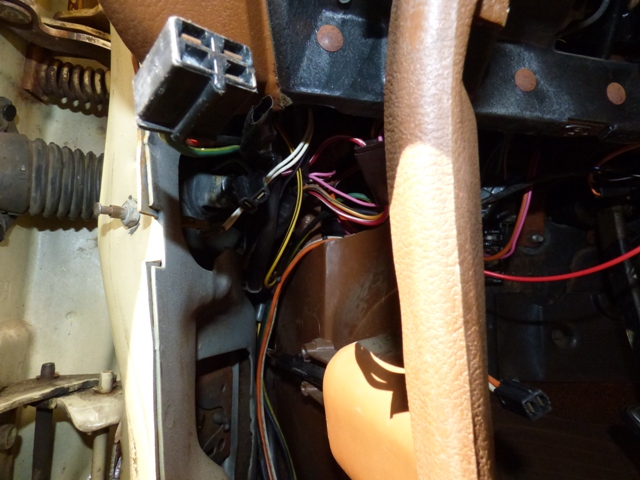
The biggest hurdle to overcome is all of the wiring needed for these options. This is the cross body conduit, and it goes in before they start to build the rest of the car (seriously). Power windows, power locks, seat belt, and door jamb switches\lights all run from this conduit. To truly install it you have to remove the dash, AC box, and defrost ducts from the car. That's a lot of work that I don't want to do. I'm just going to remove the power lock and courtesy lamps from the conduit and snake eveything along the firewall.
No real exciting pictures, the existing seat belt light and door jamb switch wire comes out, in goes the new wires. I didn't take a ton of photos of how everything goes together because I didn't tear the dash apart (nor want to) and I have plenty of pictures on how these wires all go together on the teardown page for the '72 I got everything out of. Where easy, I made it match. Elsewhere I approximated. Wires for instance did not go into the channel under the seat but along the sides to avoid removing all the carpet, insulation, and front seat.
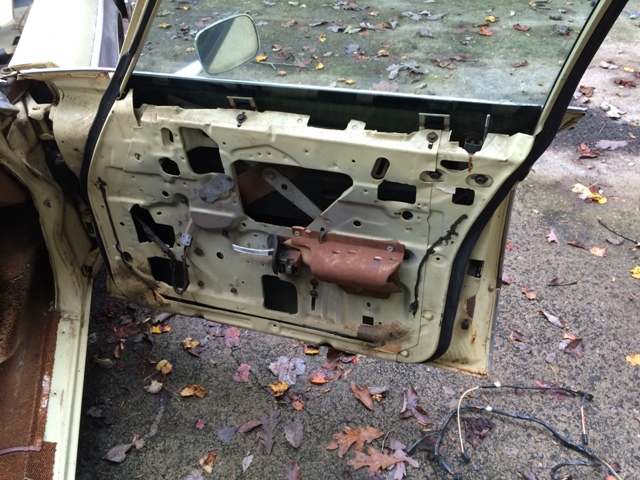
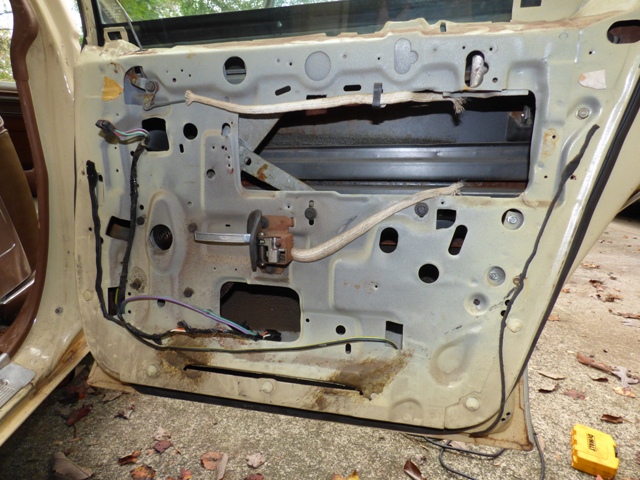
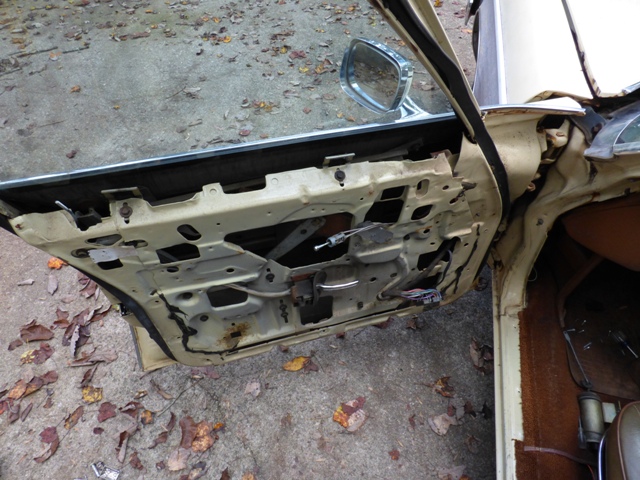
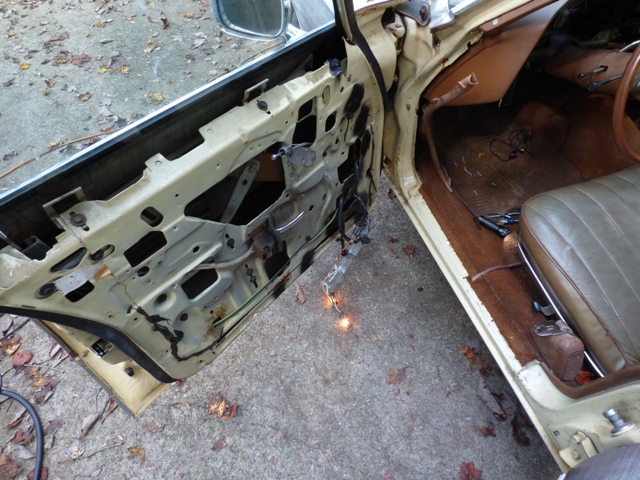
Starting with the passenger front door, remove the door panel to find that the splash guard is missing as are several screws that hold everything together. Nice.
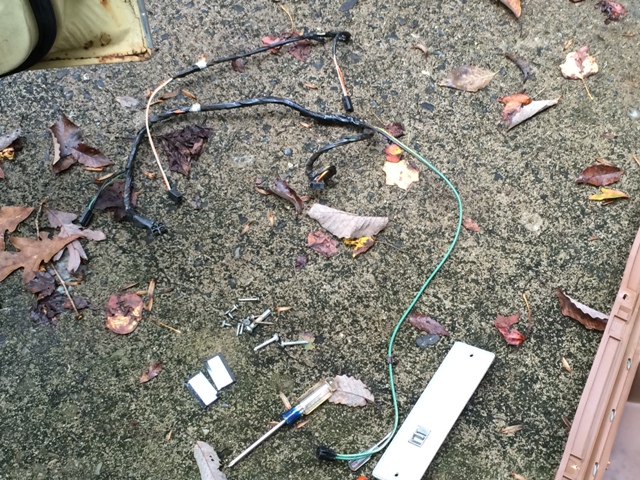
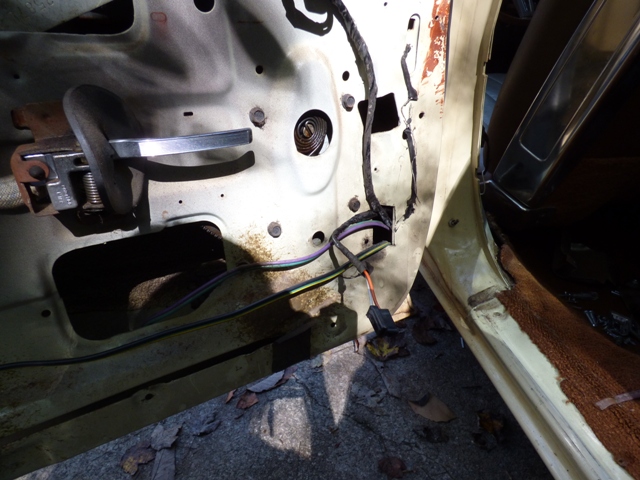
Passenger front door wires are ready to go.
Door lock solenoid mounting holes need to be drilled. 1/4" drill bit in the factory provided dimples makes short work of this.

And we're mounted! For the record, once again L is driver's side, R is passenger side, no matter HOW MUCH you try and convince yourself otherwise and waste time...
The door lock solenoid has an arm that goes straight up and attaches to the rod that moves up and down in the center. It's pretty straightforward and only goes together one way.
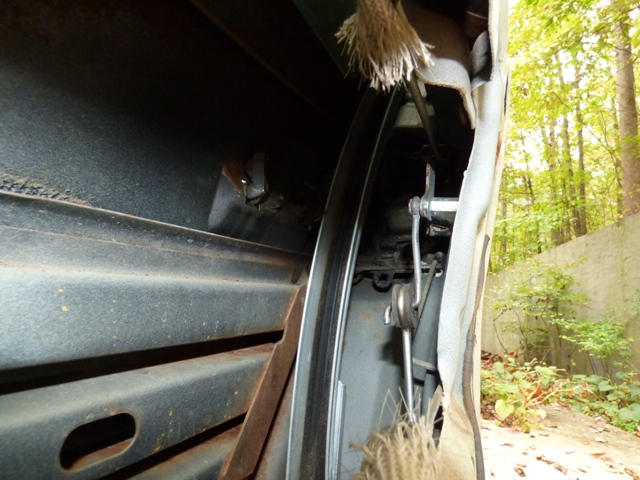
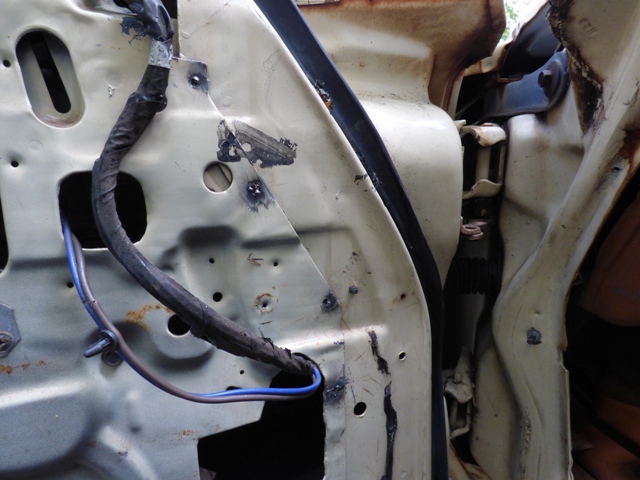
Passenger front door is wired and ready to go. Snaking the wires through the rubber boot wasn't that difficult on this door.
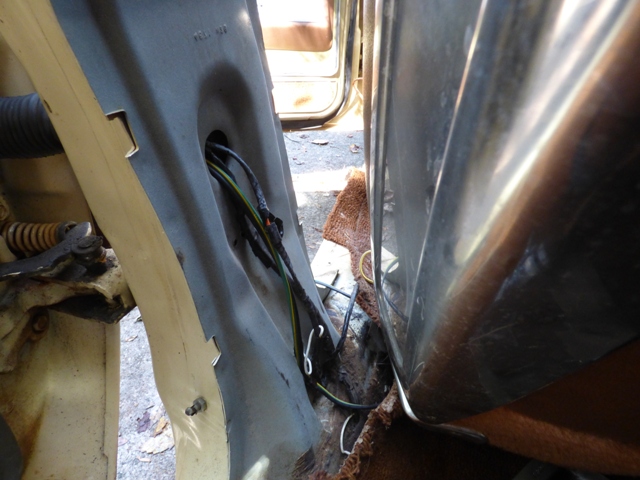
Pull off the plastic trim and snake the wires through the access hole.
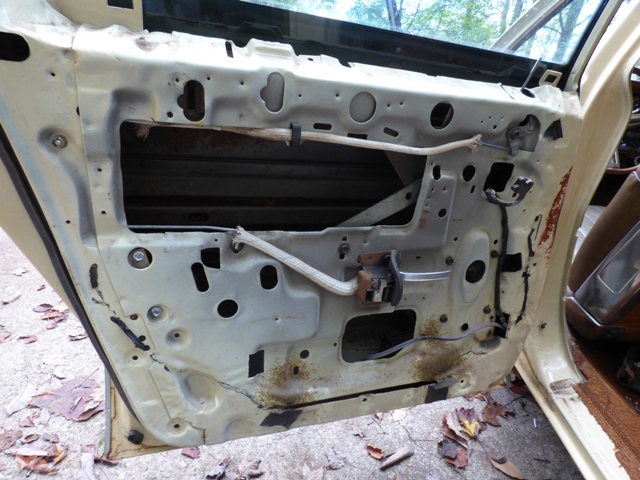
All wired up and door lock solenoid installed using the factory pre-drilled holes on the right side.
Passenger rear lock mechanism is installed.
Pull off the plastic trim on the driver's side and get access to the jamb here.
Driver's rear solenoid is installed, once again using factory pre-drilled holes at the rear of the door.
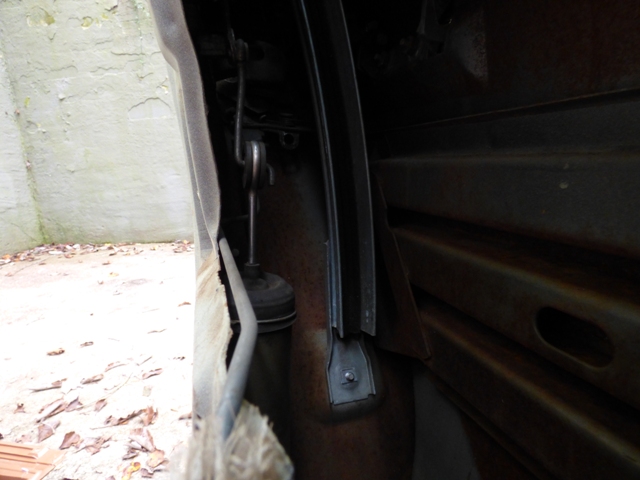
Driver's side rear door lock mechanism is installed.
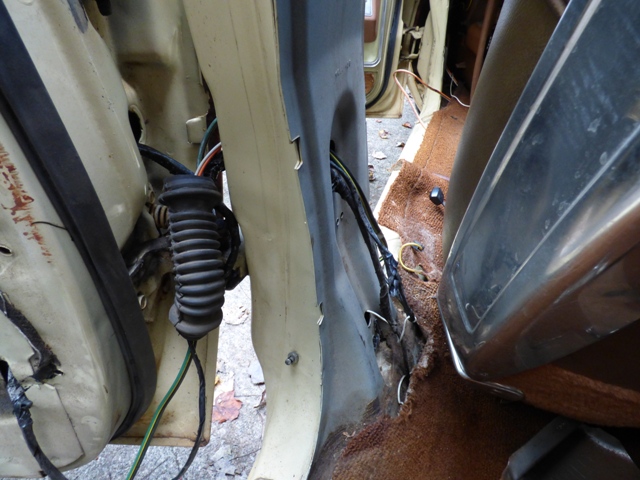
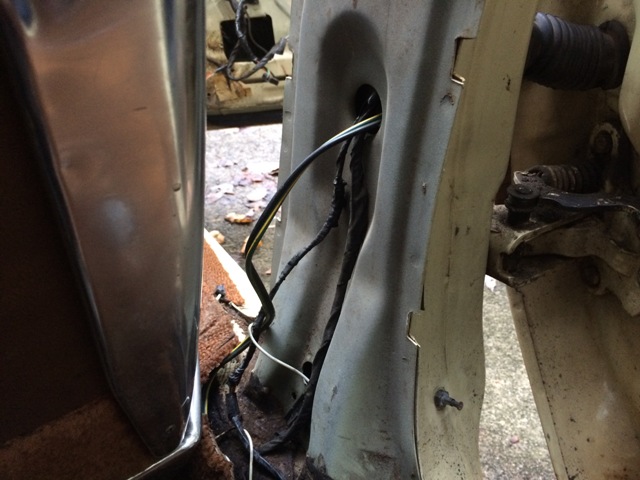
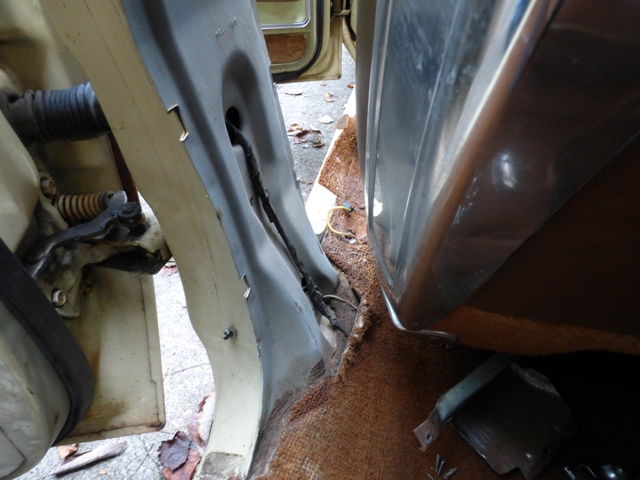
Snaking the wires through the jamb and the boot was much more involved and tiring on this side for some reason.
But the end result is the door is wired up and ready to go.
Rear door jamb is done, wires are snapped into plastic retainers to keep them from moving.
Time to do the driver's side front!
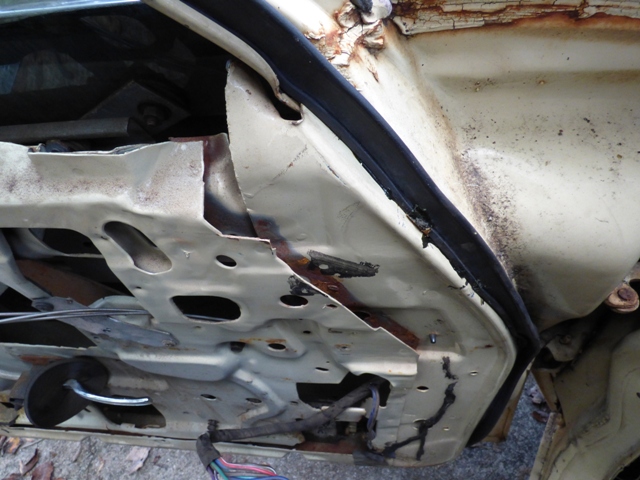
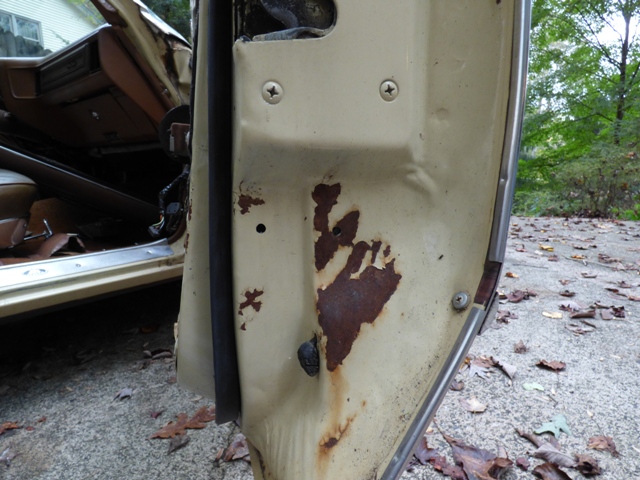
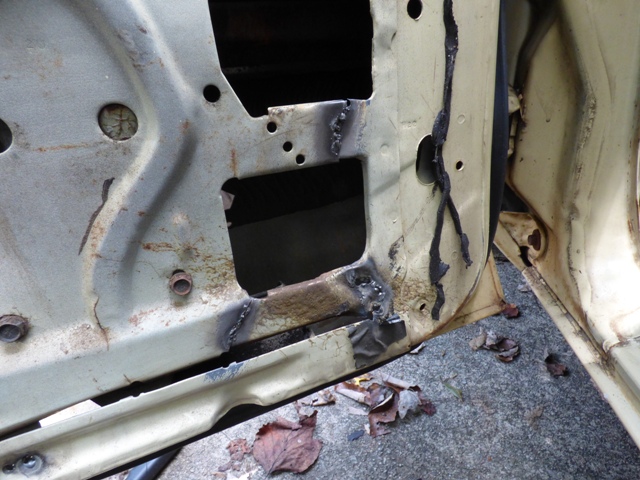
Uh oh. All of the spot welds on the front half of the door have broken and all of the bracing has shattered. Not good. Need to fix this.
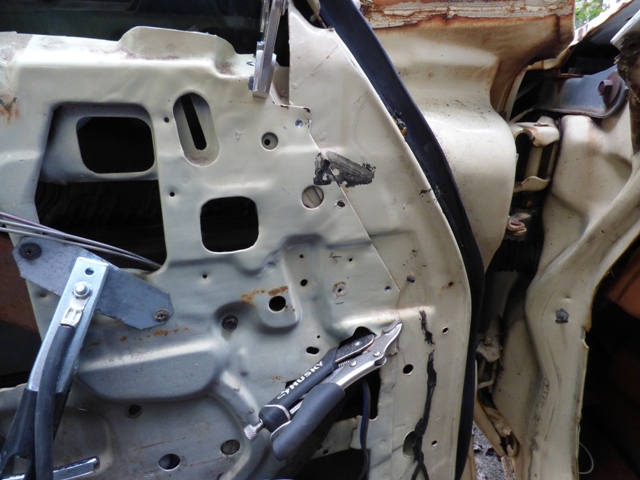
Vice grips hold everything together so the welder can do its thing. Drilled out all of the broken spot welds to allow replacement.
And it's together! My welds look terrible...
More crappy welds, it was extremely difficult to get adhesion on some of these pieces.
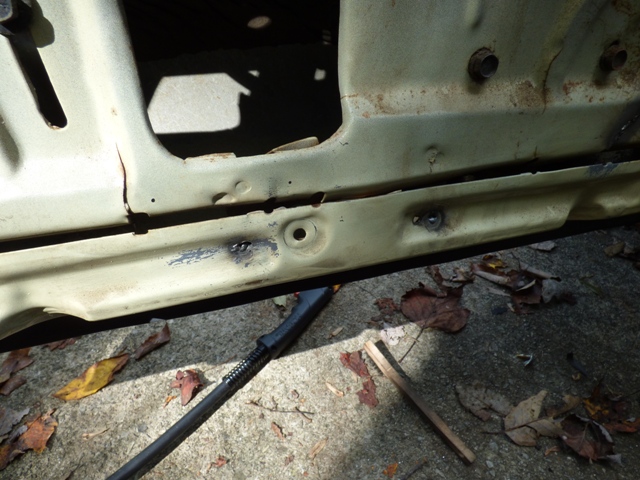
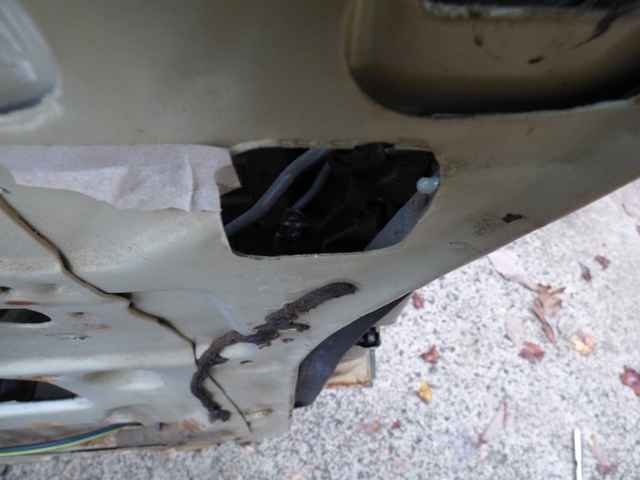
Last of the spot welds fixed. While ugly looking, I did smack the heck out of the door and ran the window up and down a bunch, no flex or breakage so fingers crossed...
A little Eastwood chassis black to cover up the mess...
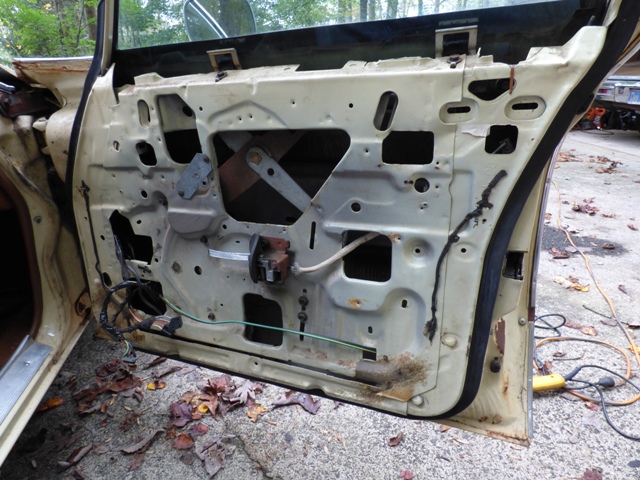
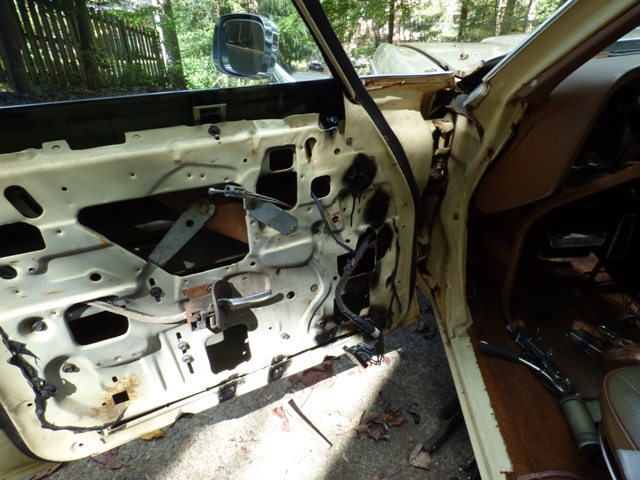
Driver's front door is wired up. Between discovering the broken spot welds and fixing them, an entire hour passed. Between doing that and finishing up the door jamb wiring, another hour - this door fought me every step of the way.
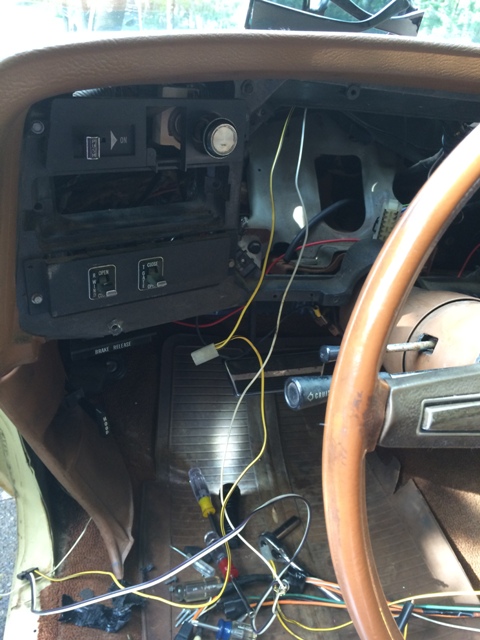
Getting crowded behind that kick panel. This took another 45 minutes to sort out and line everything up, then put the kick panel back on correctly.
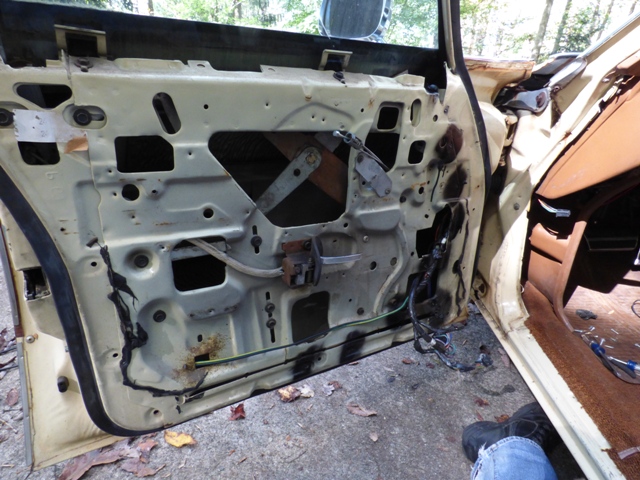
I like testing everything before putting it back together... While all of these things were happening, I removed all of the window channel guides, scraped out the old dried grease and re-lubed everything with new fresh grease. As a result the windows went down sort of slowly when first rolling through the grease, then FLEW up quicker than expected (with the engine off no less) and then worked quite quickly afterwards. So that's another victory.
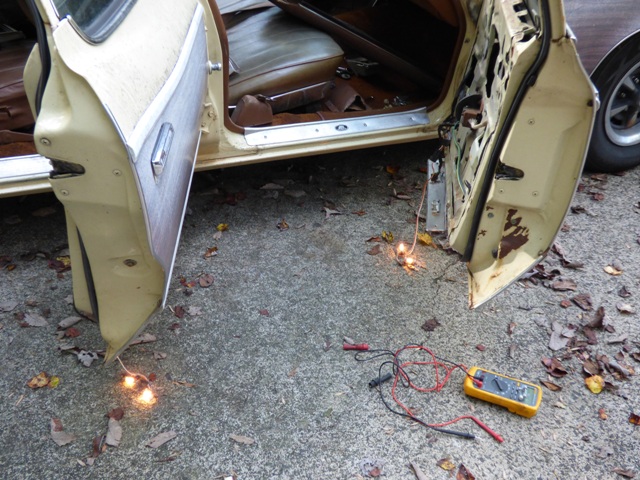
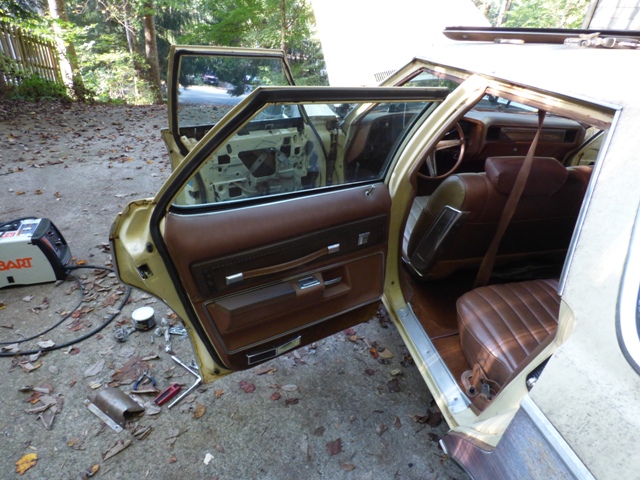
Pretty! And it works, which is great. I tested the door locks and the fronts work beautifully. The rears are binding, which indicates to me something is wrong. The solenoids are good, but they don't have enough oomph. Since these are beefy solenoids and looking back at my pictures, I'm wondering if I somehow got the alignment of the rotation mechanism in the incorrect order to cause a bind. Something for another day.
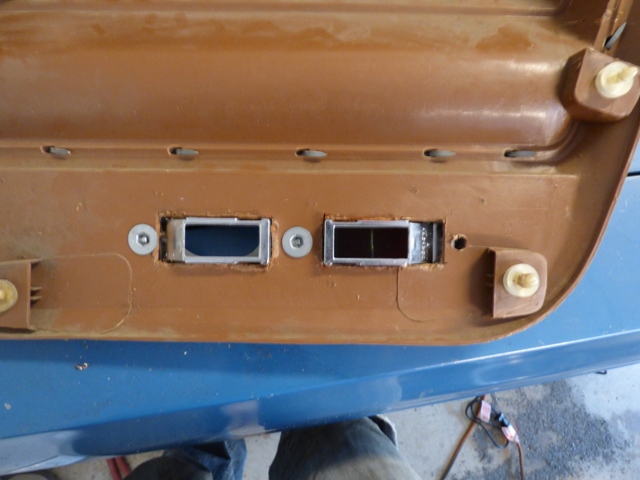
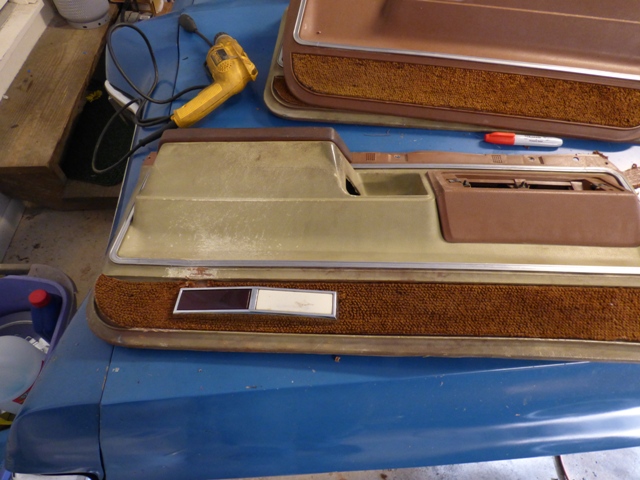
Using my Dremel and Exacto knife, cut holes for the courtesy lamps in the door. Wasn't overly difficult, the factory didn't make them pretty so no need for me to either. They'll be covered by the door anyways. I don't have actual measurements (or rather was too lazy to look them up) so I just compared pictures from my '72 (as seen here) and winged it.
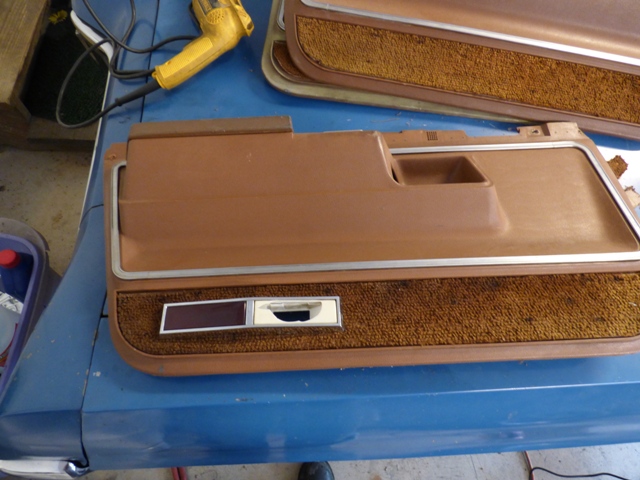
That's about as typical as it gets. Hand slips while pushing it in and the lens cracks. Fortunately I have the 2 pieces to glue back in, finding another lens is a "good luck with that" task.
Driver's rear door is completely done.
Do the driver's front door.
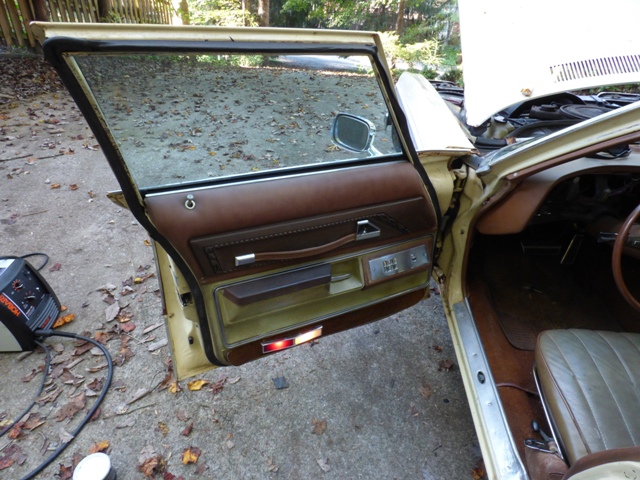
And the driver's front door is done and works!
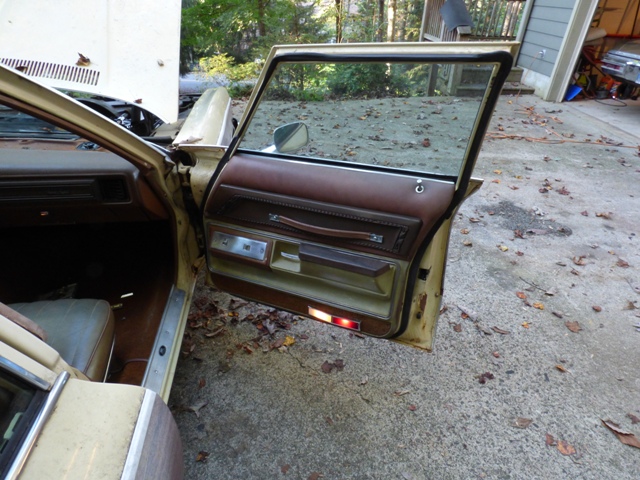
And done on the passenger front door. Everything works here too.
Long day. Lots of photos referencing the almost 10 hours of work that went into this. Results should be worth it. Of note is that the courtesy lights plug into the fuse box top power connection where the seat belt light plugs in. While not a big deal this circuit is powered by the stop lights, which means if you blow a fuse for your courtesy lights you will have no more brake lights! It isn't powered off of the dome lamp circuit anymore, just the lights on the roof are. Still need to do the passenger rear door, figure out what is binding on the rear door solenoids, and put the remaining pieces of the dash back together but that's for another day.
Return to 1973 Grand Safari
Last updated October 11th, 2015