Engine Upgrade - Part 3 - 01/30/2016
After the work this past week, it's time to get the engine out and swap the cam. But I don't want to. I'm debating just swapping over to a known good and reliable engine and fixing this one on the side without having to rush. You know how you get rushed: you get the engine out, you swap the cam in and out, but then you want to clean it up, de-grease it all, paint it, make it look pretty... I want to avoid doing that since I'm pressed for space.
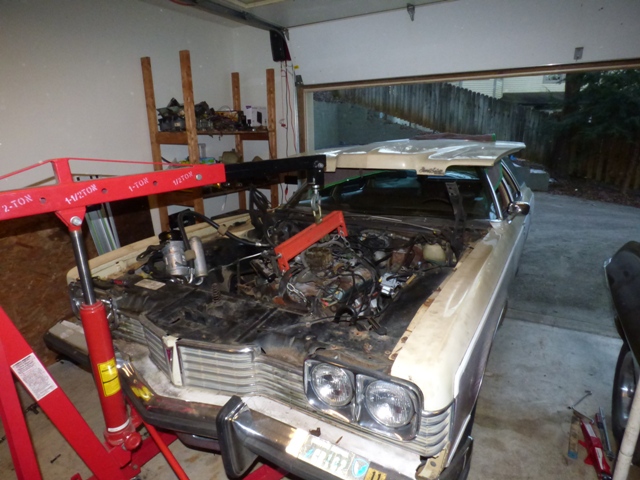
Rolled car out of garage partially and now we can get the engine ready to lift.
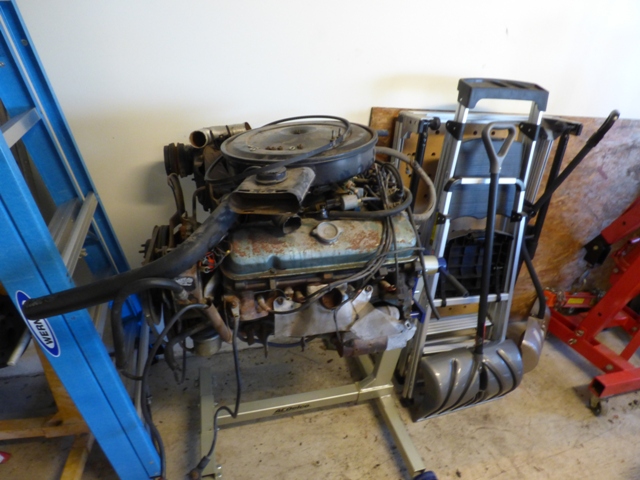
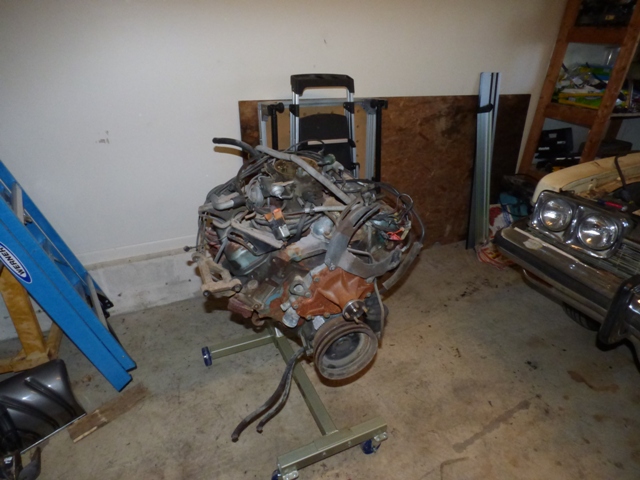
This is sitting on the stand nearby... it's a good running 80k mile '74 455 that is untouched except for the water pump and timing chain I put in it 2 years ago. I'm thinking of putting this in and solving my engine woes at the same time.
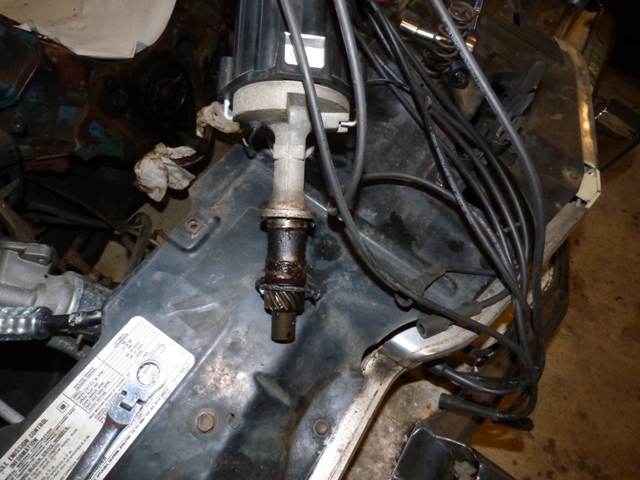
Removing the distributor shows that the guys who assembled this engine LOVED silicon. There's a paper gasket that goes here but in a pinch just glob tons of silicon all over it as that's same thing right?
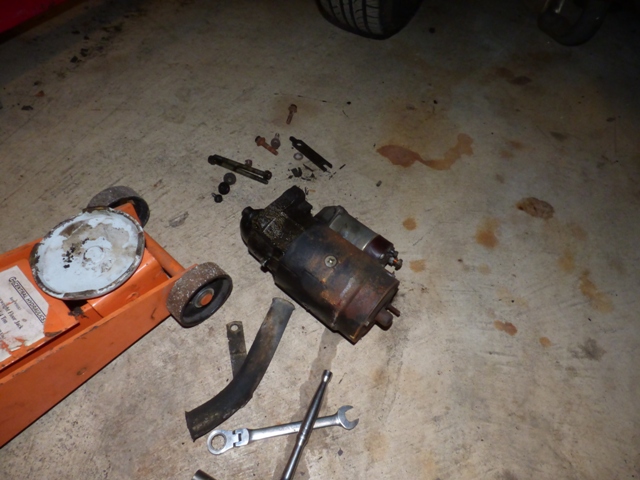
Starter comes out, exhaust bolts come out, and the 3 different metric (!!!) screws that hold the inspection dust cover on the transmission come out. I hate people losing the original hardware so just substituting whatever fits close enough, especially since it required 4 trips to the tool box to get the 3 screws out since each one was a different size.
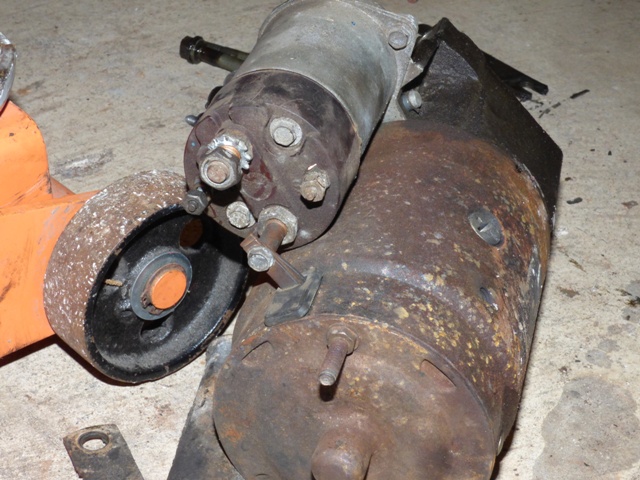
And of course we can't have a starter pull without a failure.
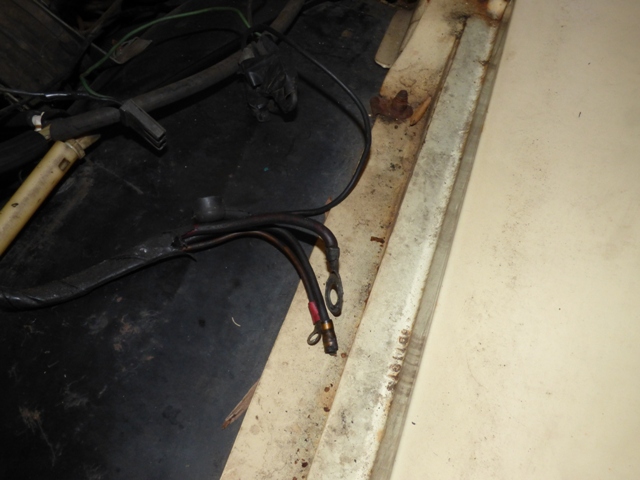
It's the Start wire too, so of course it would break instead of the Run wire. The harness needed love and attention anyways.
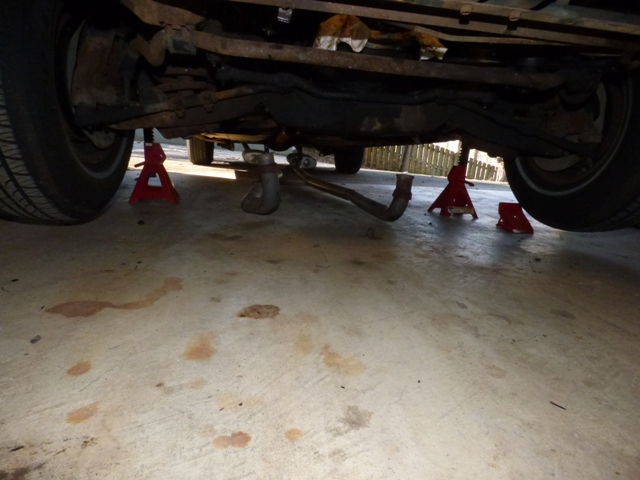
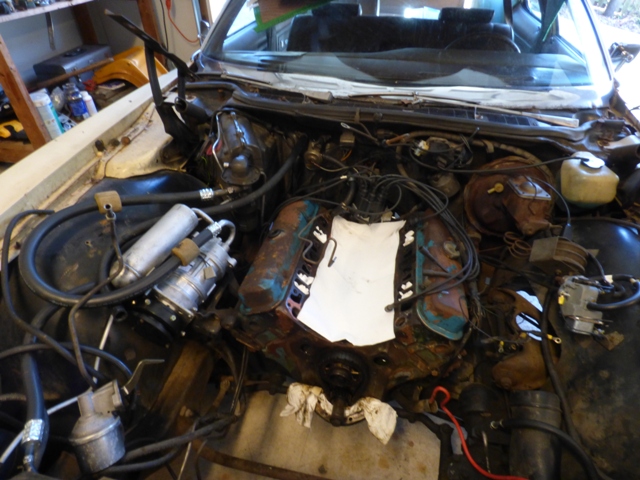
Exhaust is dropped. It fell down and smacked me in the chest when I wasn't expecting it. That hurt.
Engine is now ready to pull!
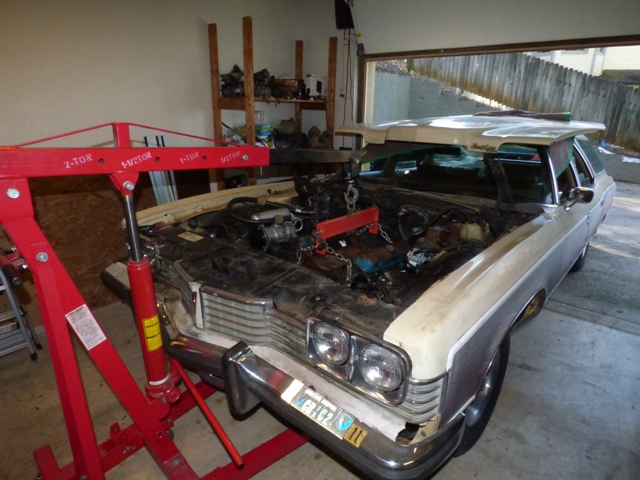
Lifting! Drawback to Pontiacs is that their beaks are REALLY long so getting engines in and out is always an adventure. If I can do it on a '73 full size car, I can probably do it on ANY Pontiac though since the '73 bumper is LONG.
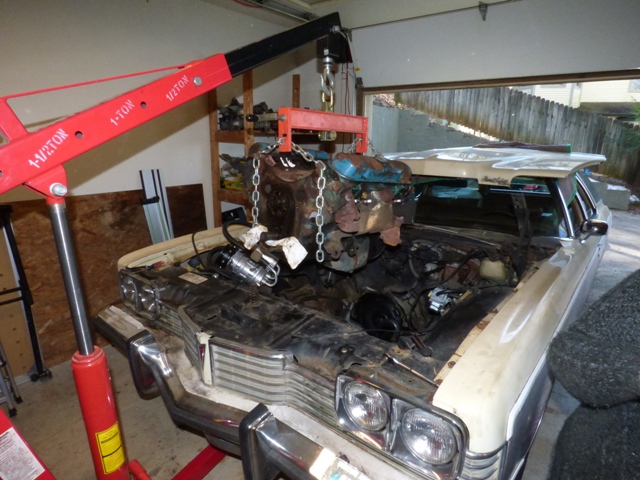
Deceptively easy.
![]()
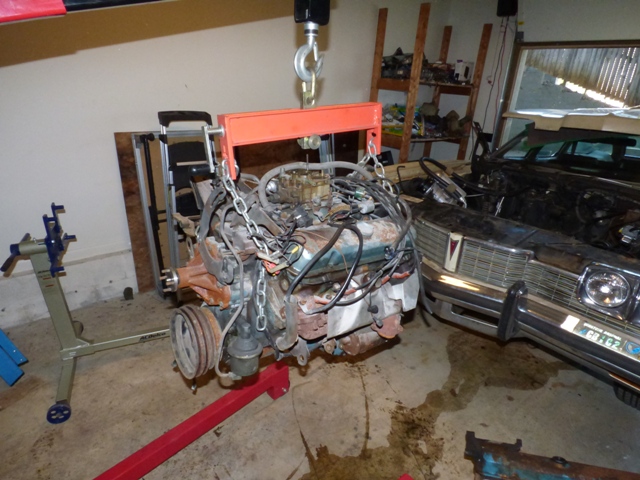
Torque converter has been replaced. It's... METRIC threaded. And they used blue thread locker on the 3 bolts. NOT fun to get out. I'd love to powerwash, detail, and paint this but I don't have the space or the time today. It's also winter and COLD.
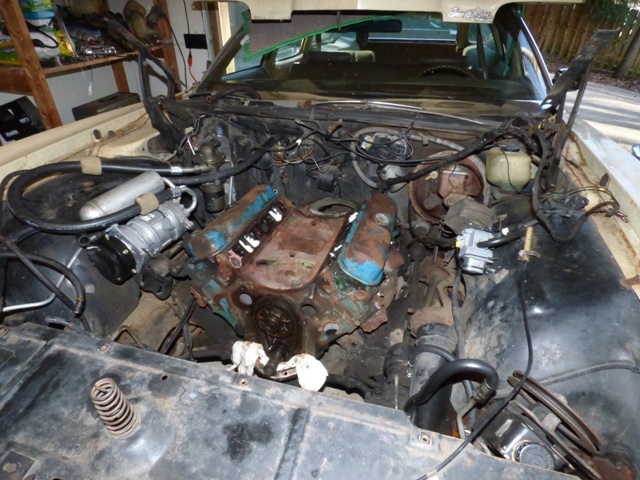
Removed all of the "non essentials" from the '74 engine to get it in the car. Just involved putting the exhaust manifolds back on, removing the AC compressor, and removing the power steering pump. Everything else remains, even the engine electrical harness - this will get swapped too because '73 & '74 didn't change harness-wise and the harness is already on the engine plus the one in the '73 has "issues" that need addressing.
New engine going in! This is what a 40 year old untouched engine looks like. It's got that hot "patina" look that all of the kids these days go nuts for (because the paint burnt off and it rusted).
Engine in and bolted down. Deceptively easy photo, 4 hours or so passed between photographs. Annoyingly enough the transmission decided to slip out of place and back about 4" which required me setting the engine in place on the mounts and finagling the transmission onto the guide studs using REALLY long bolts to line everything up. Once the long bolts brought everything close enough, the correct bolts were inserted to draw the transmission into the engine and seat it good. Entire process took almost an hour alone to do that.
LONG day. Rough day. But a known good engine is installed, it's already timed and cam in good shape so other than filling up the quadrajet float bowl and letting it crank 30s or so before firing it up, nothing really necessary to do here. Less nervousness is involved in these types of engine startups for sure! And I can make the numbers matching engine all pretty and clean with new heads when I get time and the car remains mobile while I do it!
Return to 1973 Grand Safari
Last updated January 30th, 2016