Shock Therapy - 08/15/2015
Factory shocks were decent pieces. They aren't exactly decent after 40 years and all of the oil has leaked out of them! You tend to bottom out going over speed bumps and rattle around a bit more than you want to. Not to mention your rear looks saggy! Time to change them out...
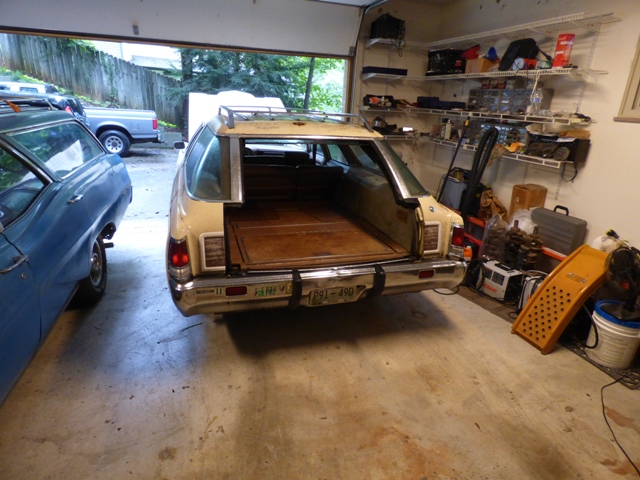
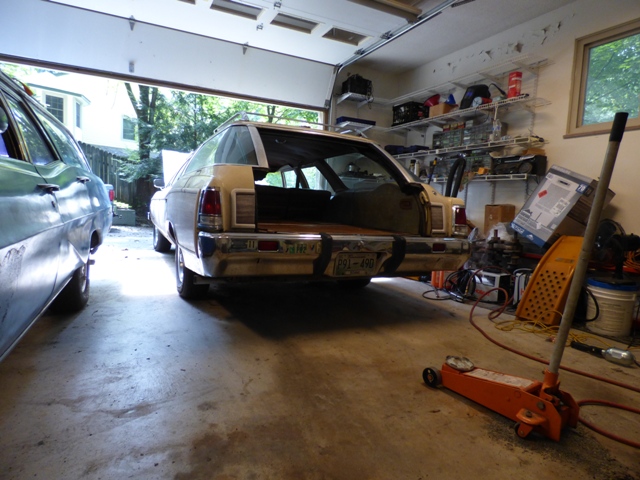
Pull the car into the garage to work on it. In typical east Tennessee fashion it's raining outside. I've had the parts to do this job since May and haven't had a good weekend (or the desire) to do it yet.
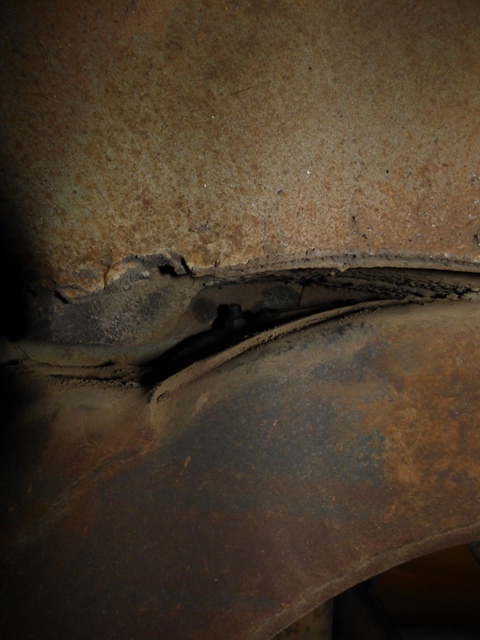
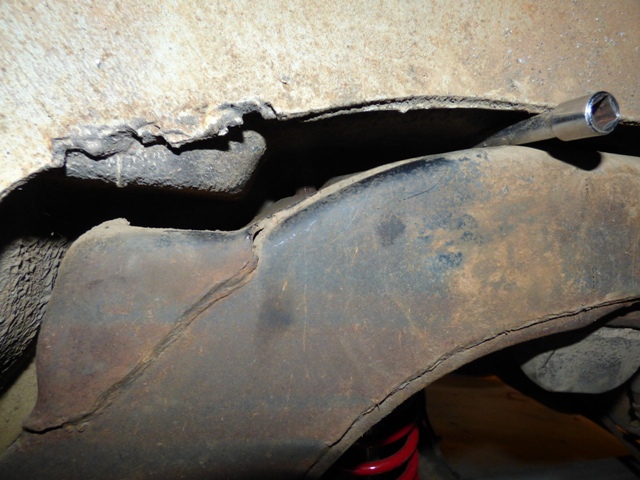
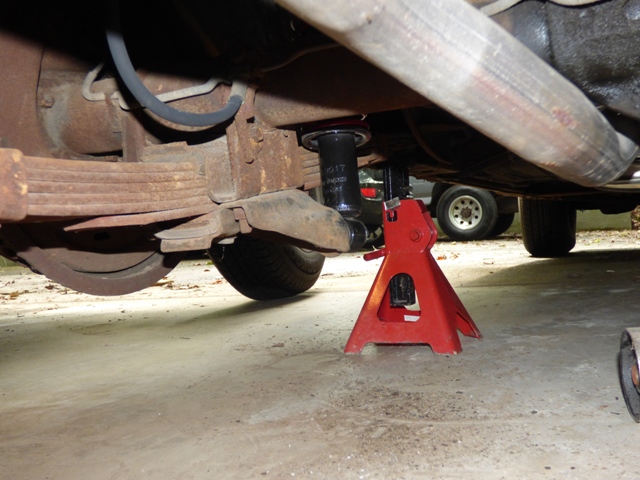
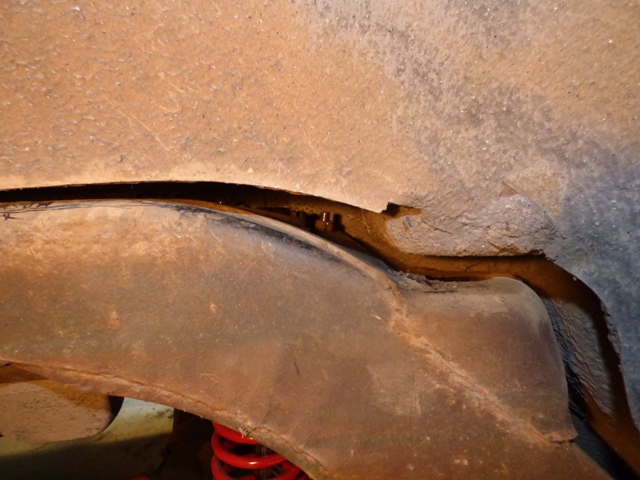
Let the fun begin. Factory procedure obviously states: jack up rear, remove tires, remove lower retaining nut, remove upper 2 bolts, remove shock. Install is reverse of removal. Because it's THAT SIMPLE, right? See the stud on the left? That's the one you can get to. There's another one to the right of it that is indented in the frame. You can't get to that one from the front. You have to go behind the frame and snake a wrench on top of the stud and nut to keep it from spinning. Oh, it's a cinch nut too, so it won't easily come loose. The factory put the suspension on the frame first, then lowered the body onto the car. I say someone needs to be fired for this design or at least made to work on it once a week as punishment. Some people use hole saws on their floor boards to access the top nut and then silicon\weld it back up. That doesn't work on this car design because there's extra bracing in the body at this spot and the wheel well is part of it, leading to 2 separate layers of body inside the car you can't easily get to.
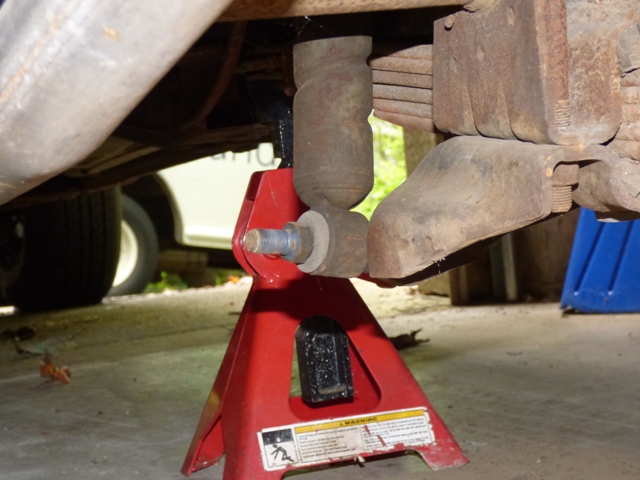
Driver's side factory spiral shocks. Leaking oil everywhere. This is the 2nd car I've had with factory shocks that was 40+ years old. Springs have seen better days too.
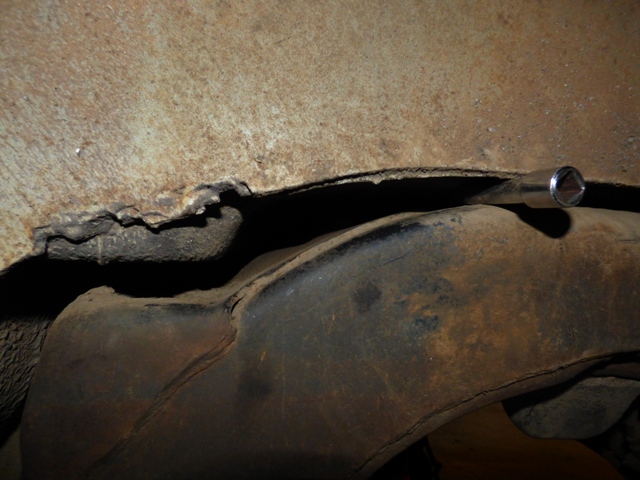
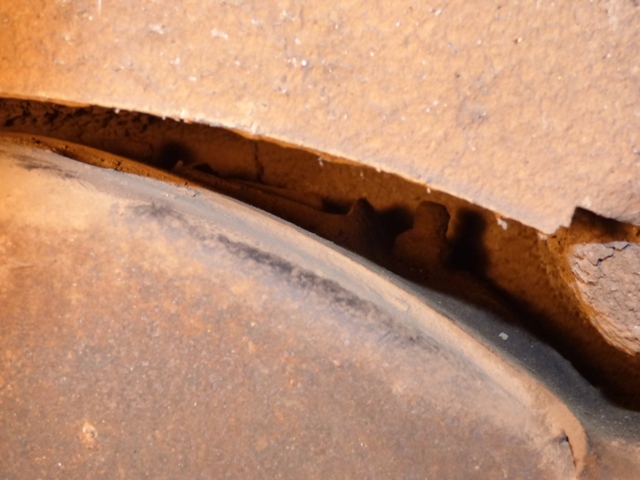
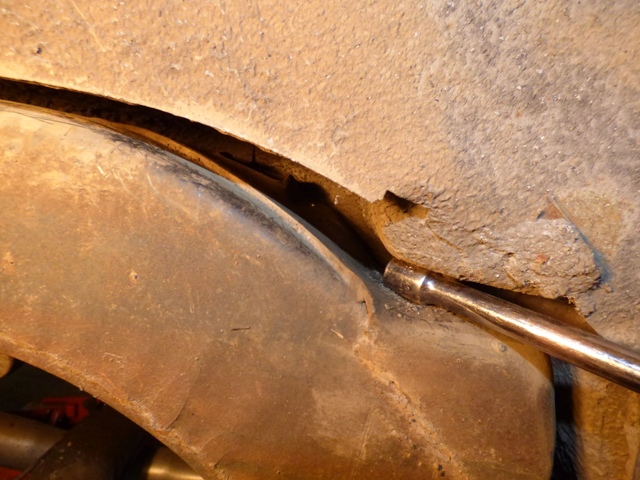
Driver's side hardware gone. Not that you can easily see anything. Note the extension that is wedged in there: that's because you can't actually get the wrench over the top of the stud! You have to loosen the 2 rear most body mounts that keep the body attached to the frame. Loosen them roughly 1/2" and lift the body up, then get something wedged in there to keep the gap open. Then fight with the nut. The entire process took about an hour and forty five minutes to get to this part. Fortunately all of the body bolts easily came loose. And a ton of dirt came out of EVERYWHERE.
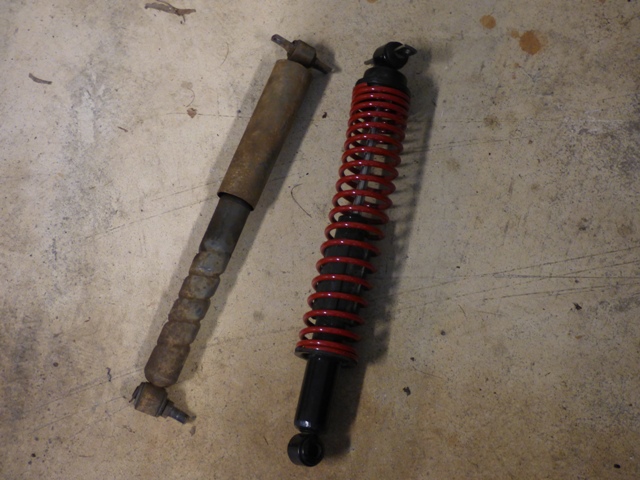
New helper shock on right vs. original on left. Helper shocks have springs in them. Since no one makes new station wagon springs for the '71-76 B-body wagons (you'd think someone would, they're almost identical to Trans Am leaf springs) this is as good as it gets. And they were $65. I had them on the '74 and liked them. Another bonus is you can see the new shock is slotted on one side. This is so you can start the top hard to reach nut and bolt combo and slide the shock in. I wouldn't want to imagine trying to fish the stupid nut back up there while trying to line up the shock...
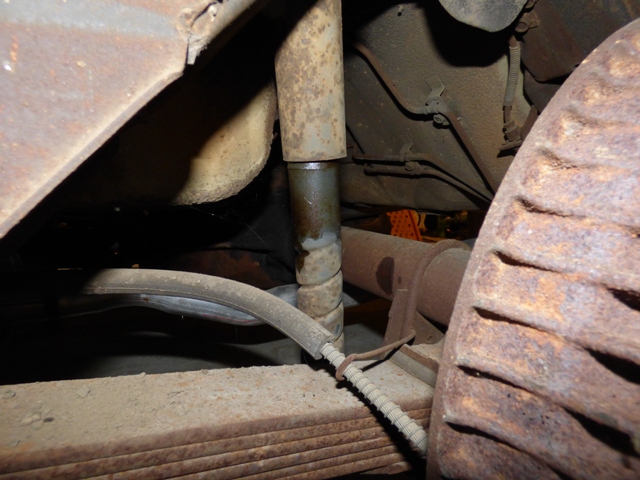
Driver's side shock hardware mounted up. This went in surprisingly easier than I imagined, only took roughly 25 minutes.
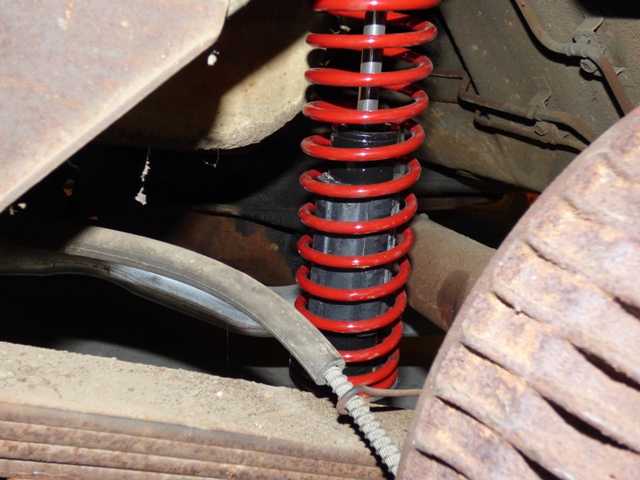
Shock in. There really isn't a lot of room to work here and it's frustrating.
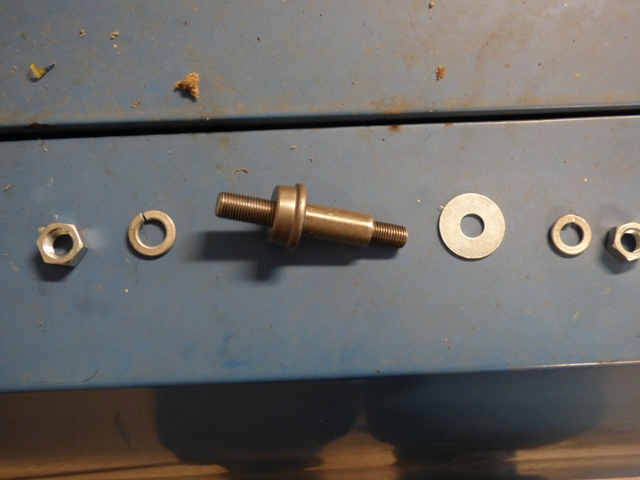
The kit comes with new fancy hardware.
Driver's side done. Total time start to finish: 2.75 hours.
Passenger side begins work, remove the lower hardware.
Passenger side upper hardware. None of what you see is rust, it's good ol' North Alabama and East Tennessee mud and dirt. Very dry and blows right off. I sprayed the hardware liberally with PB Blaster anyways.
Passenger side 2 frame mounts loosened (went well), upper hardware removed and shock removed. The space between the frame and the body wasn't even between sides, I presume this has to do with how the rubber spacers and mounts age and collapse over the years - this car needs new rubber mounts all around, not a bad job since none of the bolts or cages are broken. This side look about half an hour less than the driver's side.
Passenger side shock goes in with more difficulty. 40 year old hardware was beautiful so it was reused.
Passenger side is done! Total time here was a little less than 2 hours.
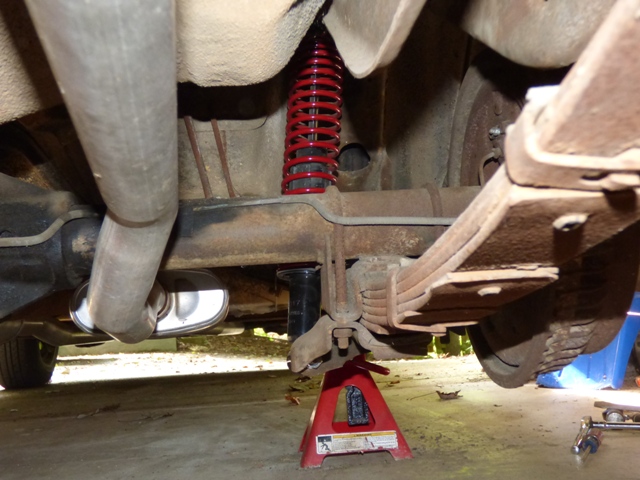
All finished! The car sits a little higher in the back than it used to and only rocks once before settling when you bounce it. Before it would take 2-3 bounces before settling and if you went over a bump at speed the body collapses and you bounce off of the rubber mounts on the rear end (not a pleasant sensation).
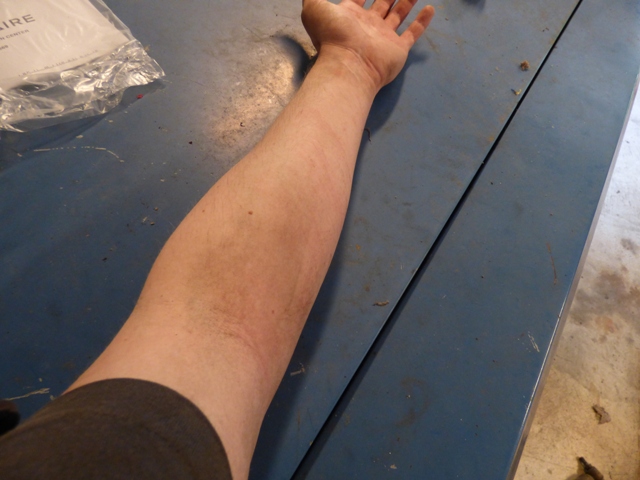
I look like I lost a fight with a cat. Bruises and scratches on both arms are the order of the day.
Definitely a worthy maintenance item, glad I did it. But I'm also really glad I don't have to do it again for a long while. Was nice to clean off the frame and undercarriage of dirt and grime. Even better was not a single bolt or nut broke, everything came out and looked brand new. I saved the hardware I didn't reuse just because it was so nice.
Return to 1973 Grand Safari
Last updated August 15th, 2015