Front Suspension Rebuild - Part 4 - 06/03/2017
The suspense is killing me... will the suspension rebuild job EVER end?
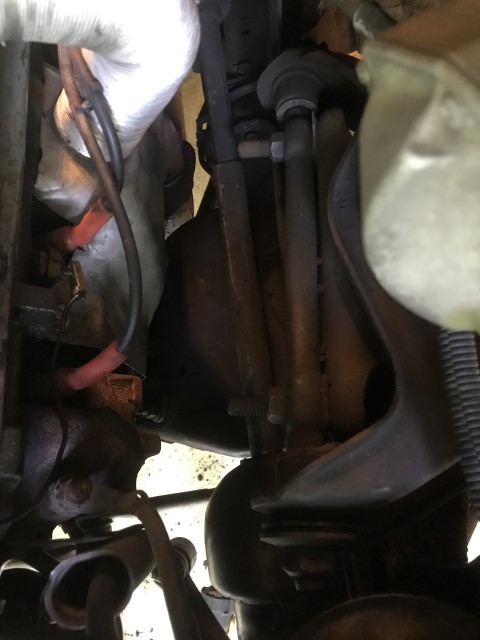
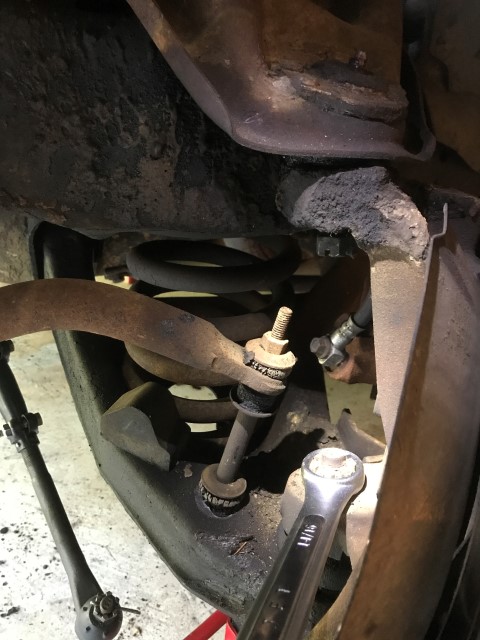
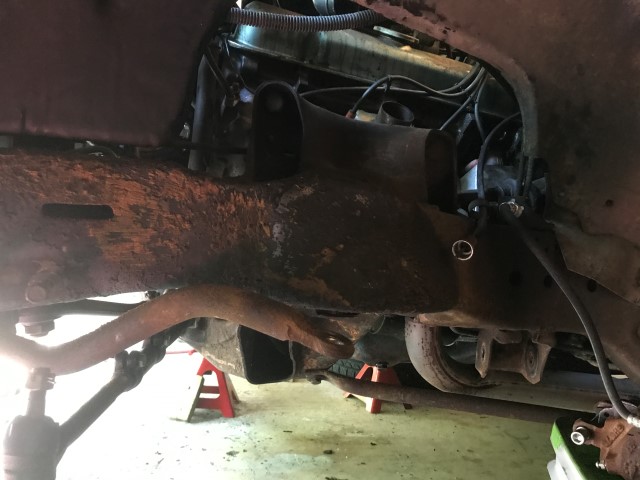
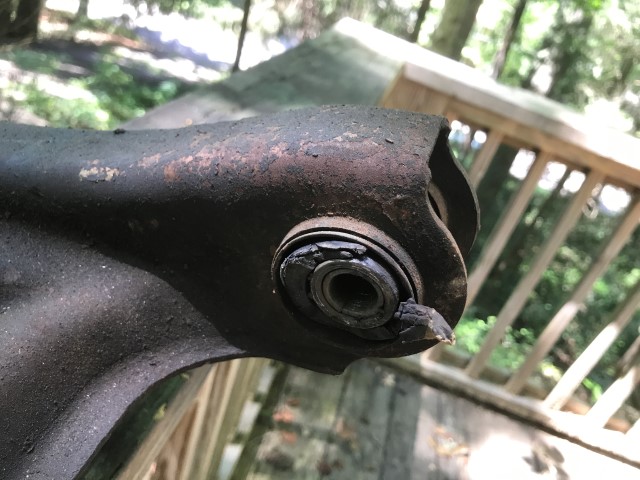
A nice little reference for the future: shims and cracked\failing rubber on the upper control arm. Something in this picture will come back to haunt me later, time traveling future me says...
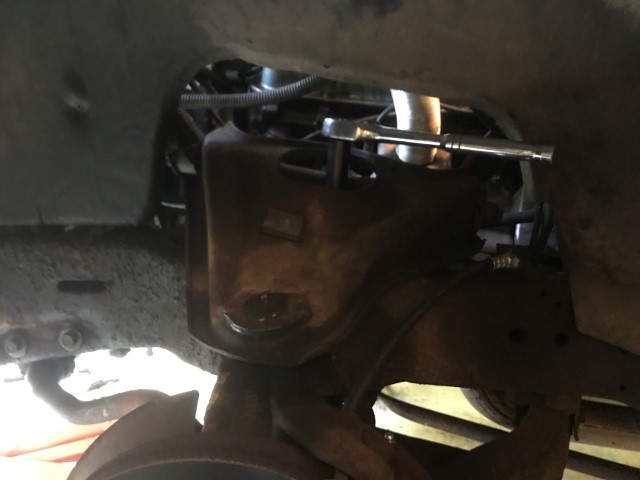
Start out removing the shock absorber. Of course the nut on the top spins so I to use channel locks to hold the top lip in place while I loosened it, THEN the bottom captured nut broke. So the shock took longer than it should have.
Fortunately I can snake my 1/2" wrench down in the hole...
Removing the cotter pins. Considerably more gunk on this side than the passenger side.
Removing the nuts! These were considerably tougher on this side due to the aforementioned grime.
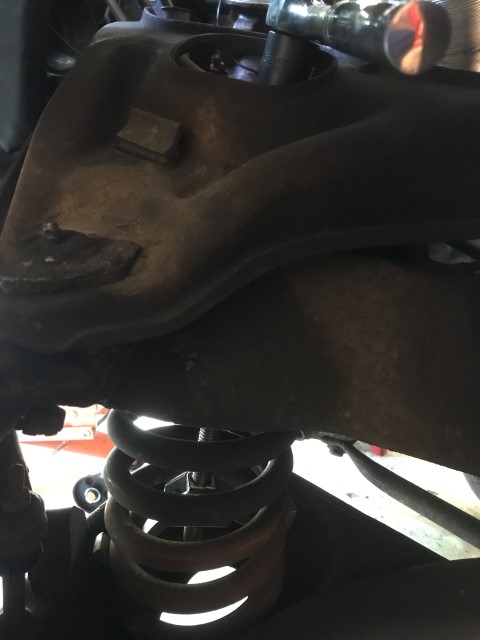
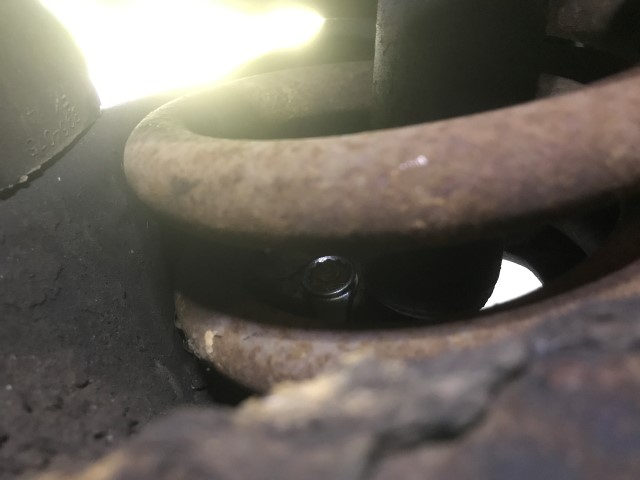
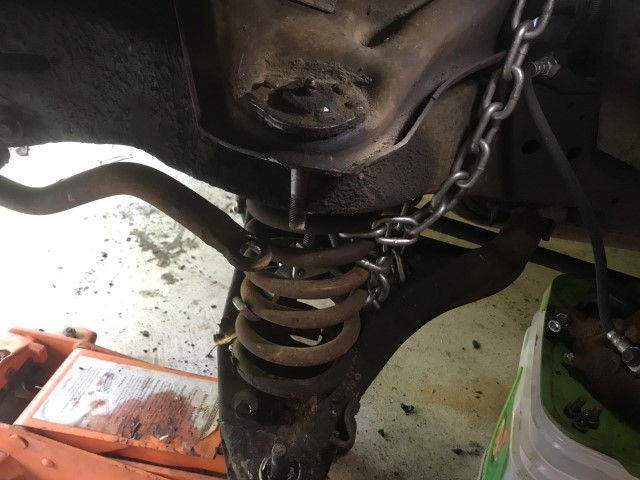
Spring compressor goes in from the top to try a better method of removal.

Rotor removal. This one has been done recently, it's got very fresh and clean grease compared to the ancient dirty gunk on the other side. Bearings are in great shape too.
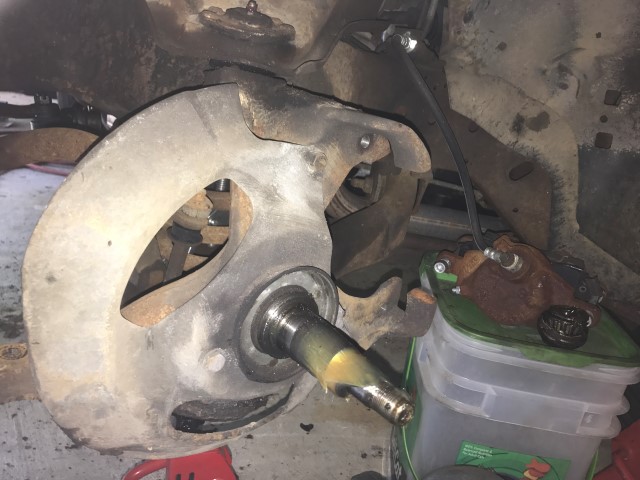
See? The spindle is super nice.
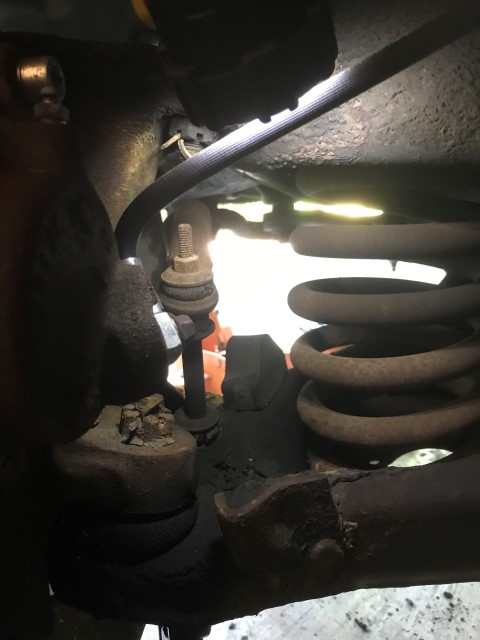
Stabilizer bar removal. The rubber is completely gone in chunks here.
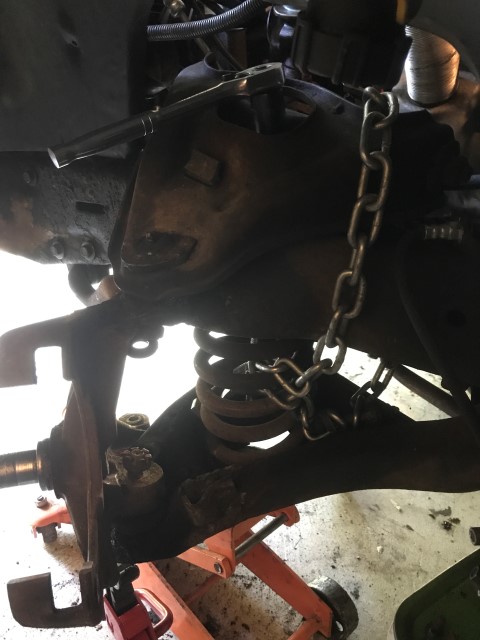
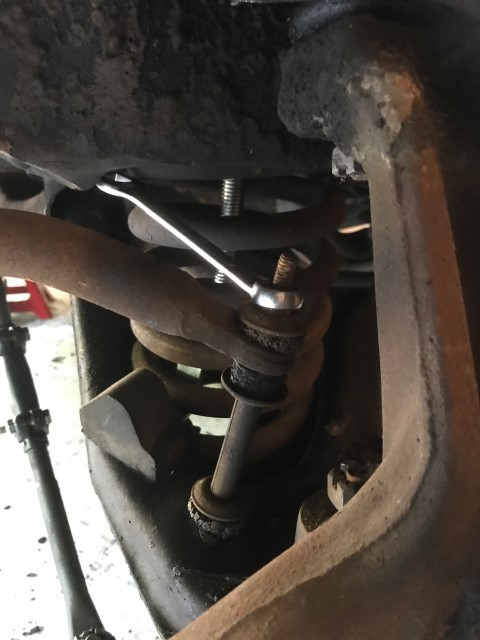
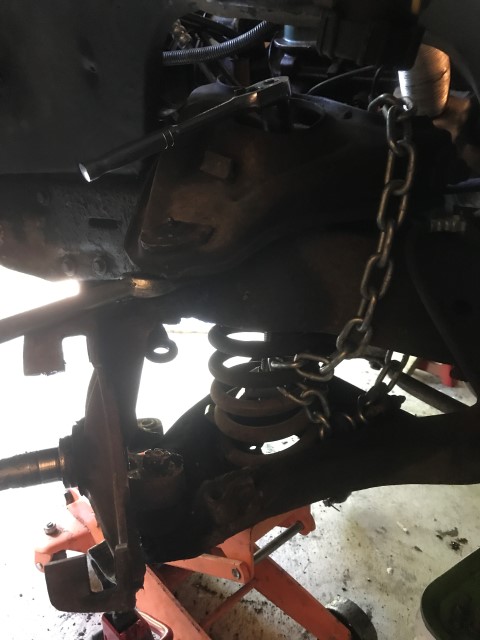
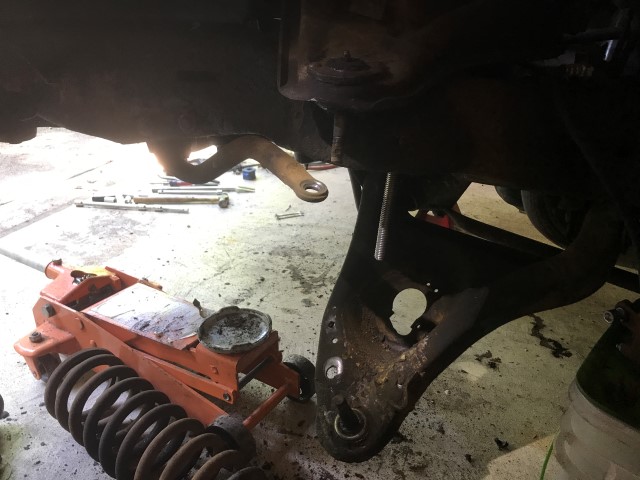
Chain the spring, getting ready to pop the ball joints loose.
Using the pickle fork to separate the ball joints...
Spindle pops loose and hangs out. Bottom ball joint is no good as it flopped around way too easily and required a pair of vice grips to hold the stud to get the nut loose.
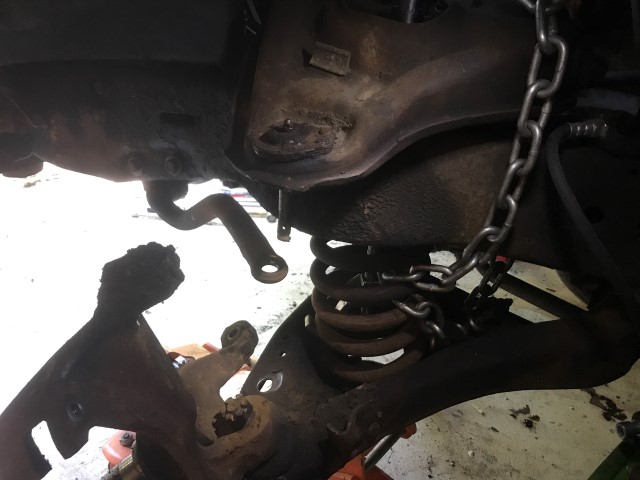
Spindle comes off and the spring isn't really in a rush to go anywhere with this particular method of keeping it in place.
Spring comes out and is ready for the trash pile.
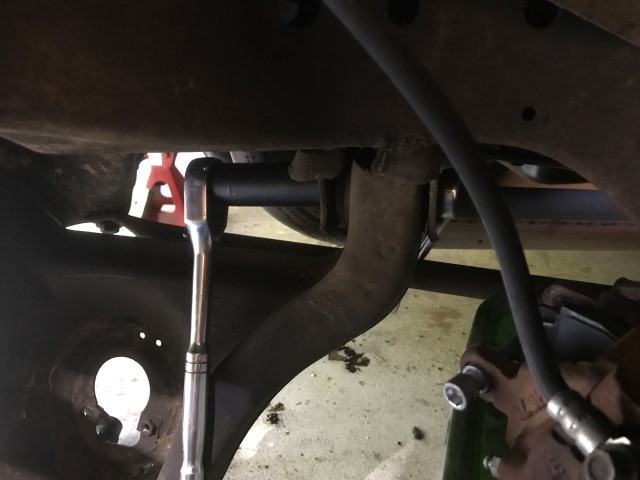
Lower control arm bolts and nuts are a mess to get out on this side, impact gun doesn't fit in the spots. Getting creative with the wrench and socket...
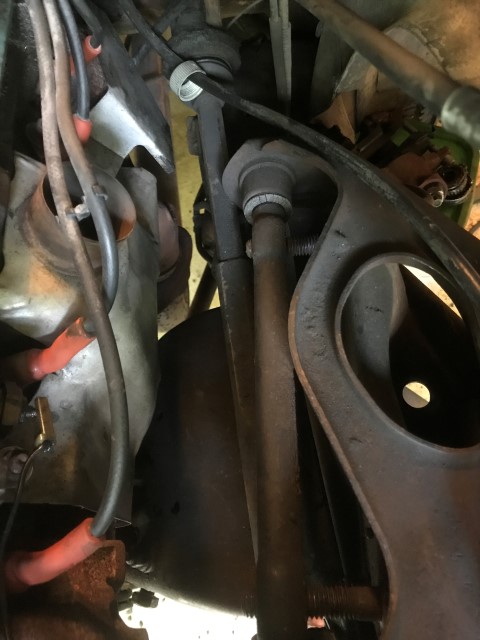
Loosening the upper control arm nuts... Yes, the cruise control transducer is in the way of the spring compressor so it requires removing one of the speedometer cables.
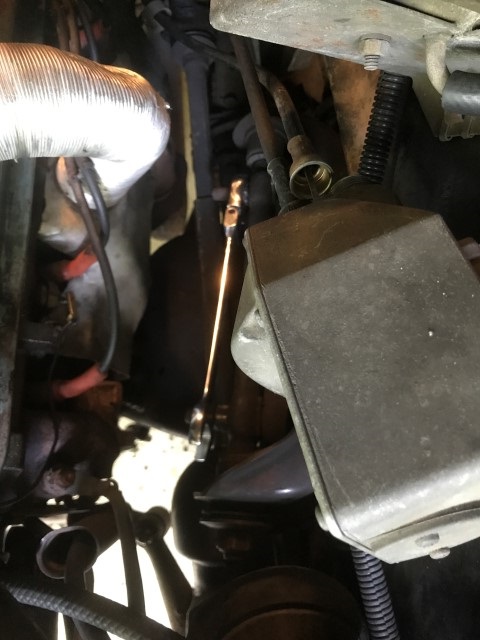
Aww man. The control arm interferes with the steering intermediate shaft. Querying other people, this doesn't seem to be a common problem. Maybe it's a wagon only thing? Maybe it's a '73 and up thing? Either way, it's NOT fun.
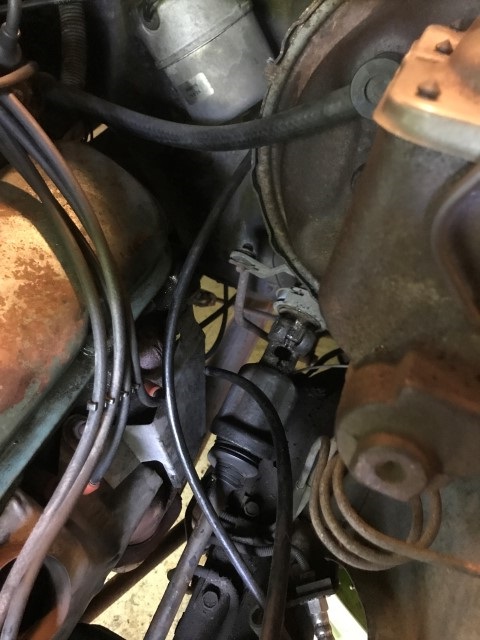
Yeah, lowering the steering intermediate shaft which WASN'T fun: remove 2 bolts from steering box, loosen 3rd, remove steering lock nut and bolt, pry steering shaft off, rotate intermediate shaft and steering box in such a way that it's lowered every so slightly to allow the control arm to slide out. VERY annoying.
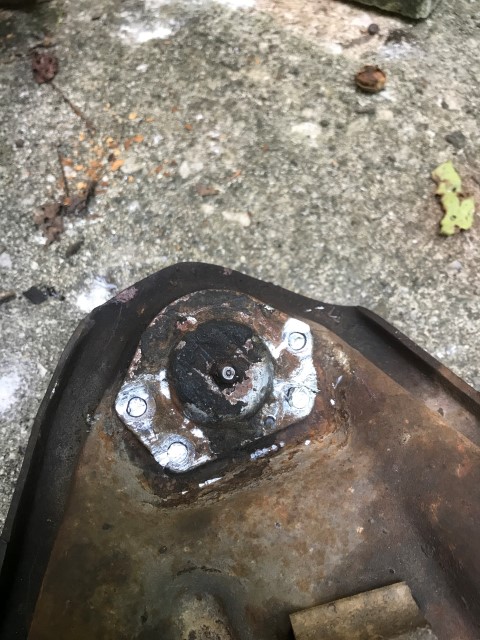
Lower ball joint removal tool! Gotta get it out while it's on the car for ease, as experience has shown me.
Lower ball joint practically pops out?
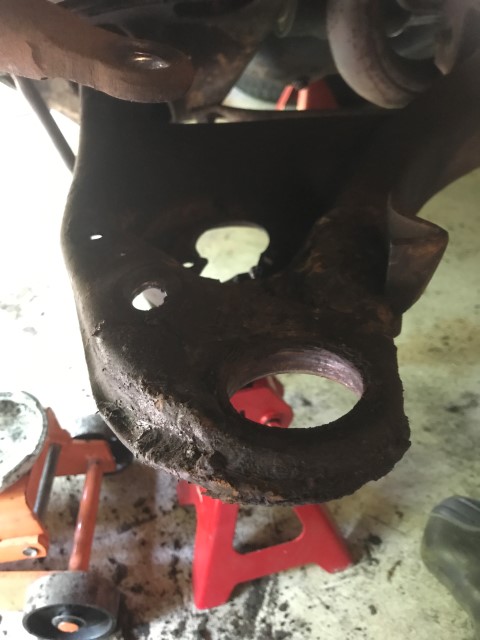
Lower ball joint hole is rusty and wallered out a bit, so the ball joint wasn't in great shape.
All control arms are off the car! Some grease and grime is wire brushed off.
The fun times. Using the air chisel to cut off the rivet heads.

Upper ball joint is removed. Talk about a pain... air chisel and air hammer for half an hour to get this stuff out. And yeah... I kinda botched the arm a bit. A little clean up and paint and no one will ever know.
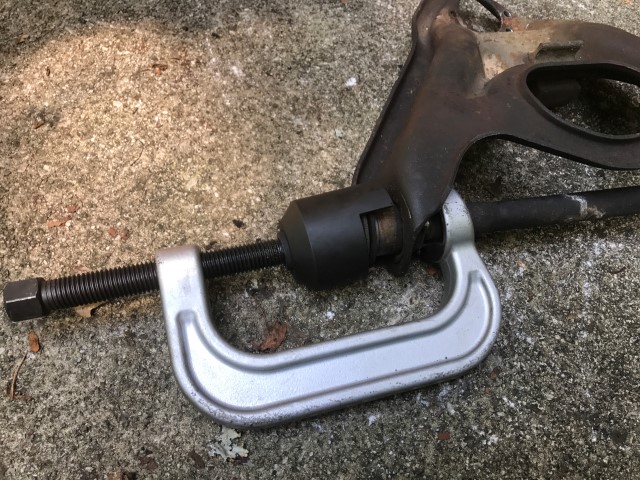
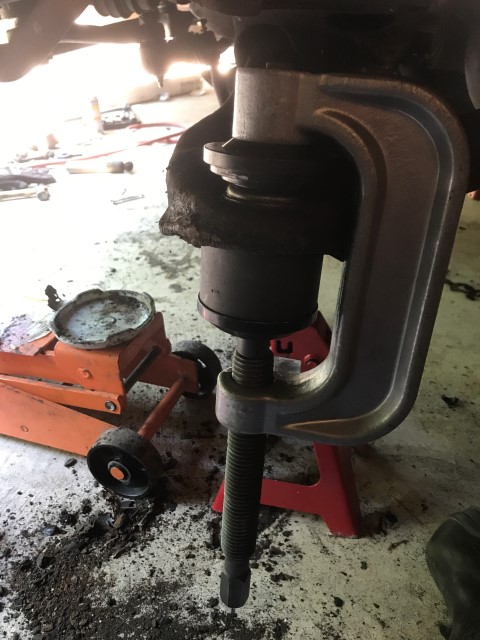
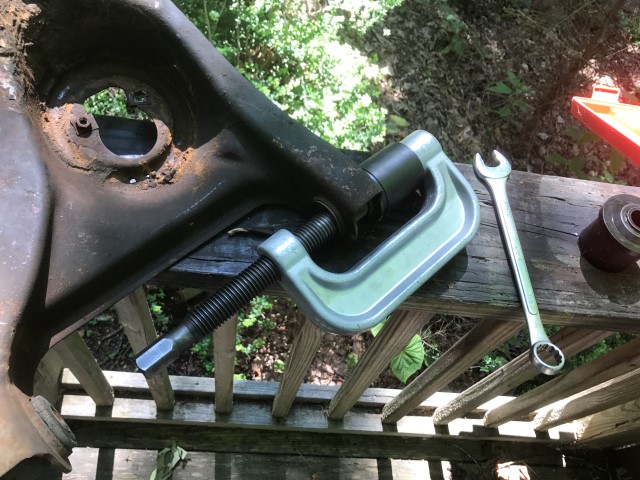
Upper control arm bushing removal tool assembled!
![]()
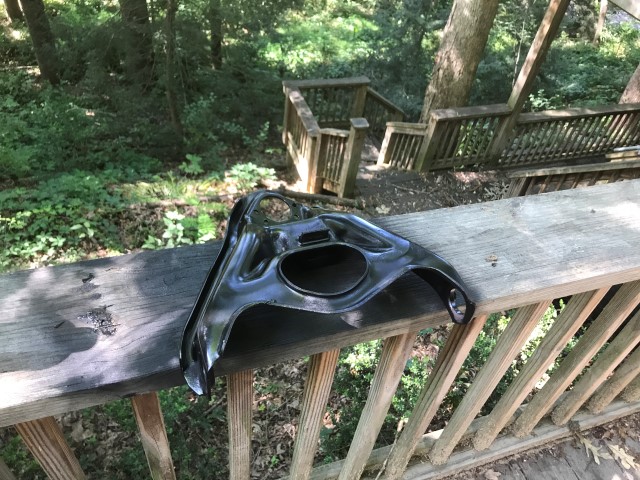
Upper control arm is empty and ready to be cleaned up, stripped, and painted.
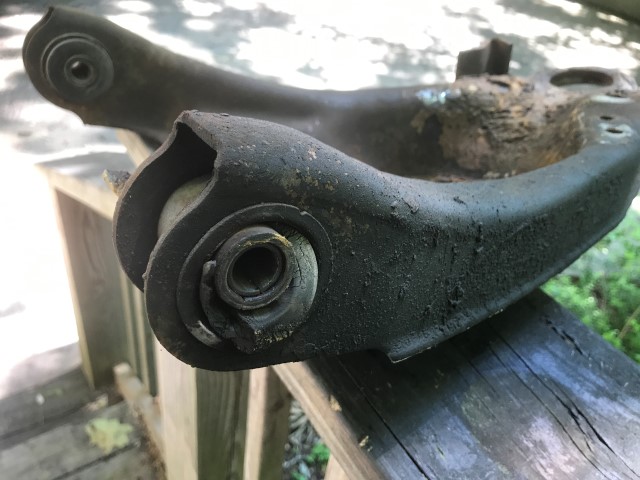
Lower bushing is in pretty bad shape...
Pretty bad. No rubber. This is probably the source of the clunk and occasional grinding I've been hearing on turning for 3 years.
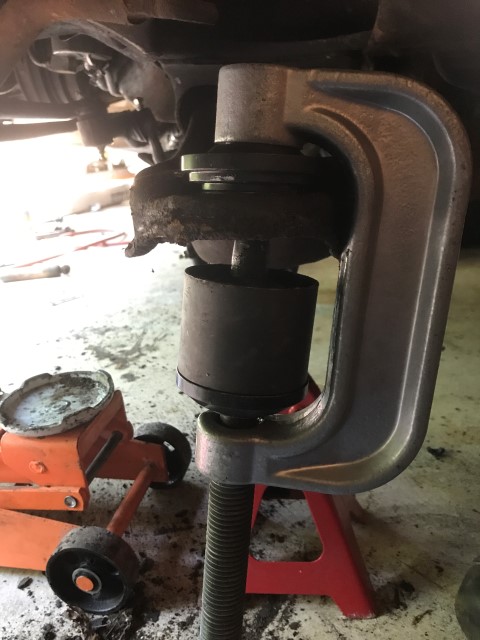
Removing the inserts and what's left of the rubber...
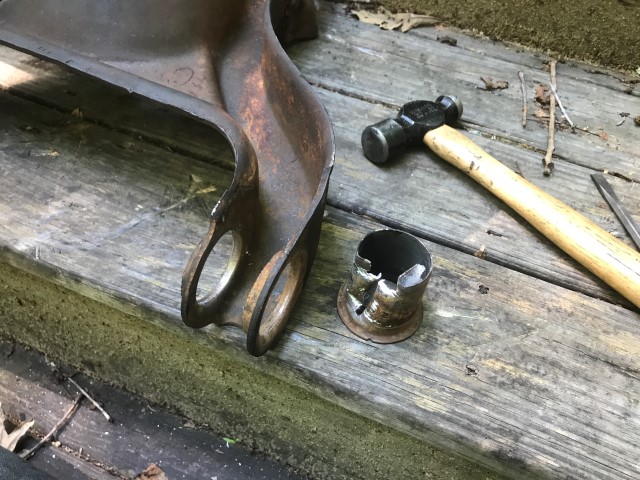
Sometimes the shells come out easily...
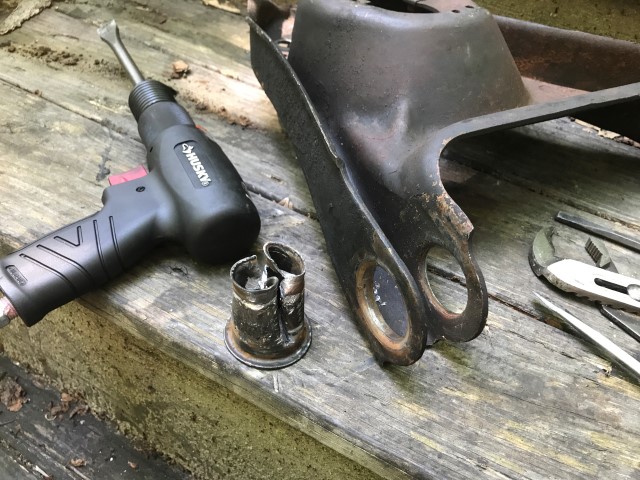
And other times they fight you the entire time!
Upper control arm after wire wheeling, degreasing, and painting.
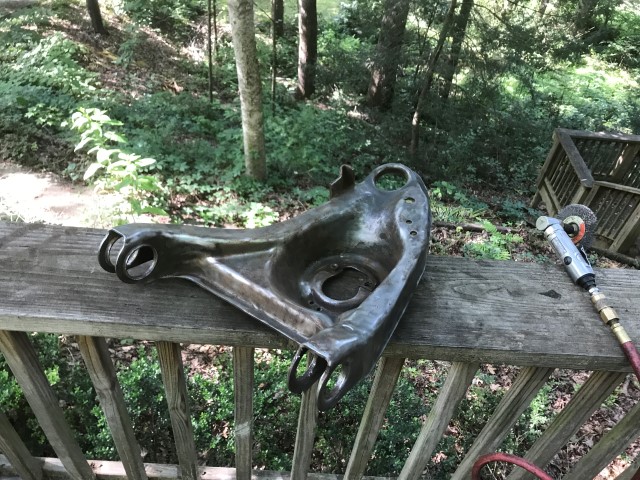
Lower control arm is wire-wheeled clean of all grease and grime.
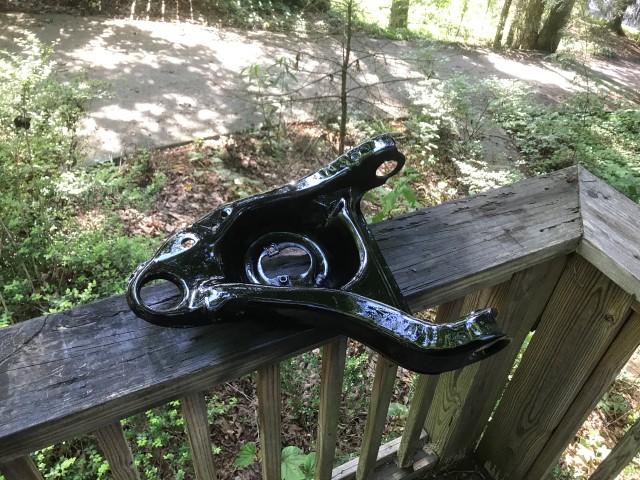
Lower control arm after painting.
Well, that's another full day: 5.5 hours to strip the driver's side and get it almost ready for re-assembly. Book time of 6.5 hours start to finish my behind...
Return to 1973 Grand Safari
Last updated June 3rd, 2017