Front Suspension Rebuild - Part 5 - 06/08/2017
I swear one day I'm going to finish this job...
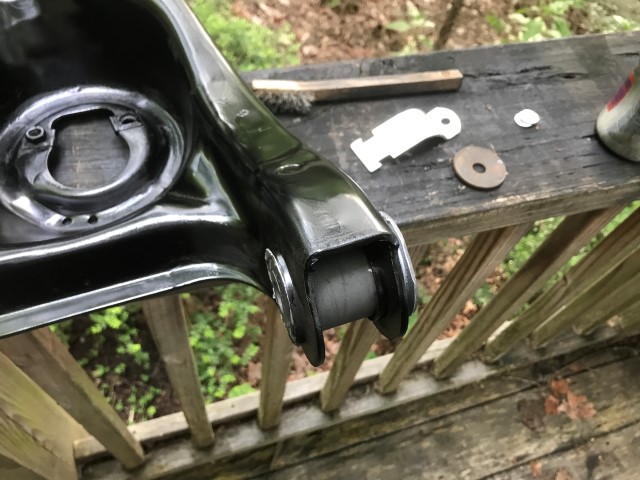
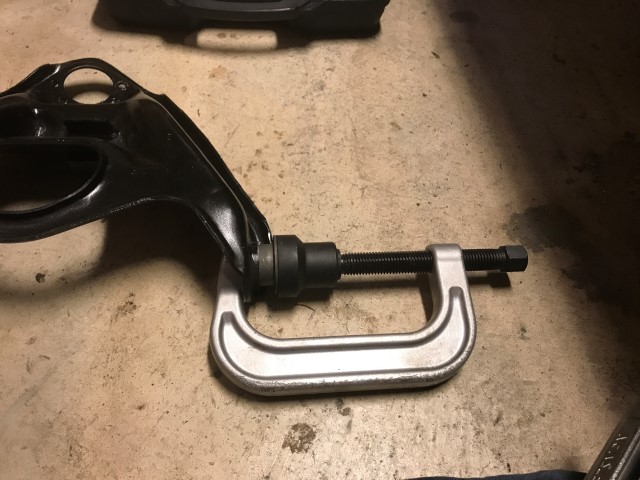
Test fit the new bushings to make sure that we're lined up correctly and not binding before attempting to press it in.
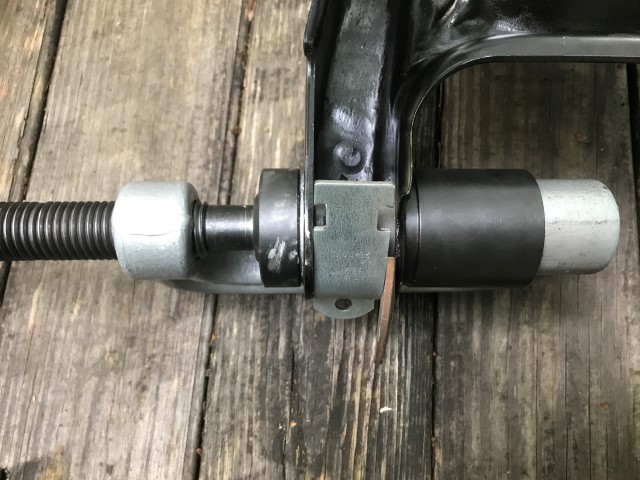
Press in the smaller bushing with my jury rigged spacer setup without too much trouble. Anti-seize for lubrication.
Smaller bushing pressed in and completely seated. Excess gets wiped off naturally.
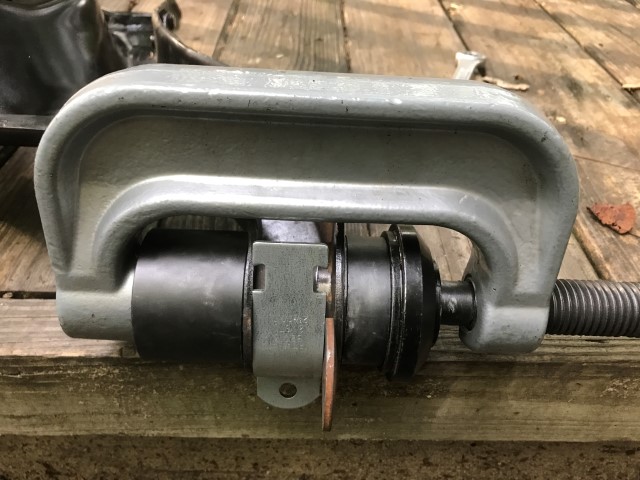
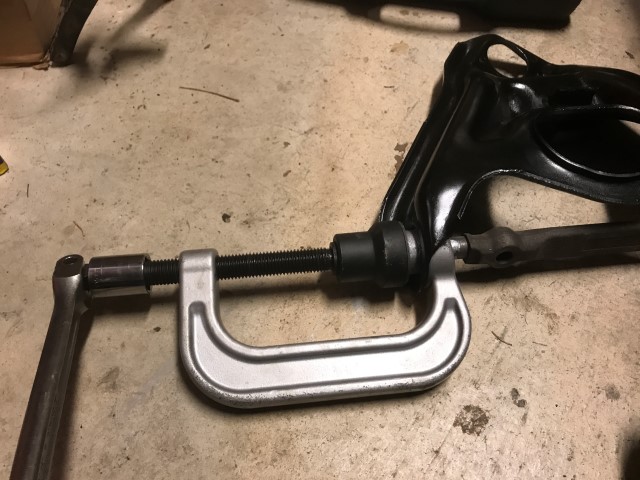
Pressing in the large bushing, this requires considerably more effort to press in without collapsing.
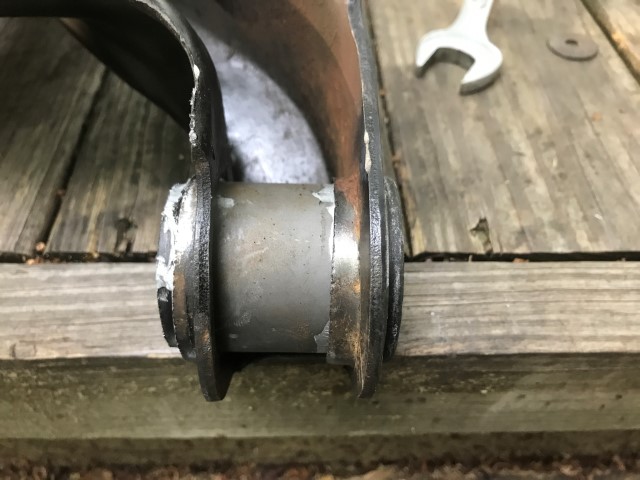
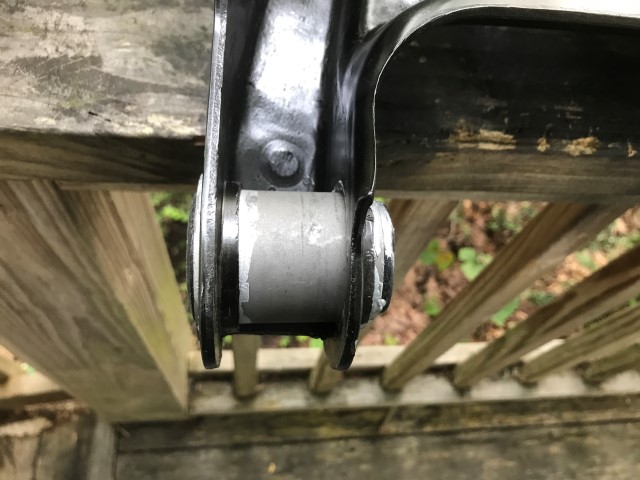
Large bushing fully seated and ready to go.
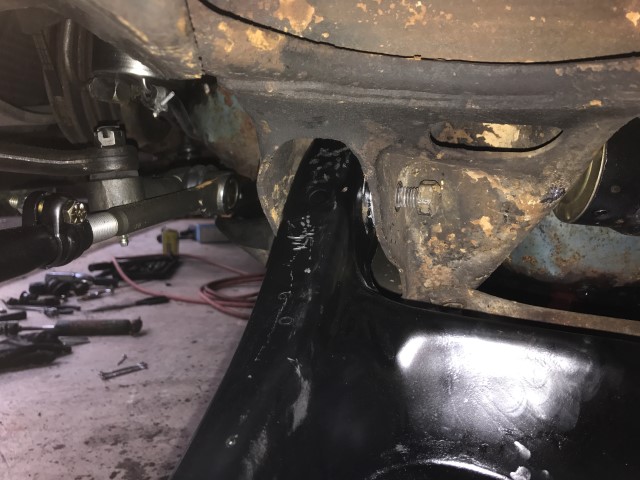
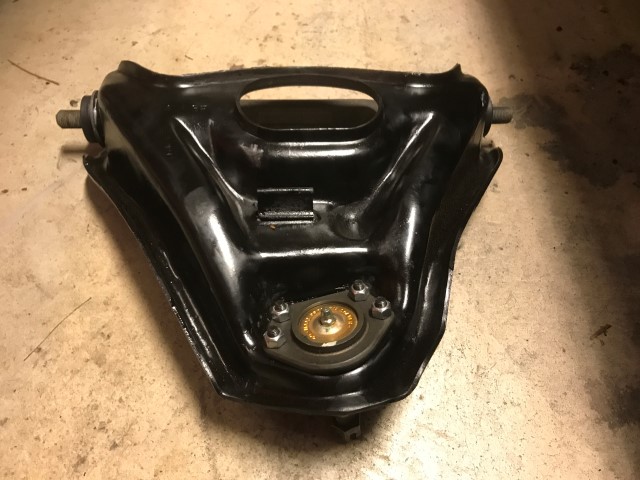
Lower control arm side one is installed. Some love kisses are evident, most of those were already present from road rash over the years and the flash just brings them out.
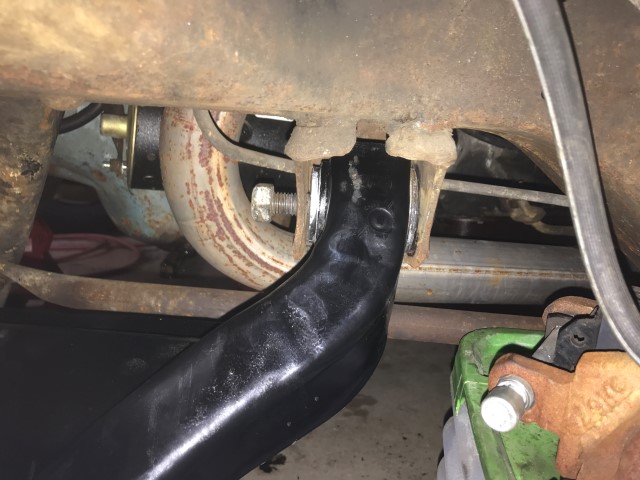
Lower control arm side two installed. Nut and bolt slide through without issue, the rubber extends just like it should (amazing for some reproduction parts to actually function).
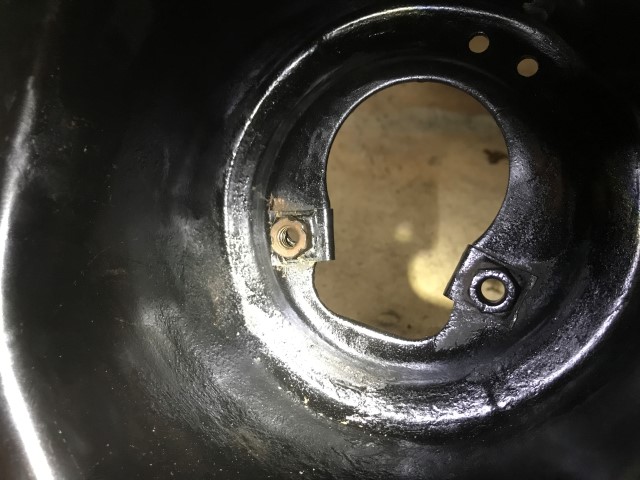
Shock nut is fixed: pry metal tabs back, stick nut in and press them back down. Not perfect but it'll hold until I get the shock installed most likely...
Upper bushings go in!
Upper bushings are MUCH easier to do than the lowers, but they're also kind of undersized for the car too...
New ball joint installed, upper control arm ready to back in.
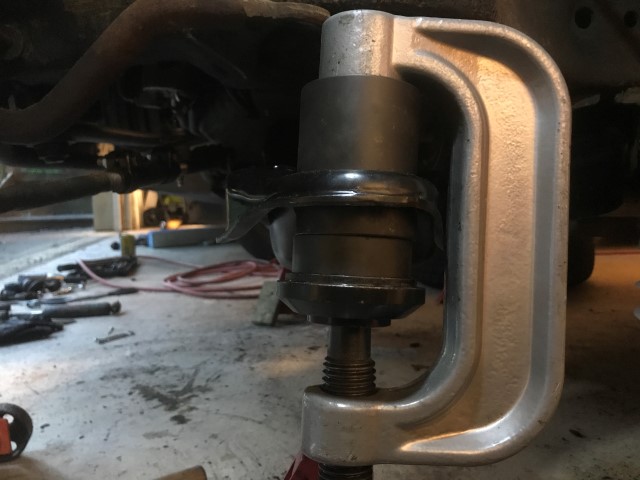
Lower ball joint fully seated. This was SO incredibly difficult. I had to put the ball joint in the freezer overnight, clean up the hole surface lightly with some emery cloth, lube the heck out of the c-clamp, and then stand on the breaker bar the last few pulls to fully seat it. No chance of this sucker coming out now!
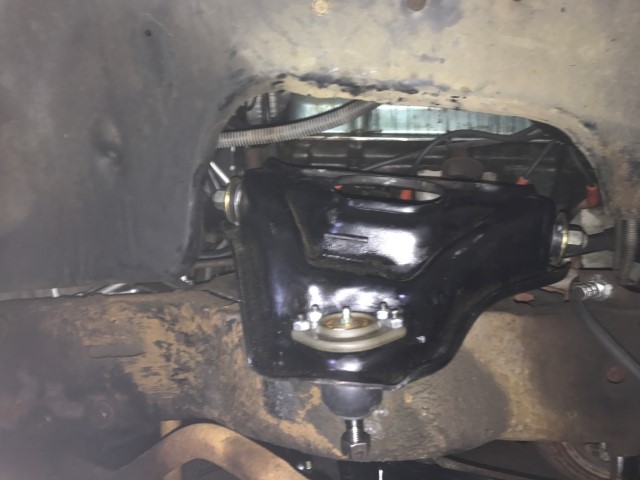
Upper control arm in place.
![]()
Upper arm is shimmed and tightened down. The end nuts are ready for torquing once the car sits level.
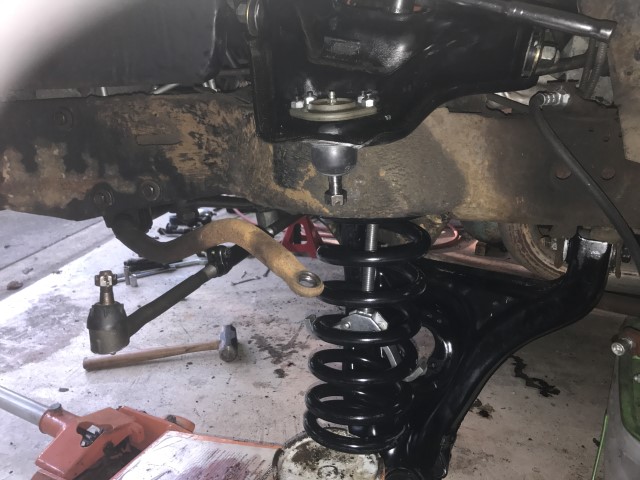
Spring is balanced precariously on the jack while the spring compressor gets threaded in place...
Spring is chained down and the compressing begins...
Pop the spring in! My nice paint job is all scuffed up!
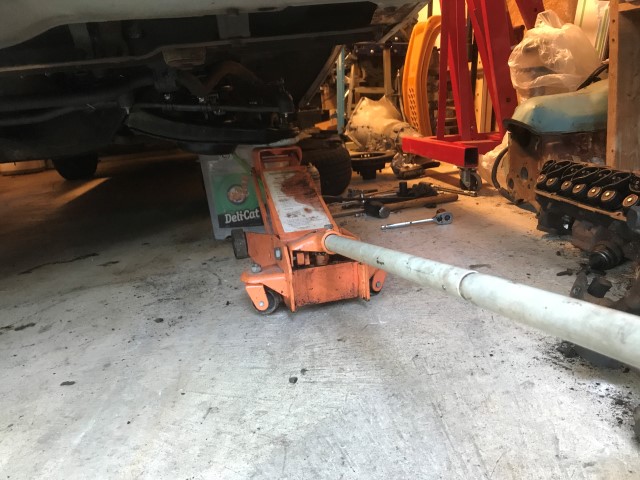
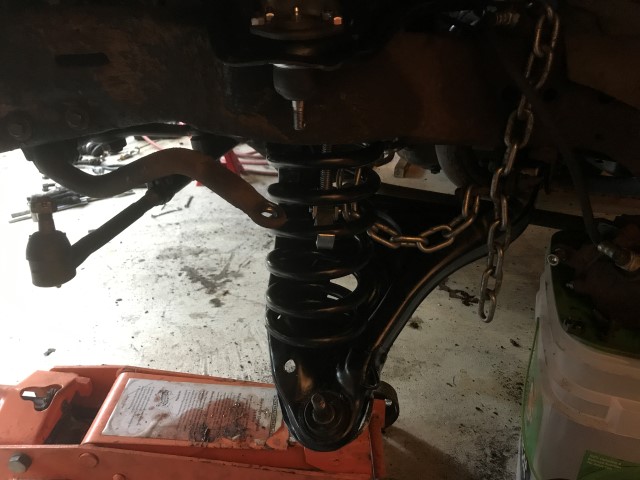
Use the jack from a safe distance to avoid any incidents and that giant BANG when the spring aligns into place. Now the spindle is ready to go on.
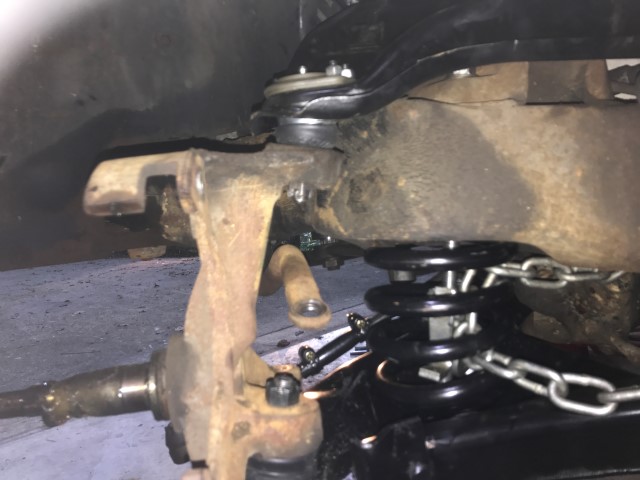
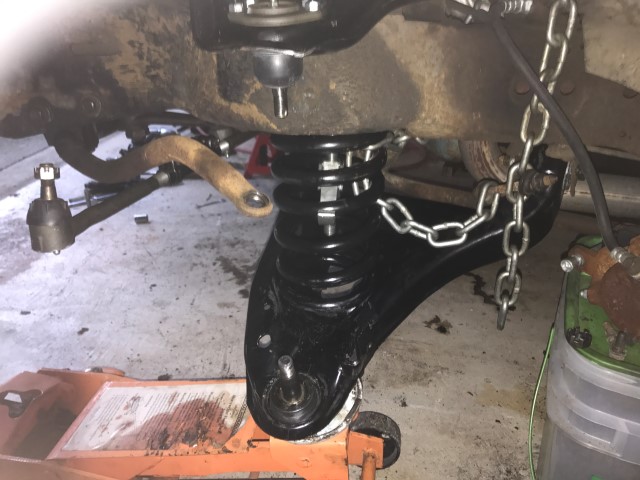
Whew. Spring is in, spindle screwed in with threads exposed above the castle nuts, and jack is removed safely. It's officially in. Definitely need to clean off that machined surface with all the grease I spilled grime all over...
Well not too bad! Not much left to do, just torque down the driver's side nuts, put the tires on, ramp it up, and torque down the bushings. Then I'm ready for an alignment!
Return to 1973 Grand Safari
Last updated June 8th, 2017