Timing Cover - Part 1 - 01/02/2014
In my quest for dependability, I was determined to fix an oil leak that was annoying me from the front area of the engine. It seemed to be the fuel pump, so I decided that since the timing cover looked original and untouched and I was probably going to have to be in that area anyways, not to mention that since the car likes to run at 210-220... I was going to change the timing chain, water pump, and thermostat! Parts were sourced, garage reorganized to fit the entire car in as this may or may not be a single day job depending on what is found...

Big car... fits in the garage though!
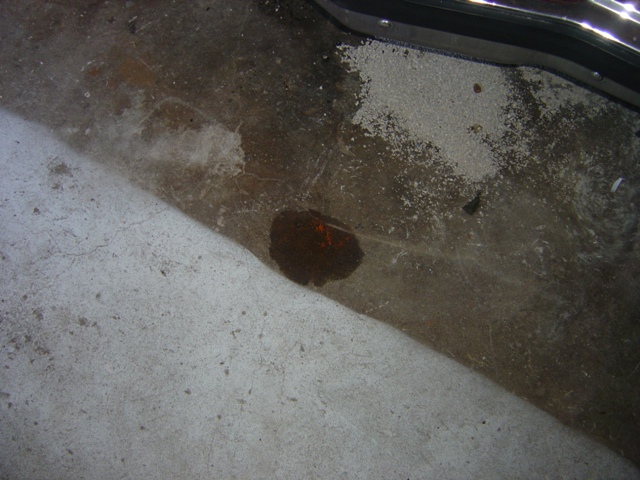
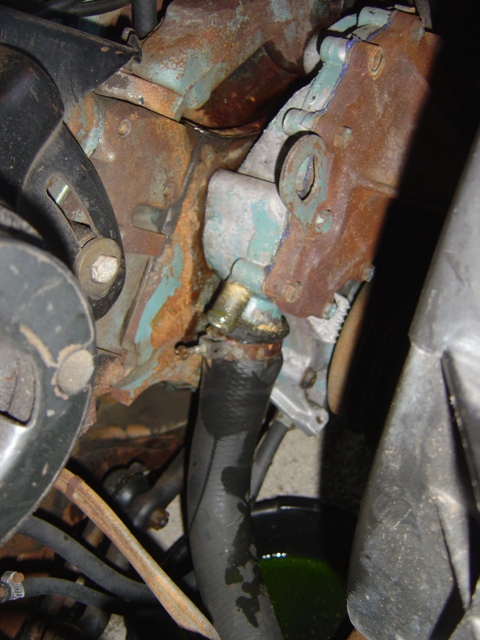
The oil spot after the car has been sitting for 2 days. A nuisance if there ever was one. Old cars leak, but this is a bit much.
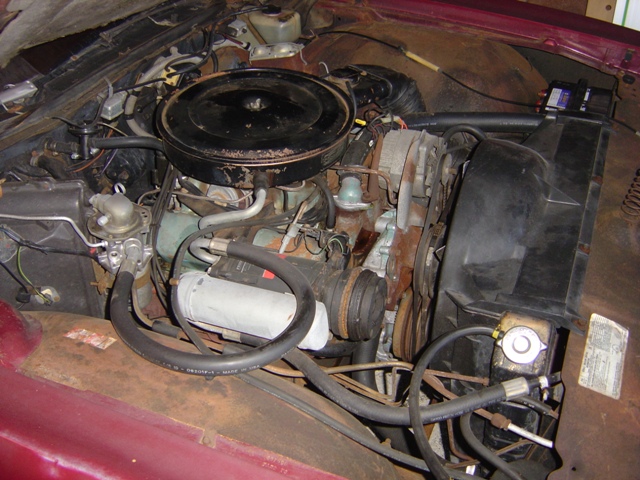
And away we go! I did this on the '71 recently, so I knew I didn't have to pull the radiator and it would be a pretty straightforward job.
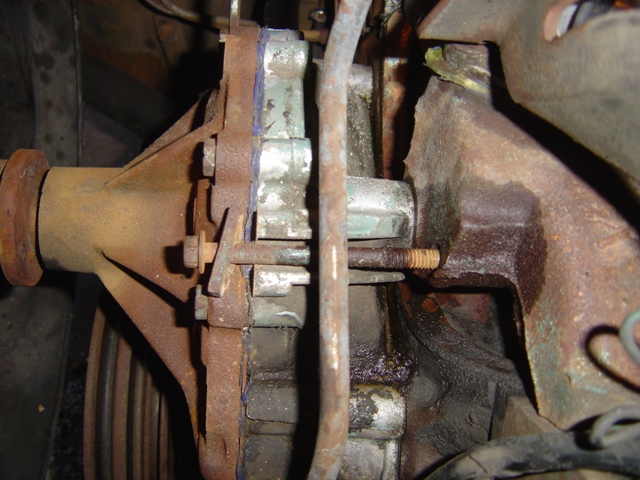
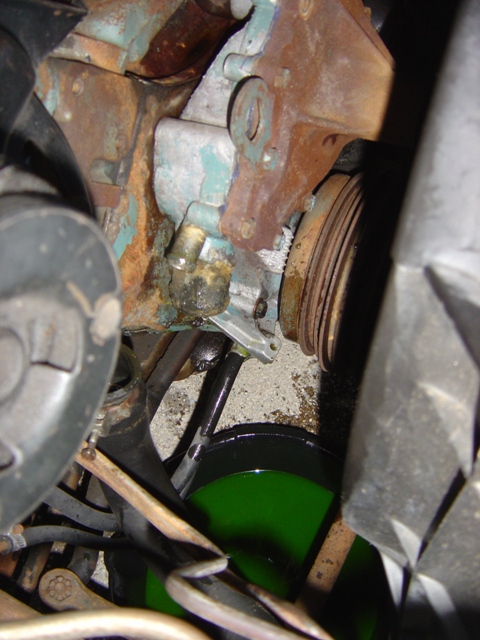
Timing cover to intake bolt. You can see how rusty the threads were. I was glad I got this out without any issue, lots of PB Blaster and back and forth wiggling.
All of the oil weeping is coming from this area, considering how gunked up and nasty it is it can't help but give itself away.
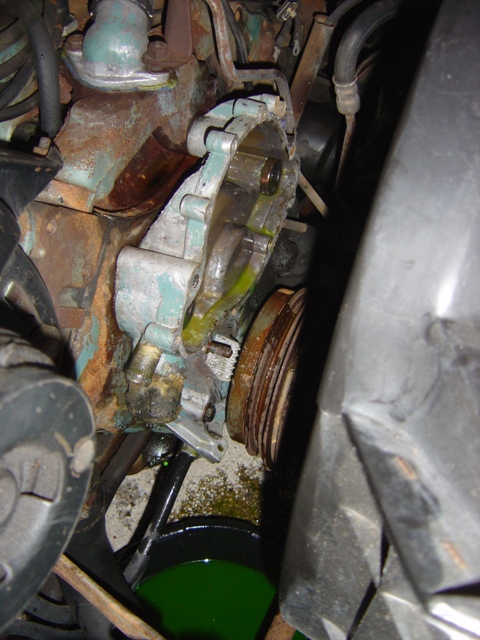
Factory tower clamps still on the radiator supply hose. No real nasty corrosion inside the the fittings.
All hoses are free! Amazingly enough, there's a not-really-rusty anti-collapse spring in this heater hose. Woo!
Water pump removed! Not too horrid inside.
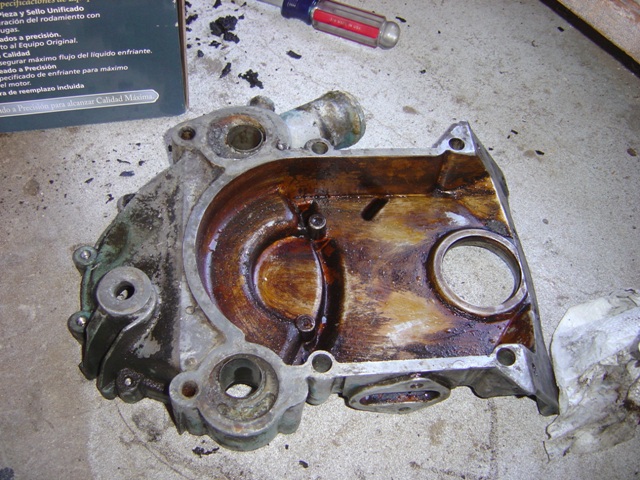
Well look at that... Divider plate has seen better days too. Previous installer LOVED the silicon too.
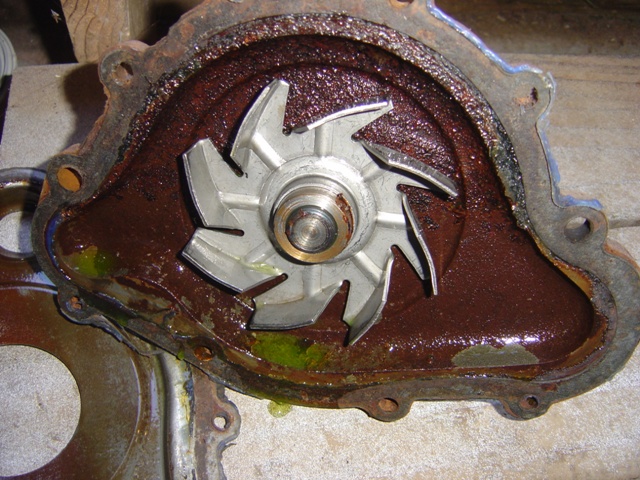
Yup, stamped impeller. I could almost fit my pinky between the blade and the divider plate, the clearance is WAY off. Judging by the amount of corrosion this thing has been here for a few years...
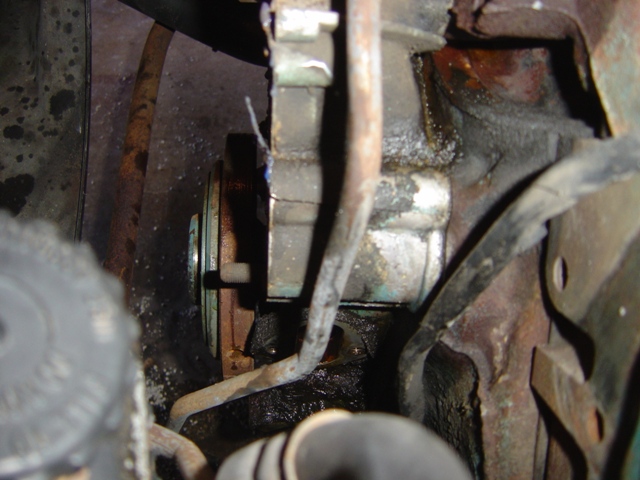
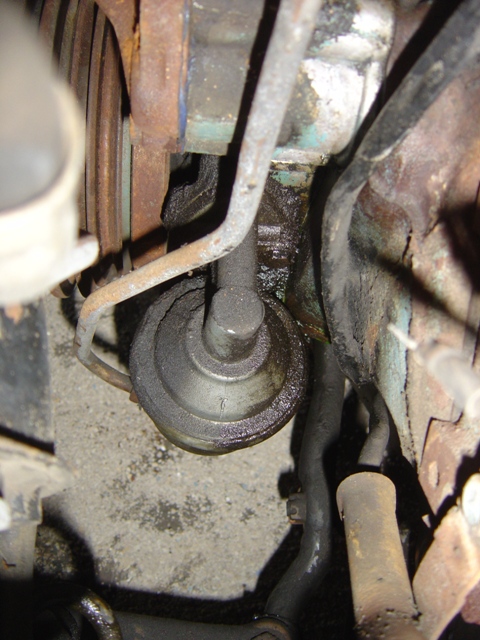
Fuel pump removed. Difficult to tell, but they didn't put a new gasket on it!
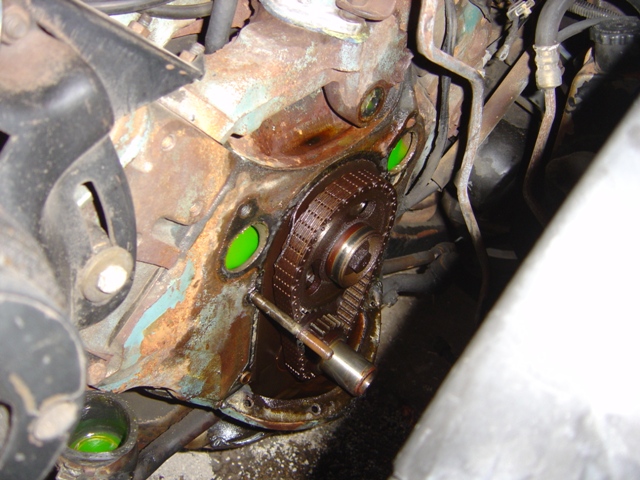
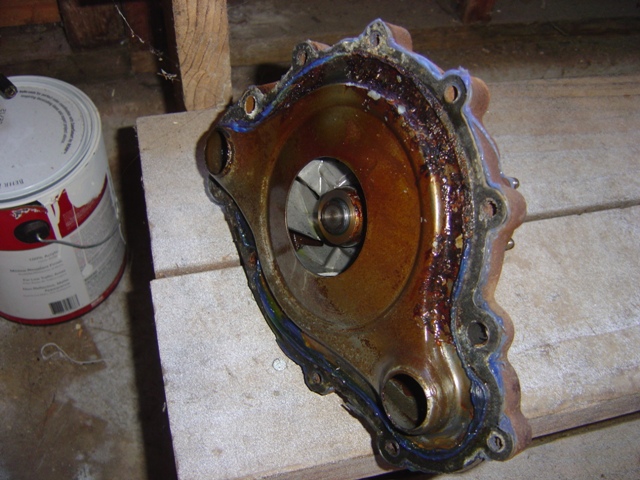
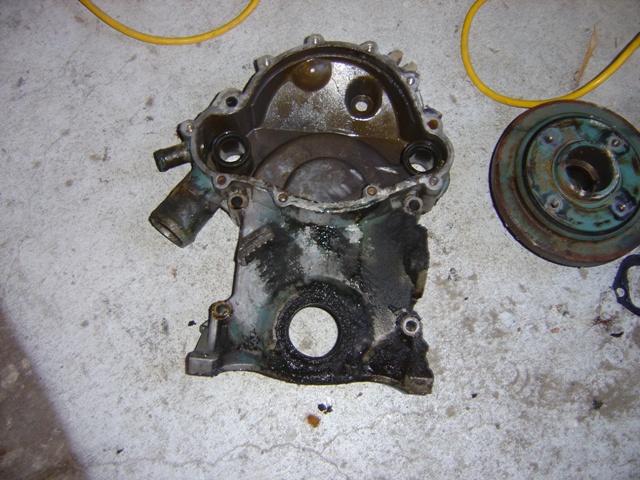
Timing cover removed. Hard to believe, but those hard as a rock gaskets are the original factory gaskets... this means the timing cover has never been off before. Fortunately it's a steel timing chain vs. the nylon ones used earlier in the 60's. The chain isn't very sloppy either!
Gooey.
Coated in oil and goop. Lots of scrubbing is in my future with the Simple Green & brake cleaner... Water pump o-rings are hard as rocks too, they may be original as well.
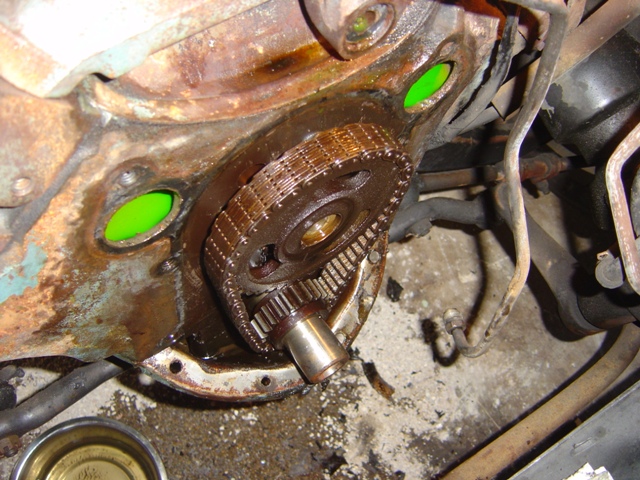
Old chain comes off with some help after all old gasket material is scraped off. No, it did not fall into the oil pan, I caught it all with a rag and kept emptying it. Timing chain has a GM date code of August 20th, 1973...
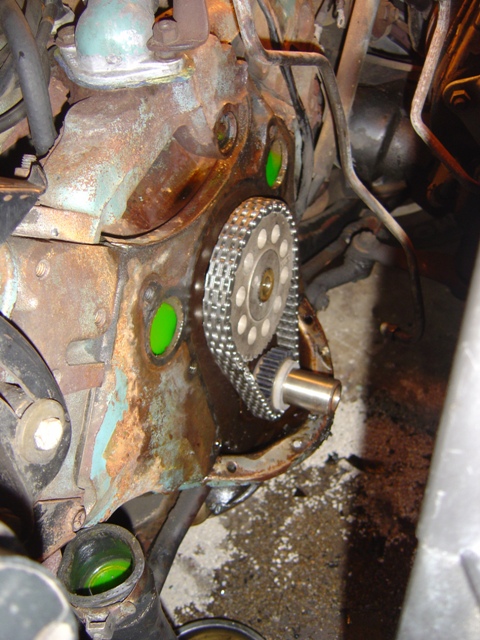
New timing chain installed (Cloyes)! Same position as old one, no reason to re-time since it was perfectly dead on.
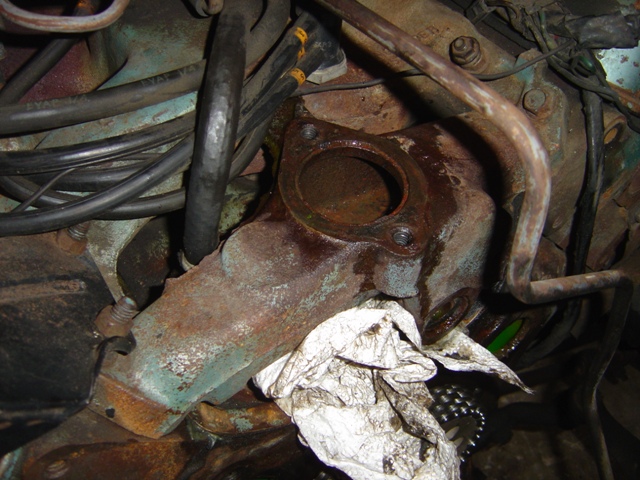
Thermostat housing removed, rubber o-ring all removed and everything cleaned up. Surprisingly little pitting, like almost none on the intake itself.
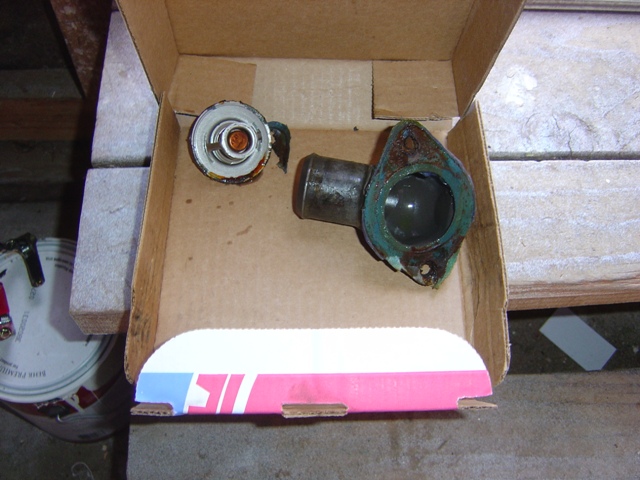
Thermostat is relatively new. Thermostat housing displays a previous repairman's love of silicon (it almost looks\feels like it has 2 gaskets on it).
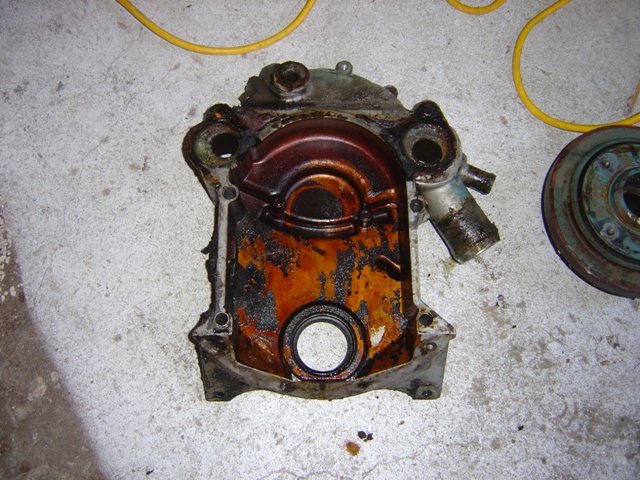
Timing cover all cleaned up and ready to be reinstalled! Making it spotless and painting it would be nice, but this engine is not fresh and I'm not really that picky. I just got rid of all the caked on grease and grime and cleaned all surfaces. It should be easy to handle and install. If the engine was a fresh rebuild, obviously it would be cleaned up more.
Unfortunately our tale ends here today. The timing cover gasket set that I bought from NAPA came taped up. I was assured it was complete, except when I opened it the box revealed all of the gaskets and seals needed, except for the actual timing cover to block gasket (the most important piece). So I had to call NAPA to get another one ordered, push the heavy wagon back into the garage by myself, and clean up for a trip back to the parts store in a few hours. Fortunately almost everything is cleaned up and ready to go back on the car, but I do still have to boil the new thermostat to verify it does open... To be continued!
Return to 1974 Catalina Wagon
Last updated January 2nd, 2014