Timing Cover - Part 2 - 01/03/2014
We resume bright and early the next day to finish what we started. We began by cleaning up a heck of a mess in the garage that resulted in coolant going everywhere including the crankcase, so add an oil change to today's work. Hopefully it will go smoothly and without issue.
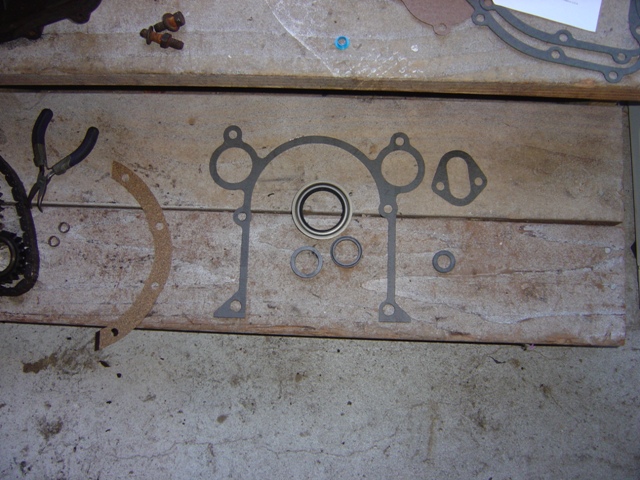
The needed gaskets. The housing itself was missing yesterday, which makes me cranky. Fortunately they are all here. Note that the gasket only goes on one way...
Studs are screwed down into the block tight, oil pan seal is laid out with a bead of sealer on both sides where the block joins the pan & timing cover (let set). Rubber o-ring for intake bypass is also installed, sealer installed and let to set and get tacky for 20 minutes or so. Gasket surface on block and timing cover is wiped down with brake cleaner to ensure no grease or grime and good sealing.
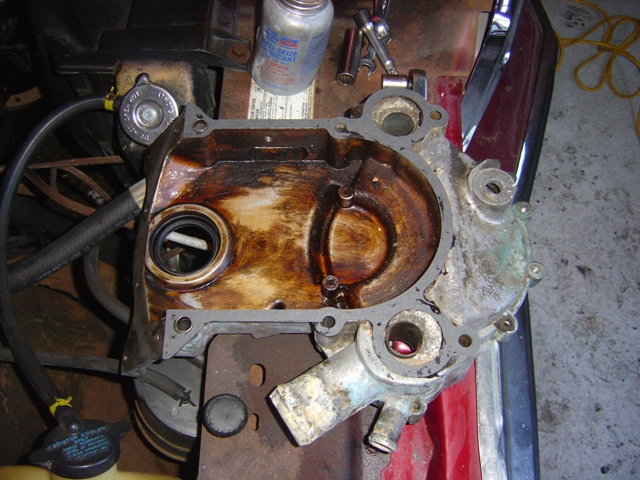
Timing cover gasket on back, block alignment pins installed as well. Since there was a known leak on the driver's side and some minor pitting, a light smearing of Permatex was placed on the cover side. This helps hold the gasket in place and also keeps minor pits from being too much of an issue. The sealer is also focused on the water passages into the block as well since I've seen lots of pitting and leaks here (this cover was in good shape though). A light coating of oil on the harmonic balancer seal is also placed.
Timing cover on! Slide on, use 2 nuts to get initial placement done, then head down below to get the 4 oil pan bolts started. Once those are started, start the bottom 2 bolts, then do the long bypass bolt (with plenty of evidence of Anti-Seize on it). Tighten all down and pray for no leaks!
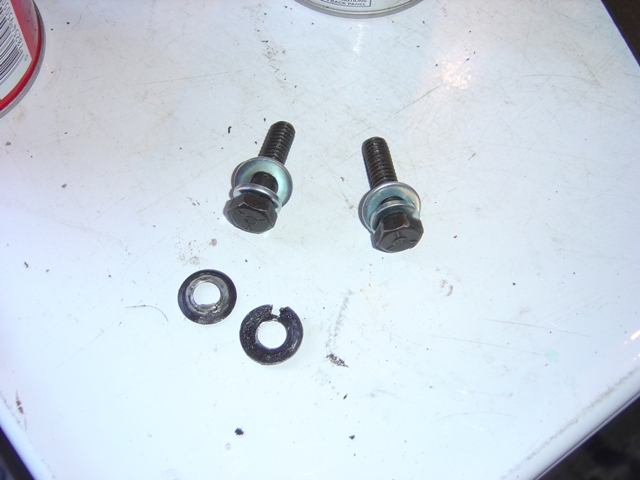
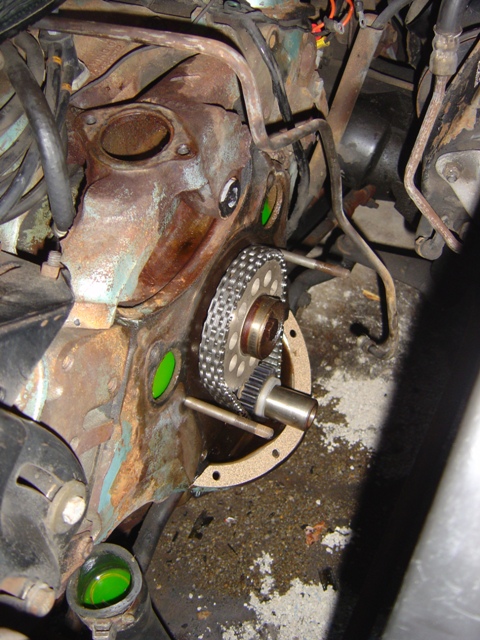
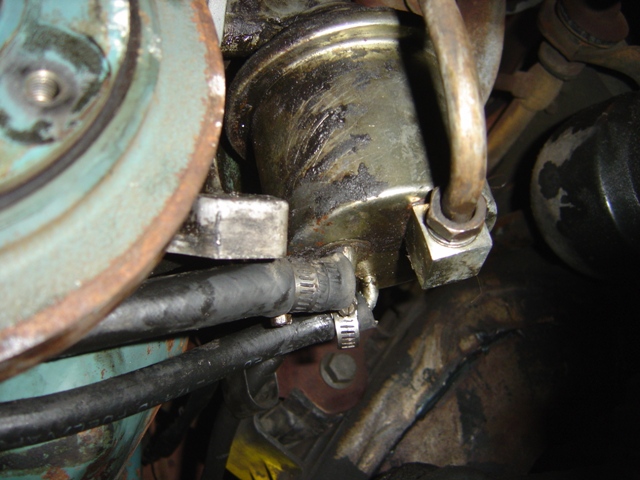
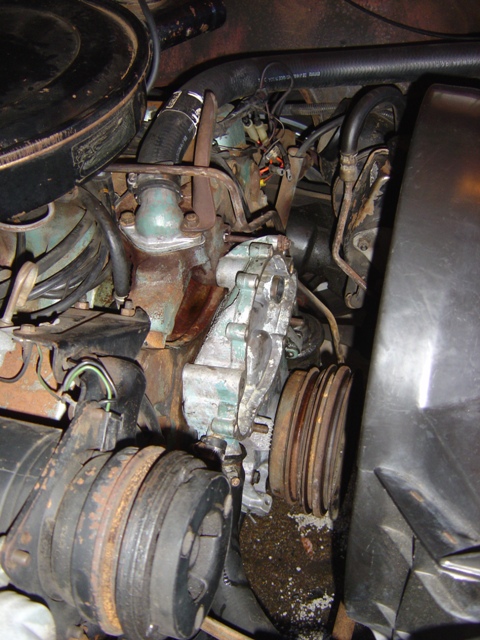
Before tightening the harmonic balancer, better do the fuel pump since the eccentric isn't in the way. The 2 "washers" on the bottom of the photo have seen better days, so I put new washer\lock washer combos on each bolt. Could explain the leak...
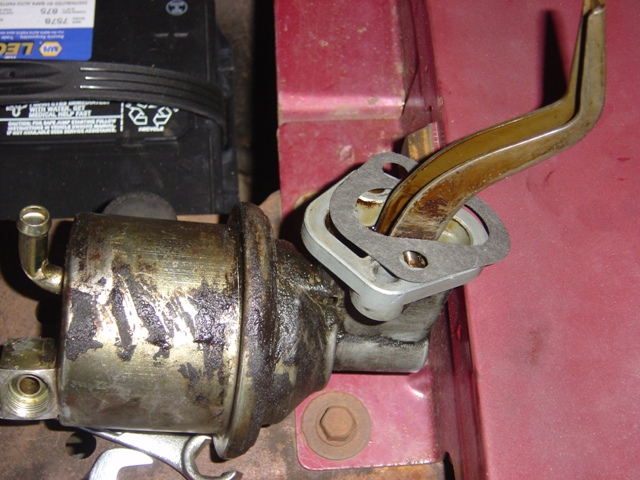
Fuel pump is mostly cleaned, it looks pretty good now compared to what it did before! Gasket surface wiped down with brake cleaner after old gasket removed. Don't want any leaks!
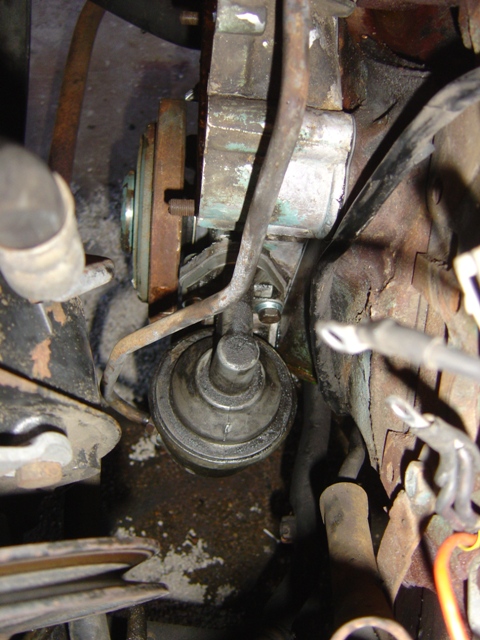
And it's in with minimal fuss.
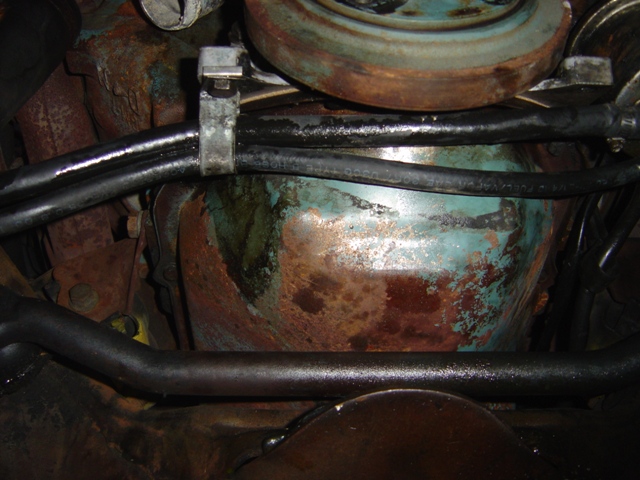
Run the fuel lines with their support bracket that bolts to the timing cover.
Lines on the pump all hooked back up. Stupid teflon tape removed from fuel pump hardline. The lines could stand to be replaced I know, but I ran out of line and didn't want to make yet ANOTHER trip over to the parts store. I do have a metal can fuel filter that I will place in between the tank and pump to protect the pump. Of note is that both the vent and the feed line would NOT stop flowing fuel when removed. I was afraid I was set up to siphon the tank, which may be because the tank on this car sits up so high compared to a 2 or 4 door. Had to plug them both.
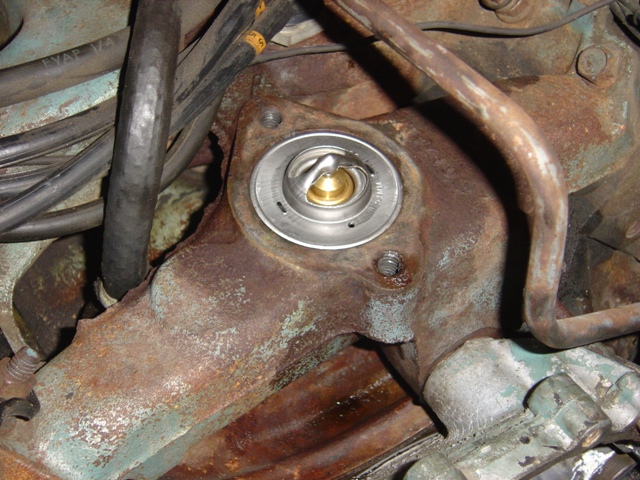
New 180 thermostat installed with small bypass hole drilled for safe measure.
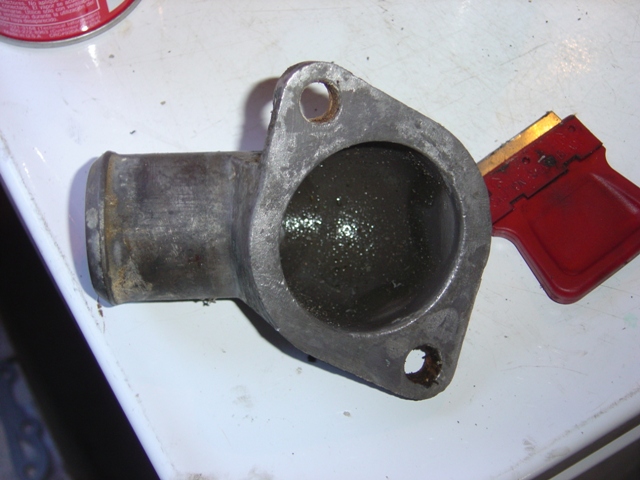
Housing after being sanded down a little bit. Not bad for 40 years old.
Housing installed properly. Small smearing of silicon between housing and gasket just to give it a little help (might not need it). Bolts were wire brushed down seriously and Anti-Seized. I'm not doing this again with broken bolts!
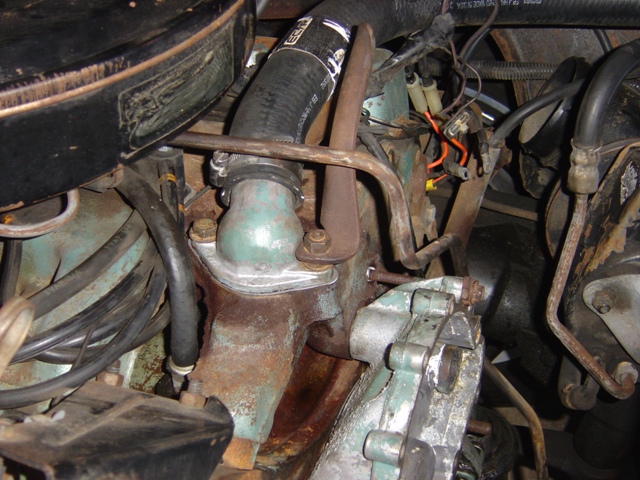
Balancer is torqued down - interestingly enough it used to be my most feared part of the job, but a long screw driver in the flywheel and my torque wrench makes it a cakewalk. The pulleys are installed back now too. Hoses are installed as well. The lower radiator hose? Yeah... it has a GM part number on it and is molded as well as with spring installed. Probably original, but in really good shape!
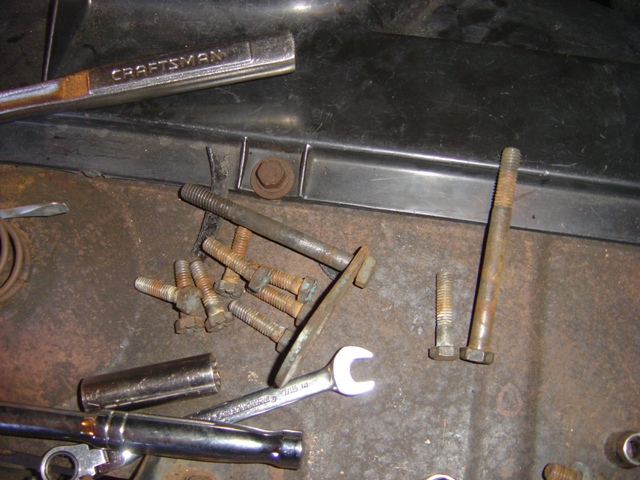
Factory water pump bolts after being brushed considerably. Note that the 2 bolts on the right are for the '71-79 alternator\power steering pump bracket and are 1/4" longer than the rest of the bolts. This is important because Ames and Performance Years sell a "water pump bolt" kit that is a perfect match to the factory bolts... except for these 2 bolts being too short and not able to fully engage the threads and hold the bracket down. I brought this to their attention and... well you know how it goes. Liberal amounts of Anti-Seize will be applied obviously.
![]()
New stainless divider is clearanced on new cast impeller water pump. This pump didn't need much, but I brought it in pretty close anyways. Love taps!
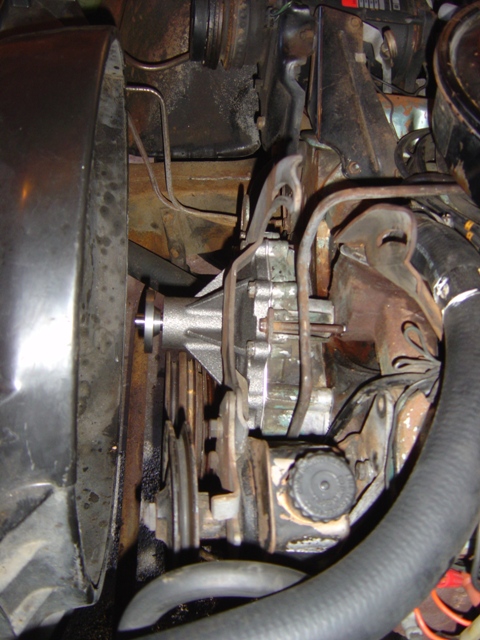
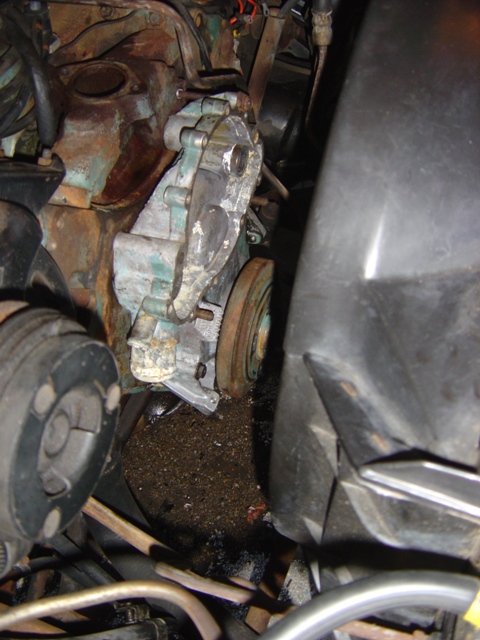
Water pump on with all bolts engaged. If I wasn't such a lazy bum I'd have painted the cover and water pump as I found a can of "close enough" blue on a shelf at my parts store. I'm lazy and also wanting to get the garage back, it's only up in the mid 50's here with little sun making painting parts not easy. I'll share an anecdote now for the observant readers: at this point you should fill the cooling system up and roll the water pump around to make sure you don't have leaks. If you put the entire engine back together and then start to fill it up, you will notice you may have done something stupid like accidentally push the bottom half of one of the gaskets inside the housing and it will leak like crazy, and you can't do anything about it except get the buckets out because everything is in the way... I'll let the reader determine if this is just a tale of caution or if it actually happened...
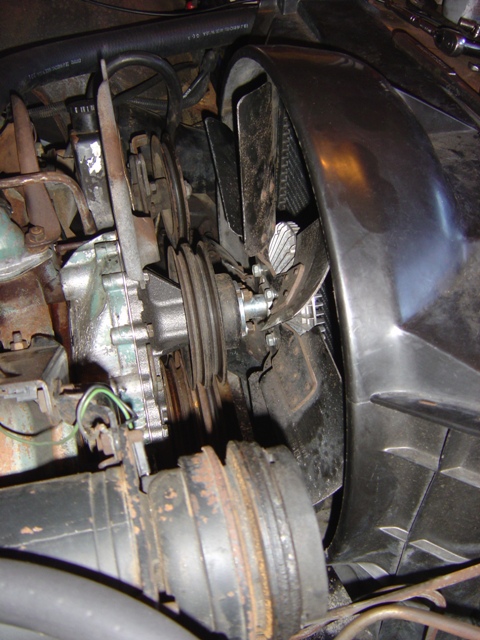
Fan installed. Home stretch now...

Engine all put back together! Now time to fire it up, verify timing, and verify no leaks!
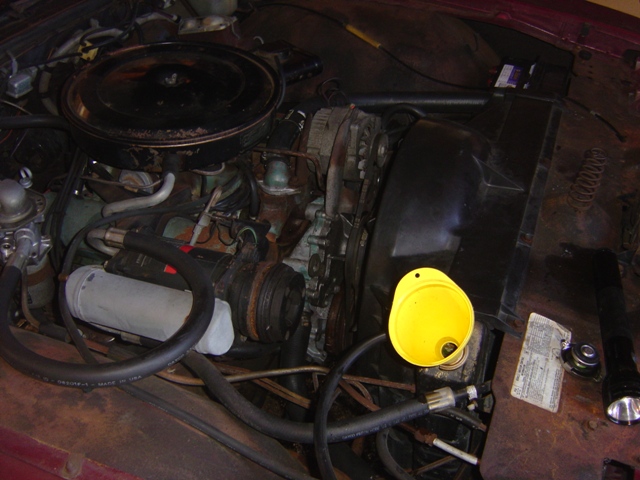
For some reason this picture turned out really dark, but the engine is actually running in this photo. It sounds pretty good. If you don't believe me I took a video here. Go check it out. No smoke or funny noises.
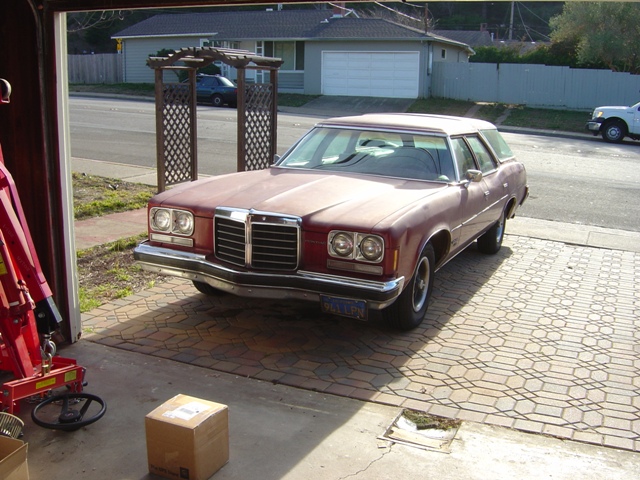
After several heating cycles the car is done and now back to it's driveway spot. No leaks, no evidence of any trouble. Initial timing was still sitting right at 10 degrees where it should be. Will need to take it out and open it up on the freeway to verify it can keep itself cool and not leak anything, but that's for tomorrow when traffic isn't as heavy as it is this late in the afternoon.
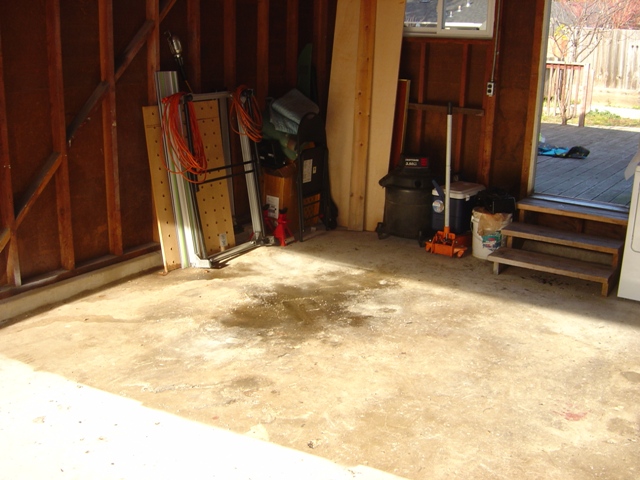
Now the garage is all cleaned up! For the most part. Coolant just sucks to have to get up since it doesn't like to evaporate in this cold weather and kitty litter doesn't pick it up too easily either.
Well that was a productive day. Glad it all turned out well with no problems. Other than some minor maintenance there shouldn't be too much to do left on the car that needs to be done.
Return to 1974 Catalina Wagon
Last updated January 3rd, 2014