Heater Core - 10/29/2011
Before I get into the heater core, let's discuss brake bleeding! I was able to crack open the bleeders last week, but needed someone to help me bleed the brakes. Chris assisted and I discovered that my bleeders were 100% clogged. As in so bad you couldn't even see the bleed hole on top OR bottom! I used several tools with the bristles from a wire brush to clean out the nasty dirt and gunk that was caked in. The bleeders on this car sit upright, so anything that falls in from road dust and grime will not fall out. Rregularly bleeding the brakes is a good idea on a car like this. The brake fluid was NASTY too. All cloudy and muddy. Most of it ended up being replacd and the sheer amount of air that came out was crazy. Many thanks to Chris for putting up with me smelling nasty and covered in rotten brake fluid. The car stops on a dime now and the bleeders are clean!
When I bought the car it had no heat. There *was* a heater core in it, but in my wisdom and many years of experience, when someone bypasses a heater core, it's almost ALWAYS because it leaks. And even if it wasn't leaking, after having it open for an unknown amount of years with debris and garbage in it, it likely WILL start leaking once you begin flowing hot and cold coolant through it. Luckily this car is a heater car and not an AC car, which I dislike doing due to how much of a nightmare it is.
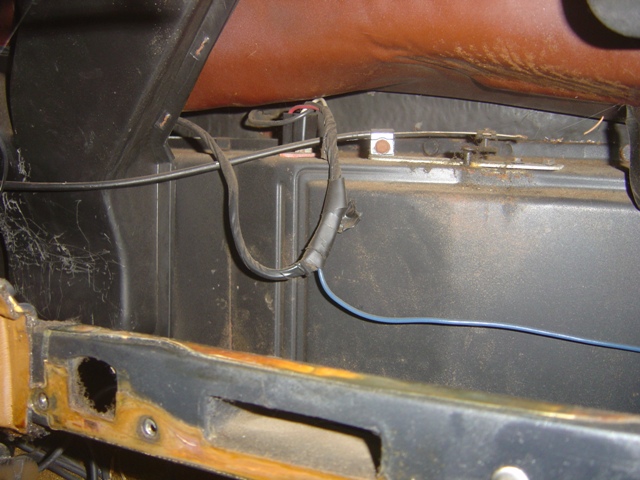
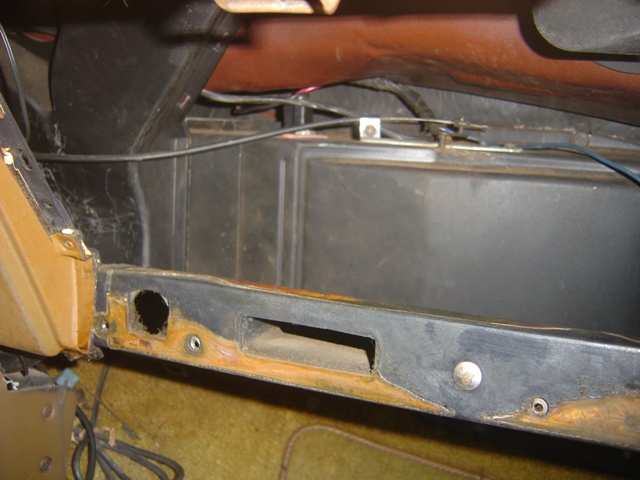
The box to be removed. Amusingly it's only that defroster duct that is attached to it that needs to be removed inside. Also, the resistor network is right there on top of the box on that plug. It gets power from inside the car, feeds through the resistor and high speed setting to the black wire which goes to the blower motor outside the car (almost the exact opposite of how an AC car works). Heater door cable is also visible.

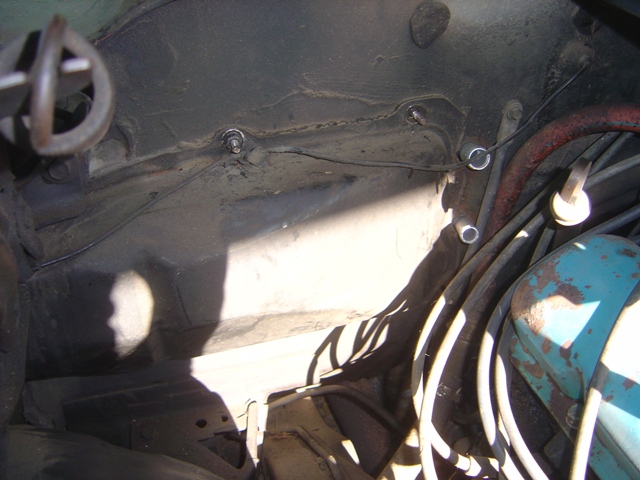
Heater core has been removed from the firewall. It took a LOT of suggestion and tugging to get this guy off. As far as I can tell, this car has never had its heater replaced. All of the factory seals and firewall insulation was in place and STUCK down good. Pretty good longevity for 34 years, but that doesn't tell me how long ago the heater died... Three prongs on the resistor block indicate it's merely a 3 speed fan setup, which until 1978 when they did the "always on low speed" setup, it was.
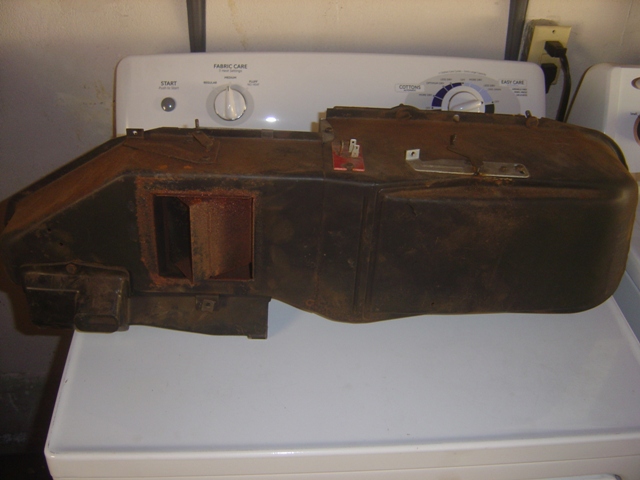
Heater box out. Never having had a heater car, I am curious about the differences and how it works. It uses a mechanical cable to move the door on the left side to divert air flow to the defroster ducts (which were plugged with garbage preventing the door from moving fully, hence the rust). The door here is in the defrost position.
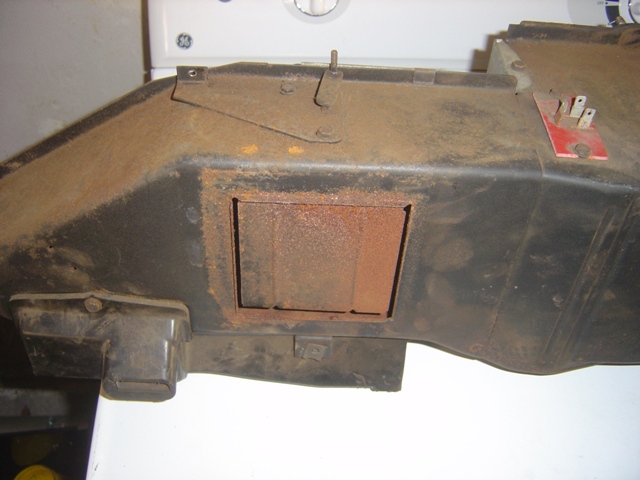
The heat position. Air will bypass the defroster ducts and go behind, right outside to the heater floor ducts.
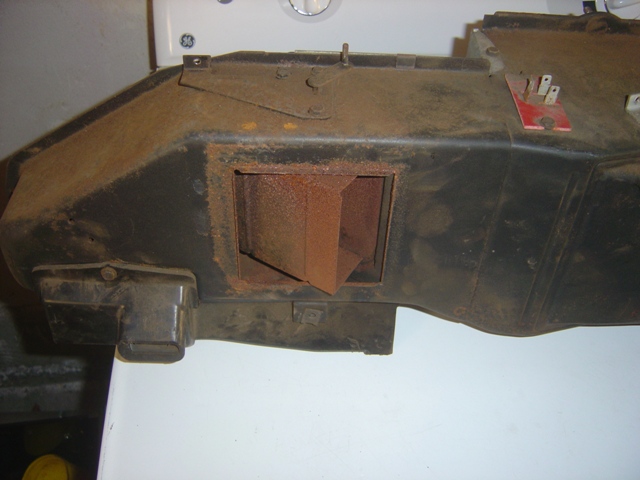
The off position. Air doesn't pass through. Not really sure why it would be needed with the fan being able to be turned off. Someone tried to force this box into this position via the selector switch and since all sorts of debris and junk had fallen down, they ended up breaking the plastic holder for the selector cable (hence now it doesn't select). I set it to defrost permanently until I can track down that cable as some heat will still flow out the bottom ducts while going to the windshield.
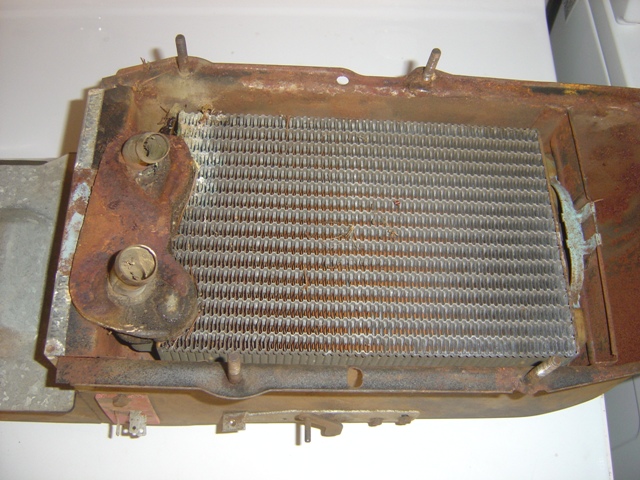
Old heater core still in place with all kinds of junk in it. As you can see, it was definitely leaking. Of interesting note, the entire heater case is made of metal, not fiberglass, which I was amused by. The temperature door adjustment will bypass the core on the "cool" setting, which is purely outside air coming in. It does this really effectively too, AC cars tend to not do a good job at this and get a bit of residual heat blowing in despite the flapper door being closed.
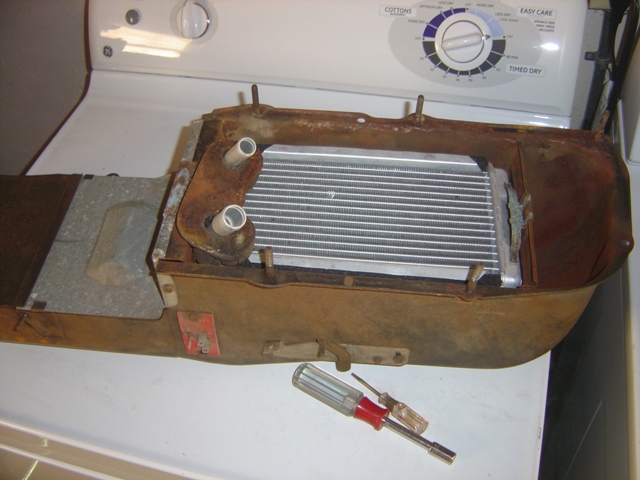
New core from NAPA installed. It is a low flow new re-design, so a restrictor on the inlet side isn't needed anymore. The tubes weren't 100% where they needed to be, so some gentle massaging was needed.
Heater box and new core fully back in. This job sucked. 3.5 hour job: 0.5 hours to remove and install new heater core, 2 hours to fight and finagle heater box back into place and line up both tubes and all 5 bolts, 0.5 hours to clean up and reconnect everything, 0.5 hours to do coolant change and hookup.
All studs line up! I was just so happy to finally get this done.
The saga of draining radiator and filling it back up was one of note. I went to drain the radiator expecting to loosen the petcock and let it all flow out. Except someone has replaced the petcock with an actual drain plug. It was such a bear to remove because it was plastic and had to be loosened by hand at an awkward angle, all the while rotten antifreeze is running down your arm and into your jacket sleeve tickling your armpit. That was fun. Then it finally drained, the hoses were run. I topped off part of the radiator. Warmed up the car and waited for the coolant to start to flow. And it did. I looked up through the windshield where I was putting the glovebox back and saw a geyser of coolant and water flowing out the radiator. Apparently there was quite a bit of air trapped in it and it blew out a good portion of the (fresh) coolant and the old nasty brown coolant. So I got a pretty good flush. But at $15/gal for antifreeze, I'll avoid it in the future. I finished topping everything off and the temperature regulates MUCH better than it did before. It also doesn't hit 220 before settling back to 195 because the thermostat isn't the only way for coolant to flow (it can now flow through the heater core!). So I now have heat! And it works! Yay! I drove it out on the town last night to celebrate and enjoyed the heat. Amusingly enough, at one of the parties I went to, someone knocked on the door and asked if it was for sale... Everyone loves the Trans Am! I'm now practically done with the car except for a new stereo, the heater door adjustment cable, and new shocks and springs for the rear. But most of that can wait as they aren't that critical to driving it around and enjoying.
Return to '77 Trans Am Page
Last updated October 29th, 2011