AC Rebuild - Part 2 - 08/29/2018
We now resume our current project...
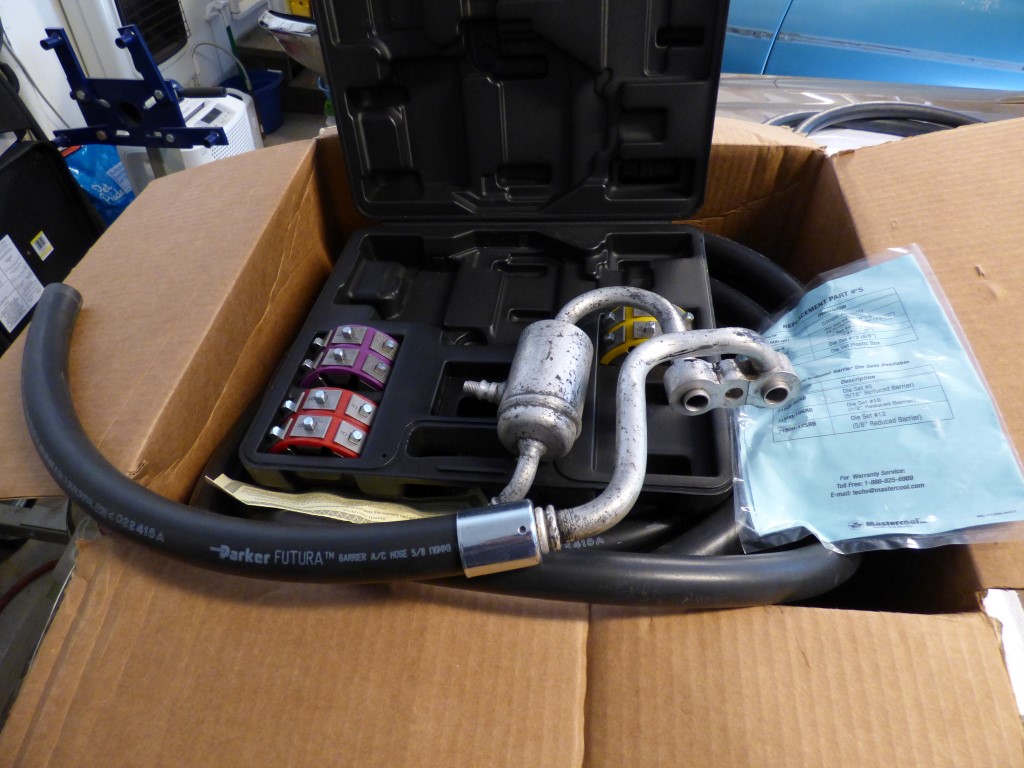
Testing the new hose and ferrule fitment.
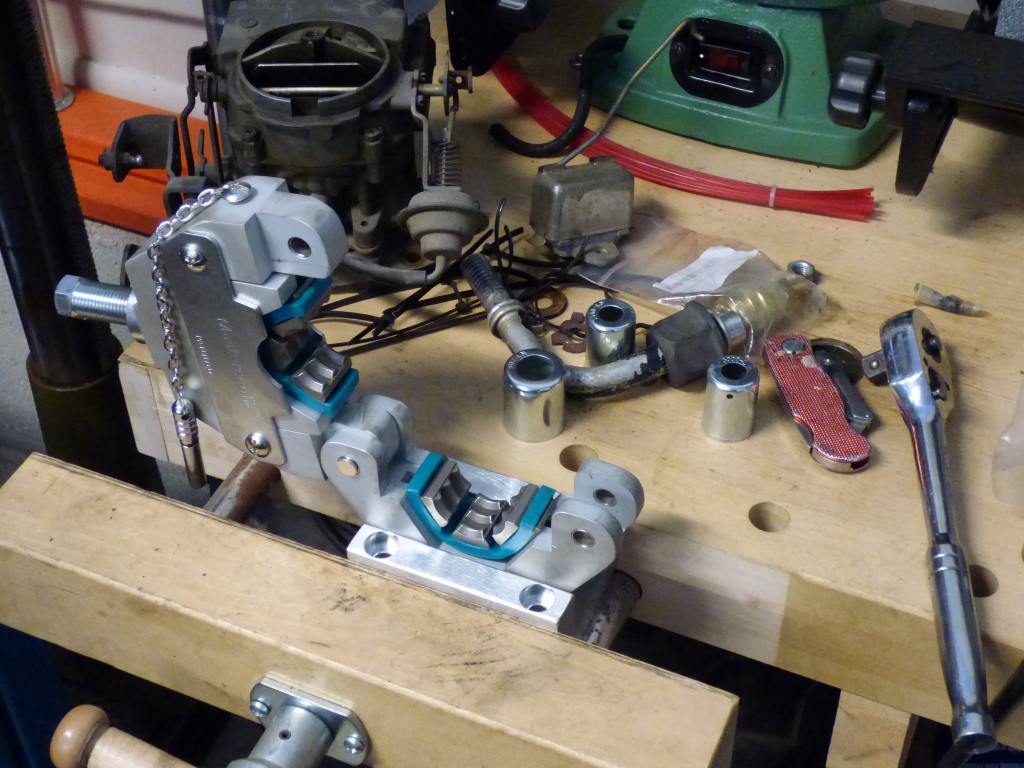
Using the #12 die to crimp the ferrules down.
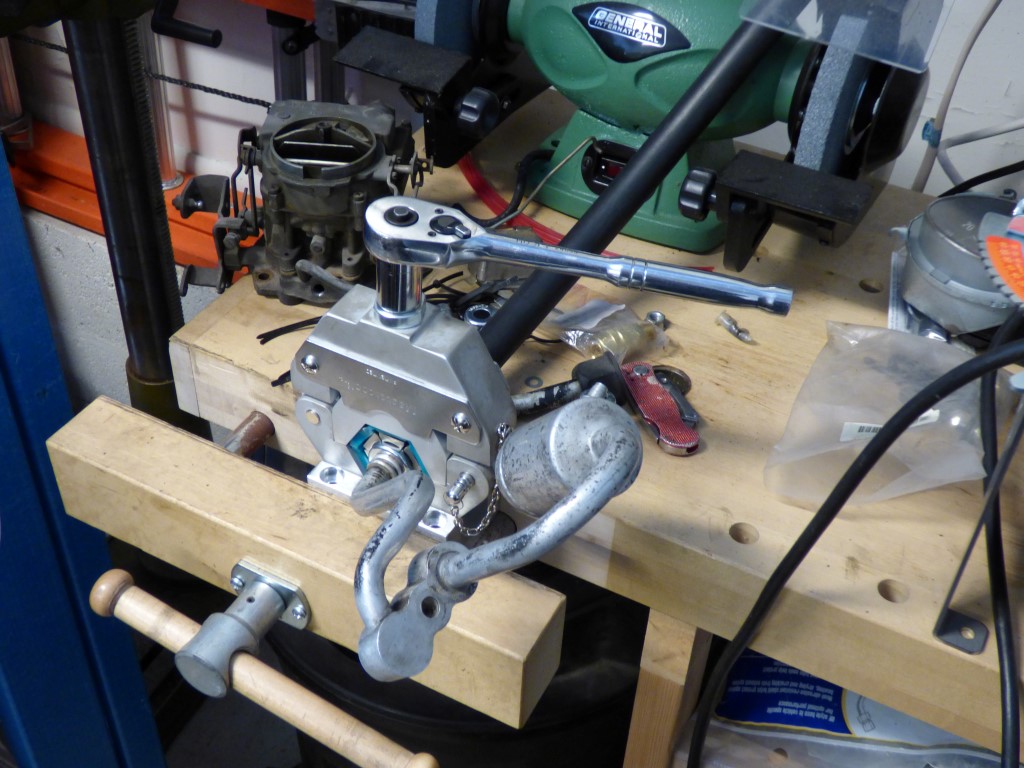
You can do it, put your back in to it!
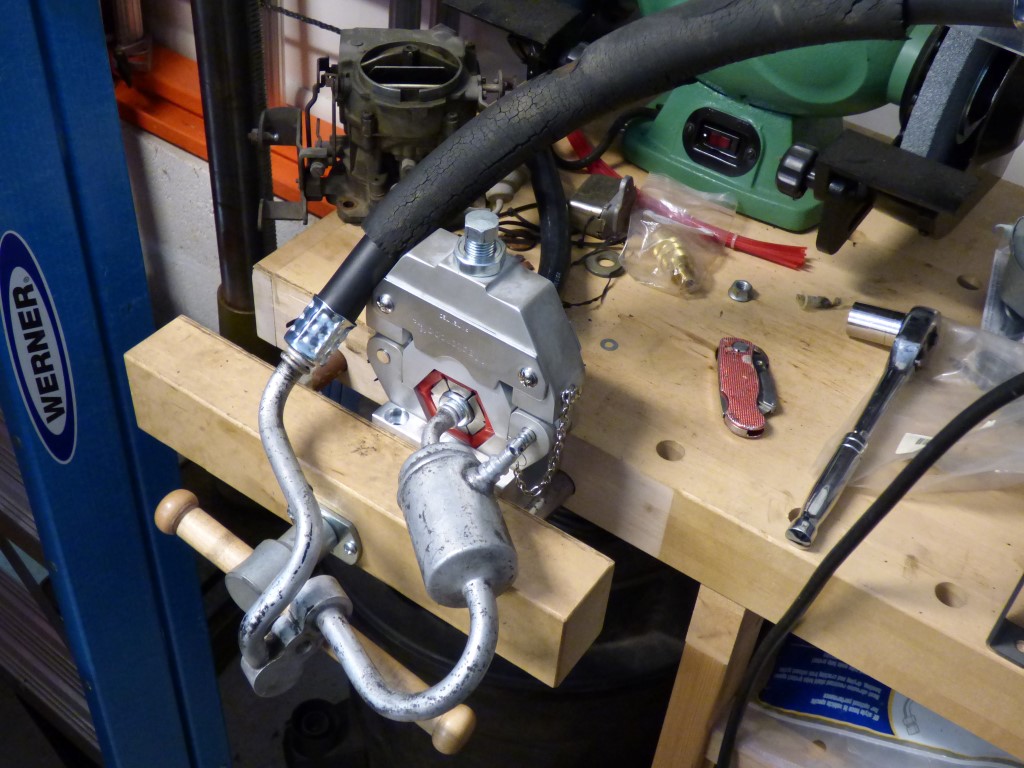
Using the #8. I was contemplating why the metal tubes leave at such strange angles on these systems, and the answer is so you can crimp them! And it makes you be creative to do so...
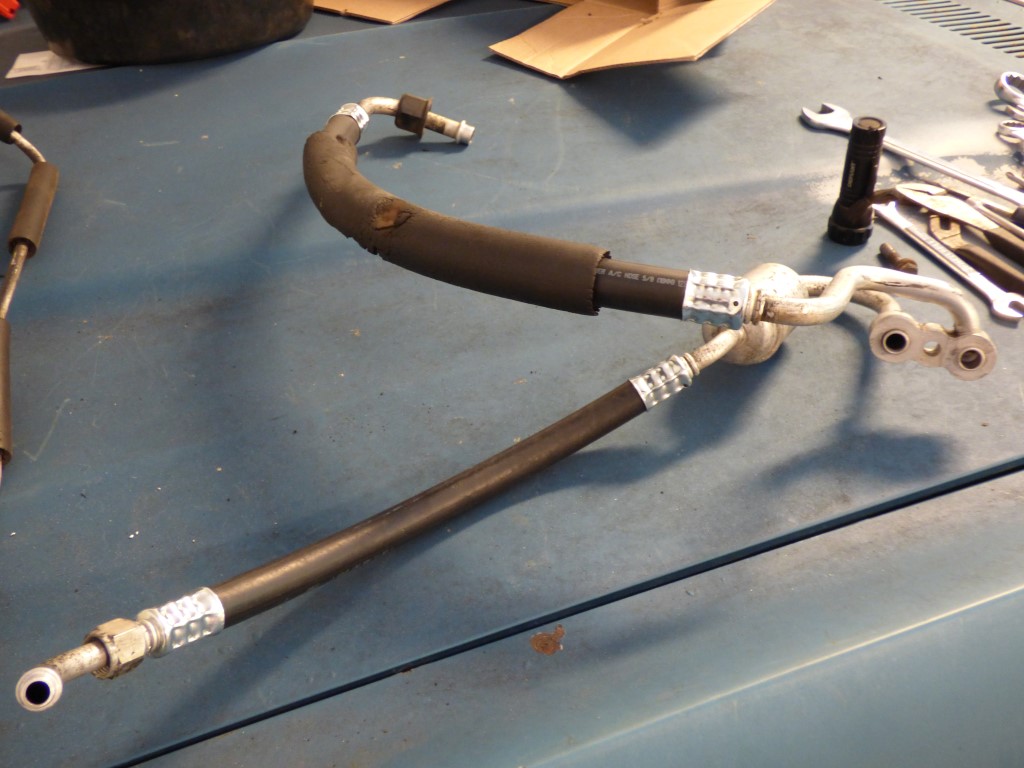
New hoses all crimped and installed!
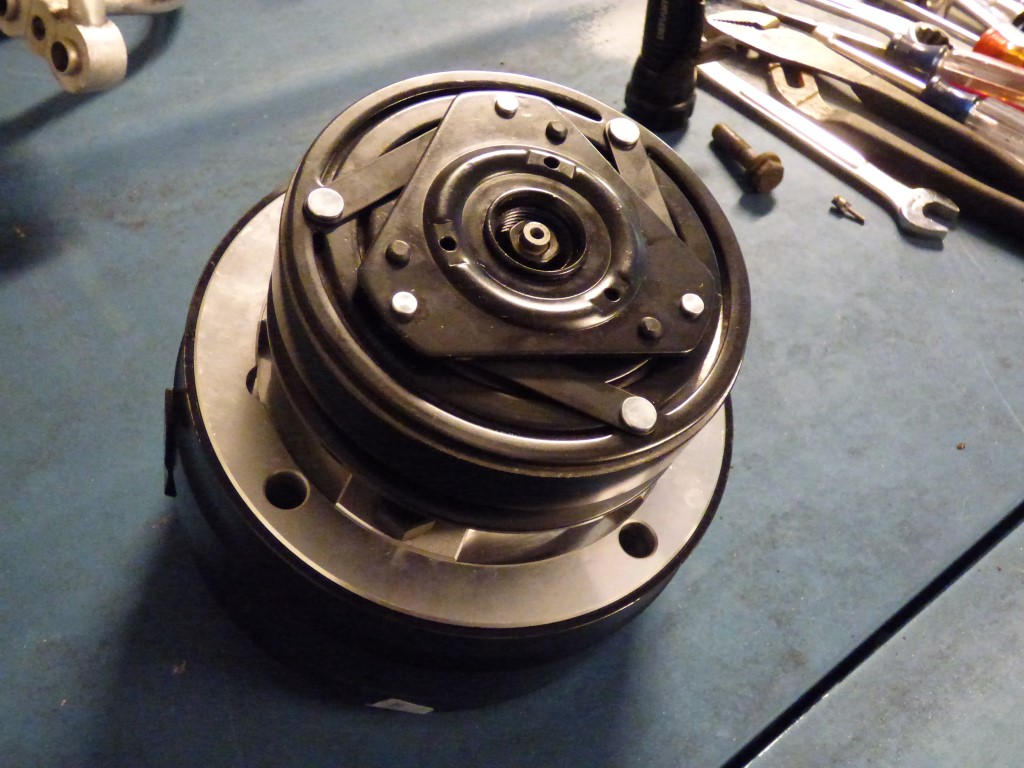
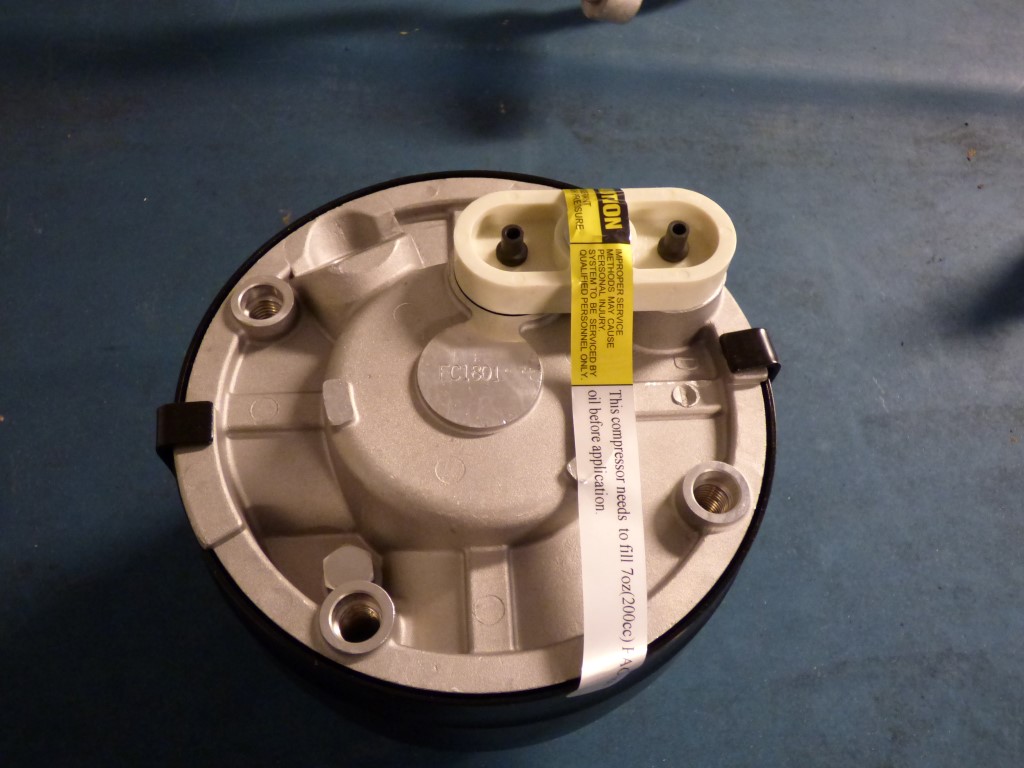
New compressor... *mostly* the same as the old compressor.
The language barrier is definitely a rough hurdle to overcome...
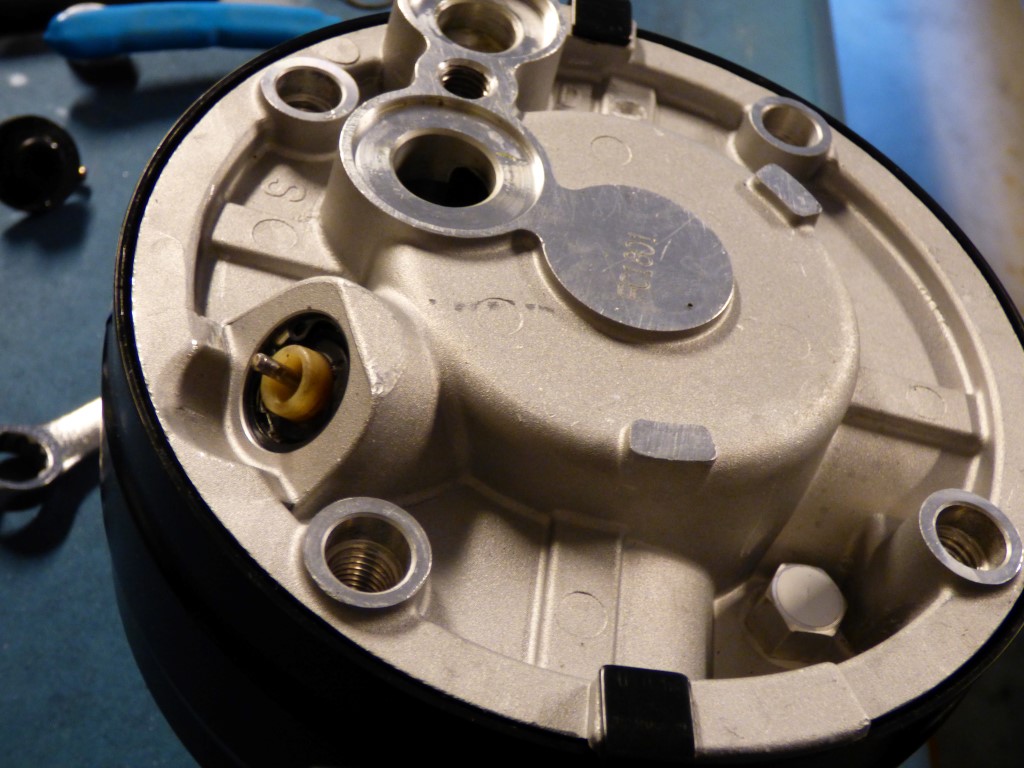
Superheat switch is transferred to new compressor.
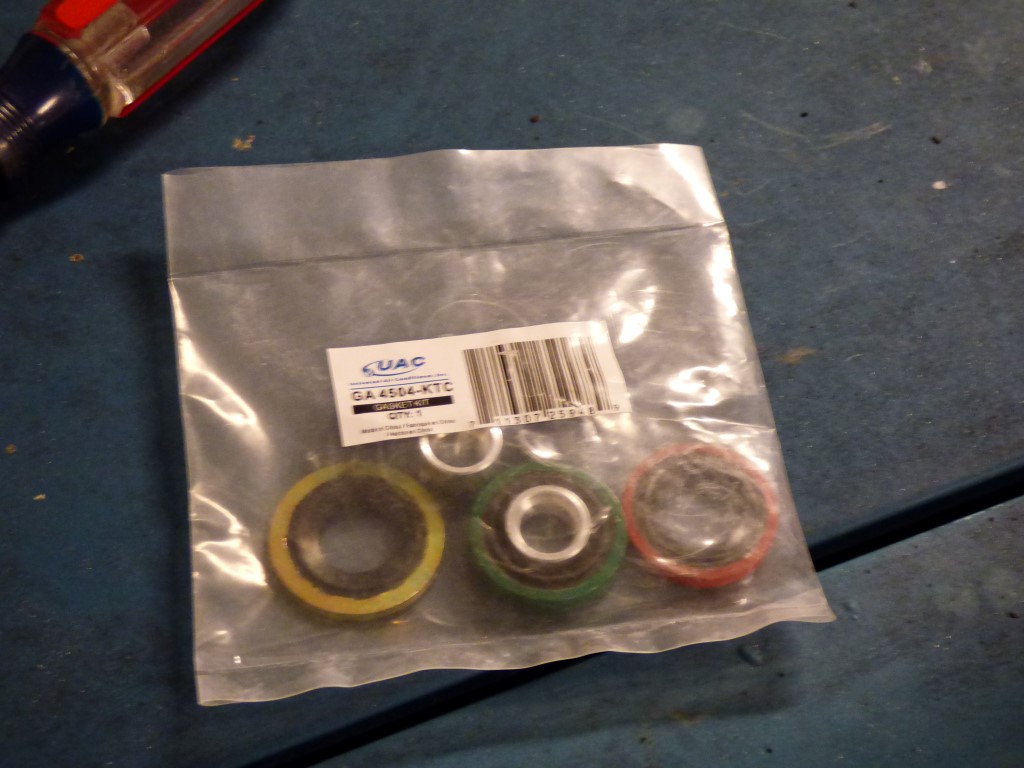
The compressor seals. I panicked due to being unable to find these. Then I thought I should check in the box... GEE!
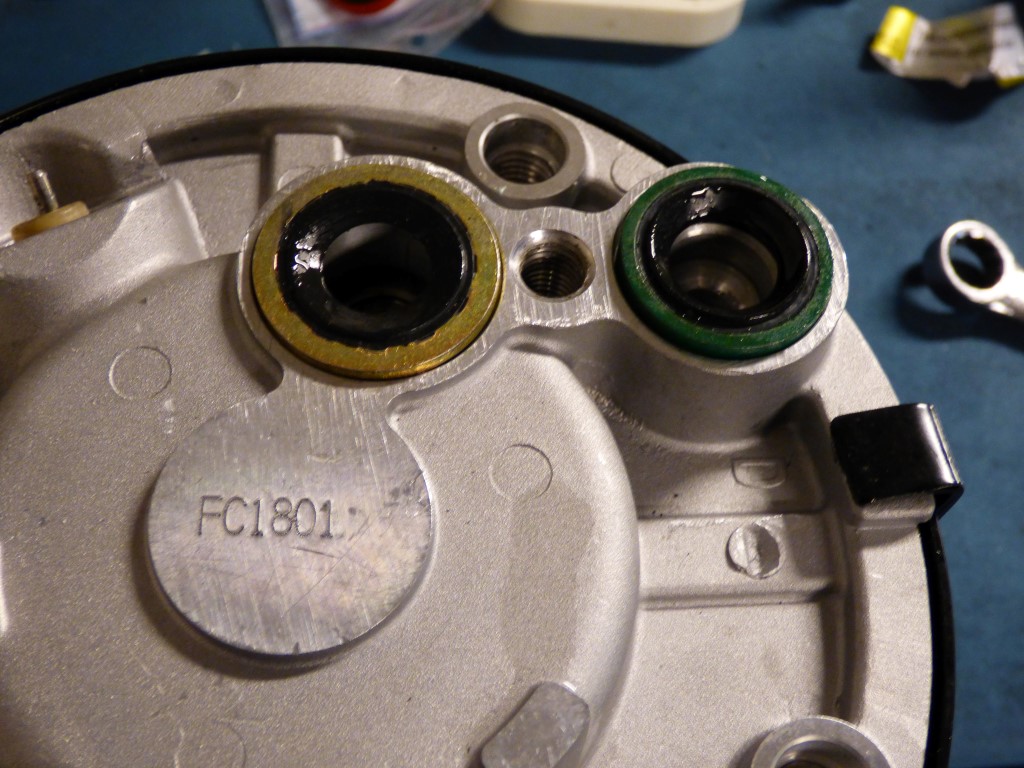
I'm doing guesswork here because the seal surface isn't the same as the original and the instructions have zero clue which one is needed...
Orifice tube is in this slot, it needs to come out.
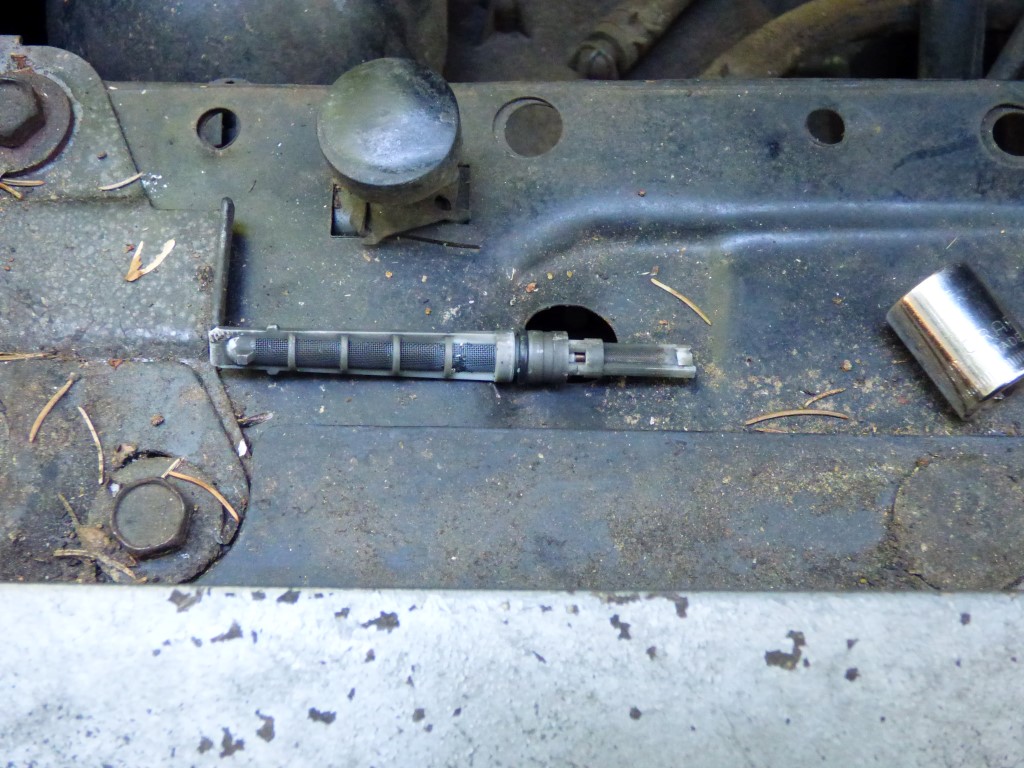
It's kind of dirty. I got a new one.
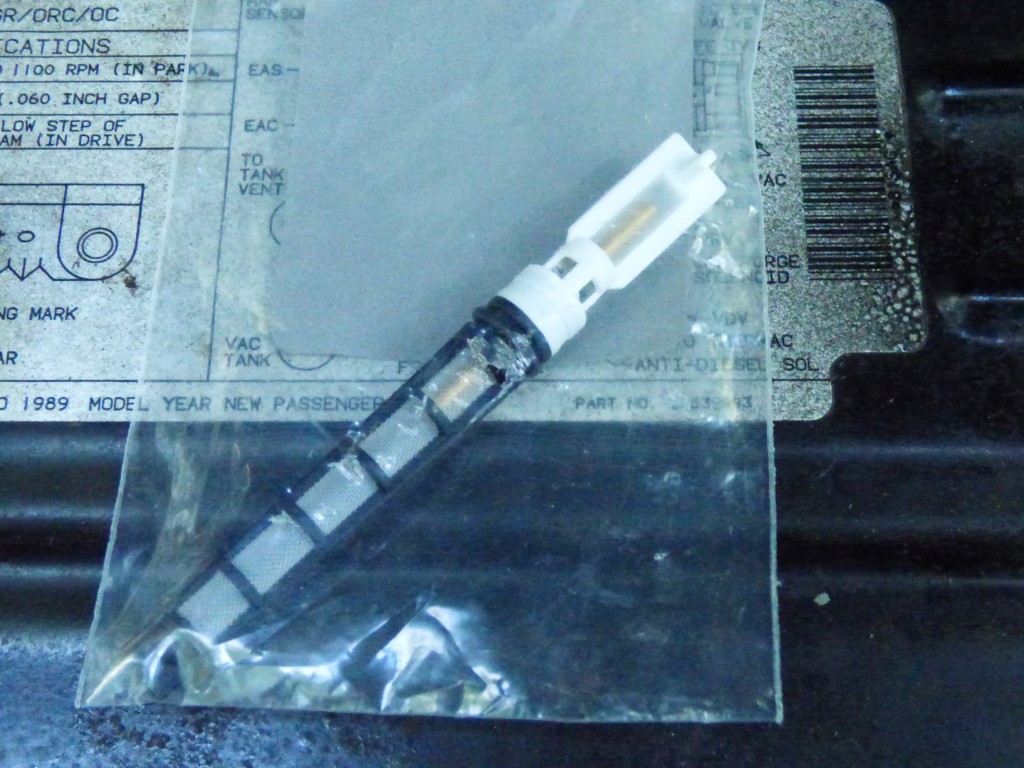
Which is this! Clever readers will notice that... this one isn't the same. And it doesn't fit. Lame. Fortunately I had a spare laying around from my old Ford truck that was identical... so I put that in instead. Time will tell if that was a foolish move or not.
Evaporator tests clean.
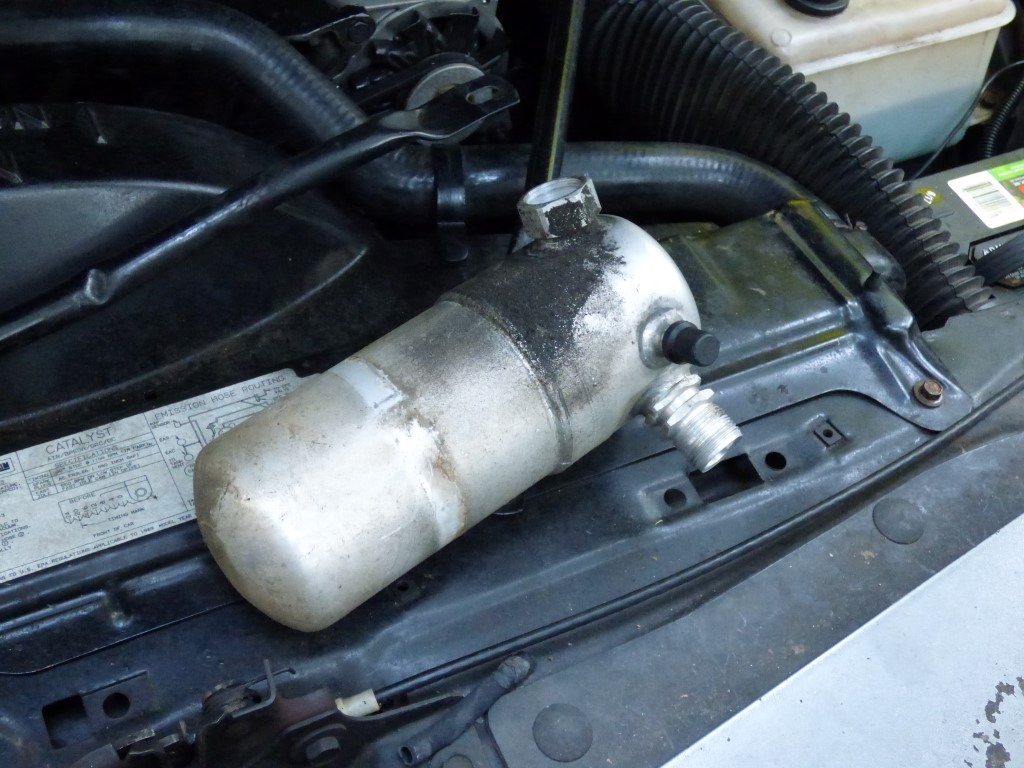
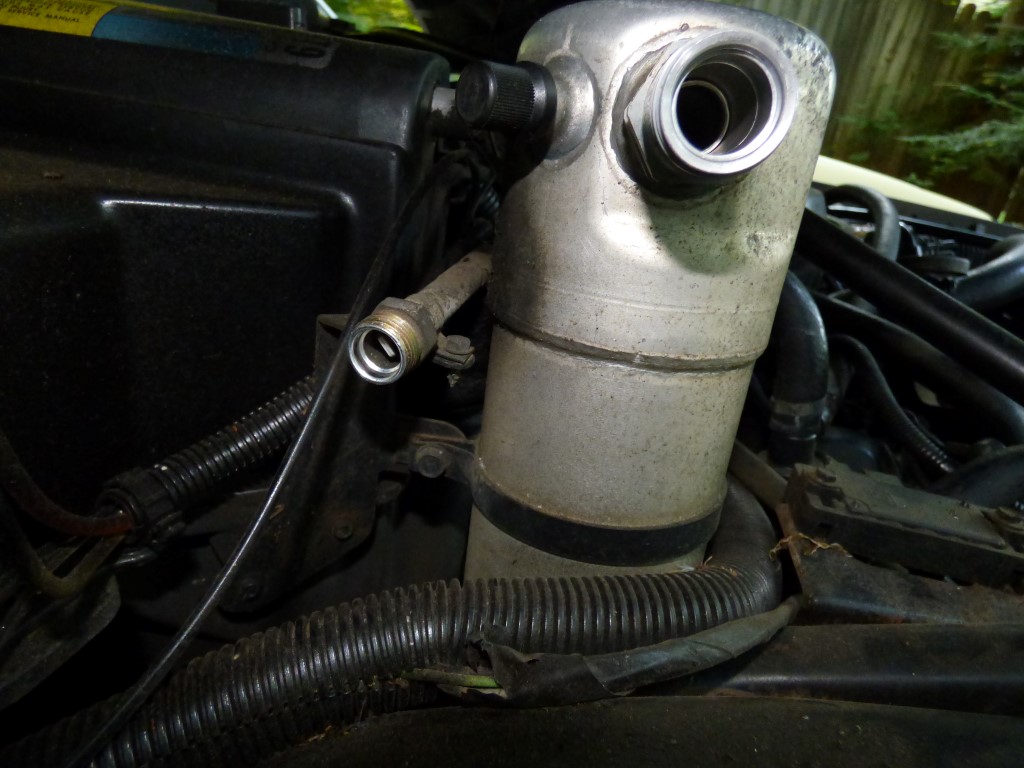
The old drier comes off, kind of dirty and nasty.
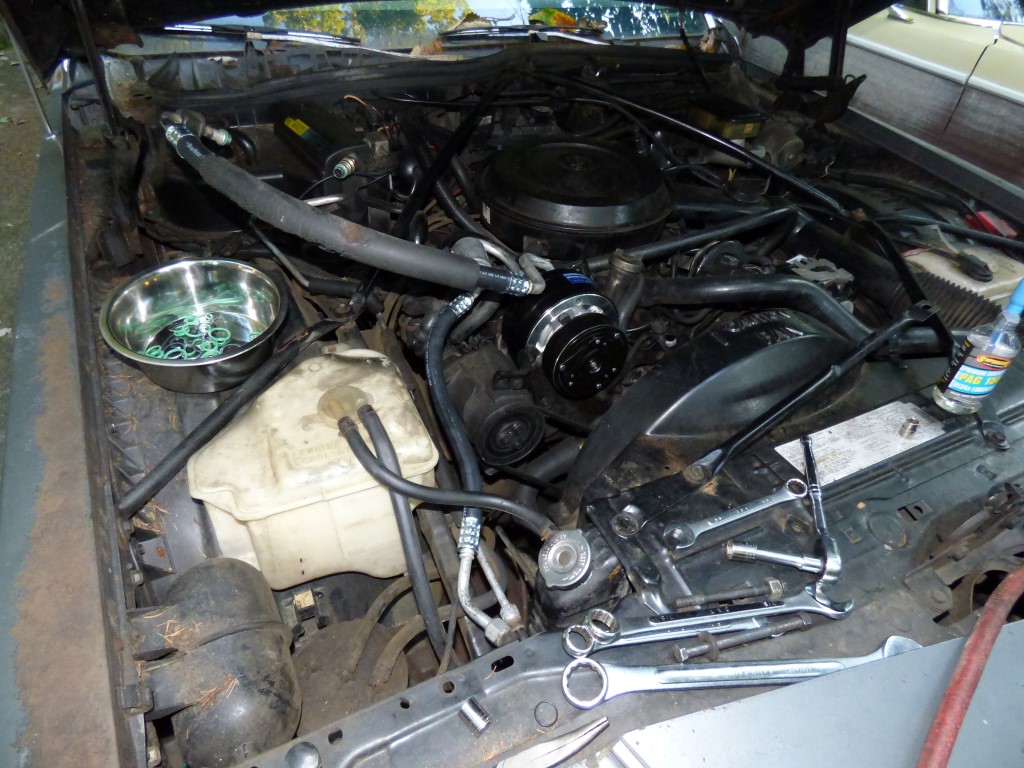
New o-rings are installed. Green for R134a. All are lubed with a little PAG oil.
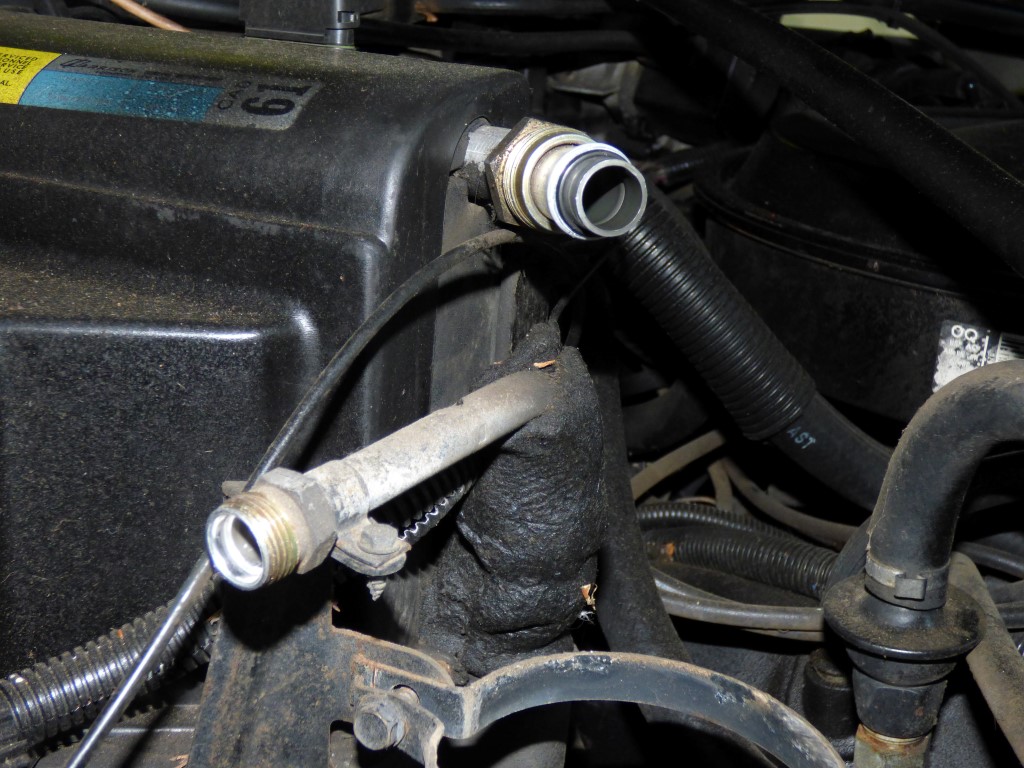
Liquid line gets reinstalled.
Toss the compressor on to get it ready to go. There's a limited window to work with between getting the new drier opened and sealing the system to minimize moisture, so the compressor needs to be on and done.
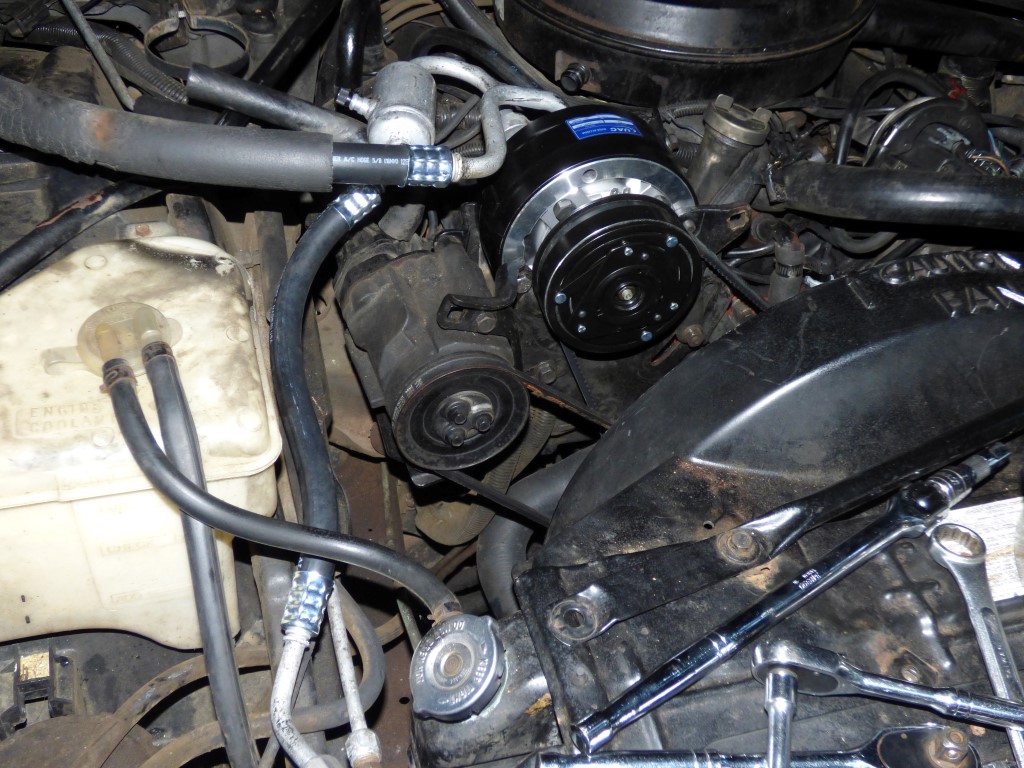
Compressor mounted and tensioned!
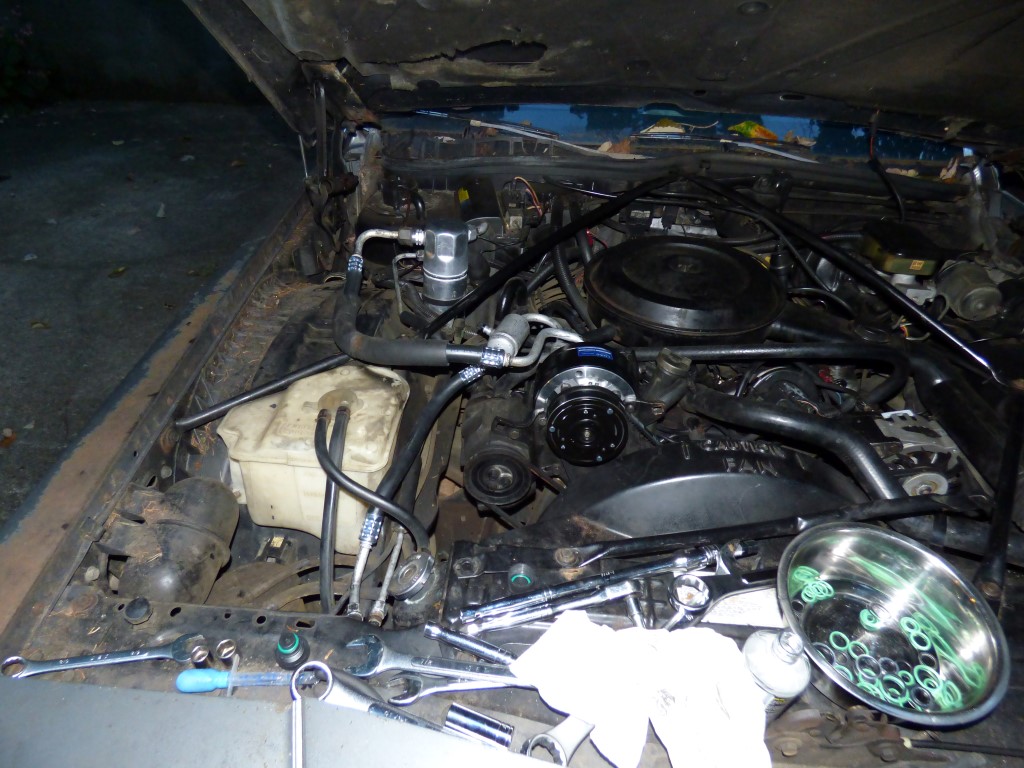
System is done. Now it's time to vacuum it down and verify it holds vacuum.
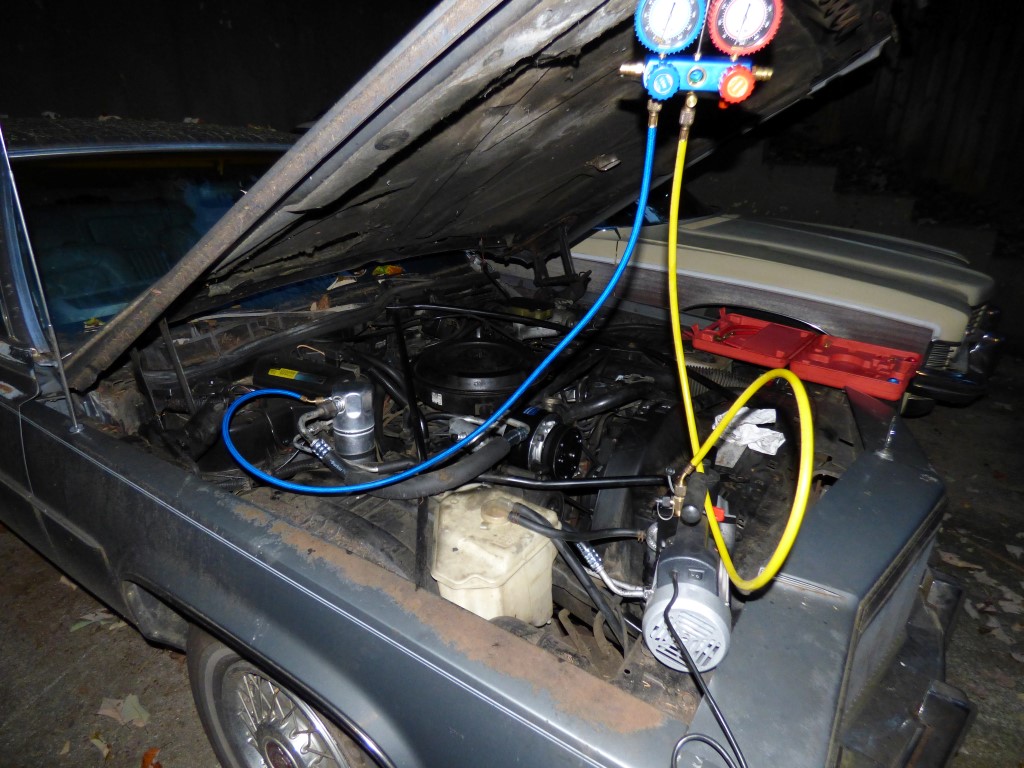
Vacuum pump hooked up and running!
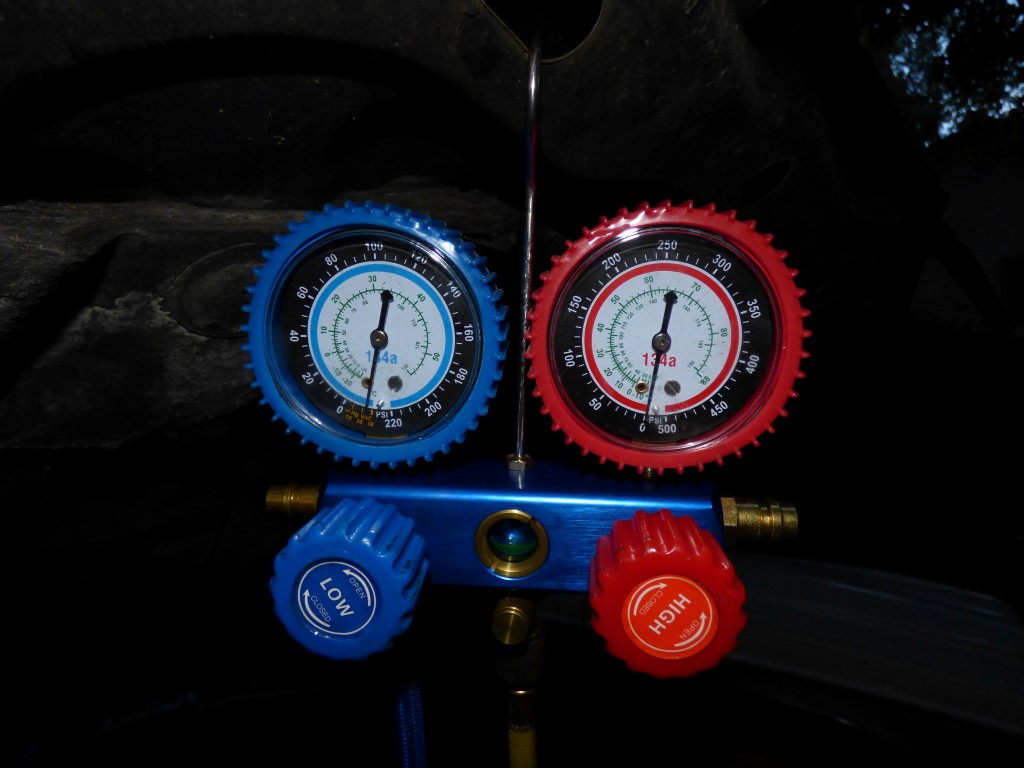
Vacuum is good. Turn off the pump and it doesn't jump back up, which is even nicer.
Now it needs to sit overnight. I know "holds vacuum for 1 hour" is the standard that all the manuals say, but I prefer overnight as a really slow leak that takes that long is just that: a leak that needs fixing.
Return to 1989 Cadillac Brougham
Last updated August 29th, 2018