Saginaw Steering Box Rebuild - Reseal - 10/15/2016
Now that the box is disassembled and cleaned, it's time to start re-sealing all of the various components.
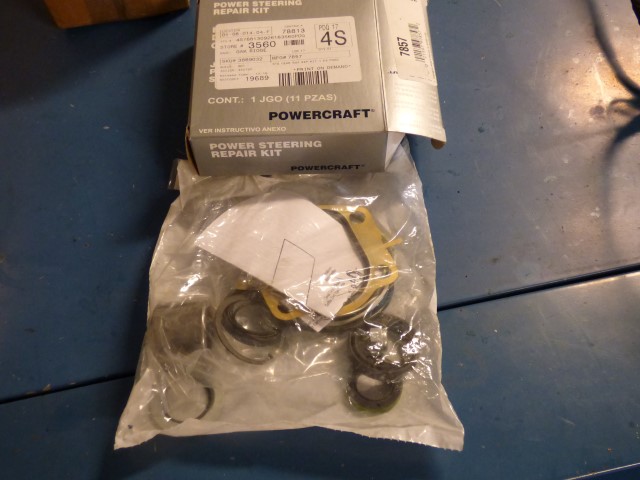
Lots of new parts here.

The instructions... they kinda suck. "Mark, disassemble, reassemble" is pretty much what they say to do...
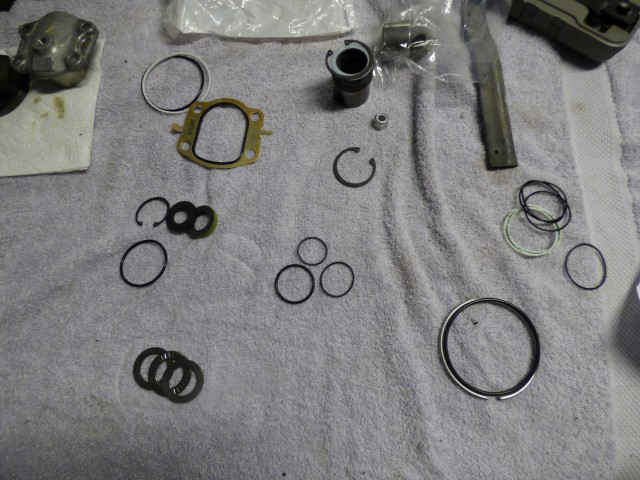
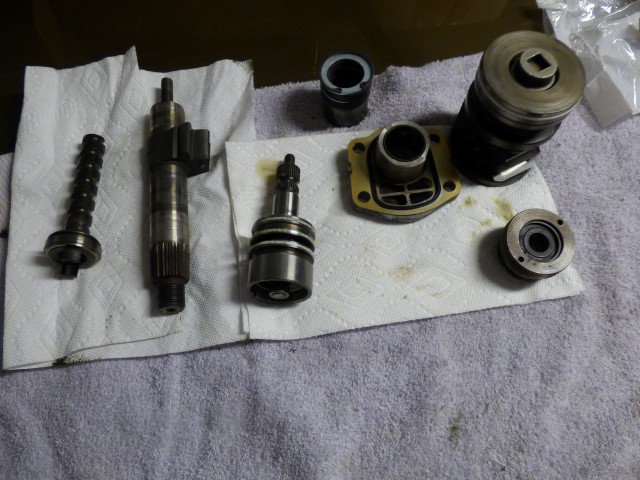
Sorting out all of the new parts by group to where they go. The new bearings are actually Timkins made in the USA!
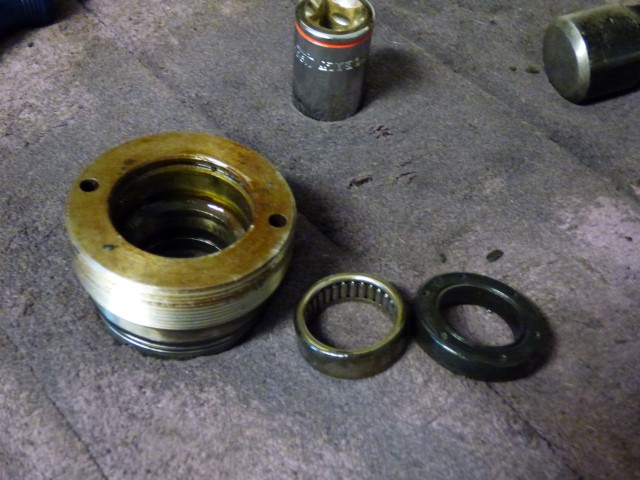
The sector shaft seals and bearing. Kit includes 2 new washers, 2 seals, a c-clip, and new bearing assembly. The existing bearing assembly is in great shape and has a lip on it, the new one does not have said lip. I am keeping the originals since it prevents you from pushing the bearing too far into the housing. The parts are lined up in the order they will be in the placed in the housing.
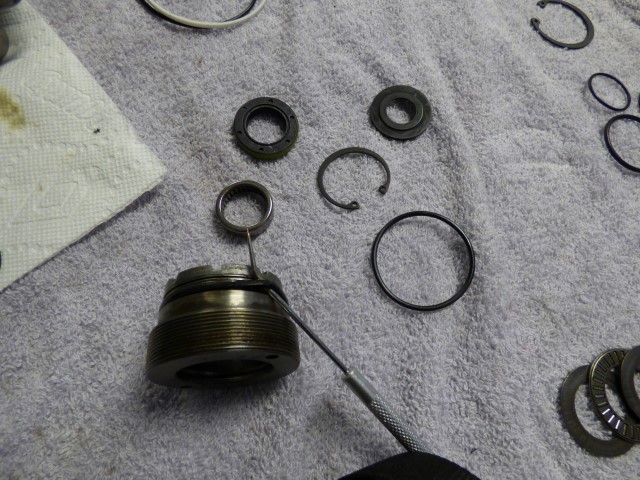
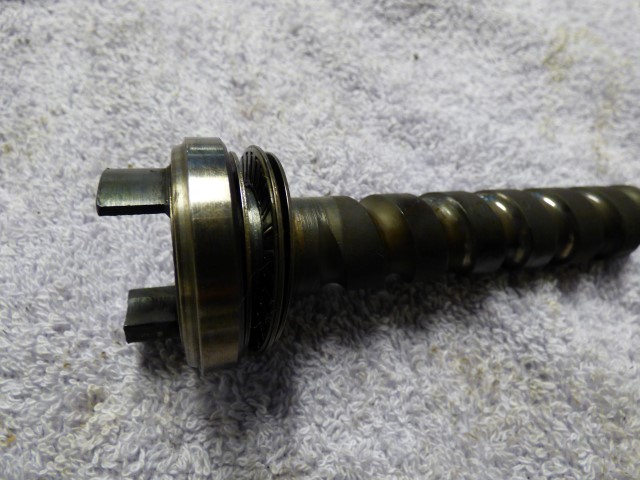
The input assembly bearing is pressed out using a 3/4" socket to get the seals out. It has a c-clip, dust cover, seal, and bearing.
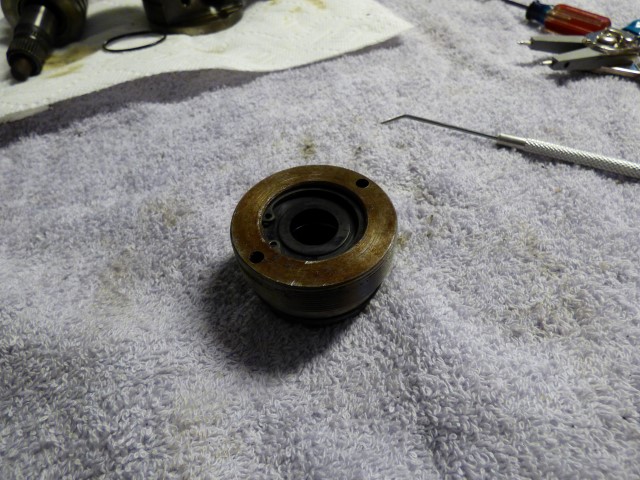
The old bearing and seal. The bearing is, again, in great shape.
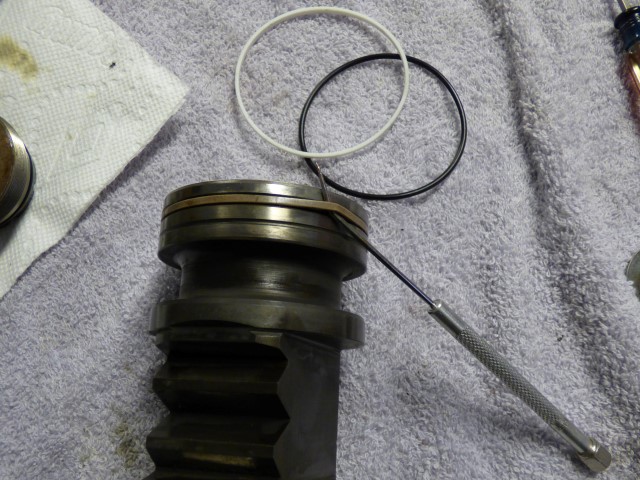
The parts are lined up and the o-ring is changed out.
Input section is done.
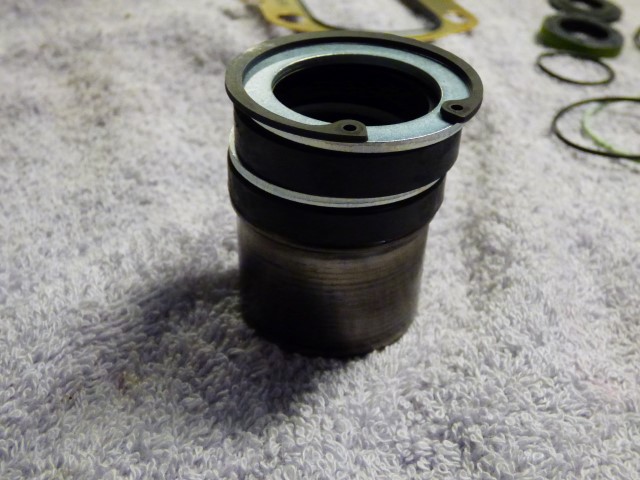
Piston teflon ring and o-ring are removed. This piston had a LOT of gunk trapped inside where the worm gear and ball bearings ride, it required a LOT of cleaning.
New o-ring goes on and teflon ring goes over that.
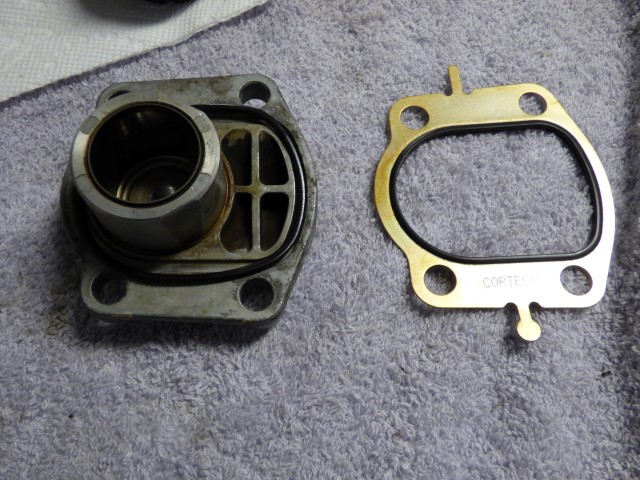
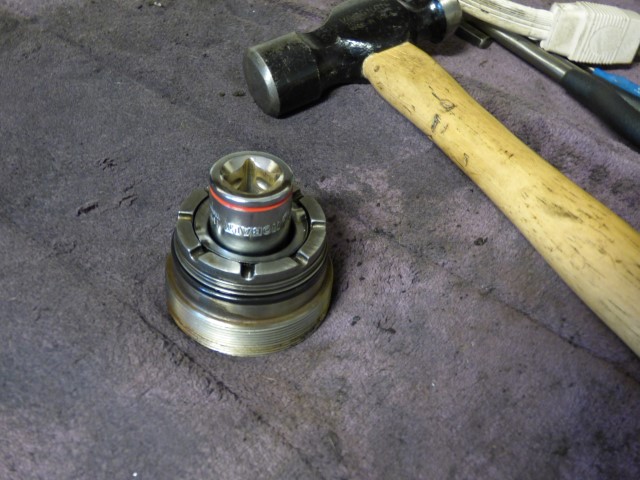
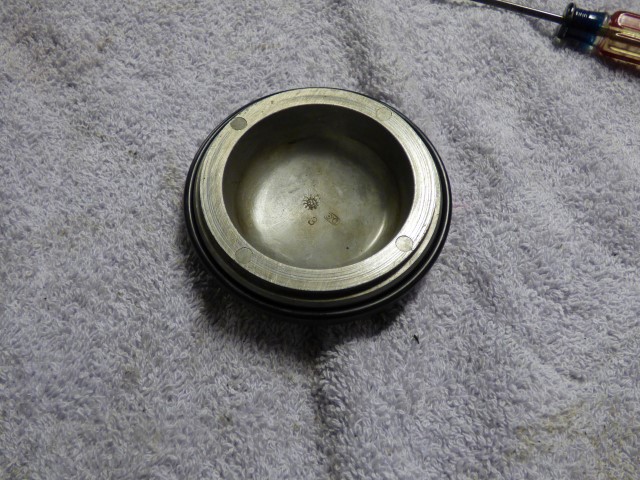
The cap with original o-ring seal and the new metal imbedded ring seal. Apparently this was a design change sometime over the years to keep the leaks down.
Cap has new metal seal, tabs are bent over to hold it in place. According to the instructions, this is how it goes together and it makes sense that it would.
The worm gear gets assembled after being cleaned. Washer, needle bearings, and washer. This is how it goes together in the housing. The kit does not include new needle bearings, not sure exactly where you source a new one if these are damaged... but then if these are damaged chances are it's likely the rest of the box is in trouble.
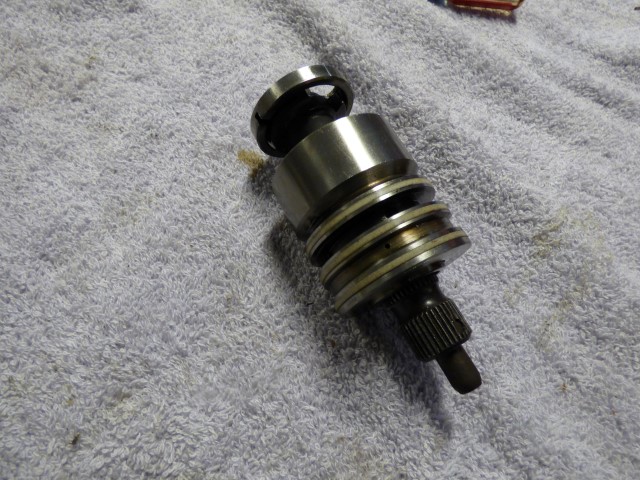
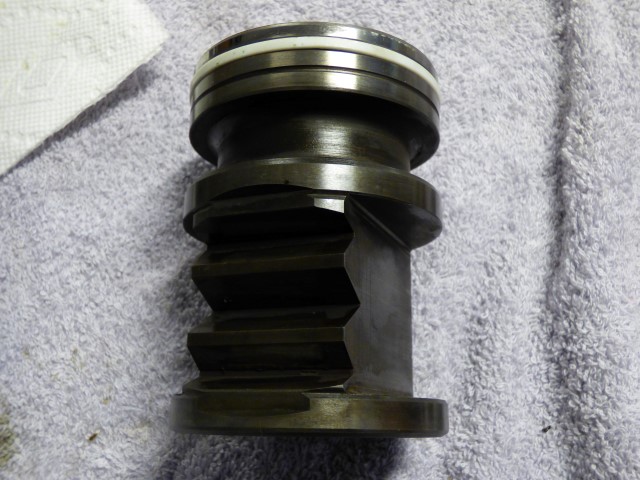
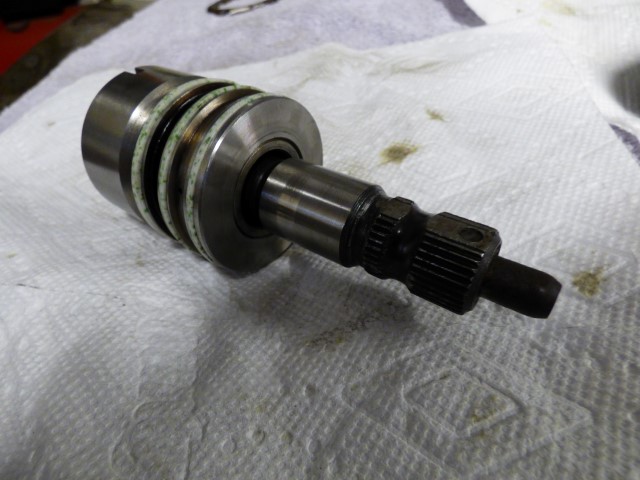
The input shaft assembly has 4 parts that need to come apart to change o-rings. Hold the big housing with the 3 teflon rings and wiggle the shaft and it will all come apart. A little love tap or two on the shaft can help if needed.
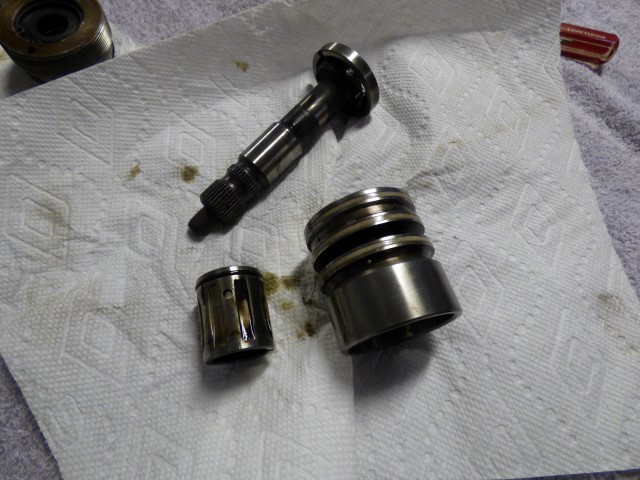
Input shaft assembly is apart now.
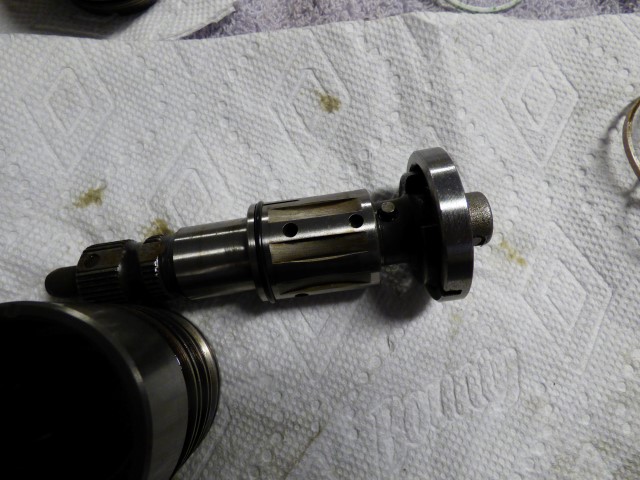
Replace the o-ring and ready for reassembly. Input shaft reassembly is a little tricky: the little cylinder has 4 holes every 90 degrees and one of those holes has a second hole closer to the top of the o-ring that MUST go on the little stud that is shown.
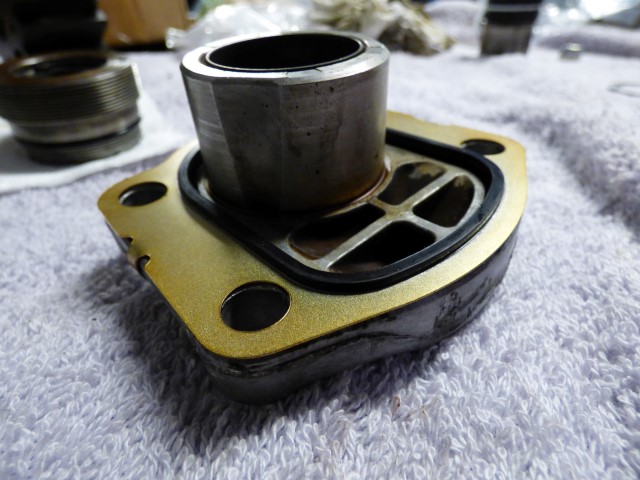
The parts go back together. There is a notch on the cylinder and a hole in the shaft that line up, there's a notch on the underside and a tang that hangs out that also needs to line up. It wiggles together ok, but some love taps from a socket may be necessary. There's an o-ring that goes in the visible portion.
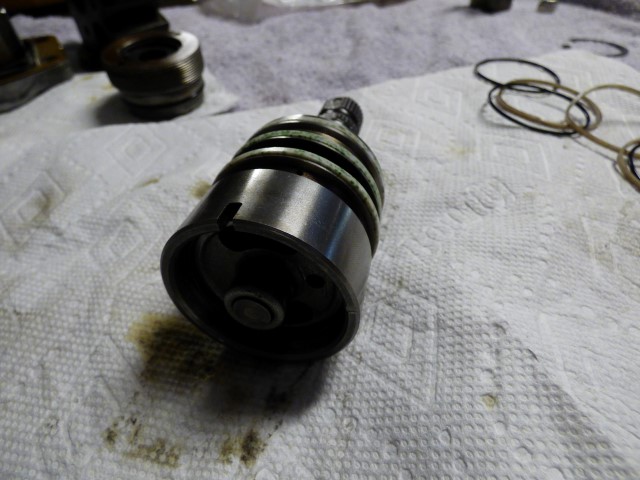
The shaft is done. You can see the smaller cylinder is level with the larger cylinder when it's fully seated. The teflon rings require care to install, the 3 o-rings under them aren't too bad. Definitely make sure the teflon rings sit in the recess and don't roll or twist in the groove.
Cap gets an o-ring, simple enough.
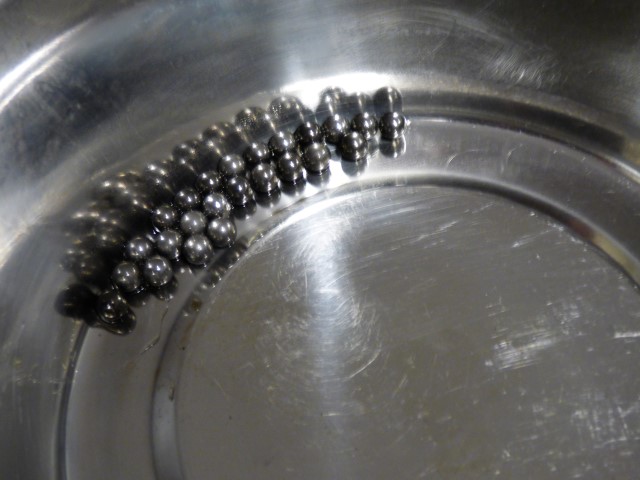
The ball bearings are cleaned up and de-greased. In amazing shape despite a TON of grit and grime in them...
All parts are sealed up and ready for install! There were 2 extra o-rings and a c-clip that doesn't seem to fit anything left over in the kit, but I'm not worried.
The housing paint has to dry and cure, otherwise I'd re-assemble it today. It's pretty straightforward so far though.
Return to Tech Pages
Last updated October 15th, 2016